Quick answer
Start with a plain metal barrette or alligator clip, then attach a flat-backed button or charm with strong craft glue or a few tight stitches. Keep the embellishment small and centered so the clip still opens and closes smoothly. Test the hold before you wear it out.
The fastest way to get handmade hair clips you'll actually wear is to build them around what you already own: a stray button, a spare charm, a plain barrette from a multi-pack. You don't need a craft room full of supplies. You need one good adhesive or a needle and thread, plus a little patience while things dry.
This guide walks through the whole process in order, from picking the base clip to testing the finished piece. Along the way you'll see where most DIY hair accessories fail, and the small choices that keep button hair clips and charm hair accessories from falling apart after a week.
Pick the right base clip first
Everything depends on the base. A flat metal alligator clip or a plain barrette gives you a stable surface to glue or sew onto. Avoid clips that already have a bulky plastic decoration, because you'll be building on an uneven surface and the new piece may pop off. Check that the clip opens and closes with a firm snap before you commit to it.
Match the clip size to the embellishment. A 5/8-inch button looks lost on a wide barrette but sits perfectly on a small alligator clip. If you're using a larger button, choose a wider base so the weight stays balanced. A top-heavy clip will slide out of fine hair no matter how well you glued it.
- Test the spring tension before decorating: a clip that already feels loose will only get worse once it carries extra weight.
- Lay the button or charm on the clip before gluing so you can see the final balance.
Choose an attachment method that matches the piece
Glue is fast, but it only works well on flat-backed, lightweight pieces. A button with a shank, or a charm with a hanging loop, needs thread instead. For glue, use a strong craft or jewelry adhesive and let it cure for the full time on the label, not just until it feels tacky. For sewing, use a doubled thread and go through the button holes at least three times.
If you're working with a charm that has a closed loop, you can sew the loop directly to a fabric-covered clip or wire it to the barrette's hinge area. The key is to keep the attachment point away from the part of the clip that flexes, or the movement will work the thread loose over time.
- A common mistake: using hot glue on metal. It peels off in cool weather and leaves a messy residue.
- If the piece has any wobble after curing, reinforce it with a stitch rather than adding more glue.
Add a fabric or felt backing for grip and coverage
A small piece of felt or fabric glued to the underside of the clip does two things: it hides the glue blob and it gives the clip a little grip on slippery hair. Cut the felt slightly smaller than the clip's flat surface so it doesn't peek out at the edges. This step also lets you sew a button directly through the felt and the clip's top bar for a much stronger hold.
If you're covering the whole clip in fabric, wrap it before you add the embellishment. Wrapping after means you'll be gluing over your decoration, which rarely ends neatly. Let the fabric wrap dry completely before the next step.
- Use a thin felt, not a thick craft foam, so the clip still closes with a satisfying snap.
- Trim any stray threads now, before they get sealed under glue.
Let it cure, then test the hold
This is the step most people skip. Let the finished clip sit undisturbed for the full curing time, then open and close it ten times and give the embellishment a gentle tug. If it shifts, fix it now rather than after you've worn it. A clip that passes the tug test will usually survive daily wear.
Test it in your hair, too. Clip it into a small section and shake your head. If it slides, the problem is usually weight or a smooth base, not the glue. Adding the felt backing from the previous step often solves it.
- Checkpoint: if the button spins freely, the glue didn't bond. Remove it, clean both surfaces, and try again.
- Store finished clips on a ribbon or in a small box so they don't tangle with each other.
The build order, step by step
- 1. Gather and sort your pieces: Lay out your base clips, buttons, and charms. Match each embellishment to a clip that can carry its weight, and set aside anything with a shank or loop for sewing rather than gluing. Checkpoint: if you can't picture the finished clip balanced, change the pairing before you start.
- 2. Clean and scuff the metal: Wipe the clip's flat surface with rubbing alcohol to remove oils, then lightly scuff it with fine sandpaper. This is the single biggest factor in whether glue holds on metal. Common mistake: skipping this and gluing straight onto a shiny new clip.
- 3. Attach the embellishment: Glue flat-backed pieces with a strong craft adhesive, or sew shanked buttons and looped charms with doubled thread. Keep the attachment clear of any part of the clip that flexes. Use a toothpick to apply glue so it doesn't squeeze out past the button's edge.
- 4. Add the felt or fabric backing: Cut a piece of thin felt slightly smaller than the clip's flat surface and glue it on, or wrap the whole clip in fabric if you want full coverage. This hides the glue and adds grip. Checkpoint: the clip should still snap shut with normal tension.
- 5. Cure fully, then test: Leave the clip undisturbed for the full curing time on your adhesive. Then open and close it ten times and tug gently on the decoration. If anything shifts, fix it now. A clip that passes this test is ready to wear.
Pieces that work well for this project
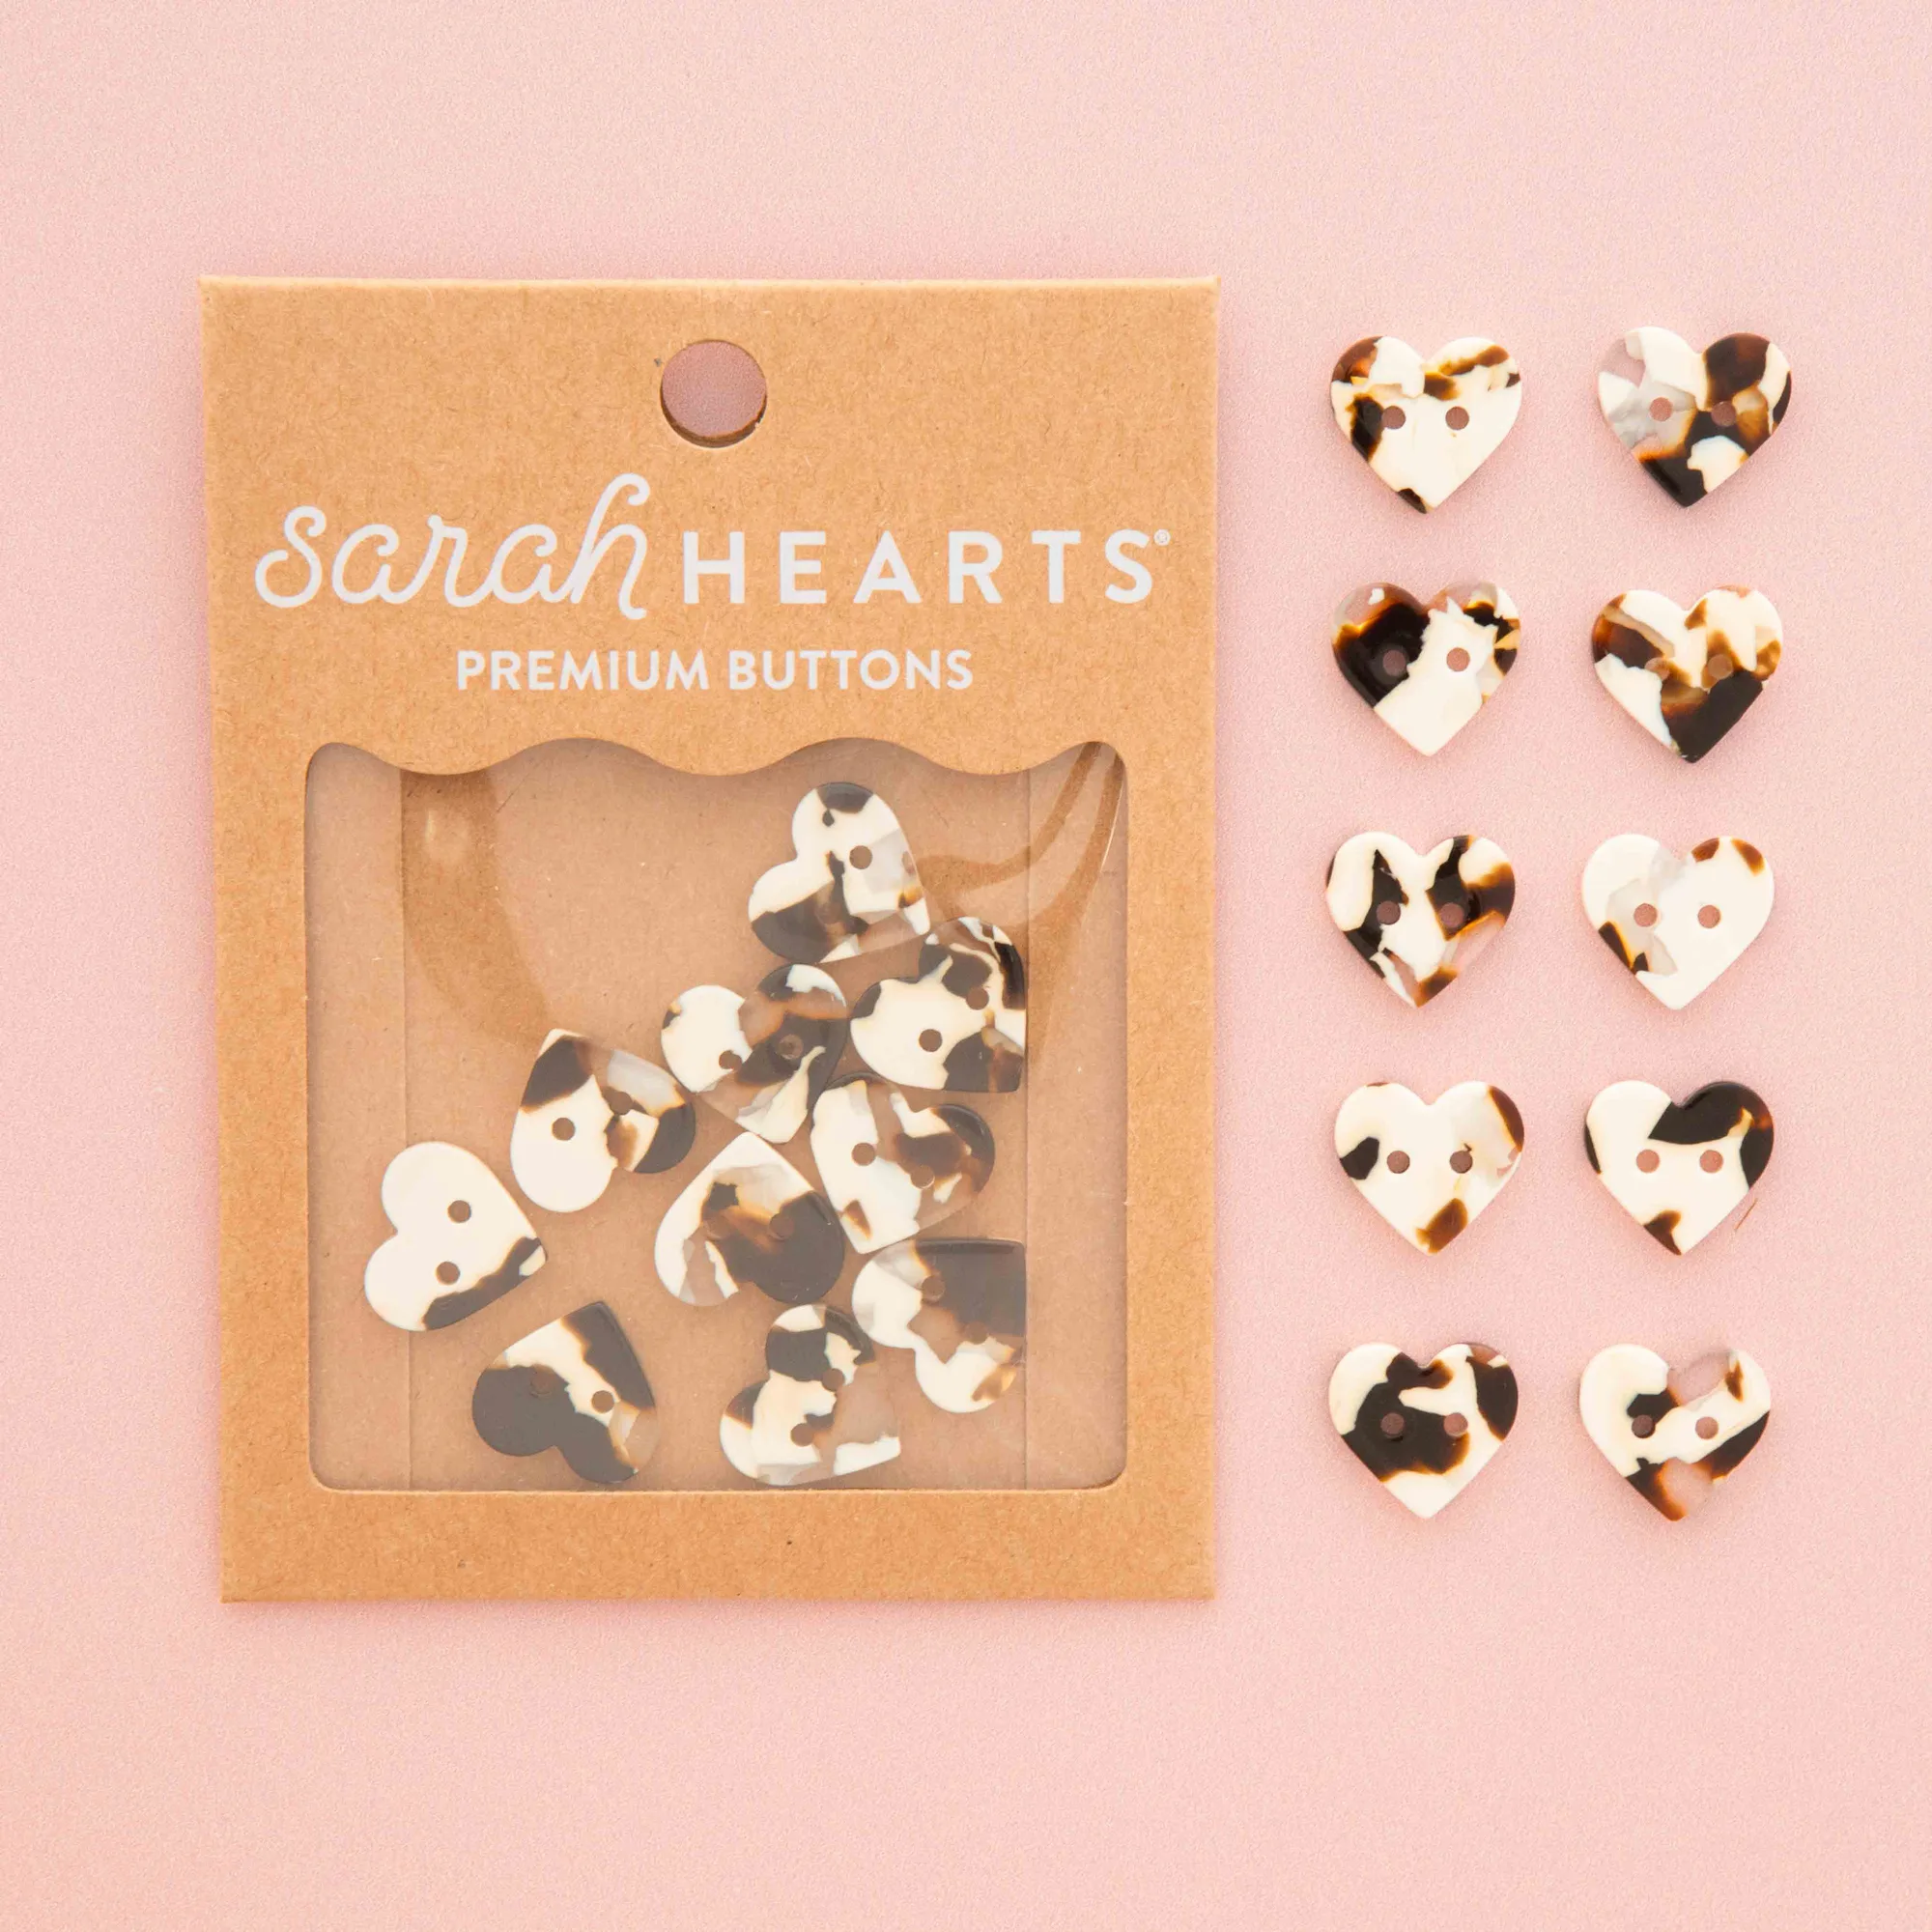
- Small Black + Cream Tortoise Heart Buttons: These 5/8-inch heart buttons are made from eco-friendly cellulose acetate in a speckled tortoise design and come in packs of 10, with a larger 1-inch size also available. The 5/8-inch size is ideal for small alligator clips, while the 1-inch version suits wider barrettes. Ten to a pack means you can make a matching set without hunting for more.
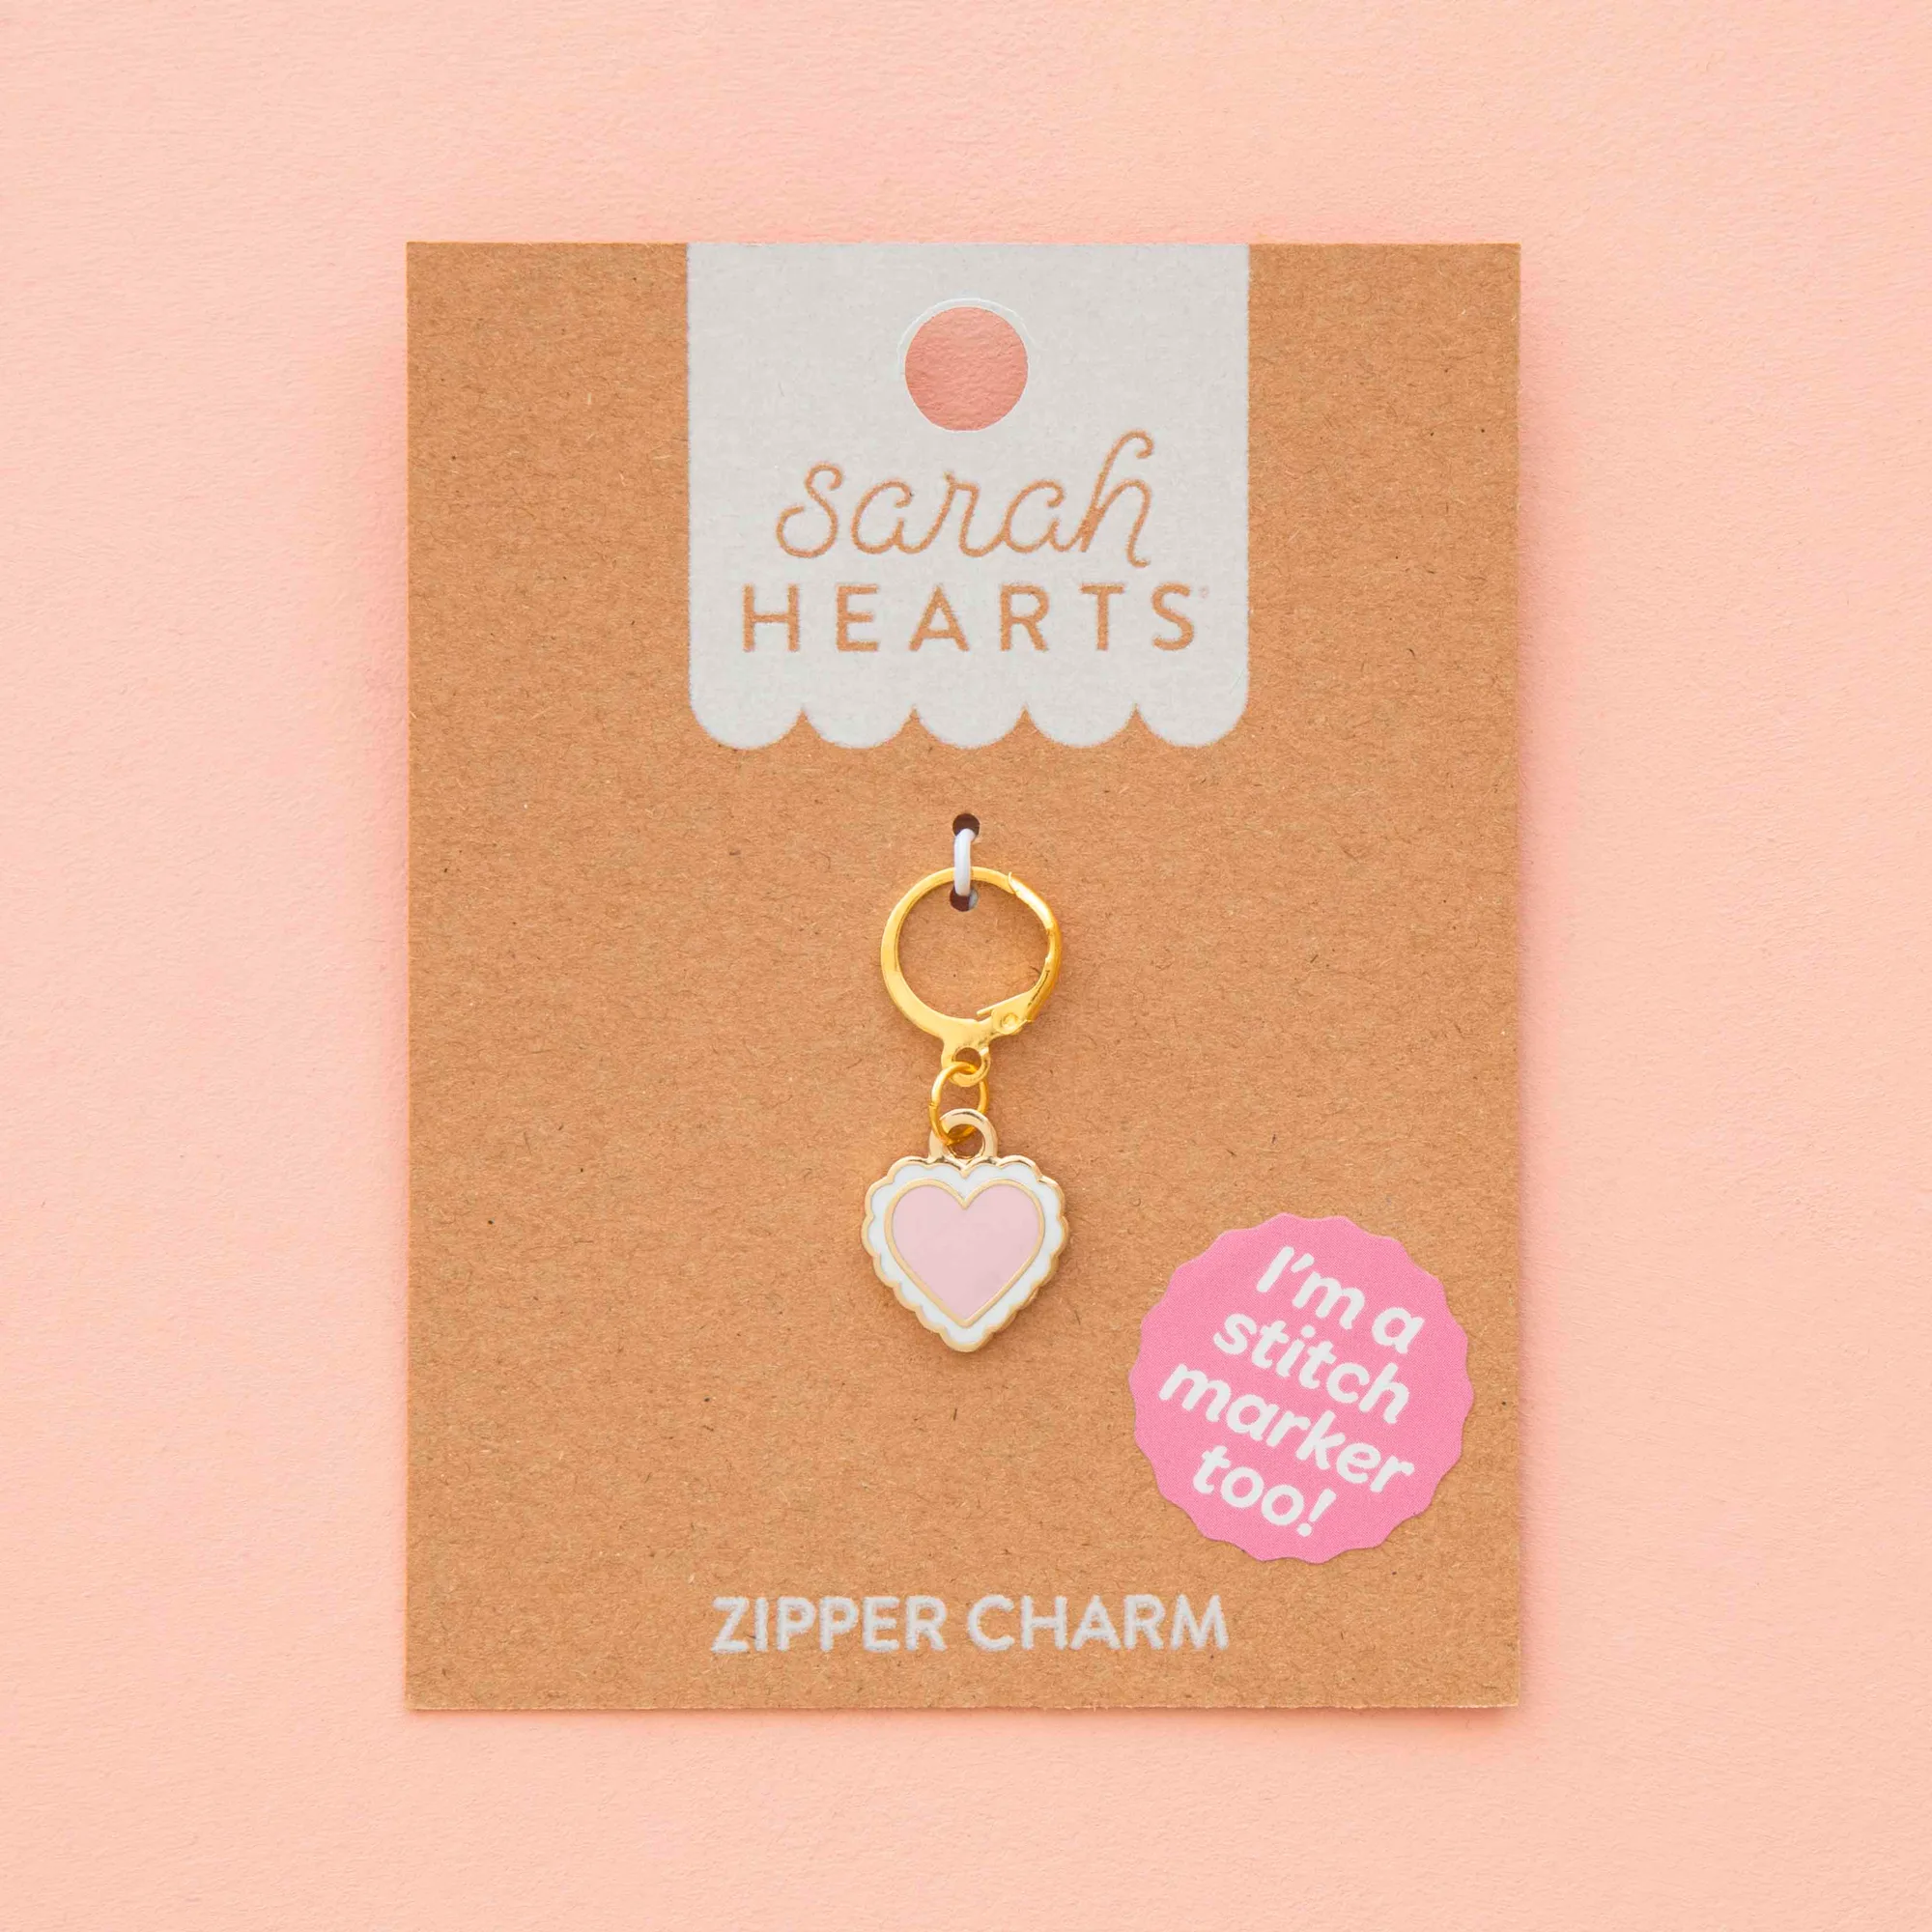
- Sweet Heart Enamel Stitch Marker: This metal enamel marker has a large circle clasp and measures 1.5cm by 1.4cm, and it doubles as a charm for necklaces, bracelets, or a zipper accessory. The open clasp means you can slide it onto a ribbon-wrapped clip or sew it down through the ring, so it works as a charm without any glue at all.
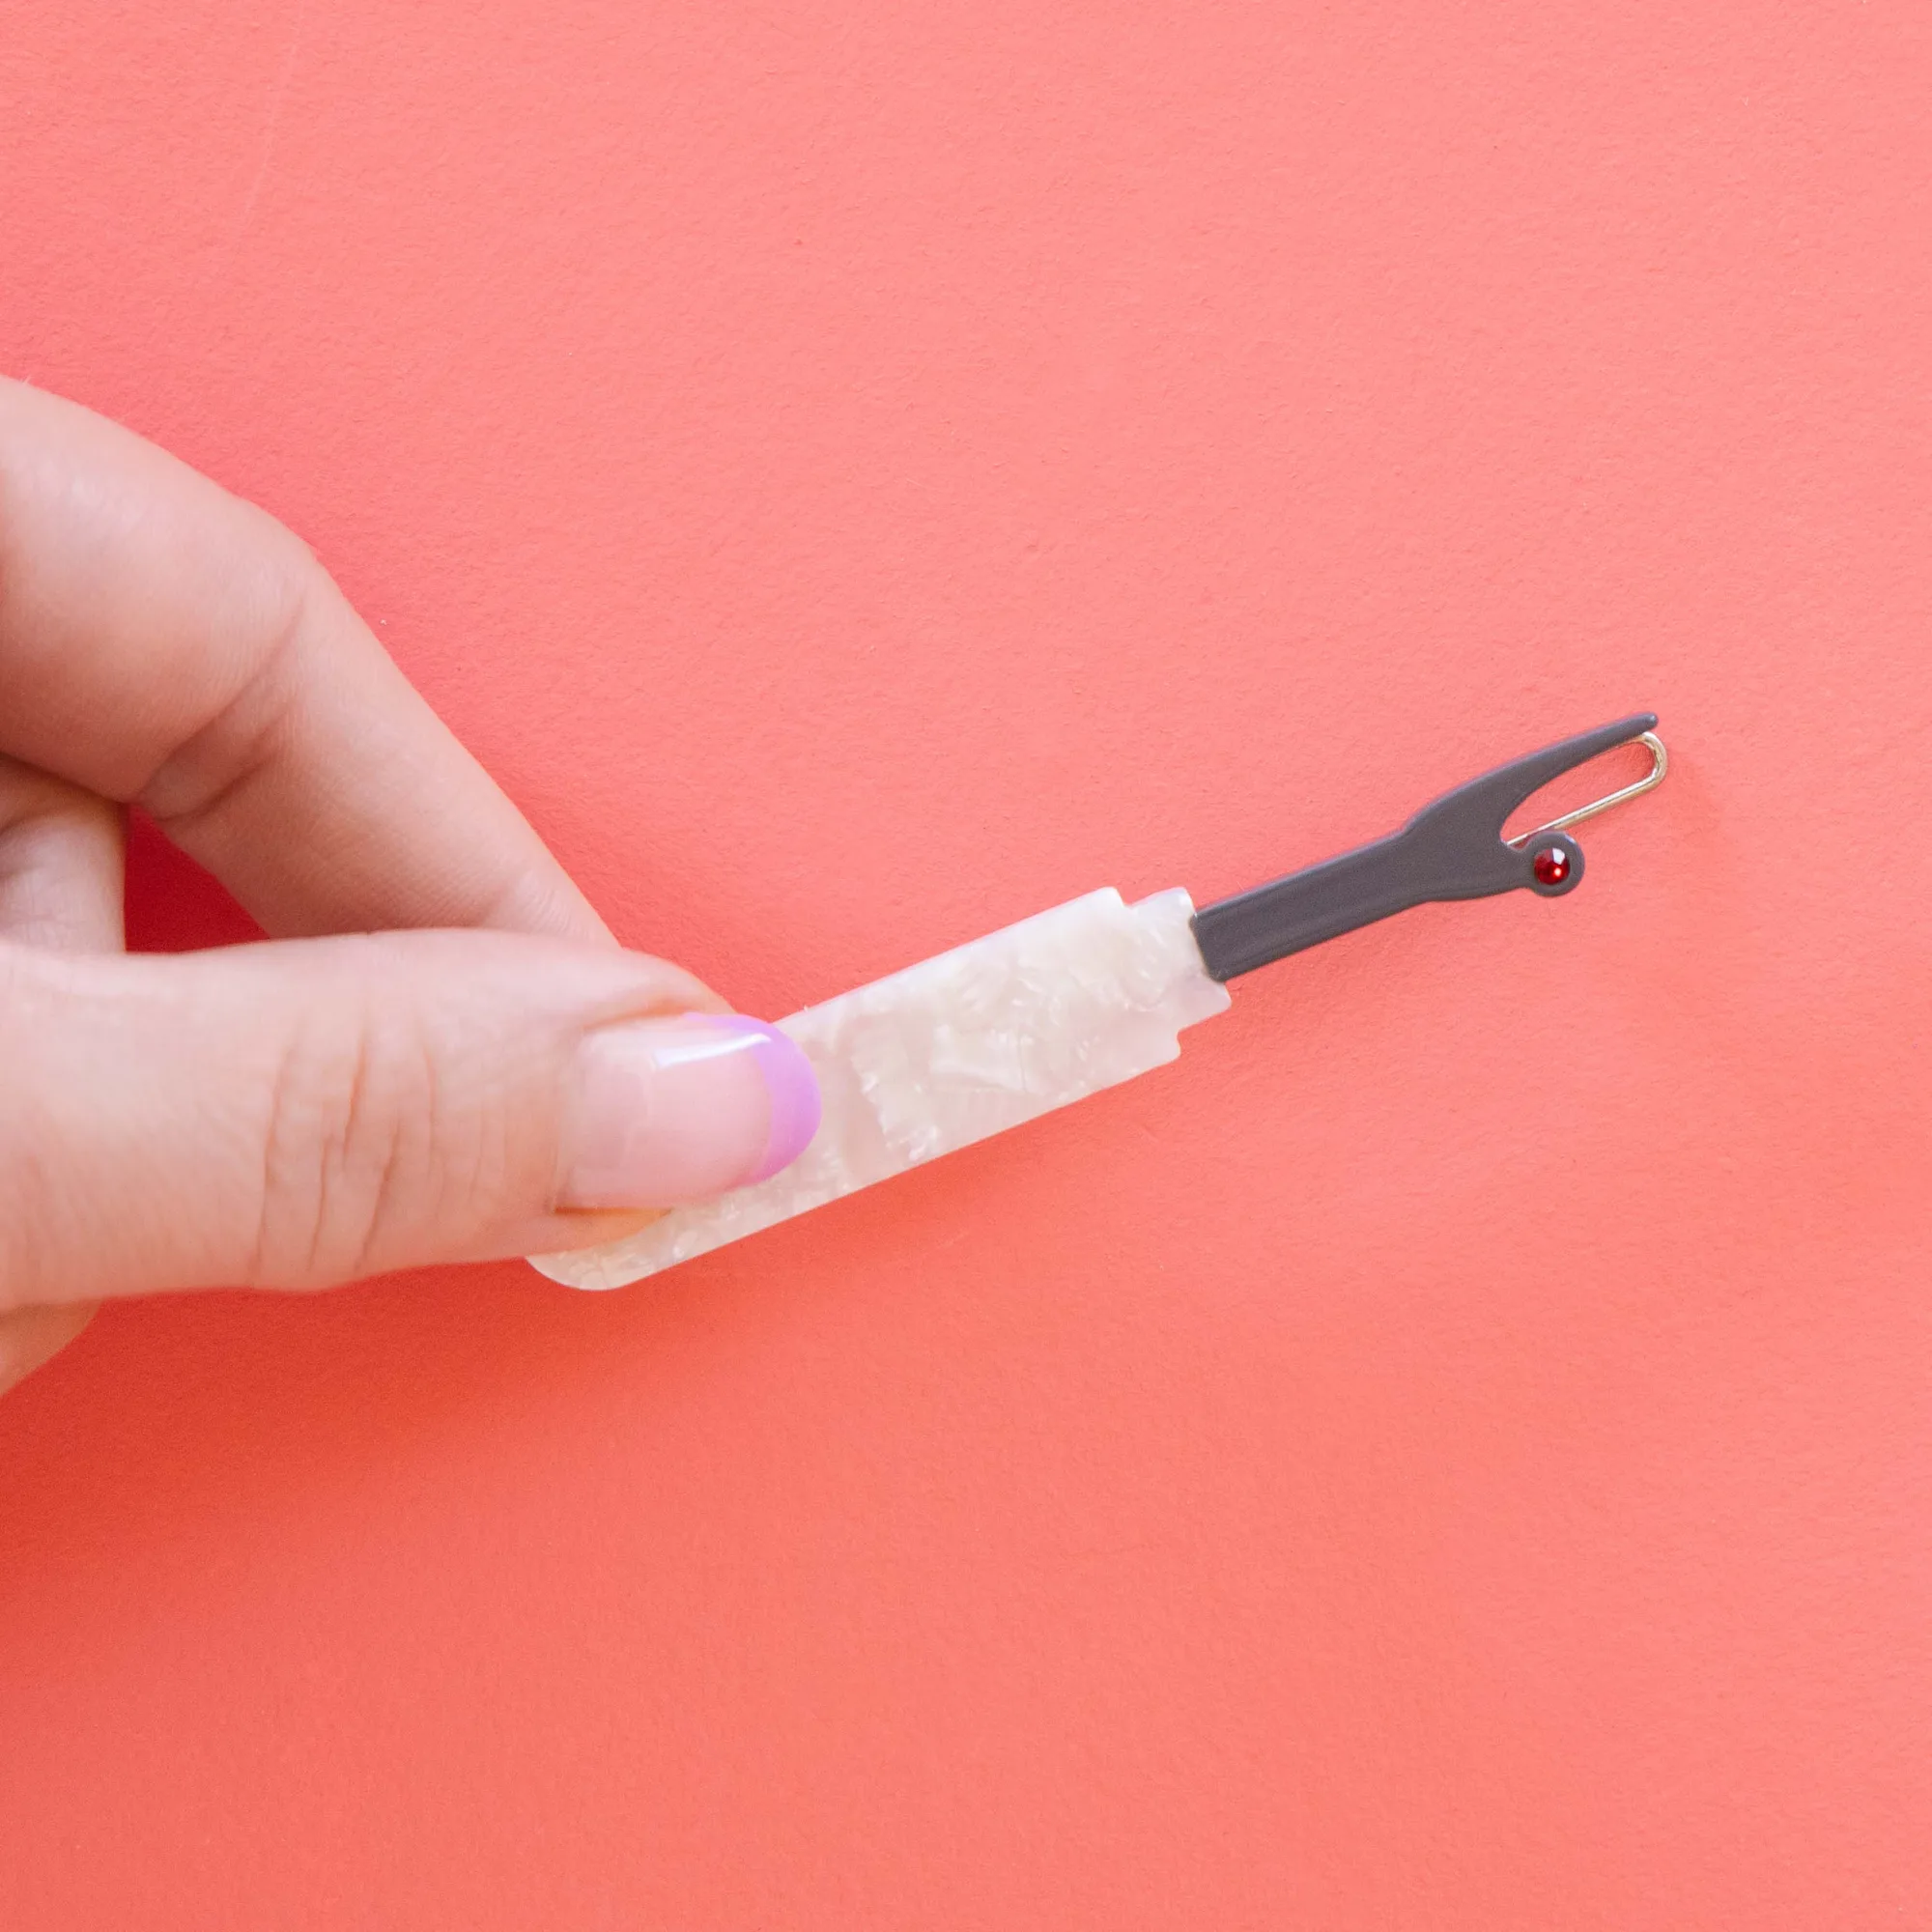
- Seam Ripper Barrette: This miniature clip recreates a seam ripper with a pearlescent handle and rhinestone sparkle, with a ball and clasp closure, designed to grip small sections of hair. It shows what a finished sewing-themed clip looks like, which is useful as a reference point if you're making a matching set or a gift for a sewing friend.
Once you've made one clip this way, the rest go quickly, and you'll start seeing every stray button as a future hair accessory. Start with a single small clip and a pair of heart buttons, get the cure time right, and you'll have a handmade piece that holds up to real wear.