Quick answer
DIY paper toys are a fantastic, budget-friendly activity for both kids and adults. Start with simple templates like cubes or animals, use sturdy cardstock, and follow clean folds for the best results. You can even incorporate collectible themes for extra fun.
Looking for a creative activity that doesn't require a screen? DIY paper toys offer endless possibilities for imagination and skill-building. Whether you're a parent seeking a weekend project or an adult wanting a relaxing craft, paper modeling is accessible and rewarding.
You don't need fancy equipment—just paper, scissors, glue, and a bit of patience. In this guide, we'll walk you through the process of creating your own paper toys, from choosing templates to finishing touches. We'll also highlight common pitfalls and how to avoid them.
Why DIY Paper Toys?
Paper toys are more than just a pastime. They help develop fine motor skills, spatial reasoning, and creativity in children. For adults, they offer a mindful break from daily stress. Plus, they're eco-friendly and cost next to nothing.
You can start with simple paper craft for kids like origami animals or move to complex build paper model kits. The satisfaction of turning a flat sheet into a 3D object is unmatched. And with countless free templates online, the possibilities are endless.
- Improves hand-eye coordination and patience.
- Requires minimal materials—often just paper and glue.
- Can be personalized with your own colors and designs.
Materials You'll Need
To begin, gather basic supplies: paper (printer paper works for practice, but cardstock is better for durability), scissors or a craft knife, a cutting mat, glue or double-sided tape, and a ruler for crisp folds. Optional tools include a bone folder for scoring and a printer for templates.
If you're working with kids, safety scissors and glue sticks are ideal. For intricate designs, a craft knife with adult supervision is fine. Always ensure your workspace is well-lit and clean to avoid accidents.
- Use cardstock (110 lb or thicker) for sturdier toys.
- Print templates at 100% scale to ensure parts fit.
- Keep a damp cloth nearby to wipe excess glue.
Choosing Your First Template
Start with a simple template like a cube, a pyramid, or a basic animal shape. Websites offer free paper toy templates that you can download and print. Look for designs labeled 'beginner' to avoid frustration.
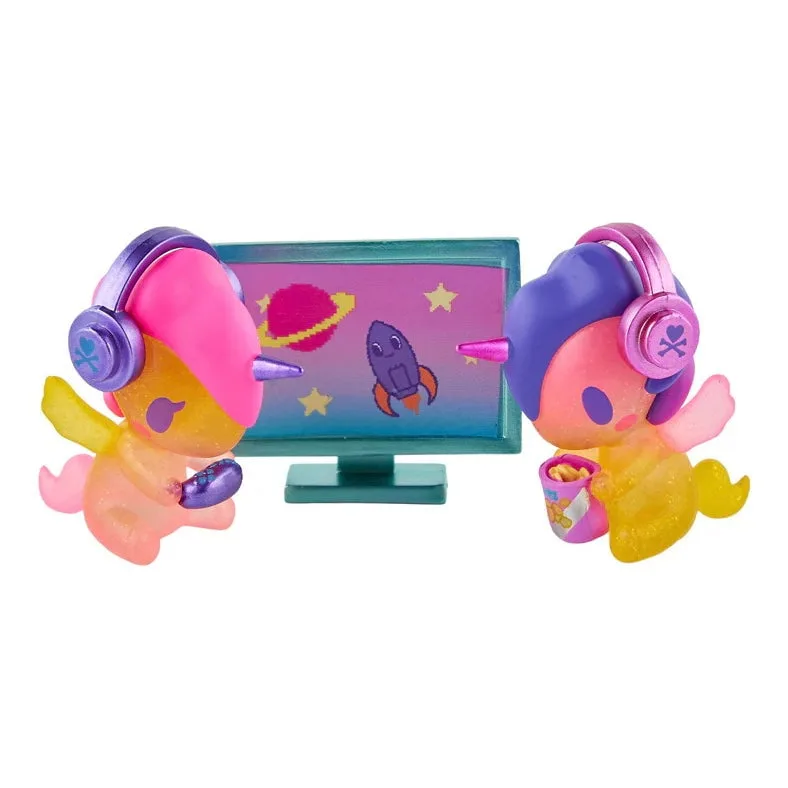
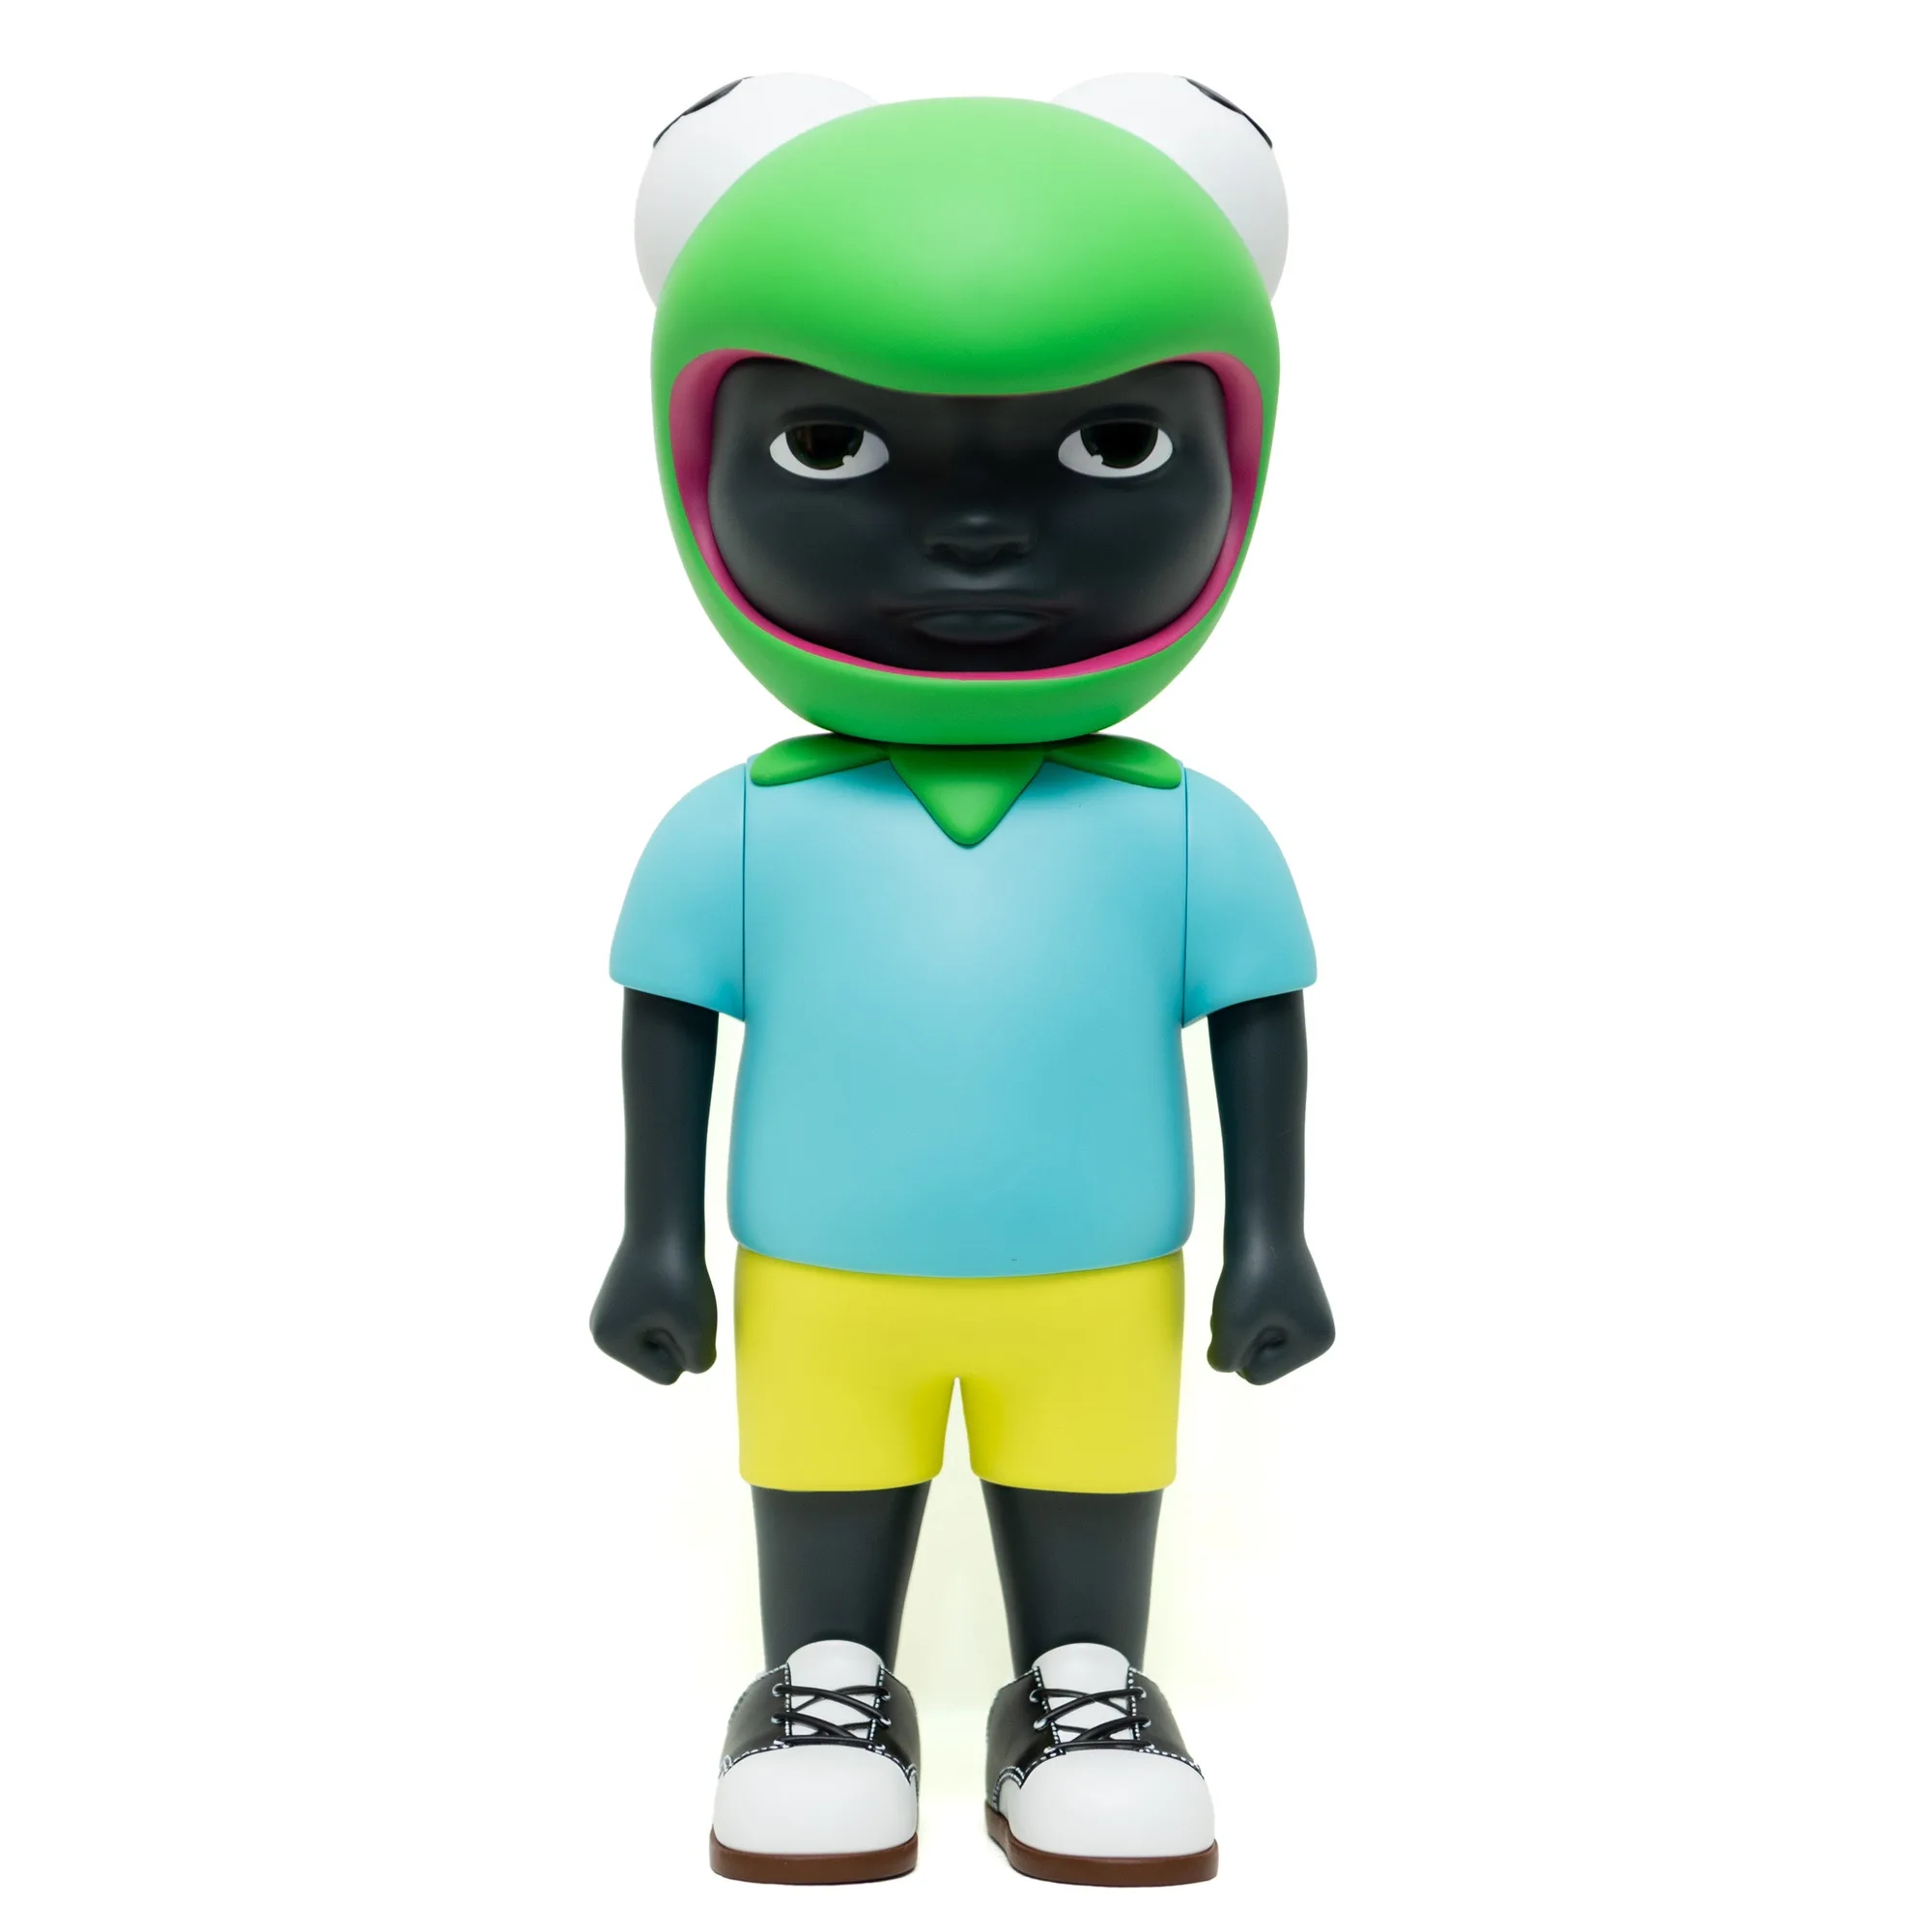
For a themed project, consider incorporating your favorite collectible characters. For example, you could create a paper version of a Unicorno from the Shaved Ice Dreams series. While the actual vinyl figures are collectible, a paper craft version can be a fun, personalized addition to your desk.
- Check the template's difficulty rating before printing.
- Ensure the template includes clear fold lines and tabs.
- Print on the backside of decorative paper for a unique look.
Step-by-Step Guide to Making DIY Paper Toys
- Prepare Your Workspace: Clear a flat surface and gather all materials: paper, scissors, glue, ruler, and template. Ensure good lighting and have a trash bin nearby. Checkpoint: A clean workspace prevents losing small pieces and reduces mistakes.
- Print and Cut Out Template: Print your chosen template on cardstock. Use scissors or a craft knife to carefully cut along the solid lines. For intricate parts, cut slowly and turn the paper as needed. Common mistake: Cutting inside the lines can make parts not fit. Always cut on the outside of the line.
- Score Fold Lines: Use a ruler and a bone folder (or the back of a butter knife) to score along the dashed fold lines. This creates a crisp, clean fold. Checkpoint: Scoring prevents paper from cracking and ensures folds are straight.
- Fold Along Scored Lines: Fold each scored line firmly. For mountain folds (fold away from you) and valley folds (fold toward you), follow the template's instructions. Common mistake: Folding in the wrong direction can misalign tabs. Double-check the fold type before creasing.
- Apply Glue and Assemble: Apply a thin layer of glue to the tabs. Attach parts one at a time, holding each until set. Use a toothpick for small areas to avoid excess glue. Checkpoint: Too much glue can warp the paper. Wipe off any excess immediately.
- Let Dry and Finish: Allow the assembled toy to dry completely before handling. Once dry, you can add details like eyes or patterns with markers. Final step: Patience is key. Rushing can cause parts to detach. Enjoy your finished paper toy!
Product Facts
- Shaved Ice Dreams Unicorno Blind Box: The Shaved Ice Dreams Unicorno Blind Box Series serves up a refreshing collection of Unicornos inspired by colorful shaved ice treats from around the world! Discover Honey Bear Ice, Snowy Cone, Kakigori Ice, Limone Slush, Matcha Ice, Strawberry Bingsu Ice, Halo Halo Ice, Rainbow Slush, and the chaser, Sunset Ice! If you love the Unicorno aesthetic, you can draw inspiration from these designs for your paper crafts. Create your own paper Unicorno with similar color schemes or shapes.
- Wild Magic Tarot Vol. 2 Blind Box: Wild Magic Tarot returns for Volume 2! Unlock the magic of the cards with a new cast of enchanted figures, each drawing from the rich symbolism of the Major Arcana. Expand your deck and watch your future take shape! Set includes 6 blind box figures with the chance of 1 chaser! Tarot-inspired paper crafts can be a unique creative paper art project. Use the mystical themes as a starting point for your own paper models.
DIY paper toys are a wonderful way to spark creativity and spend quality time. Whether you're crafting with kids or solo, the process is as enjoyable as the result. Start with simple designs, practice your folds, and soon you'll be creating impressive paper models. Happy crafting!