Quick answer
Make DIY press-on nails by sizing full-cover tips to each nail, painting them with gel polish on a stand or tape, curing fully, then applying with nail glue or adhesive tabs. For a custom set that looks salon-made, build color in thin layers and use a gel top coat for gloss and durability.
Making your own press-on nails gives you a custom set without a salon appointment, and gel polish is the best medium for it because it cures hard and glossy. You can paint a full set in about an hour, then reuse the tips if you remove them gently. This tutorial walks through sizing, painting, curing, and applying gel press-on nails so they stay put through daily wear.
The process is simple but a few details decide whether your set looks hand-painted or professionally finished. The biggest one: paint the tips before you apply them, not after. That way you can hold each nail steady, cure it fully, and avoid flooding your cuticles with gel.
What you need to make press-on nails with gel
You do not need a full salon kit, but you do need a few items that make the process clean and repeatable. Full-cover tips or reusable press-on blanks give you the shape; gel polish gives you the color; a UV or LED lamp cures it hard. A stand or a strip of tape holds the tips while you paint, so you can work with both hands free.
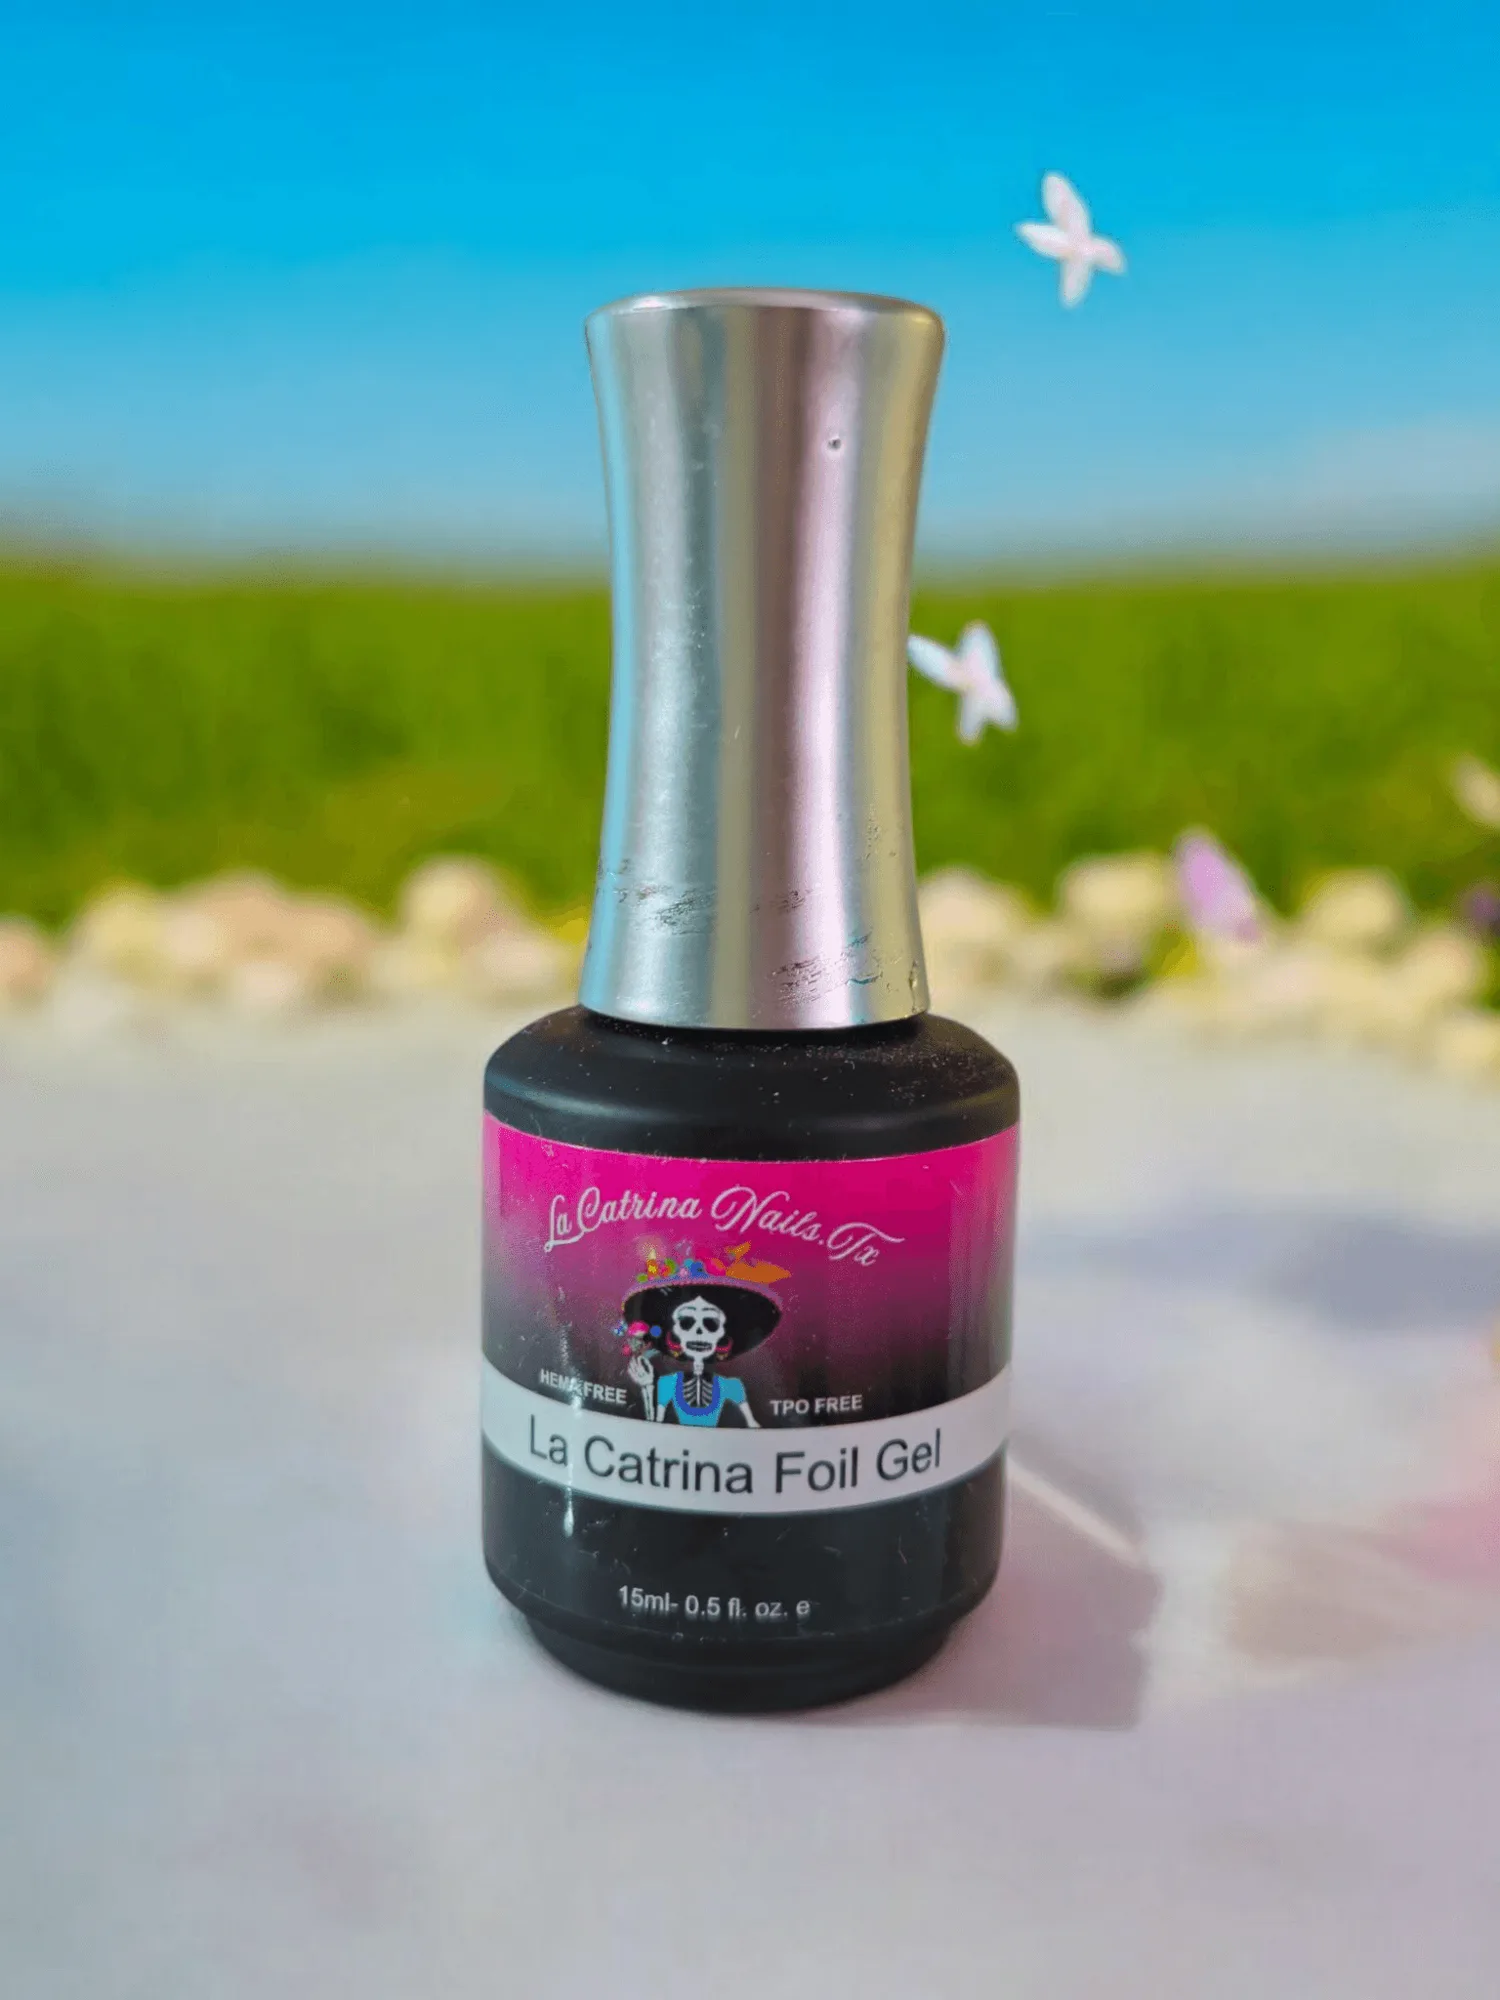
For color, standard gel polish works, and so do specialty gels. A jelly shade like Sandia ~ Watermelon builds translucent pink in thin layers, while a transfer gel like Fusión Transfer Gel creates a tacky layer for foil designs. If you want a shifting effect, a thermal cat eye polish adds movement that flat color cannot.
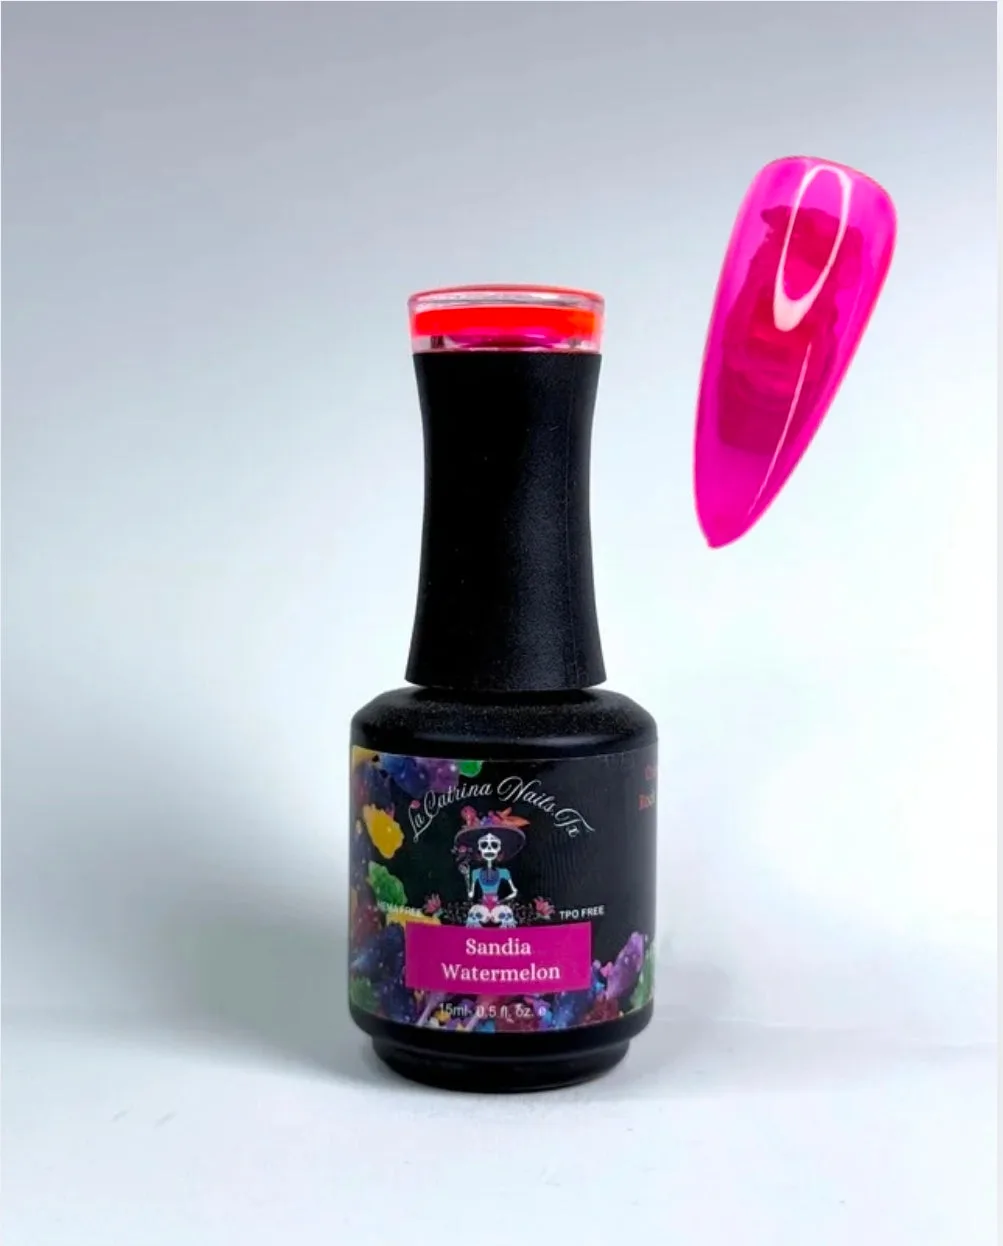
Sandia ~ Watermelon
- Full-cover tips in your sizes, or reusable press-on blanks
- Gel base coat, color, and a glossy top coat
- UV or LED lamp, plus a small brush for cleanup
- Nail glue or adhesive tabs for application
- A stand, foam block, or tape to hold tips while painting
How to size and prep the tips
Before you paint anything, match each tip to its finger. A tip that is too wide will press on your sidewalls and lift early; one that is too narrow will leave a gap and look fake. Hold the tip against your bare nail and check that the sidewalls sit flush without overhang. If you are between sizes, file the sides of the larger tip rather than sizing down.
Once sized, wipe the inside of each tip with alcohol to remove dust and oils. This step is easy to skip, but it is the difference between glue that grips and glue that slides. If you are reusing tips from a previous set, remove old glue first with a cuticle pusher or a soak in warm soapy water.
- Common mistake: painting before sizing, then discovering the tip does not fit
- Checkpoint: each tip should sit flush on the nail with no sidewall overhang
Paint and cure the gel on each tip
Place each tip on a stand or tape it down with the curve facing up. Apply a thin base coat, cure it, then build color in two or three thin layers rather than one thick one. Thin layers cure evenly and avoid the wrinkled or bubbly finish that comes from overloading gel. Cure each layer fully before adding the next.
If you are using a jelly or sheer shade, expect to build three or four layers for opacity. A thermal cat eye polish needs one extra step: after the color layer, use a magnet to pull the cat eye effect, then cure. Finish with a glossy top coat and cure again. Cap the free edge with top coat to protect the tip from chipping.
- Common mistake: thick color layers that cure unevenly or wrinkle
- Checkpoint: the surface should feel hard and smooth before you apply the tip
Apply the finished press-ons
Prep your natural nails by pushing back cuticles and lightly buffing the surface so adhesive can grip. Wipe with alcohol and let dry. If you want a temporary set, use adhesive tabs; for a longer wear, use nail glue. Apply a small amount of glue to the inside of the tip and a thin layer on your natural nail, then press from the cuticle edge down.
Hold each nail for 20 to 30 seconds with steady pressure. Work one nail at a time and avoid touching the tip after it sets. If glue squeezes out, wipe it immediately with a brush and alcohol before it cures hard. Once all ten are on, avoid water for at least an hour so the adhesive can fully set.
- Common mistake: pressing from the tip down, which traps air and causes lifting
- Checkpoint: no gaps or air bubbles visible at the cuticle line
Make them last and remove them safely
A well-made gel press-on set can last one to two weeks with careful wear. Keep your hands out of prolonged hot water for the first day, and wear gloves for dishes or cleaning. If a tip starts to lift, do not pull it; add a drop of glue at the edge and press it back down. Pulling off a tip can take layers of your natural nail with it.
To remove, soak your nails in warm soapy water or use a cuticle oil around the edges to loosen the adhesive. For glue-applied sets, a short soak in acetone works, but keep it brief because acetone can dry out your natural nails. Once removed, clean the tips and store them in a labeled bag or box so you can reuse the set.
- Common mistake: ripping tips off dry, which damages the natural nail
- Checkpoint: tips should slide off with gentle pressure after soaking
Press-on nail steps at a glance
- Size every tip first: Match each full-cover tip to its finger and file the sides if needed. Do not paint until all ten fit flush. Checkpoint: no sidewall overhang or gaps.
- Mount tips for painting: Place tips on a stand or tape them down so both hands are free and the curve faces up. A stable tip prevents smudges while you work.
- Apply base coat and cure: Brush a thin base coat, cure fully, then move to color. Thin layers cure more evenly than thick ones. Common mistake: skipping base coat, which shortens wear.
- Build color in thin layers: Paint two or three thin coats, curing each one. For jelly shades, build until you reach your desired opacity. Checkpoint: surface feels hard and smooth before top coat.
- Add effects and top coat: Use a magnet for cat eye, or a transfer gel for foil. Finish with a glossy top coat and cap the free edge. Capping the edge helps prevent chipping.
- Apply with glue or tabs: Prep natural nails, then press each tip from cuticle edge down and hold for 20 to 30 seconds. Common mistake: pressing from the tip down, which traps air.
- Remove gently and reuse: Soak in warm soapy water or use cuticle oil to loosen, then clean and store tips for another set. Never pull tips off dry.
Gel polish picks for press-on sets
- Sandia ~ Watermelon: A vibrant watermelon-pink jelly gel polish with a sheer, buildable formula that looks glassy in one layer and boldly candied when built up. Jelly shades are ideal for press-ons because you can control opacity layer by layer, so a thin set looks juicy and a built-up set looks saturated.
- Fusión Transfer Gel~ HEMA-Free and TPO Free Gel polish: A specialized gel that provides a tacky layer for clean, full-coverage foil transfers with minimal patchiness. If you want metallic or foil accents on your press-ons, this gel gives the foil something to grip so the design does not flake off the tip.
- Hot Girl Summer Chapter II~ Delulu Energy ~HEMA-Free and TPO Free Gel polish: A thermal cat eye gel polish that shifts with temperature and catches light with a magnetic cat eye effect. Thermal cat eye adds a two-look effect to a press-on set, so your nails change appearance with warmth and cold without extra art.
Making gel press-on nails at home comes down to sizing carefully, curing thin layers, and applying with steady pressure. Once you have the process down, you can paint a custom set in an evening and reuse the tips for weeks. Start with one solid color to practice, then add thermal or foil effects when you are ready.