Quick answer
Dig in thin layers, keep the chisel nearly parallel to the egg, and stop as soon as you see a color that is not plaster. Scratches usually come from pushing the tool straight down or chipping at the shell instead of brushing dust away. If the plaster is still hard after a minute of steady work, switch to the wet method below rather than forcing the tool.
Why dragons get scratched during excavation
Plaster is softer than the plastic dragon inside, so the tool keeps cutting after it breaks through the shell. Most damage happens in the last few millimeters, when the chisel is still moving fast and the user has not yet seen the figurine. The fix is not a gentler tool alone; it is a change in how much material you remove per stroke and how quickly you check the surface.
Blind-packed eggs make this harder because you cannot see where the dragon sits. Treat every egg as if the figurine is one millimeter under the next layer, and you will naturally slow down before contact.
A three-stage digging method that protects the figurine
Stage one removes the outer crust. Hold the chisel at a shallow angle and tap with short, light strokes, rotating the egg a quarter turn every few taps. Stop and brush the dust away before it hides the surface color.
Stage two is the reveal layer. Once you see a non-plaster color, switch to scraping rather than chipping. Drag the edge sideways across the plaster instead of pushing into it, and clear dust after every two or three passes.
Stage three is extraction. When the dragon is mostly exposed, do not pull it out. Keep scraping the remaining plaster until the figurine lifts free on its own or with a light nudge. Pulling early is the most common cause of a snapped tail or wing.
The wet method for stubborn plaster
If the plaster resists light taps, add a few drops of water to the digging area and wait thirty seconds. Wet plaster softens and cuts with far less force, which lowers the chance of a deep scratch. Work in small patches so you can still see the dragon's color as soon as it appears.
Do not soak the whole egg. A wet egg becomes slippery and harder to control, and the dust turns into a paste that hides the figurine. A teaspoon of water at a time is enough.
Diagnosis: match the symptom to the fix
- Symptom: the chisel suddenly drops through the shell: Cause: you are pushing straight down instead of scraping sideways. Corrective action: rotate the chisel so it is almost flat against the egg and use short sideways strokes. If the tool still drops through after two eggs, switch to the wet method for the rest of the set.
- Symptom: white dust hides the dragon's color: Cause: you are not clearing debris often enough. Corrective action: brush or blow the dust away after every few strokes so you can see the surface change. Stop and clear dust the moment you cannot tell plaster from figurine.
- Symptom: the plaster will not break with light taps: Cause: the egg has dried harder than expected. Corrective action: add a few drops of water, wait thirty seconds, then scrape instead of chip. If water and scraping still do not work, set that egg aside and try another rather than forcing the tool.
What is in the I Dig It! Dragons set
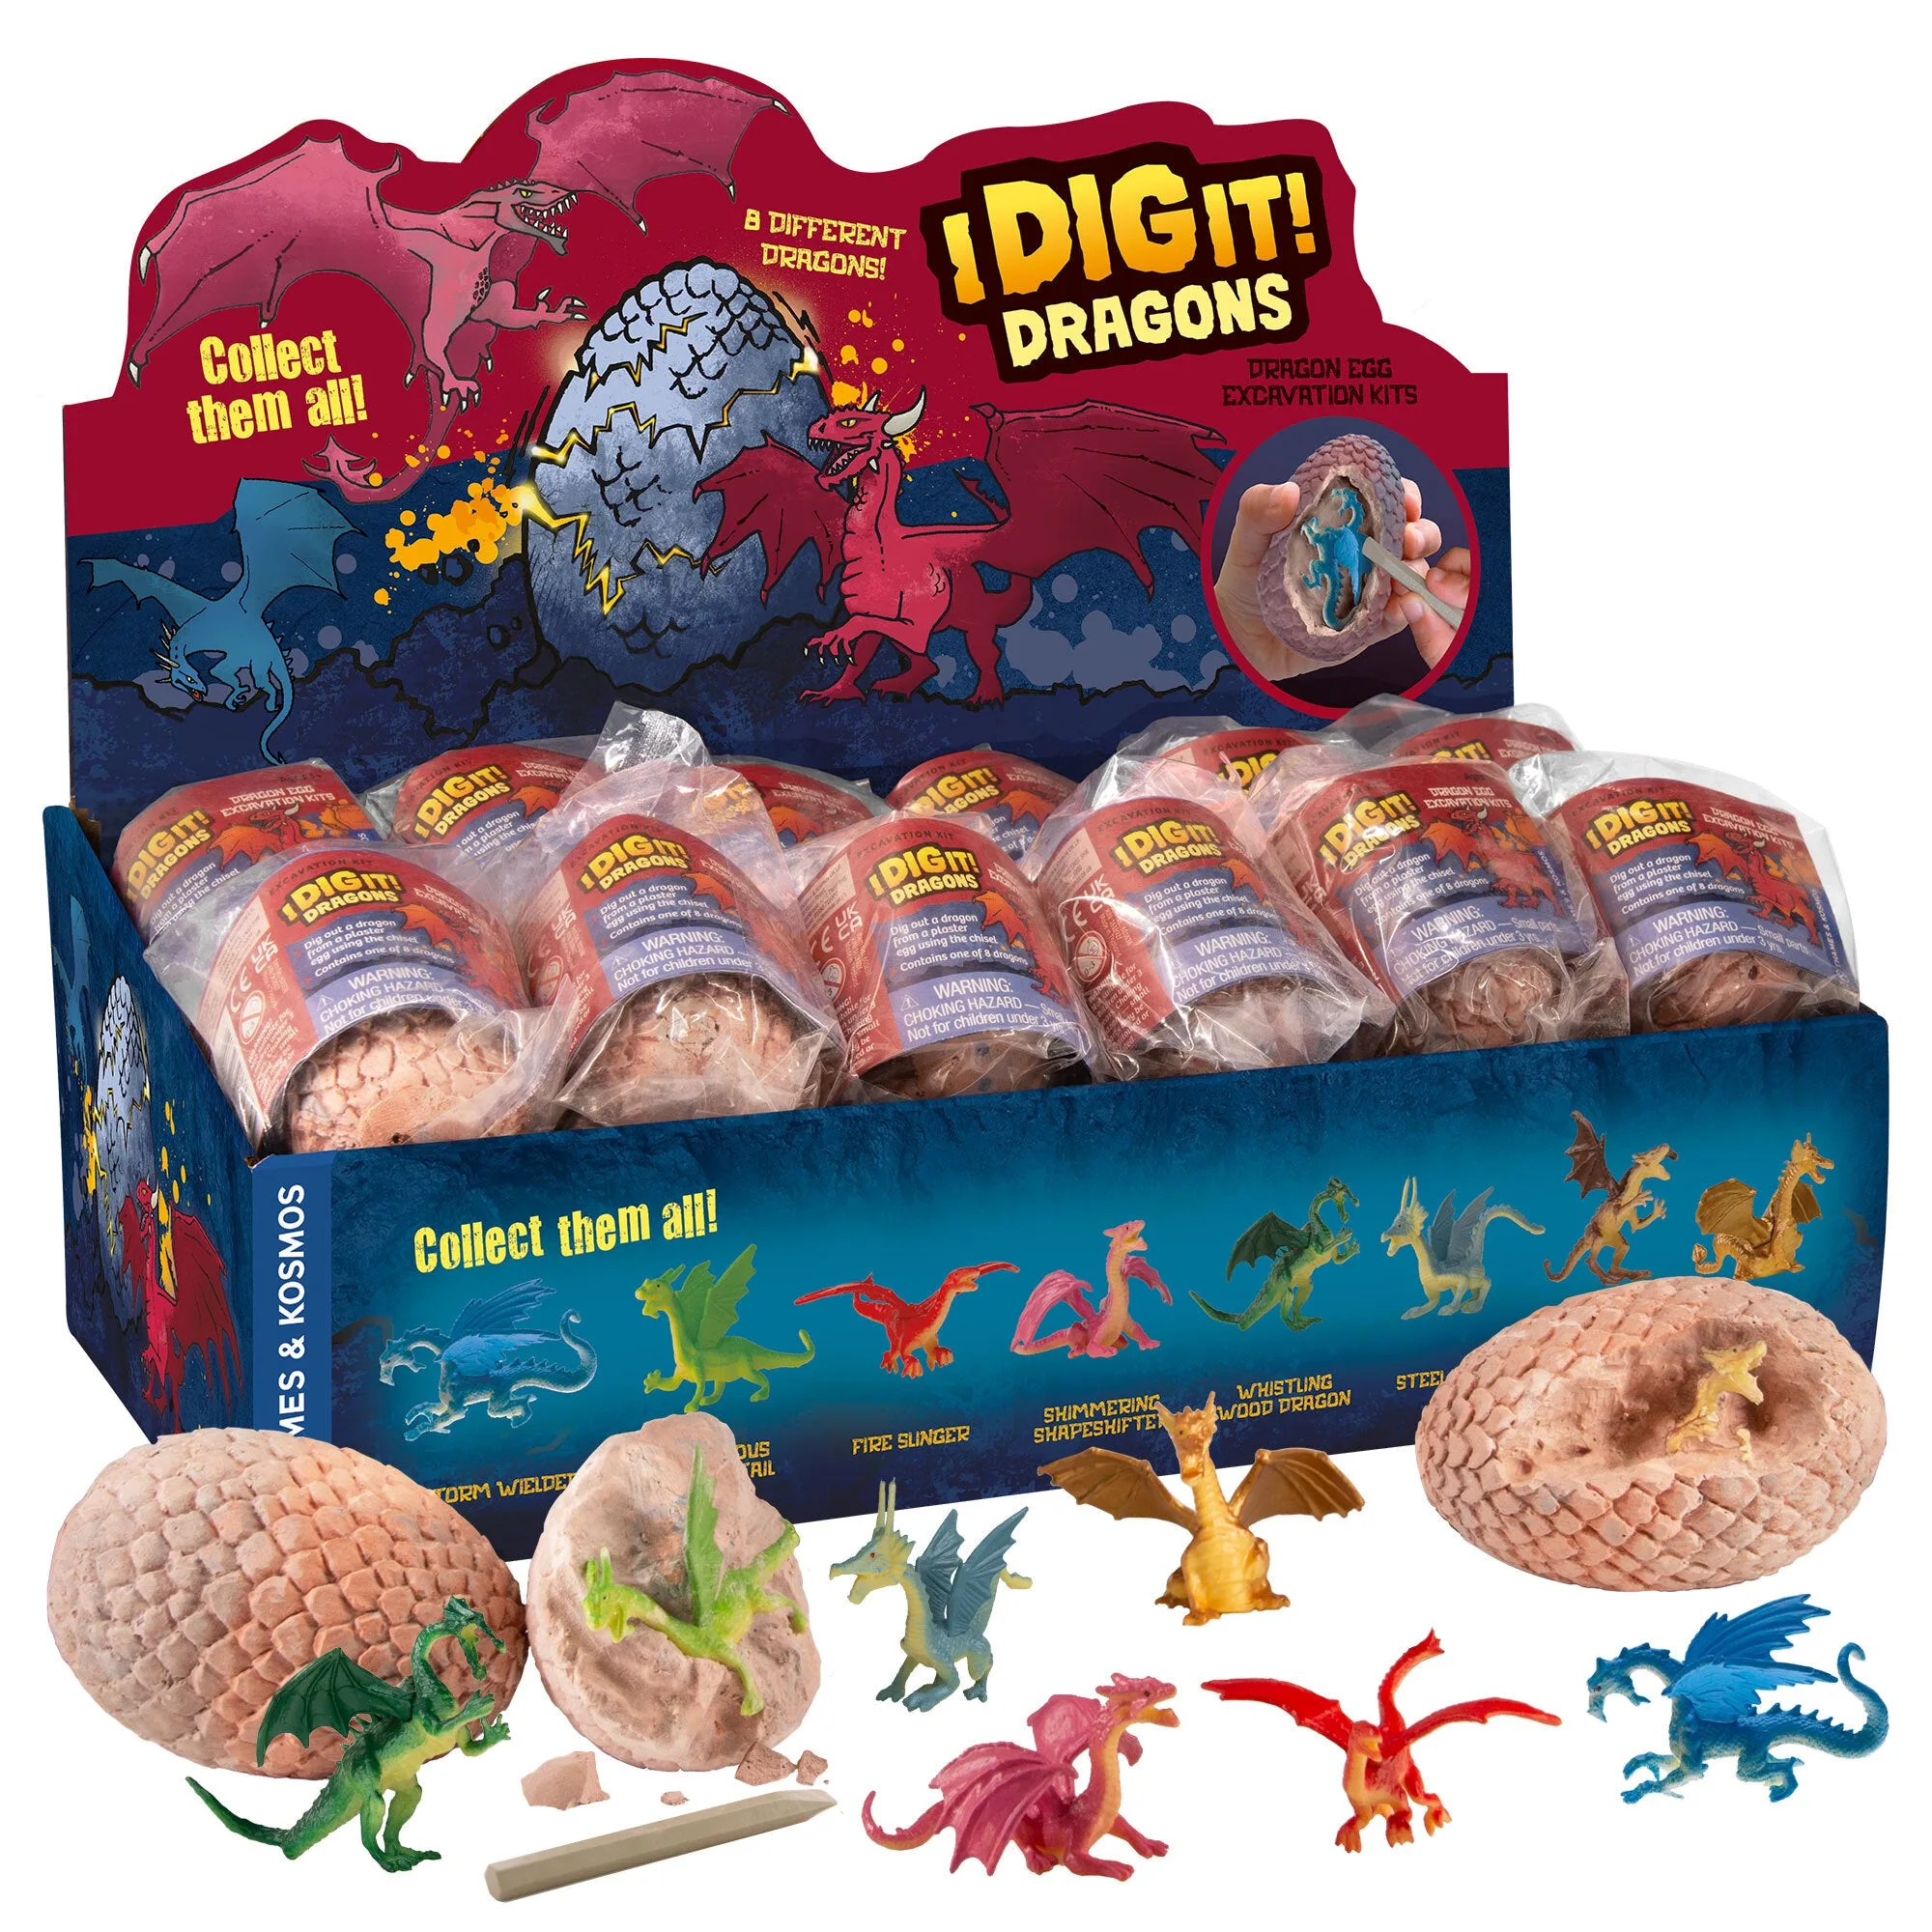
- I Dig It! Dragons - Dragon Egg 24-Piece Gift Set: The gift set includes 24 individually wrapped plaster eggs, each holding one plastic dragon figurine, with a small chisel tool for release. Having 24 eggs means you can practice the shallow-angle technique on the first few and still have plenty left to collect all eight dragon designs.
- I Dig It! Dragons - Dragon Egg 24-Piece Gift Set: The eggs are blind-packed, so which of the eight dragons you get is a surprise. Because you cannot predict where the figurine sits, the stop-and-check habit matters more than any single tool choice.