Quick answer
Toss three to six wool dryer balls into the dryer with a normal-size load, keep the load loosely packed, and let them tumble for the full cycle. Use a drying mat for hand-washed or air-dry items that need to lie flat, and wash the mat on its own when it starts to smell or feel stiff.
Laundry is one of those chores where small changes add up fast. Switching to dryer balls, adding a drying mat, and rethinking dryer sheets can cut waste, protect fabrics, and make the whole routine easier to repeat.
This guide walks through the exact steps for both tools, the mistakes that cause most problems, and the honest tradeoffs so you can decide what belongs in your laundry room.
How to use dryer balls step by step
Wool dryer balls work by bouncing between fabrics, which helps separate layers so hot air circulates and moisture escapes faster. Start with three balls for a small load, four to six for a large one, and add more if your dryer is packed. Keep the load loosely filled rather than crammed, because balls cannot do their job in a tight drum.
Run the normal cycle and check the load when it finishes. If items still feel damp, add one or two more balls and run a shorter timed cycle instead of restarting the full program. Wool balls are quiet compared with plastic versions, but they can pick up lint and pet hair over time, so inspect them every few loads.
- Checkpoint: if the load is still damp after a full cycle, reduce load size before adding more balls.
- Common mistake: overloading the dryer so the balls sit on top of the laundry instead of tumbling through it.
How to use a drying mat without mildewing it
A drying mat gives hand-washed sweaters, delicates, and small items a flat, absorbent surface that protects their shape. Lay the mat on a counter or rack, spread items in a single layer with a little space between them, and flip thicker pieces halfway through drying so both sides get air. If the mat sits directly on a solid surface, lift one edge so air can move underneath.
The most common mistake is putting the mat away damp. Let it dry completely before folding or stacking, and wash it according to its care label when it starts to hold odors or feels stiff. A clean, dry mat dries the next load faster and keeps your laundry area smelling fresh.
- Checkpoint: press the mat with your hand before storing it; if it feels cool or damp, give it more air time.
- Common mistake: leaving wet items on the mat for days, which traps moisture and encourages mildew.
Dryer ball vs dryer sheets: what actually changes
Dryer balls are reusable and add no coating to fabrics, so towels stay absorbent and workout clothes keep their wicking ability. Dryer sheets leave a thin film that softens fabric and reduces static, but that same film can build up on towels, microfiber, and technical garments over time. If you like the scent and feel of sheets, use them sparingly and save them for items where softness matters more than absorbency.
For static in dry winter months, a slightly damp washcloth tossed in with the load can help, and separating synthetics from natural fibers reduces cling. Neither tool replaces good sorting, and neither fixes an overloaded dryer.
- Checkpoint: if towels stop absorbing water, pause dryer sheets and run a few loads with balls only.
- Common mistake: using both sheets and balls every load when one would do the job.
A repeatable laundry drying routine
Sort by fabric weight, not just color, so heavy cottons and light synthetics finish at the same time. Shake each item before it goes in the dryer to loosen wrinkles, add the right number of balls, and set a timer to check the load before the cycle ends. Move items to a drying mat or hanger as soon as they are done to prevent creasing.
Keep a small basket near the dryer for stray balls and a folded drying mat so both are ready to use. Once a month, wipe the dryer drum and check the lint filter, because airflow is the real engine behind every drying tip on this list.
- Checkpoint: if one load takes two full cycles, the dryer is overloaded or the vent needs attention.
- Common mistake: treating drying as a set-and-forget step instead of checking partway through.
Your five-step drying routine
- Sort by fabric weight: Group heavy cottons together and light synthetics together so everything finishes at roughly the same time. Checkpoint: if you can see mixed weights in one load, split it before starting.
- Add the right number of dryer balls: Use three balls for a small load and four to six for a large one, keeping the drum loosely filled. Common mistake: cramming the dryer so the balls cannot tumble.
- Choose balls or sheets, not both: Skip dryer sheets on towels and technical fabrics, and save them for items where softness matters most. Checkpoint: towels should still absorb water after drying.
- Lay hand-wash items on a drying mat: Spread items in a single layer, flip thicker pieces halfway, and leave space for air to move underneath. Common mistake: stacking damp items, which slows drying and traps odors.
- Dry the mat before storing it: Press the mat with your hand and give it more air time if it feels cool or damp. Next step: wash the mat when it smells or stiffens, then air-dry it fully.
Mary Engelbreit picks that fit this routine
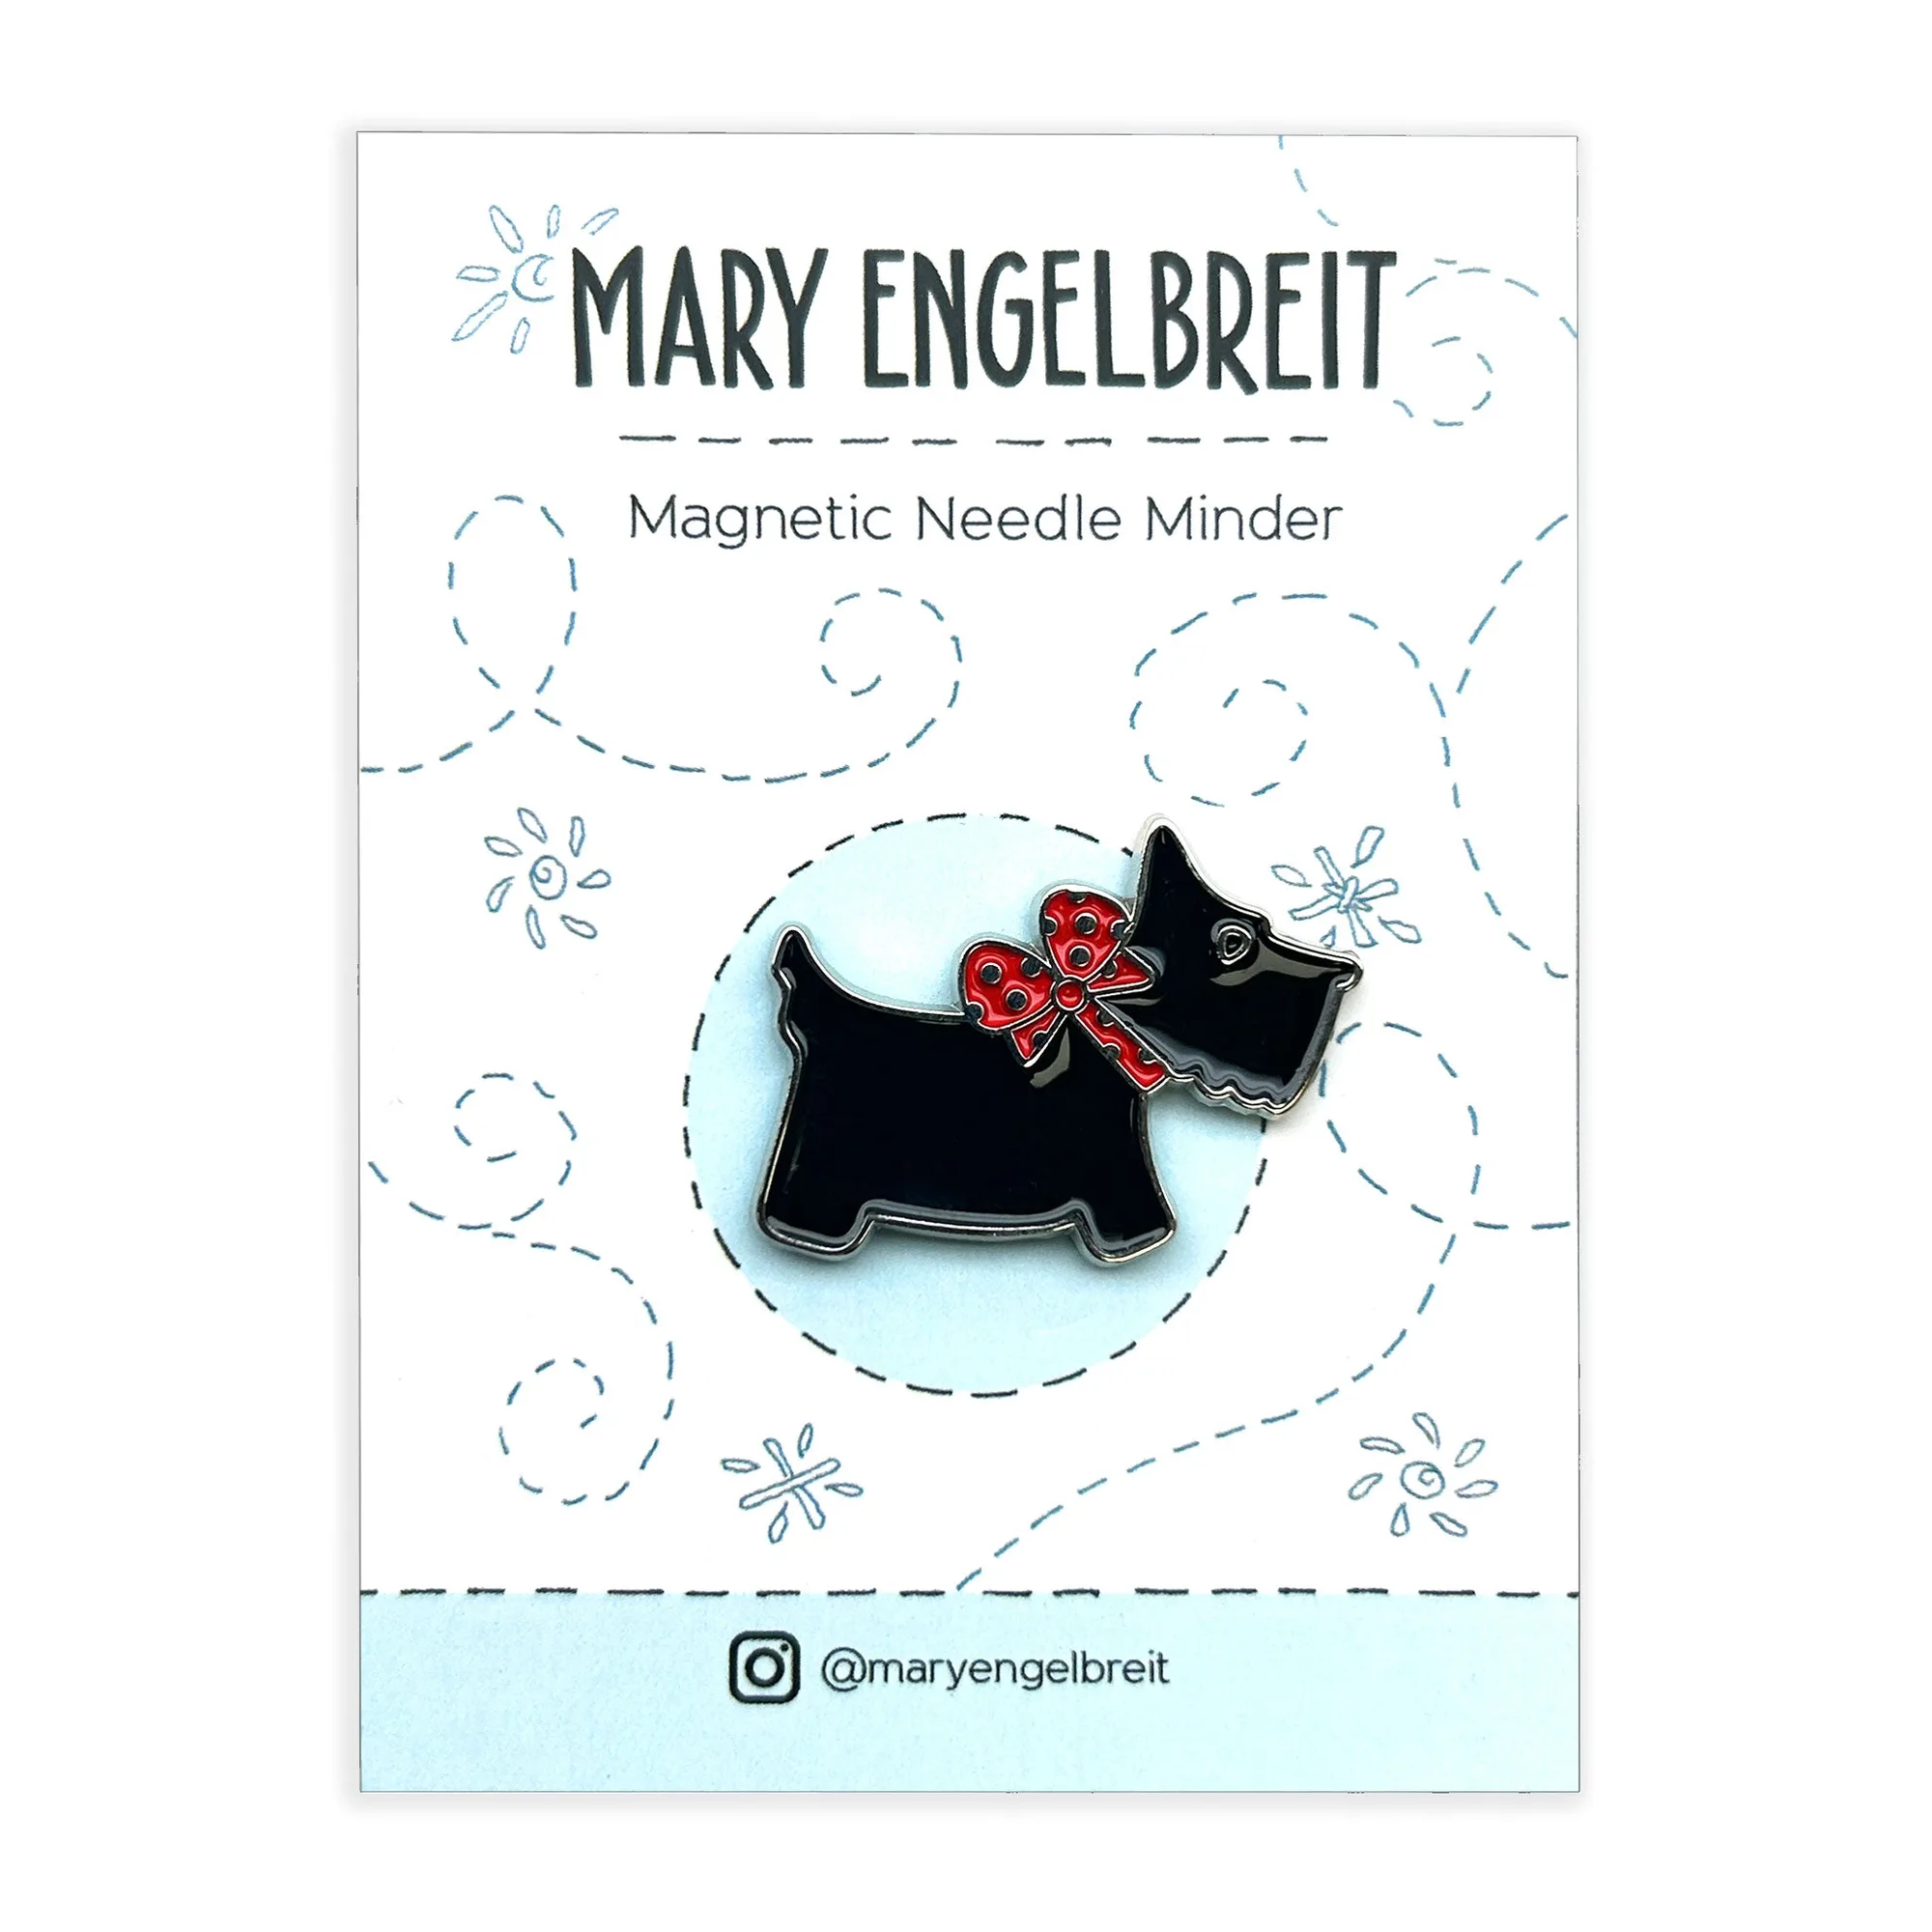
- Scottie Needle Minder: A charming needle minder with a fun, colorful design that attaches to fabric to keep needles exactly where you need them. If you mend or hand-finish laundry items, a needle minder keeps sharp needles off the floor and out of the dryer drum.
- Cottage with Flower Bag Charm: Measures 2" x 2.5" x .25", fully extended 5", and is made of acrylic. Clip it to a laundry tote or hamper so you can spot your bag at a glance and carry supplies in one trip.
Dryer balls and drying mats are simple tools, but the results depend on load size, airflow, and a little patience. Pick the method that matches each fabric, check your load partway through, and keep both tools clean and dry so every laundry day runs a little smoother.