Quick answer
Layer flakie polish over a fully dry, glossy base coat, then build two or three thin coats instead of one thick one. Flakes lie flat and catch light best when each coat is thin, and a smooth top coat seals the texture so the color shift stays visible. If the surface looks gritty or cloudy, the layers are too thick or the base wasn't dry.
Flakie polish is made of irregular flat particles suspended in a base, and those particles only look their best when they sit flat against the nail. That is a layering problem more than a polish problem: the order and thickness of your coats decide whether you get a smooth, shifting surface or a lumpy, dull one.
The process below is the order that works for most flakie formulas. It also covers the checkpoints that tell you when to stop adding coats, plus how flakie behaves differently from shimmer and glitter so you can adjust without guessing.
Why flakie layering is different from glitter or shimmer
Glitter is usually uniform and round, so it reflects light from many angles no matter how it sits. Shimmer is fine pigment that blends into the base. Flakie particles are flat and irregular, which means their color shift depends on the angle of the flake itself. If a flake is tilted or buried under a thick layer, the shift dims.
That is why flakie rewards thin, repeated coats and a smooth base underneath. A ridge-free base coat gives the flakes a flat surface to settle onto, and a glossy top coat acts like a lens that lets the shift read clearly. Thick coats trap air and tilt flakes, which is the most common reason a flakie manicure looks muddy instead of dimensional.
- Thin coats are not a suggestion with flakie; they are the mechanism that makes the shift visible.
- If you are comparing finishes, flakie sits between shimmer and glitter in texture and light behavior.
What you need before you start
You need a base coat, your flakie polish, and a glossy top coat. A smoothing or ridge-filling base coat helps if your nails have any texture, because flakie will highlight ridges rather than hide them. You do not need a special tool, but a cleanup brush and a little polish remover make the edges much cleaner.
One practical note on formulas: flakie polishes vary in particle density. A dense flakie may reach full coverage in two coats, while a sparser one needs three. Start with two and evaluate in daylight before adding a third, since indoor lighting hides how much the flakes are actually shifting.
- Check your flakie in daylight between coats; indoor light flattens the color shift.
- Keep coats thin enough that you can still see the nail edge through the wet polish.
How to tell when a flakie coat is thin enough
A thin flakie coat looks slightly streaky and uneven when wet. That is normal. If the polish looks opaque and perfectly smooth while wet, it is too thick and will likely dry with trapped texture. Wipe the brush almost dry against the neck of the bottle and drag it down the center, then side to side, rather than flooding the nail.
The checkpoint is simple: if you can see individual flakes sitting on the surface rather than suspended in a pool of base, your coat is in the right range. Repeat that thin layer rather than trying to reach full coverage in one pass.
- Wipe the brush nearly dry before each coat; flakie builds faster than it looks.
- Let each coat dry to the touch before adding the next one.
Fixing common flakie layering problems
If the finish looks gritty, the flakes are poking through the top coat. Add one more thin layer of top coat rather than more flakie. If the color shift looks dull or grey, the base coat was not fully dry or the layers are too thick, so the flakes are tilted. Let the manicure dry completely and start the flakie layers again with thinner coats.
If the polish pulls and drags as you apply it, the layer underneath is still wet. Flakie needs more drying time between coats than a plain creme because the particles sit on top of the base rather than soaking in. Give it an extra minute and the drag disappears.
- Gritty surface: add top coat, not more flakie.
- Dull shift: thinner coats and a fully dry base coat.
- Dragging: wait longer between coats.
Flakie layering steps
- Step 1: Prep and base coat: Clean the nail, then apply one thin coat of a smoothing or ridge-filling base coat. Let it dry completely. Checkpoint: the surface should feel dry to the touch, not tacky. A wet base coat is the top cause of tilted flakes.
- Step 2: First flakie coat, very thin: Wipe the brush nearly dry and drag one thin layer of flakie polish from cuticle to tip. Do not try to cover the nail in one pass. Checkpoint: streaks are fine. If the coat looks opaque and smooth while wet, it is too thick.
- Step 3: Second flakie coat after drying: Wait until the first coat is dry to the touch, then repeat with another thin coat. Evaluate the density in daylight before deciding on a third. Common mistake: adding a third coat out of habit. Dense flakies often reach full effect in two.
- Step 4: Optional third coat for sparse flakies: If the flake density still looks thin in daylight, add one more thin coat rather than a thick one. Checkpoint: stop when the flakes look evenly distributed, not when the nail is fully opaque.
- Step 5: Glossy top coat and seal the tips: Apply one thin layer of glossy top coat, then a second if the surface still feels gritty. Wrap the tip of each nail to seal the flakes. Common mistake: skipping the second top coat. Flakie texture needs the extra layer to look smooth.
Products that work well with flakie layering
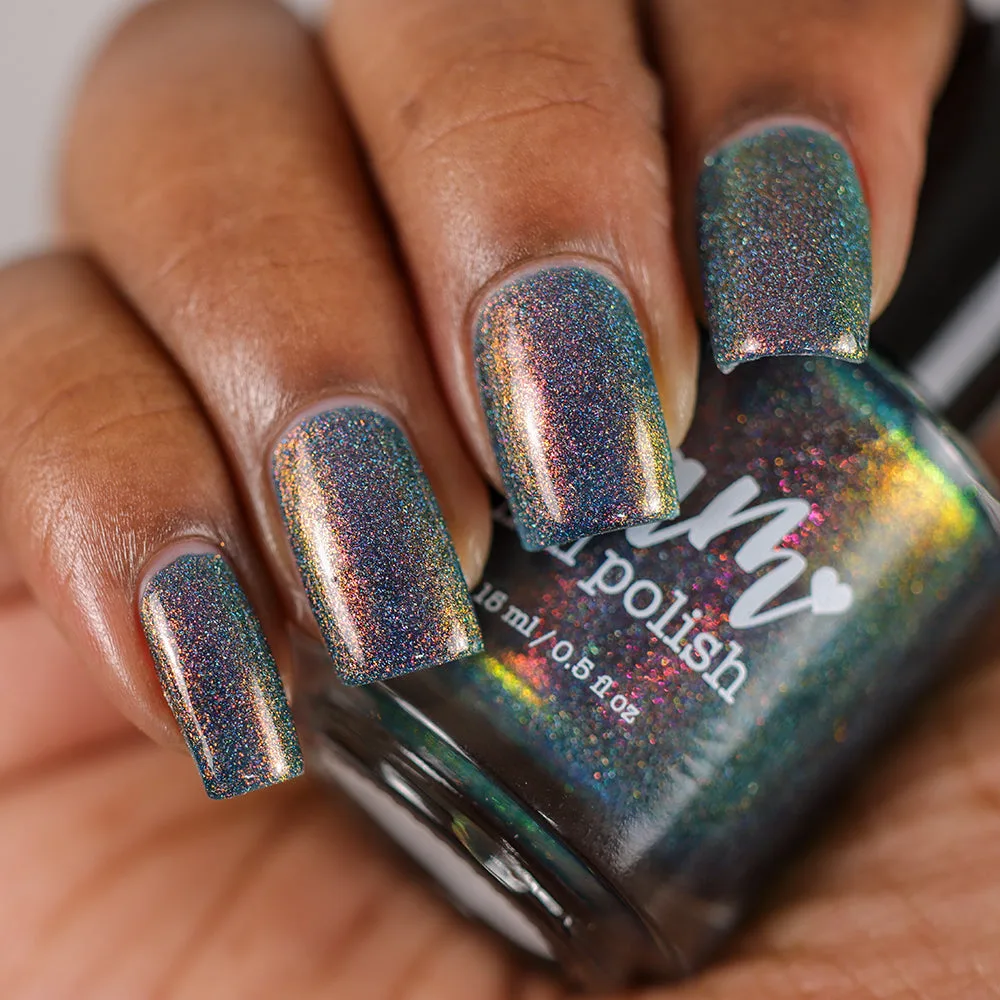
- Brit - Blue Shimmer Polish - Survivor Series: Deep blue based polish with shimmer that shifts pink, gold, and green, plus a touch of holographic flakes. Recommended two to three coats. The holo flakes in this polish behave like flakie particles, so the same thin-coat layering rules apply. It also shows how a shifting base and flake texture can be built in one bottle rather than layered separately.
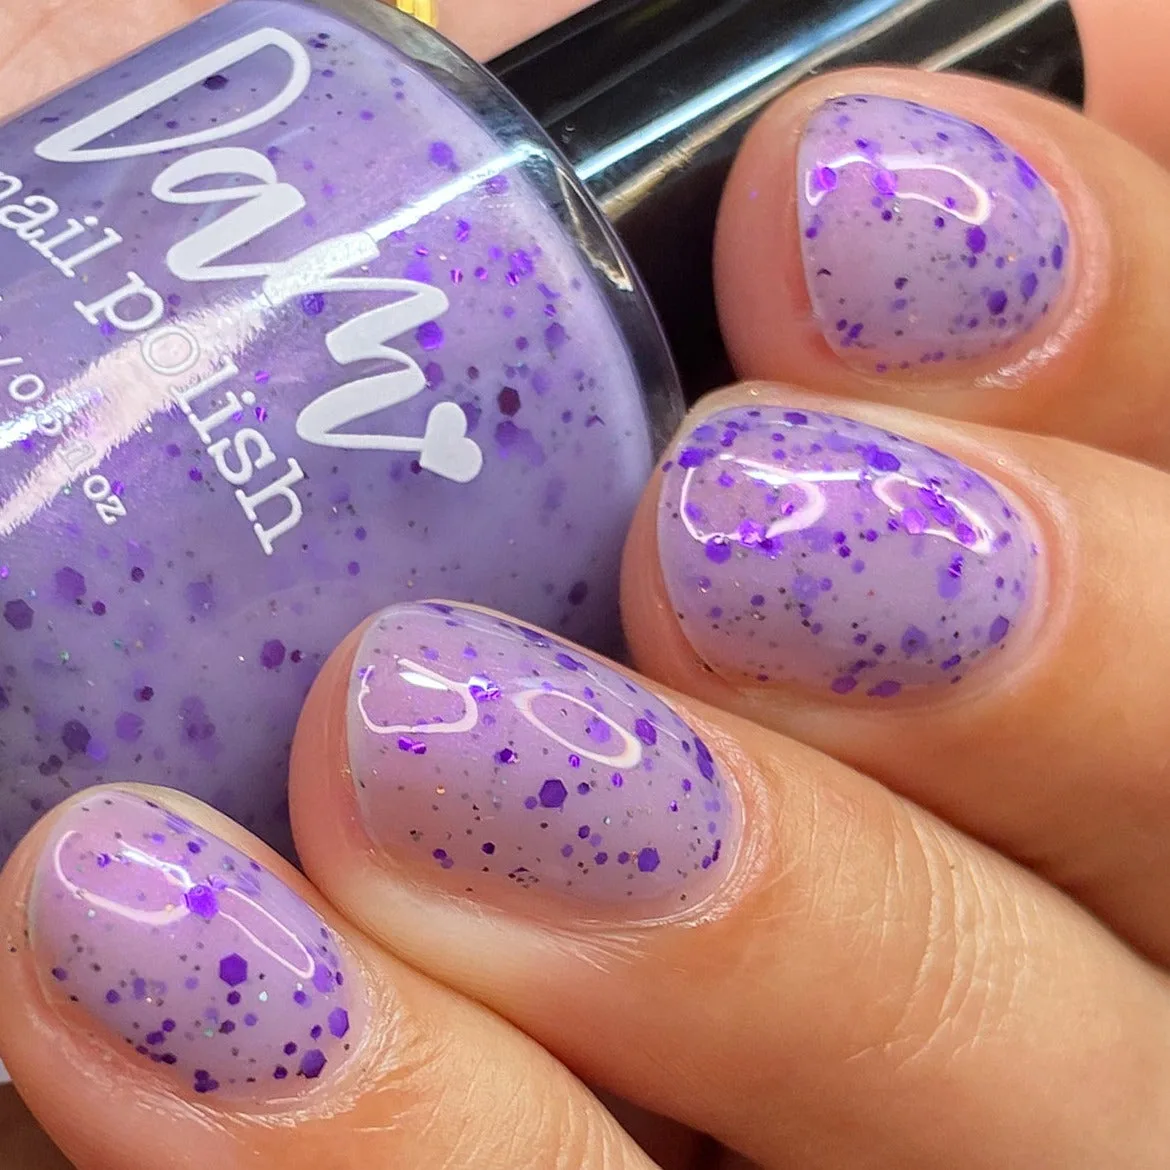
- Taro Tea Wannabe - Light Purple Crelly - Glitter Nail Polish - Shimmer Nail Polish - Sweet Sips Collection: Sheer light purple crelly with purple and pink shifting shimmer, assorted metallic purple glitters, and a dusting of holographic glitters. Recommended two to three coats. A sheer crelly like this is a useful base layer under flakie because it evens out the nail without hiding the flakes you add on top. Two to three coats gives you the density the brand recommends.
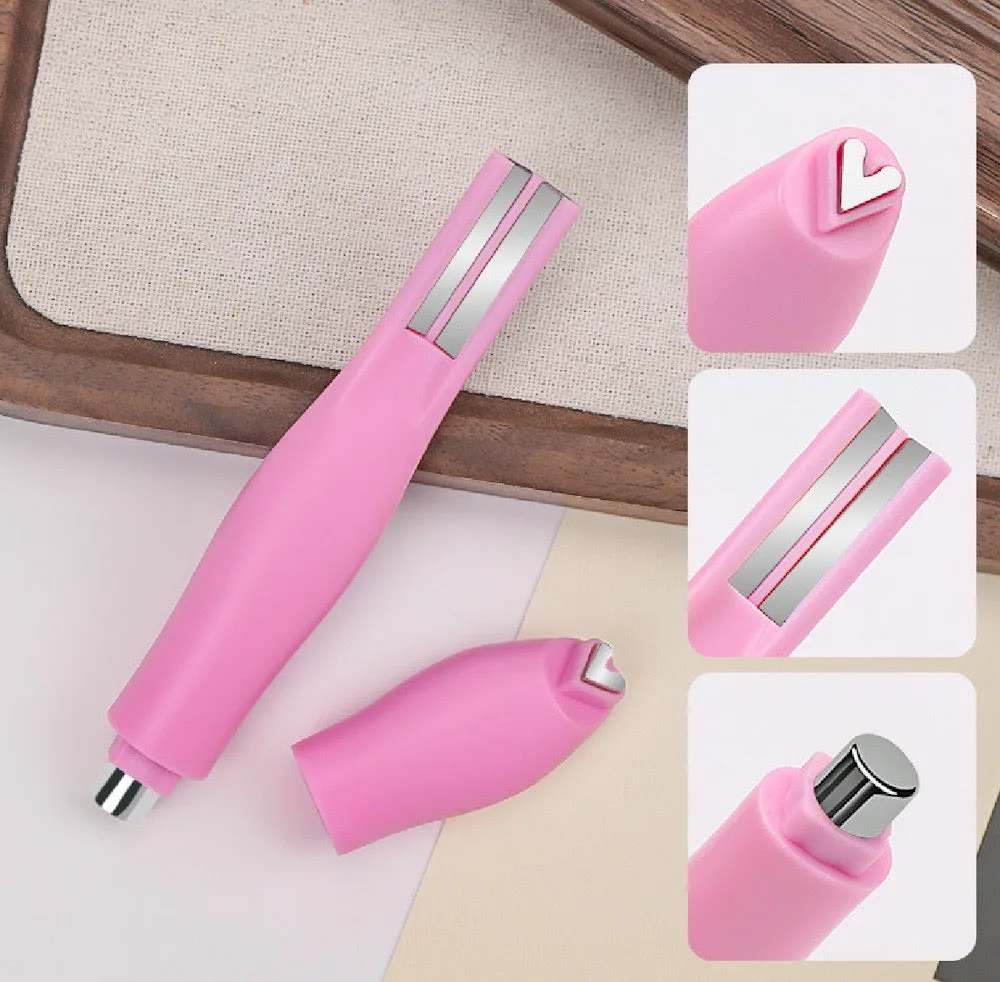
- Heart Nail Art Magnet Tool: Pink, green, or blue magnetic tool that creates heart, cat eye, and stripes patterns using neodymium magnets. Size 5 inch by 1 inch. If you layer flakie over magnetic polish, this tool lets you pull a pattern first, then seal it. Add flakie only after the magnetic design is fully dry so the pattern does not smear.
Flakie layering comes down to three habits: a fully dry base, thin repeated coats, and enough top coat to smooth the surface. Get those right and the color shift does the rest of the work.