Quick answer
Frame a panoramic landscape print using a custom frame with a wide mat, UV-protective glass, and secure hanging hardware to preserve the artwork's scale and longevity.
Why panoramic prints need special framing
Standard frame sizes rarely match the long, narrow proportions of a panoramic image. Off-the-shelf frames often crop the scene or leave awkward gaps. A custom frame or a wide mat with a standard frame can solve this, but the mat must be deep enough to prevent the print from touching the glass.
The weight of a large landscape print also matters. A wide frame with heavy glass can stress standard hanging hardware. Use two wall anchors rated for the total weight, not just one centered hook.
Glass or acrylic: what works best for wide art
Acrylic glazing is lighter than glass and less likely to break during handling or hanging. For prints wider than 36 inches, acrylic reduces the risk of cracked corners. The trade-off is that acrylic scratches more easily, so you need a microfiber cloth and anti-static cleaner.
If you choose glass, opt for non-glare or UV-protective glass. Non-glare glass minimizes reflections on a long horizontal surface, especially when the print is hung opposite a window. UV protection is essential for any fine art print to slow fading.
Step-by-step framing process
- Measure the print and order a custom frame: Measure the exact dimensions of the panoramic print, including any white border. Order a frame that is at least 2 inches larger on each side to allow for matting. A common mistake is ordering a frame that matches the print size exactly, leaving no room for matting and causing the print to buckle. Add 4 inches to the width and 4 inches to the height for mat allowance.
- Choose a mat with a deep bevel: Select a mat board with a 4-ply or 8-ply thickness. The deeper bevel prevents the print from touching the glass, which can cause moisture trapping and ink transfer. For panoramic prints, a wider mat on the sides than on the top and bottom can balance the elongated shape. An 8-ply mat is safer for large prints because it creates more air gap.
- Install UV-protective glazing: Place the glazing (glass or acrylic) into the frame before the mat and print. Use a clean, lint-free cloth to wipe both sides. A common mistake is installing the glazing after the print, which can trap dust between the print and glass. Clean the glazing in a well-lit area to spot dust before sealing the frame.
- Mount the print using acid-free tape or corners: Use acid-free archival tape or photo corners to attach the print to the back of the mat. Do not glue the print directly to the backing board because future removal will damage the paper. For limited edition prints, photo corners allow you to remove the print without devaluing it. Never use regular adhesive tape—it will yellow and stain the paper over time.
- Secure the backing and add hanging hardware: Insert the backing board and secure it with framer's points or clips. Attach two D-rings or sawtooth hangers, one on each side of the frame, spaced about one-third of the frame width from the edges. A single centered hanger can cause a wide frame to tilt or sag. Use two wall anchors rated for the total weight of the framed piece.
Product reference for this guide
-
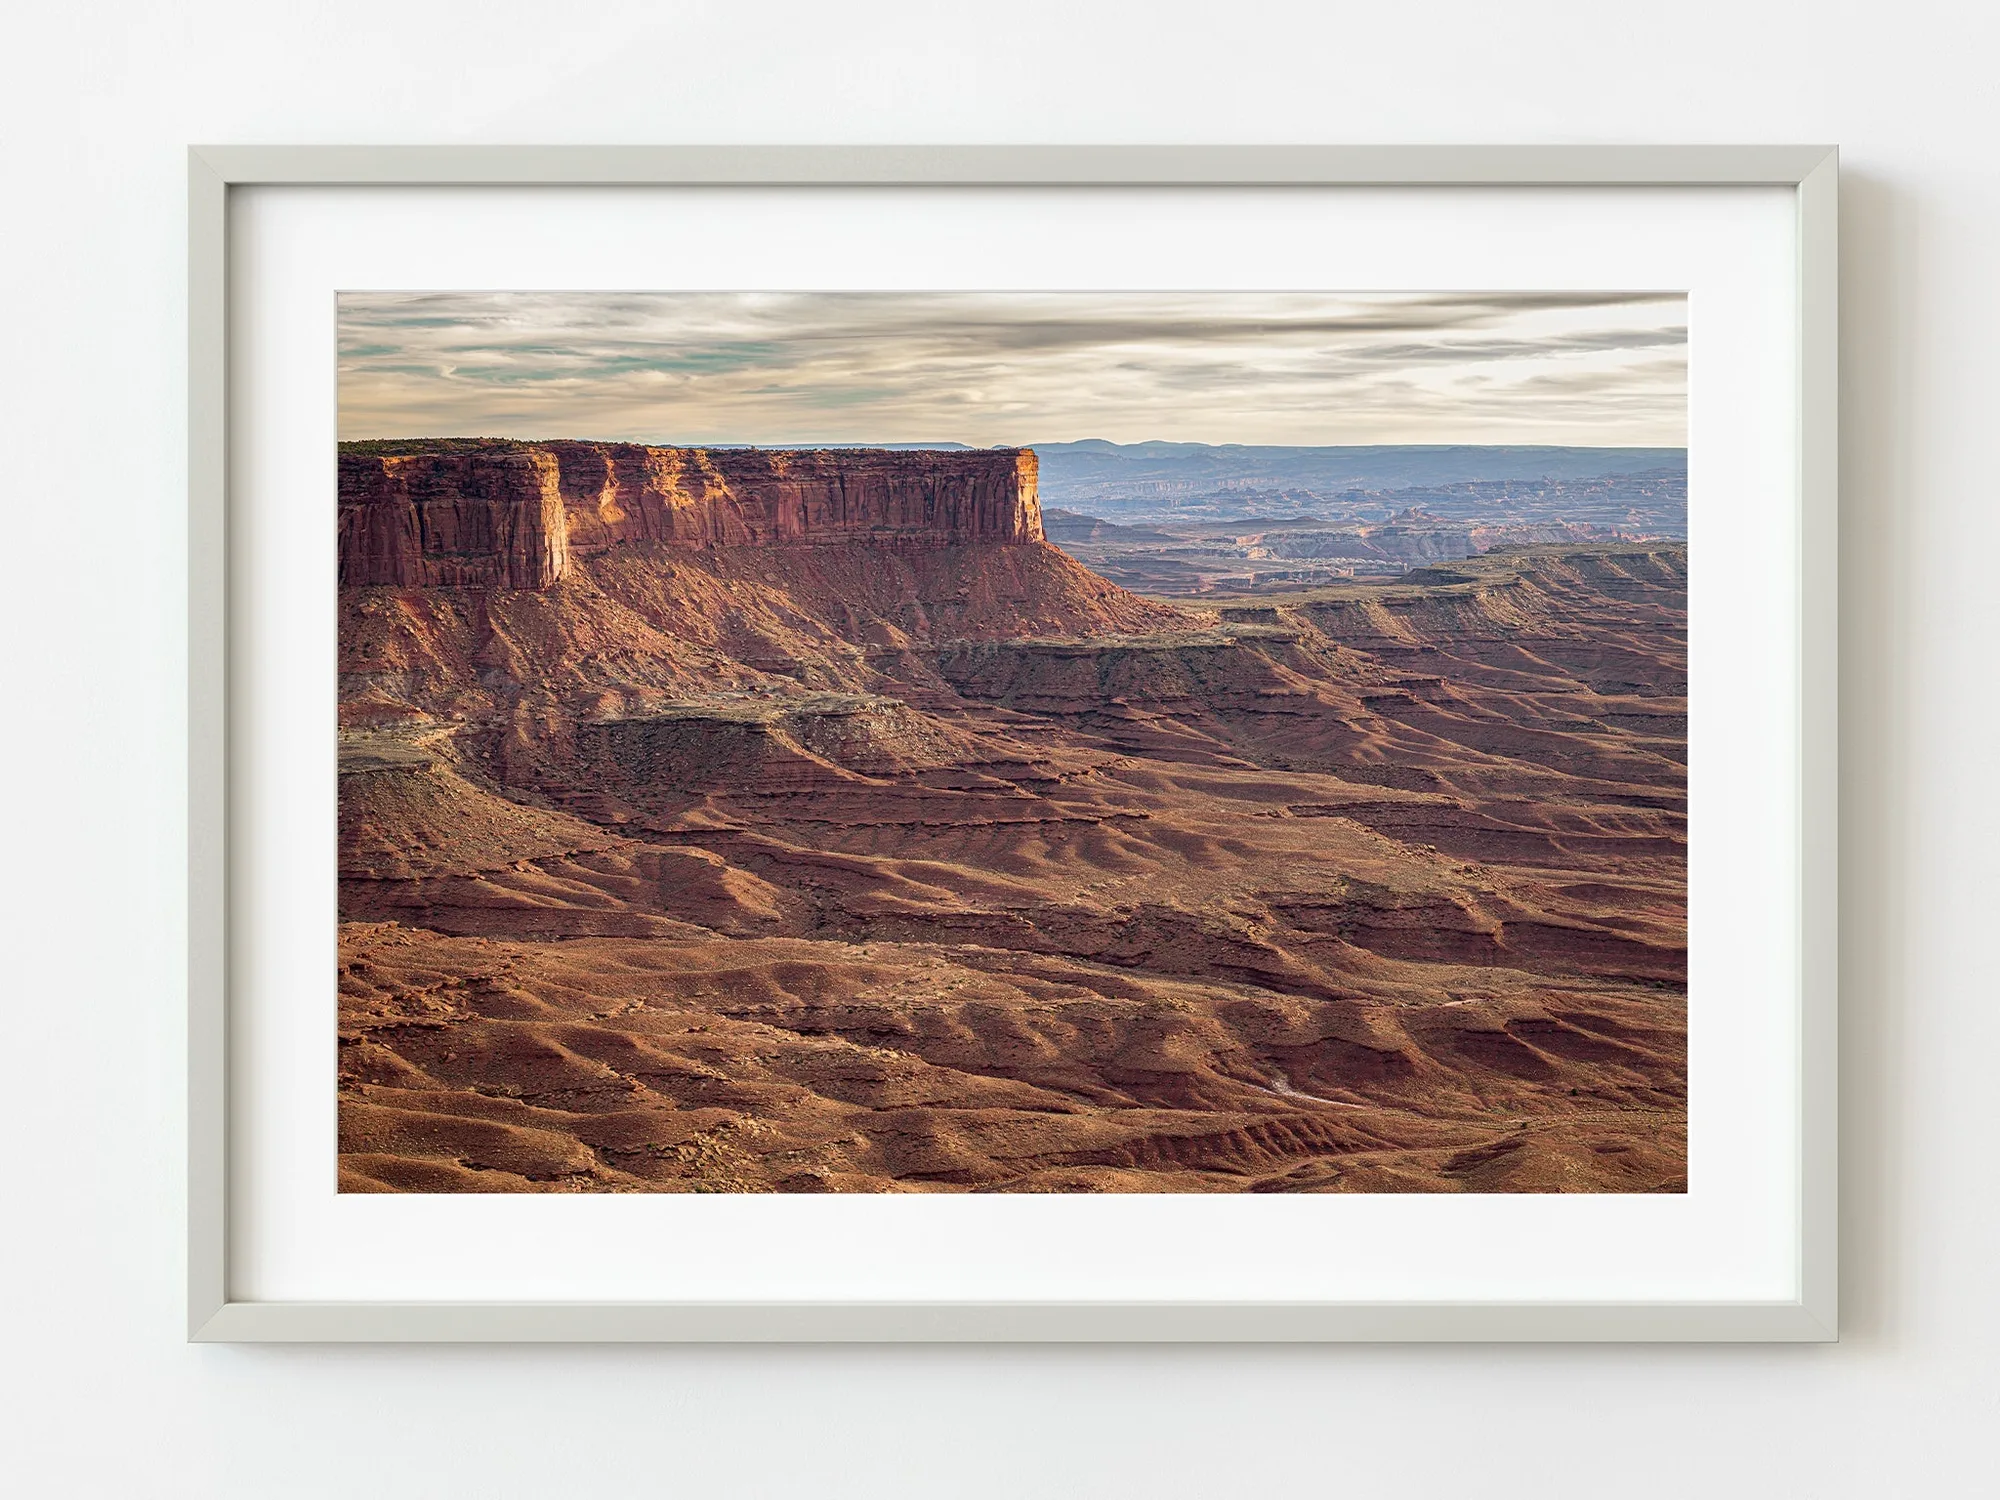
The rugged Grand Canyon Arizona USA | Limited Edition of 10: The Grand Canyon print captures layered rock formations and wide horizontal vistas typical of panoramic landscape photography. When framing this print, choose a mat that extends at least 2 inches on each side to give the wide scene breathing room and keep the focus on the geological detail.
The rugged Grand Canyon Arizona USA | Limited Edition of 10