Quick answer
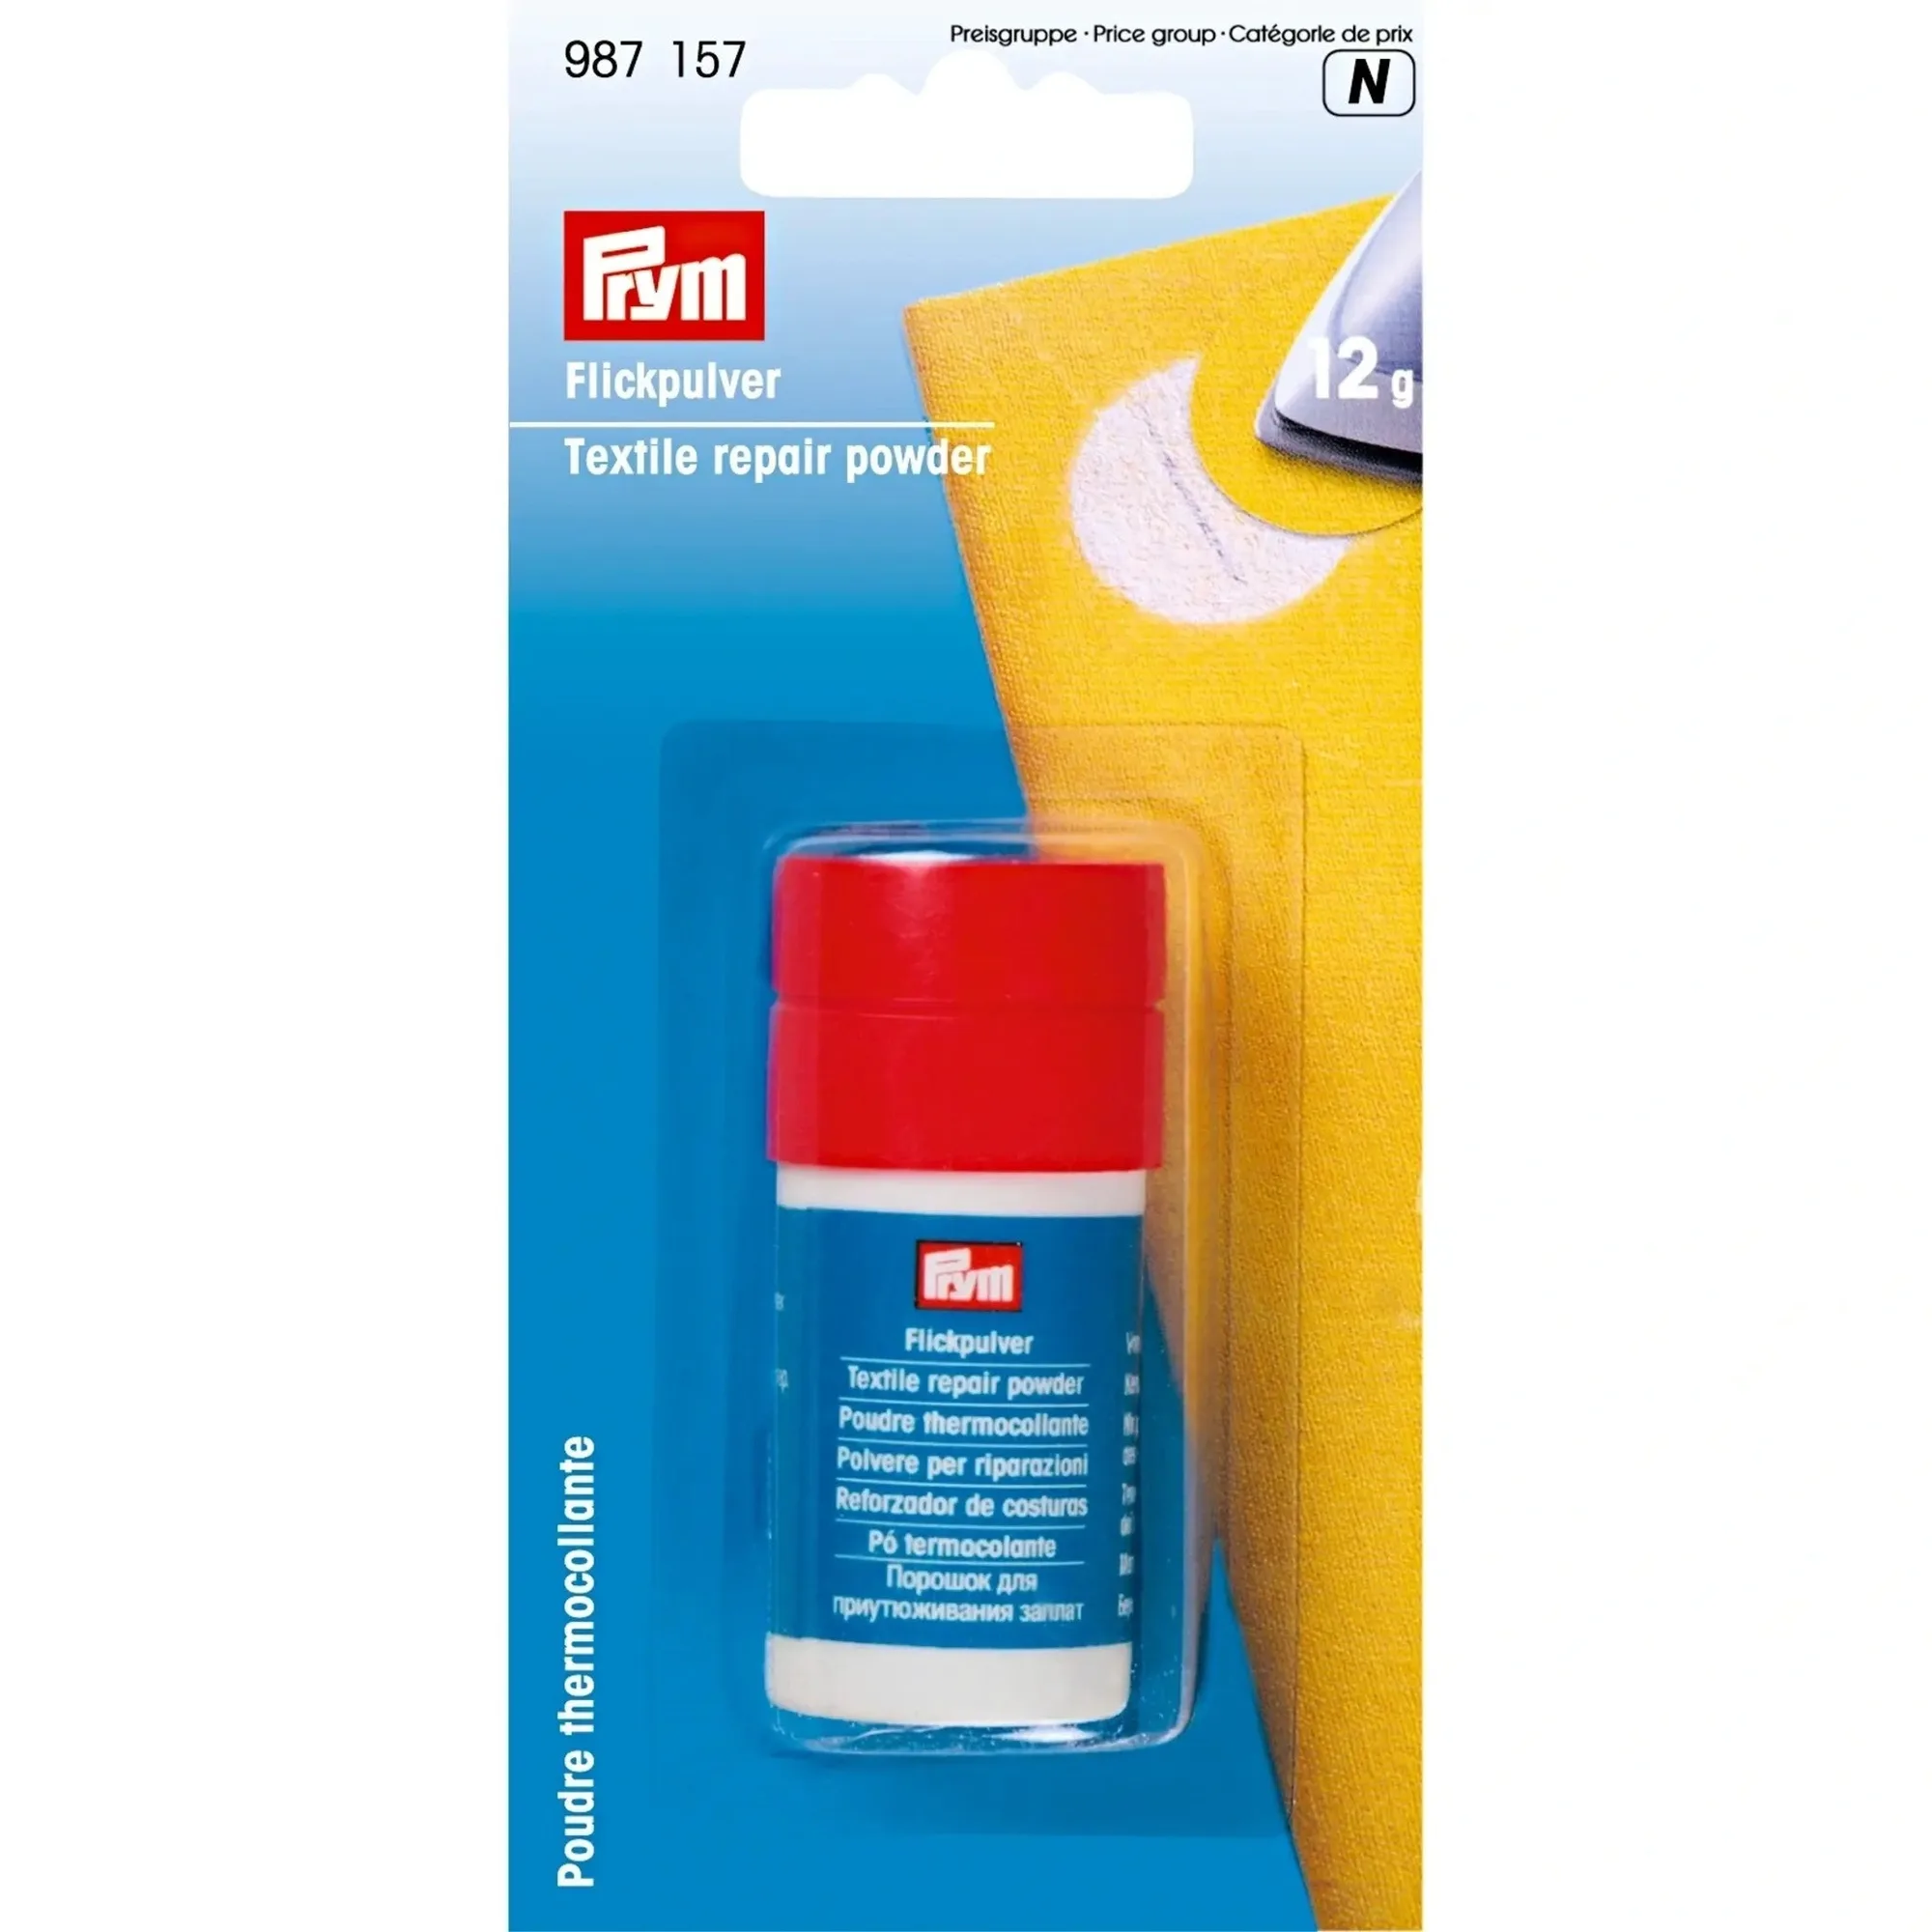
Fusible bonding web lets you join fabric, appliqués, and patches with heat instead of stitching. Choose a web weight that matches your fabric, always test on a scrap first, and press with steady heat rather than sliding the iron. If you want a powder format for invisible patches and sew-free hemming, Prym https://prymamerica.com/products/987157-1dabfa56b2de1b7c6d6db2ff-1315827Textile Repair Powder is a strong option for crafters who work with small, shaped pieces.
Fusible bonding web is one of the most forgiving tools in a craft room: it turns raw fabric edges into clean appliqués, holds patches in place, and skips the sewing machine entirely. The catch is that heat, moisture, and fabric type all change how well the bond holds.
This guide walks through the order that works, from picking the right web to the final cool-down. Each step includes the mistake that most often ruins the result, so you can avoid re-doing a project you already pressed.
Match the web to the fabric before you cut anything
Lightweight webs suit cotton, quilting fabric, and small appliqués, while heavier webs hold thicker material or larger shapes that need more support. Read the package instructions first, because bonding temperature and time vary by product. If the web feels stiff or papery, it is usually meant for a firmer hold rather than drape.
Test a small square on a fabric scrap before committing to the main project. Press it, let it cool, then tug gently. If the bond releases, adjust temperature or time rather than adding more web.
- Keep a dedicated pressing cloth for fusible work so residue does not transfer to your iron.
- Cut web slightly smaller than the fabric shape to avoid glue oozing past the edges.
Set up heat, moisture, and a pressing surface
Most fusible webs activate with a dry iron at a medium setting, but some need steam or a damp pressing cloth. Check the manufacturer's instructions for the exact temperature and time. A firm, heat-safe surface such as an ironing board keeps pressure even across the piece.
If your iron has a nonstick soleplate, avoid dragging it across exposed web. Glue can smear and then transfer to the next project. Press straight down, lift, and move to the next spot.
- Let the iron reach full temperature before the first press; a warming iron gives a weak bond.
- Work in a well-ventilated area if the web has a noticeable odor when heated.
Build the appliqué or patch in the right order
For appliqué, fuse the web to the wrong side of the shape first, then peel off the backing paper and position the shape on the base fabric. This order keeps the adhesive on the piece you are placing, not on your ironing board. For patches, cut the web to match the patch and trim any overhang before pressing.
Small shapes with curves and points benefit from a shaping tool. The Prym Corner & Edge Shaper has a rounded blunt tip that molds turned corners and curves without cutting the fabric, which helps appliqués and small bags look crisp before you fuse them.
- Mark placement with pins or a marking pen, then remove pins before pressing so they do not leave dents.
- For layered appliqués, fuse the bottom layer first, then build upward one layer at a time.
Press with steady heat and let the bond cool
Hold the iron in place for the time stated on the package, usually 10 to 20 seconds per area. Do not slide the iron back and forth, which shifts the fabric and can stretch the web. Overlap your pressing spots so no section is missed.
Resist the urge to check the bond while it is hot. Fusible adhesive strengthens as it cools, so let the piece rest flat until it reaches room temperature. If a corner lifts after cooling, re-press that spot rather than peeling the whole shape off.
- Press from the center outward on large shapes to push trapped air toward the edges.
- If the fabric is heat-sensitive, lower the temperature and extend the press time instead of rushing.
Fix lifting edges and clean up residue
Lifted edges usually mean uneven pressure or too little heat. Place the piece back on the board, cover it with a pressing cloth, and press the lifted area again for the full time. If residue appears on the iron, let the iron cool and wipe the soleplate according to its care instructions before continuing.
For projects that need a softer, powder-based bond, Prym Textile Repair Powder is applied with a fine cloth and an iron to affix patches and create sew-free hems. Its six-hole lid lets you dose the powder precisely, which matters on small or shaped pieces where a sheet web would be hard to trim.
- Keep a scrap of the same fabric nearby to test temperature before touching the finished piece.
- Store leftover web flat and away from heat so it does not pre-activate in the package.
Fusible bonding web craft steps
- Step 1: Test the web on a scrap: Press a small square of web between two scraps of your project fabric using the package temperature and time. Let it cool completely, then tug the edges. Checkpoint: if the bond holds without lifting, move to the real piece. If not, adjust heat or time before cutting more.
- Step 2: Fuse web to the appliqué shape: Place the web on the wrong side of the shape, cover with a pressing cloth, and press according to the instructions. Let it cool, then peel off the backing paper. Mistake to avoid: pressing the web directly against the iron soleplate, which smears adhesive.
- Step 3: Position and pin the shape: Arrange the appliqué on the base fabric and secure it with pins or a small piece of tape. Remove pins before the final press so they do not dent the fabric. Checkpoint: step back and check placement before heat sets it in place.
- Step 4: Press with steady, overlapping heat: Press straight down for the full time, overlapping each spot. Do not slide the iron or rush the press. Mistake to avoid: checking the bond while it is still hot, which weakens the final hold.
- Step 5: Cool flat, then inspect: Leave the piece flat until it reaches room temperature. Gently lift an edge to test the bond. If an edge lifts, re-press that area with a pressing cloth rather than removing the whole shape.
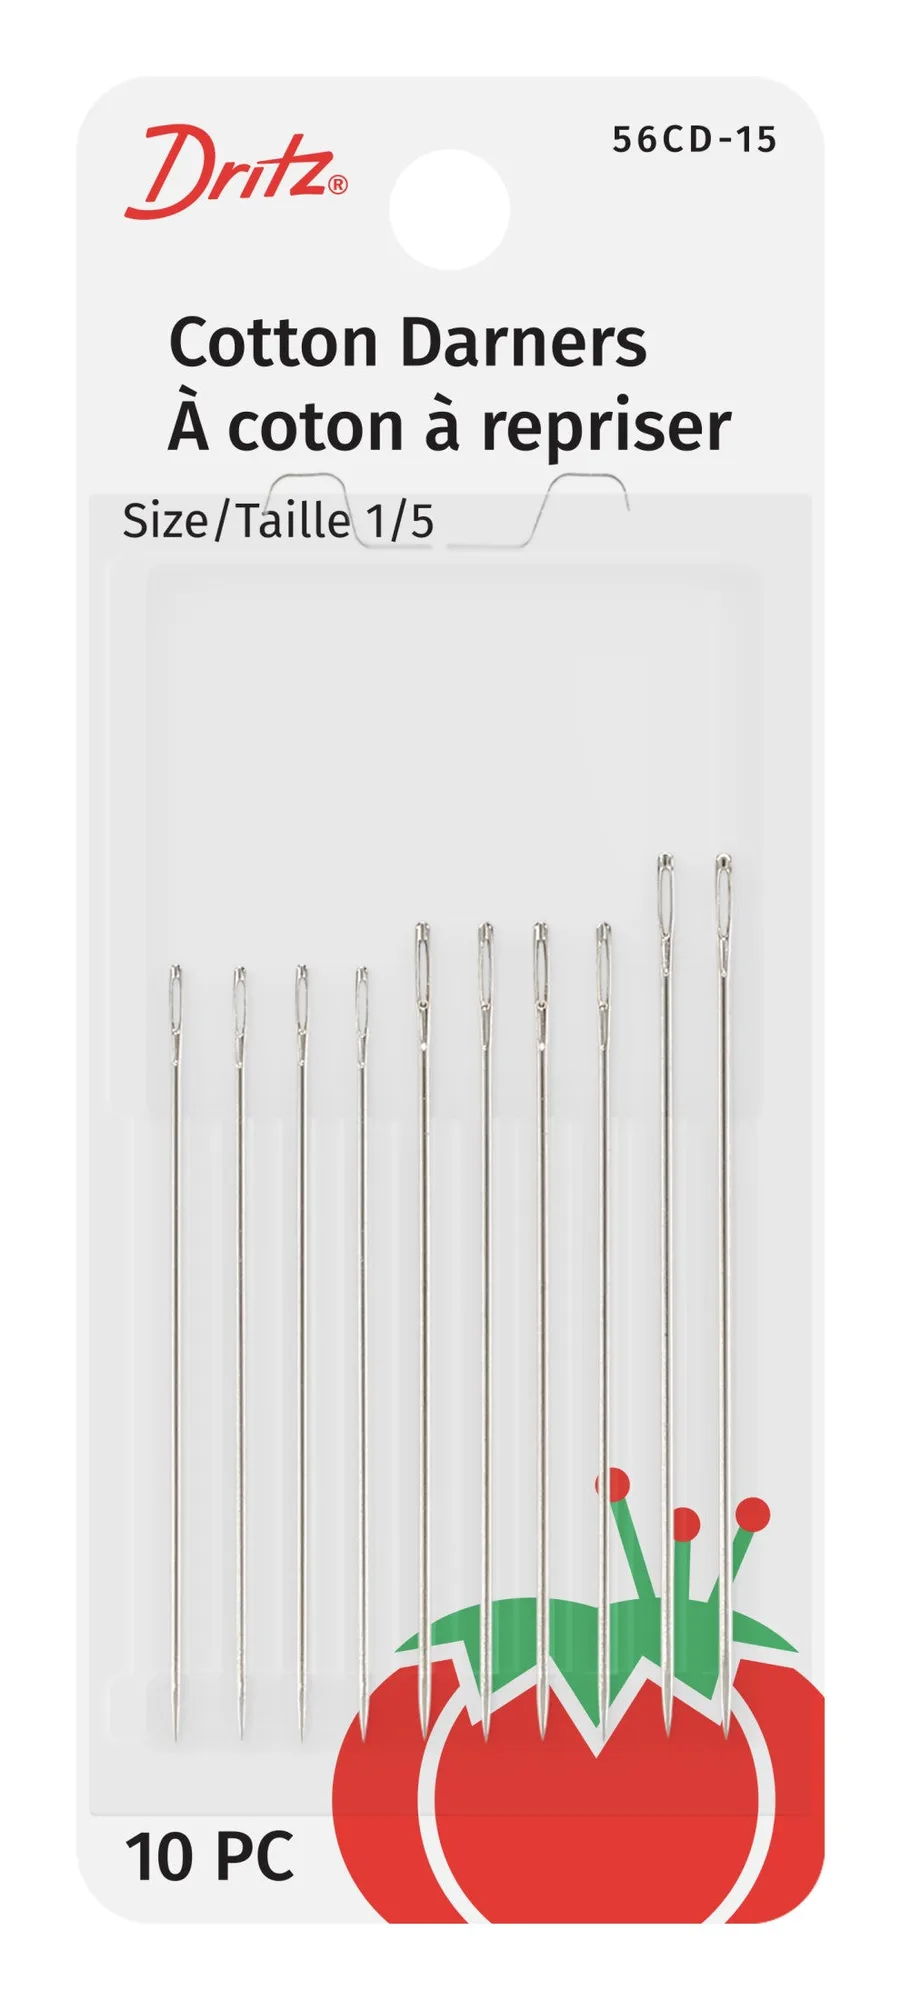
- Step 6: Reinforce with stitching if needed: For items that will be washed often, add a few hand stitches or a machine edge stitch. A long darner needle with a large eye makes this easier on thick craft fabric. Checkpoint: fusible web holds, but stitching adds durability for wearables and washables.
- Step 7: Clean the iron and store supplies: Let the iron cool, then wipe the soleplate if you see residue. Store leftover web flat and away from heat. Mistake to avoid: storing web in a warm car or sunny window, which can pre-activate the adhesive.
Product facts that help your craft projects
- Textile Repair Powder: This textile repair powder from Prym provides an easy way to affix patches by ironing the affected fabric. The six fine holes on the can's lid allow for precise powder dosage and application. Powder format lets you place adhesive exactly where a patch or hem needs it, which is useful for small or irregular shapes where sheet web is awkward to cut.
- Corner & Edge Shaper: The corner and edge shaper, with its asymmetrical top and the rounded blunt tip, enables the moulding of turned over corners, edges and curves without damaging the fabric. A blunt shaping tool helps you turn crisp corners on appliqués and small bags before fusing, so the finished shape looks intentional rather than lumpy.
- https://prymamerica.com/products/56cd-15-deca874c3df65c8f10462fb6-1316169Cotton Darner Hand Needles, Size 1/5, 10 pc: Dritz Size 1/5 Cotton Darners Hand Needles (10-count) are long needles with sharp points and long eyes for darning. If a fused edge needs a few securing stitches, a long darner needle with a large eye handles thicker threads and reaches through layered craft fabric.
Fusible bonding web rewards patience more than speed. Test first, press with steady heat, and let the bond cool before you judge it. With those habits, appliqués, patches, and no-sew crafts hold up well and look clean from the front.