Quick answer
Keep glitter out of your base layers. Apply and fully cure a smooth gel base, then add glitter only as a thin, fully cured top layer or encapsulated inside a builder layer. At removal, file through the top layer first, then soak with acetone. This is the single biggest factor in whether glitter gel polish removal is quick or a fight.
Glitter gel manicures get a bad reputation for removal, but the problem is usually placement, not the glitter itself. When glitter sits directly on the natural nail or gets mixed into a thick base layer, acetone has to travel through too much material to reach it.
This guide walks through an ordered process for a glitter gel manicure that still soaks off cleanly. It covers base prep, glitter placement, curing, and a removal routine that works. You will also see which Ballpit Nails products fit each step and where a common mistake tends to happen.
Why glitter gel polish removal goes wrong
Glitter particles do not dissolve in acetone the way cured gel does. They sit inside the gel matrix, and acetone has to break down the gel around them before they release. If glitter is pressed into a thin base layer or applied directly to the natural nail, the acetone has to work through more cured material, which slows removal and increases the chance of scraping.
The fix is structural: keep the base smooth and glitter-free, then add glitter as a distinct, fully cured layer on top or encapsulated inside a builder layer. That way, filing and soaking reach the glitter layer quickly. This is why placement matters more than the glitter itself.
- Glitter does not dissolve in acetone; the gel around it must break down first.
- Thin base layers with glitter embedded are the hardest to remove.
- A separate glitter layer is easier to file and soak through.
Prep and base: keep this stage glitter-free
Start with clean, dry nails. Push back cuticles, lightly buff the surface, and wipe with a lint-free cleanser. Apply a gel base coat in thin layers and cure fully according to your lamp. Do not add glitter to the base coat, even if you are tempted to save a step. A smooth, glitter-free base is what makes later removal predictable.
If you want extra strength, use a builder or structure layer over the base and cure it fully. This layer can later hold encapsulated glitter, but the base itself should stay clean. A common mistake here is applying base too thick to compensate for uneven nails; thick base cures unevenly and slows removal later.
- Cure each base layer fully before moving on.
- Keep the base coat free of glitter and pigment.
- Thin layers cure more evenly than one thick layer.
Apply glitter as its own layer
Once the base is cured, apply your glitter in one of two ways. For a surface glitter look, apply a thin layer of clear gel, sprinkle or place glitter, then cure. For an encapsulated look, place glitter over a cured builder layer, then cap it with another thin builder layer and cure. Both methods keep glitter in a defined zone that removal can reach.
If you are using a glitter gel polish rather than loose glitter, apply it in thin coats and cure each coat. Thick coats of glitter gel trap solvent and cure unevenly. A common mistake is piling on glitter gel to get opacity in one pass; two thin cured coats remove far more easily than one thick one.
- Cure glitter layers before adding anything on top.
- For loose glitter, use a thin clear gel as the carrier.
- Two thin coats beat one thick coat for removal.
Seal and finish without burying the glitter
After the glitter layer is cured, seal it with a top coat. A matte top coat gives a velvet, textured look that suits glitter well, while a glossy top coat gives a traditional sparkle. Whichever you choose, apply it thin and cure fully. The top coat is the layer you will file through first at removal, so a thin, even seal saves time later.
Do not build up multiple thick top coats to smooth over glitter texture. If the surface feels rough, a thin layer of builder gel over the cured glitter, followed by a top coat, gives a smoother finish without creating a removal problem. A common mistake is using top coat as a filler; it is not designed for that.
- Choose matte or glossy based on the look, not removal.
- Keep the top coat thin and fully cured.
- Use builder gel, not top coat, to smooth texture.
Removal: file first, then soak
Begin removal by filing through the top coat and the glitter layer with a medium-grit file. You do not need to file down to the natural nail. The goal is to break the seal so acetone can reach the glitter. If you are using a soak-off gel system, this step is what makes the difference between a ten-minute soak and a long scrape.
Wrap each nail in acetone-soaked cotton and foil, or use soak-off clips. Wait five to ten minutes, then check. If the glitter layer has lifted, gently push it away with a cuticle stick. If it has not, re-wrap and wait longer. A common mistake is picking at glitter before the gel has released, which damages the natural nail.
- File through the top layer before soaking.
- Do not file down to the natural nail.
- Re-wrap rather than picking if gel has not released.
Aftercare and what to avoid
Once the glitter gel is removed, gently buff away any remaining residue and wipe with cleanser. Apply cuticle oil and a hand cream. Your nails may feel dry after acetone, so give them a day before applying a new gel manicure if possible. If you notice thinning or sensitivity, take a break from gel entirely until the nail recovers.
Avoid two habits that make future glitter removal harder: applying glitter directly to the natural nail and using thick layers to speed up application. Both create more cured material to break down. If you want to keep wearing glitter regularly, consider press-ons as an alternative, which can be removed without acetone on the natural nail.
- Use cuticle oil after every acetone soak.
- Wait a day before the next gel application if nails feel dry.
- Press-ons are an option if you want to skip acetone removal.
Step-by-step: glitter gel manicure with easy removal
- Prep and apply a glitter-free base: Clean, buff, and wipe nails. Apply thin gel base coats and cure each fully. Do not add glitter to the base. Checkpoint: the base should look smooth and even before you move on.
- Add a builder layer if you want encapsulation: Apply a thin builder or structure layer over the cured base and cure fully. This layer will hold the glitter. Checkpoint: the builder layer should be level, not pooled at the cuticle.
- Apply glitter as its own layer: Use a thin clear gel as a carrier for loose glitter, or apply glitter gel polish in thin coats. Cure each layer. Common mistake: piling glitter on thick to get opacity in one pass.
- Seal with a thin top coat: Choose matte or glossy top coat, apply thin, and cure fully. Avoid using top coat to fill texture. Checkpoint: the top coat should be smooth and fully cured, not tacky.
- File through the top layer before soaking: Use a medium-grit file to break the seal of the top coat and glitter layer. Do not file down to the natural nail. Checkpoint: you should see the glitter layer exposed, not the bare nail.
- Soak with acetone and re-wrap if needed: Wrap nails in acetone-soaked cotton and foil or use soak-off clips. Wait five to ten minutes, then check. Common mistake: picking at glitter before the gel has released.
- Finish with cuticle oil and a rest day: Gently buff residue, wipe with cleanser, and apply cuticle oil. Wait a day before the next gel manicure if nails feel dry. Next step: if nails feel sensitive, switch to press-ons for a cycle.
Products that fit this process
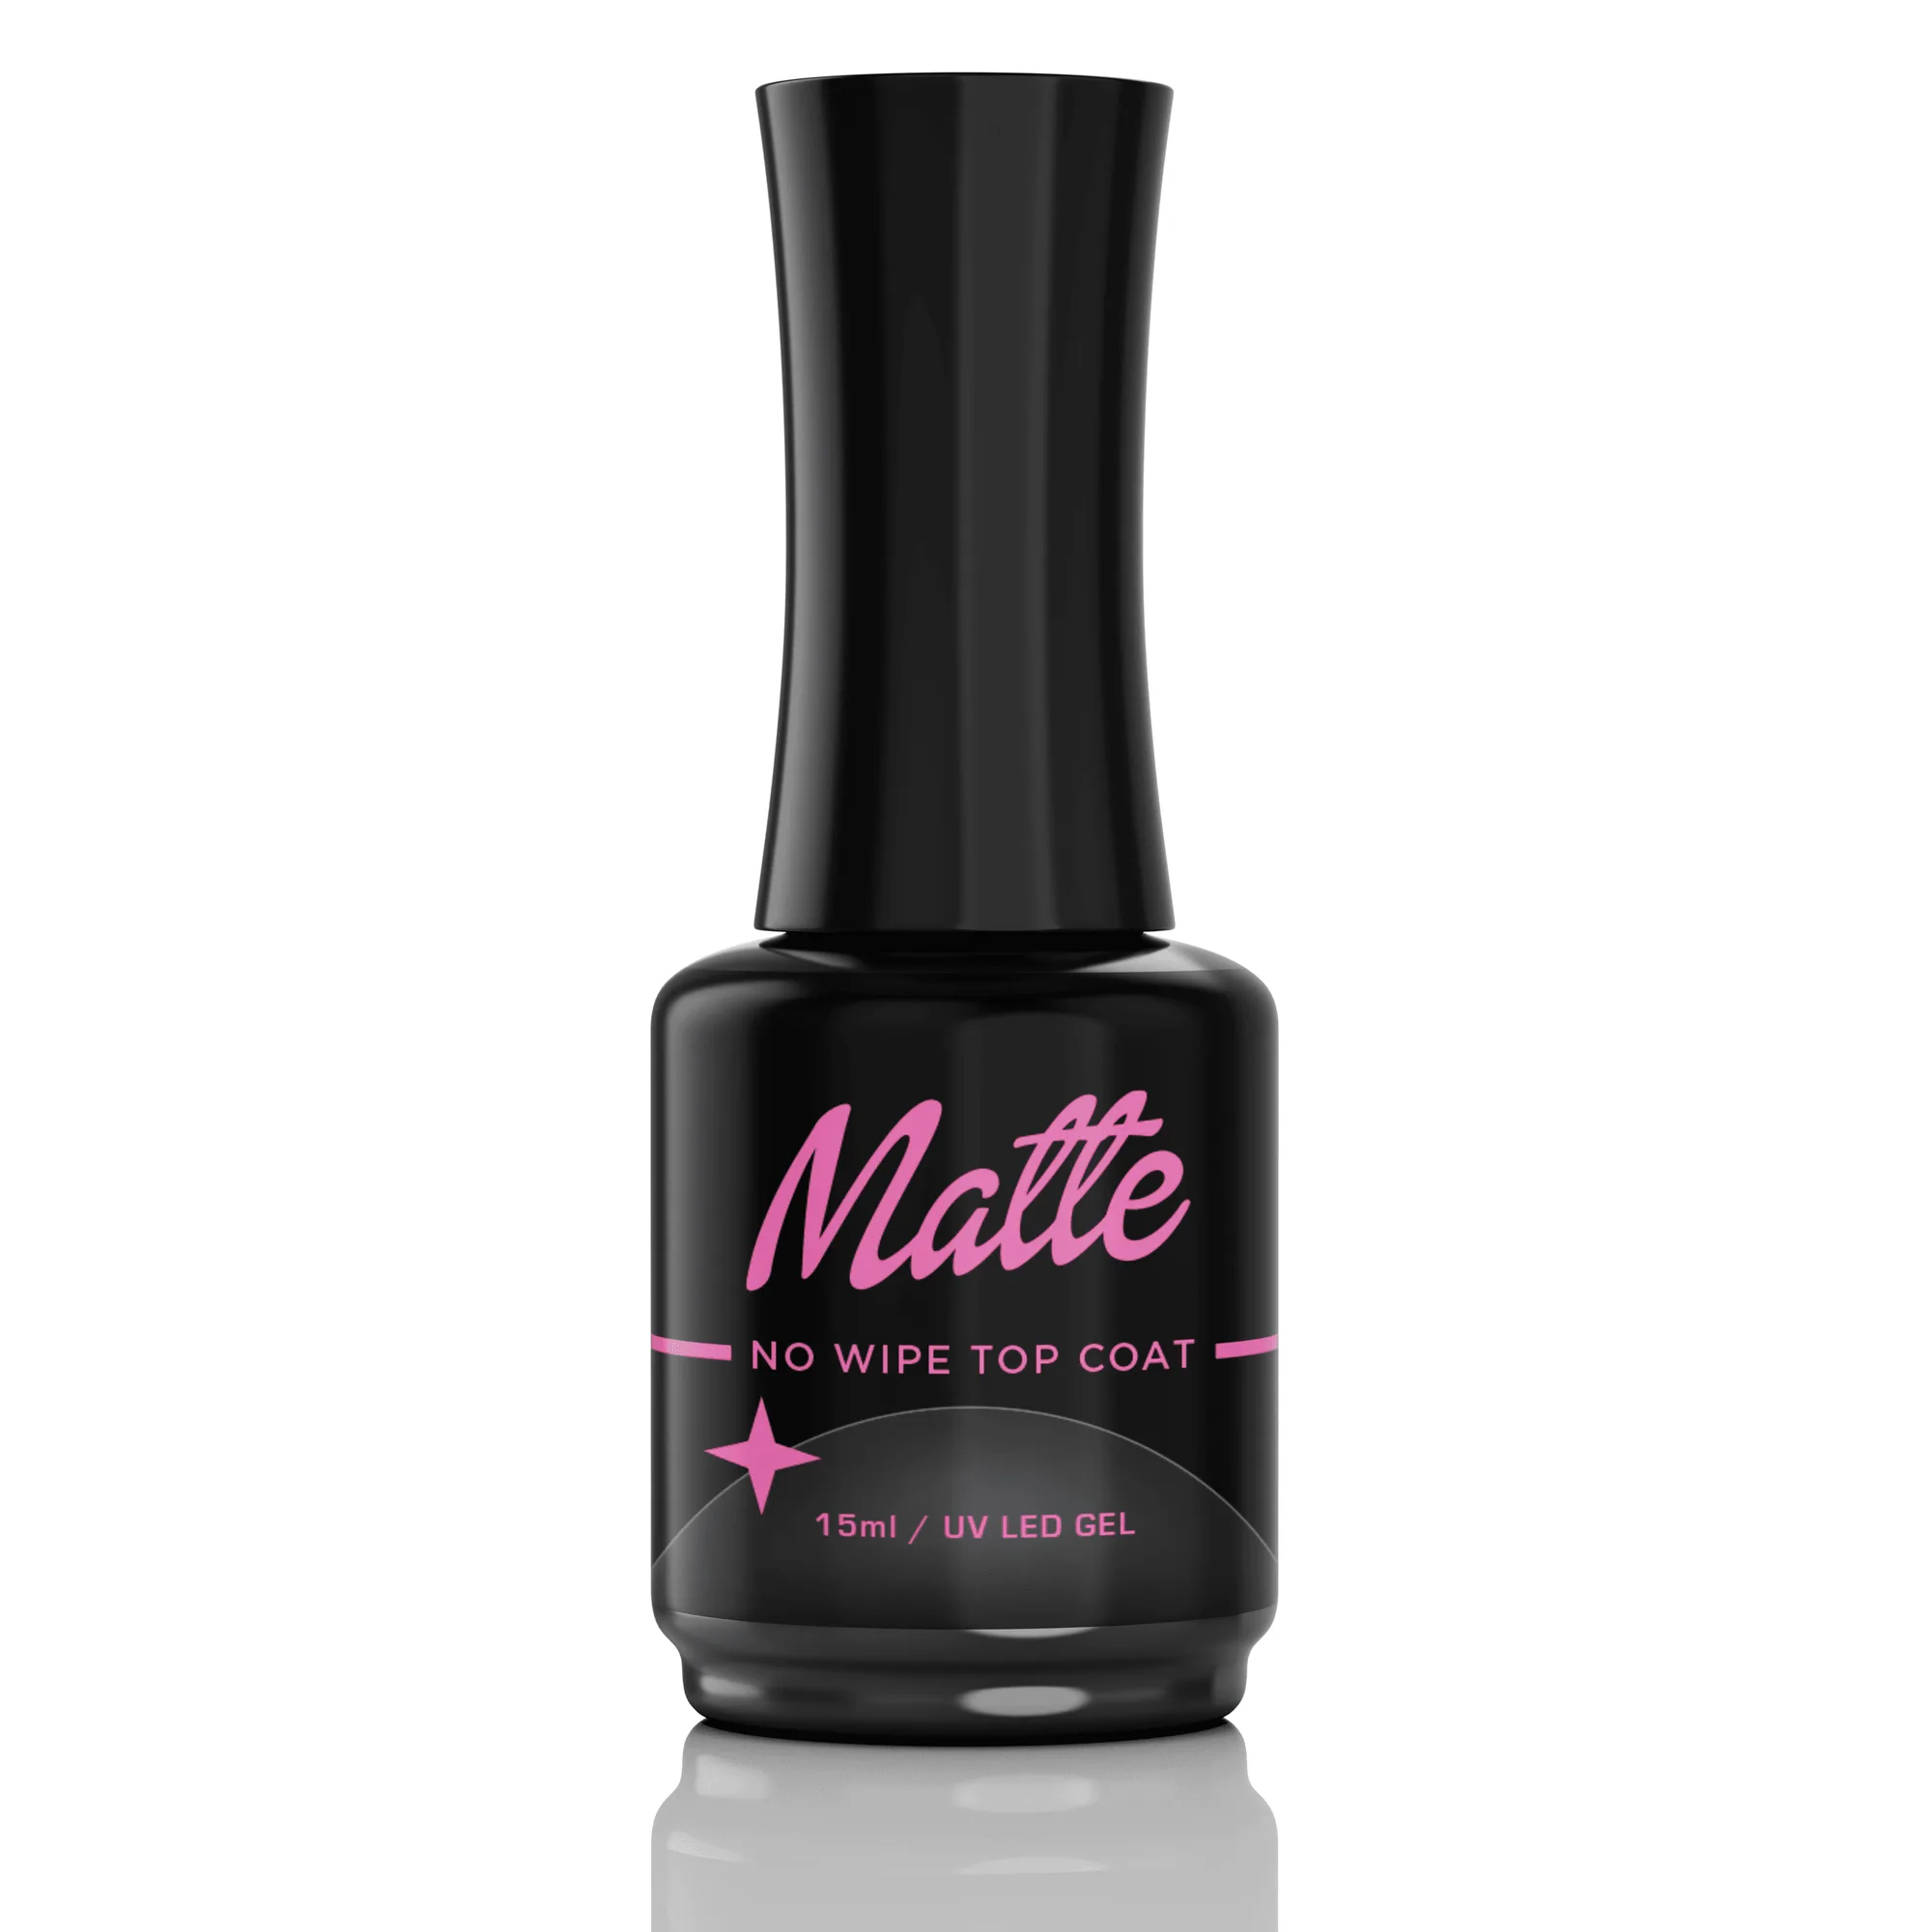
- Matte Top Coat - Gel Polish: No-wipe matte top coat in a 15ml bottle, UV/LED soak-off gel with anti-spread properties. A thin, even matte top coat seals the glitter layer without adding bulk, which keeps removal predictable.
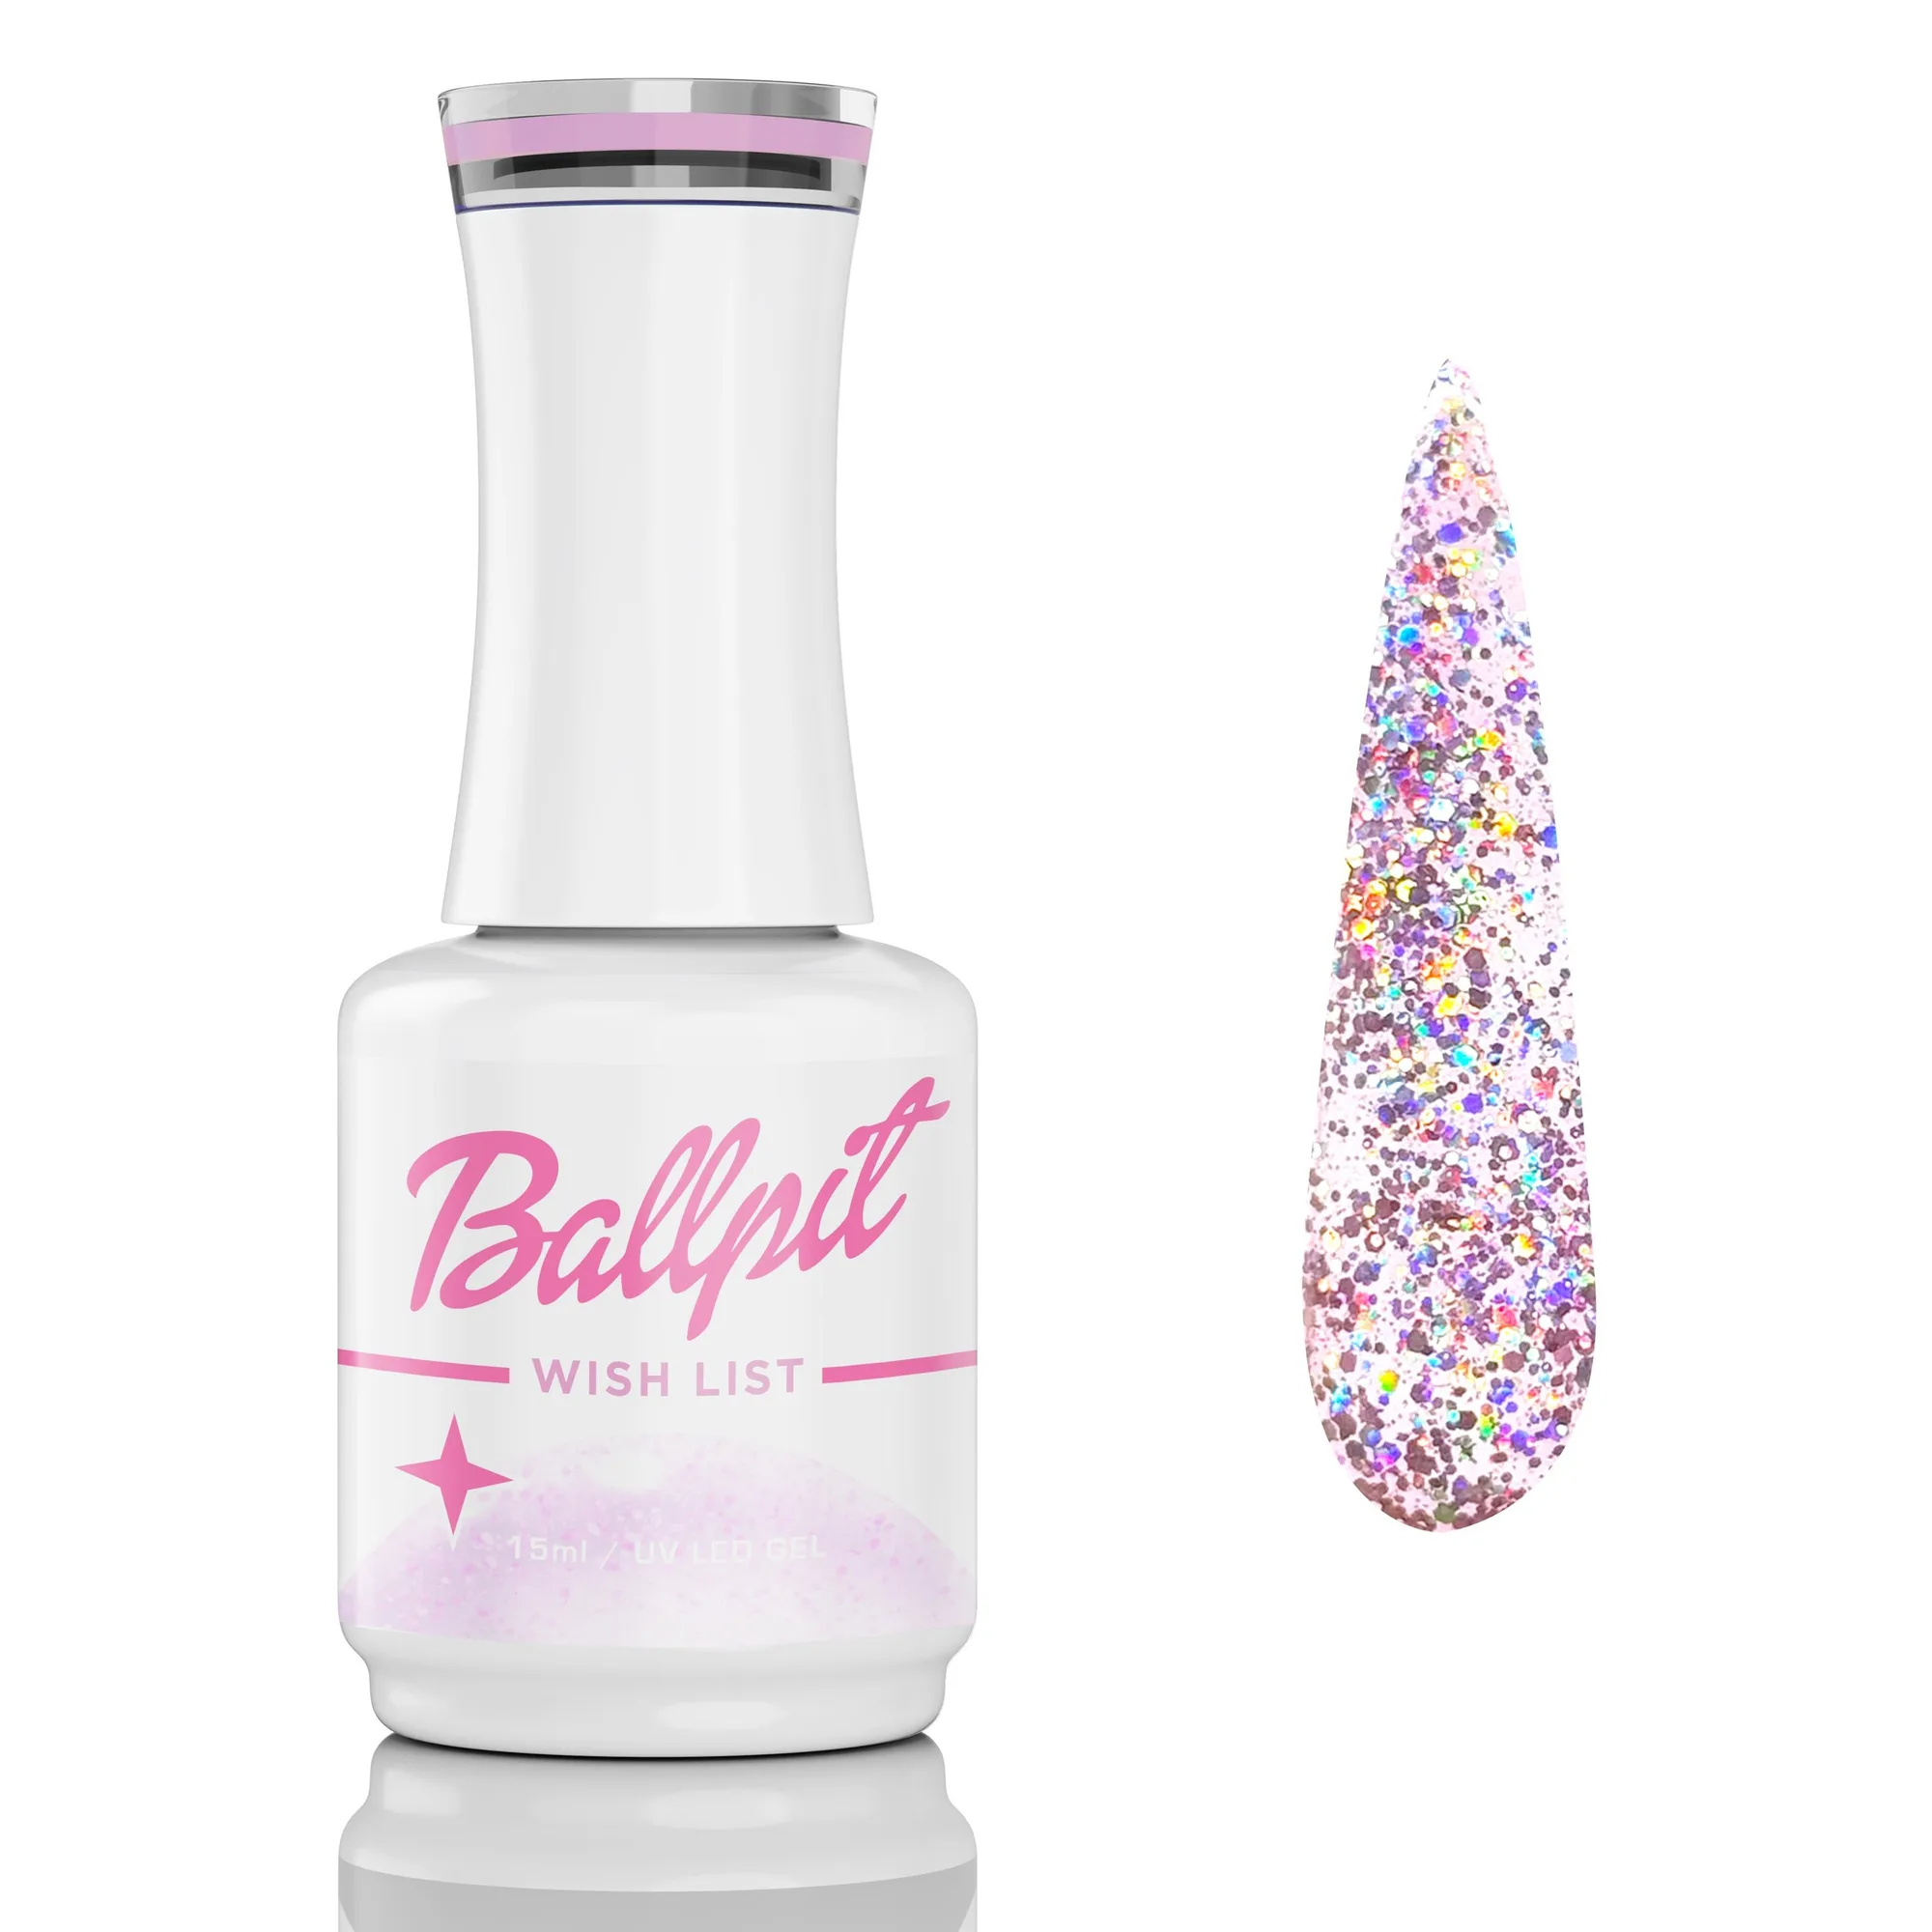
- Wish List - Gel Polish: 15ml UV/LED soak-off gel with extreme pigment and anti-spread properties. High pigment means you can apply thin, fully cured color layers under glitter instead of thick coats that slow removal.
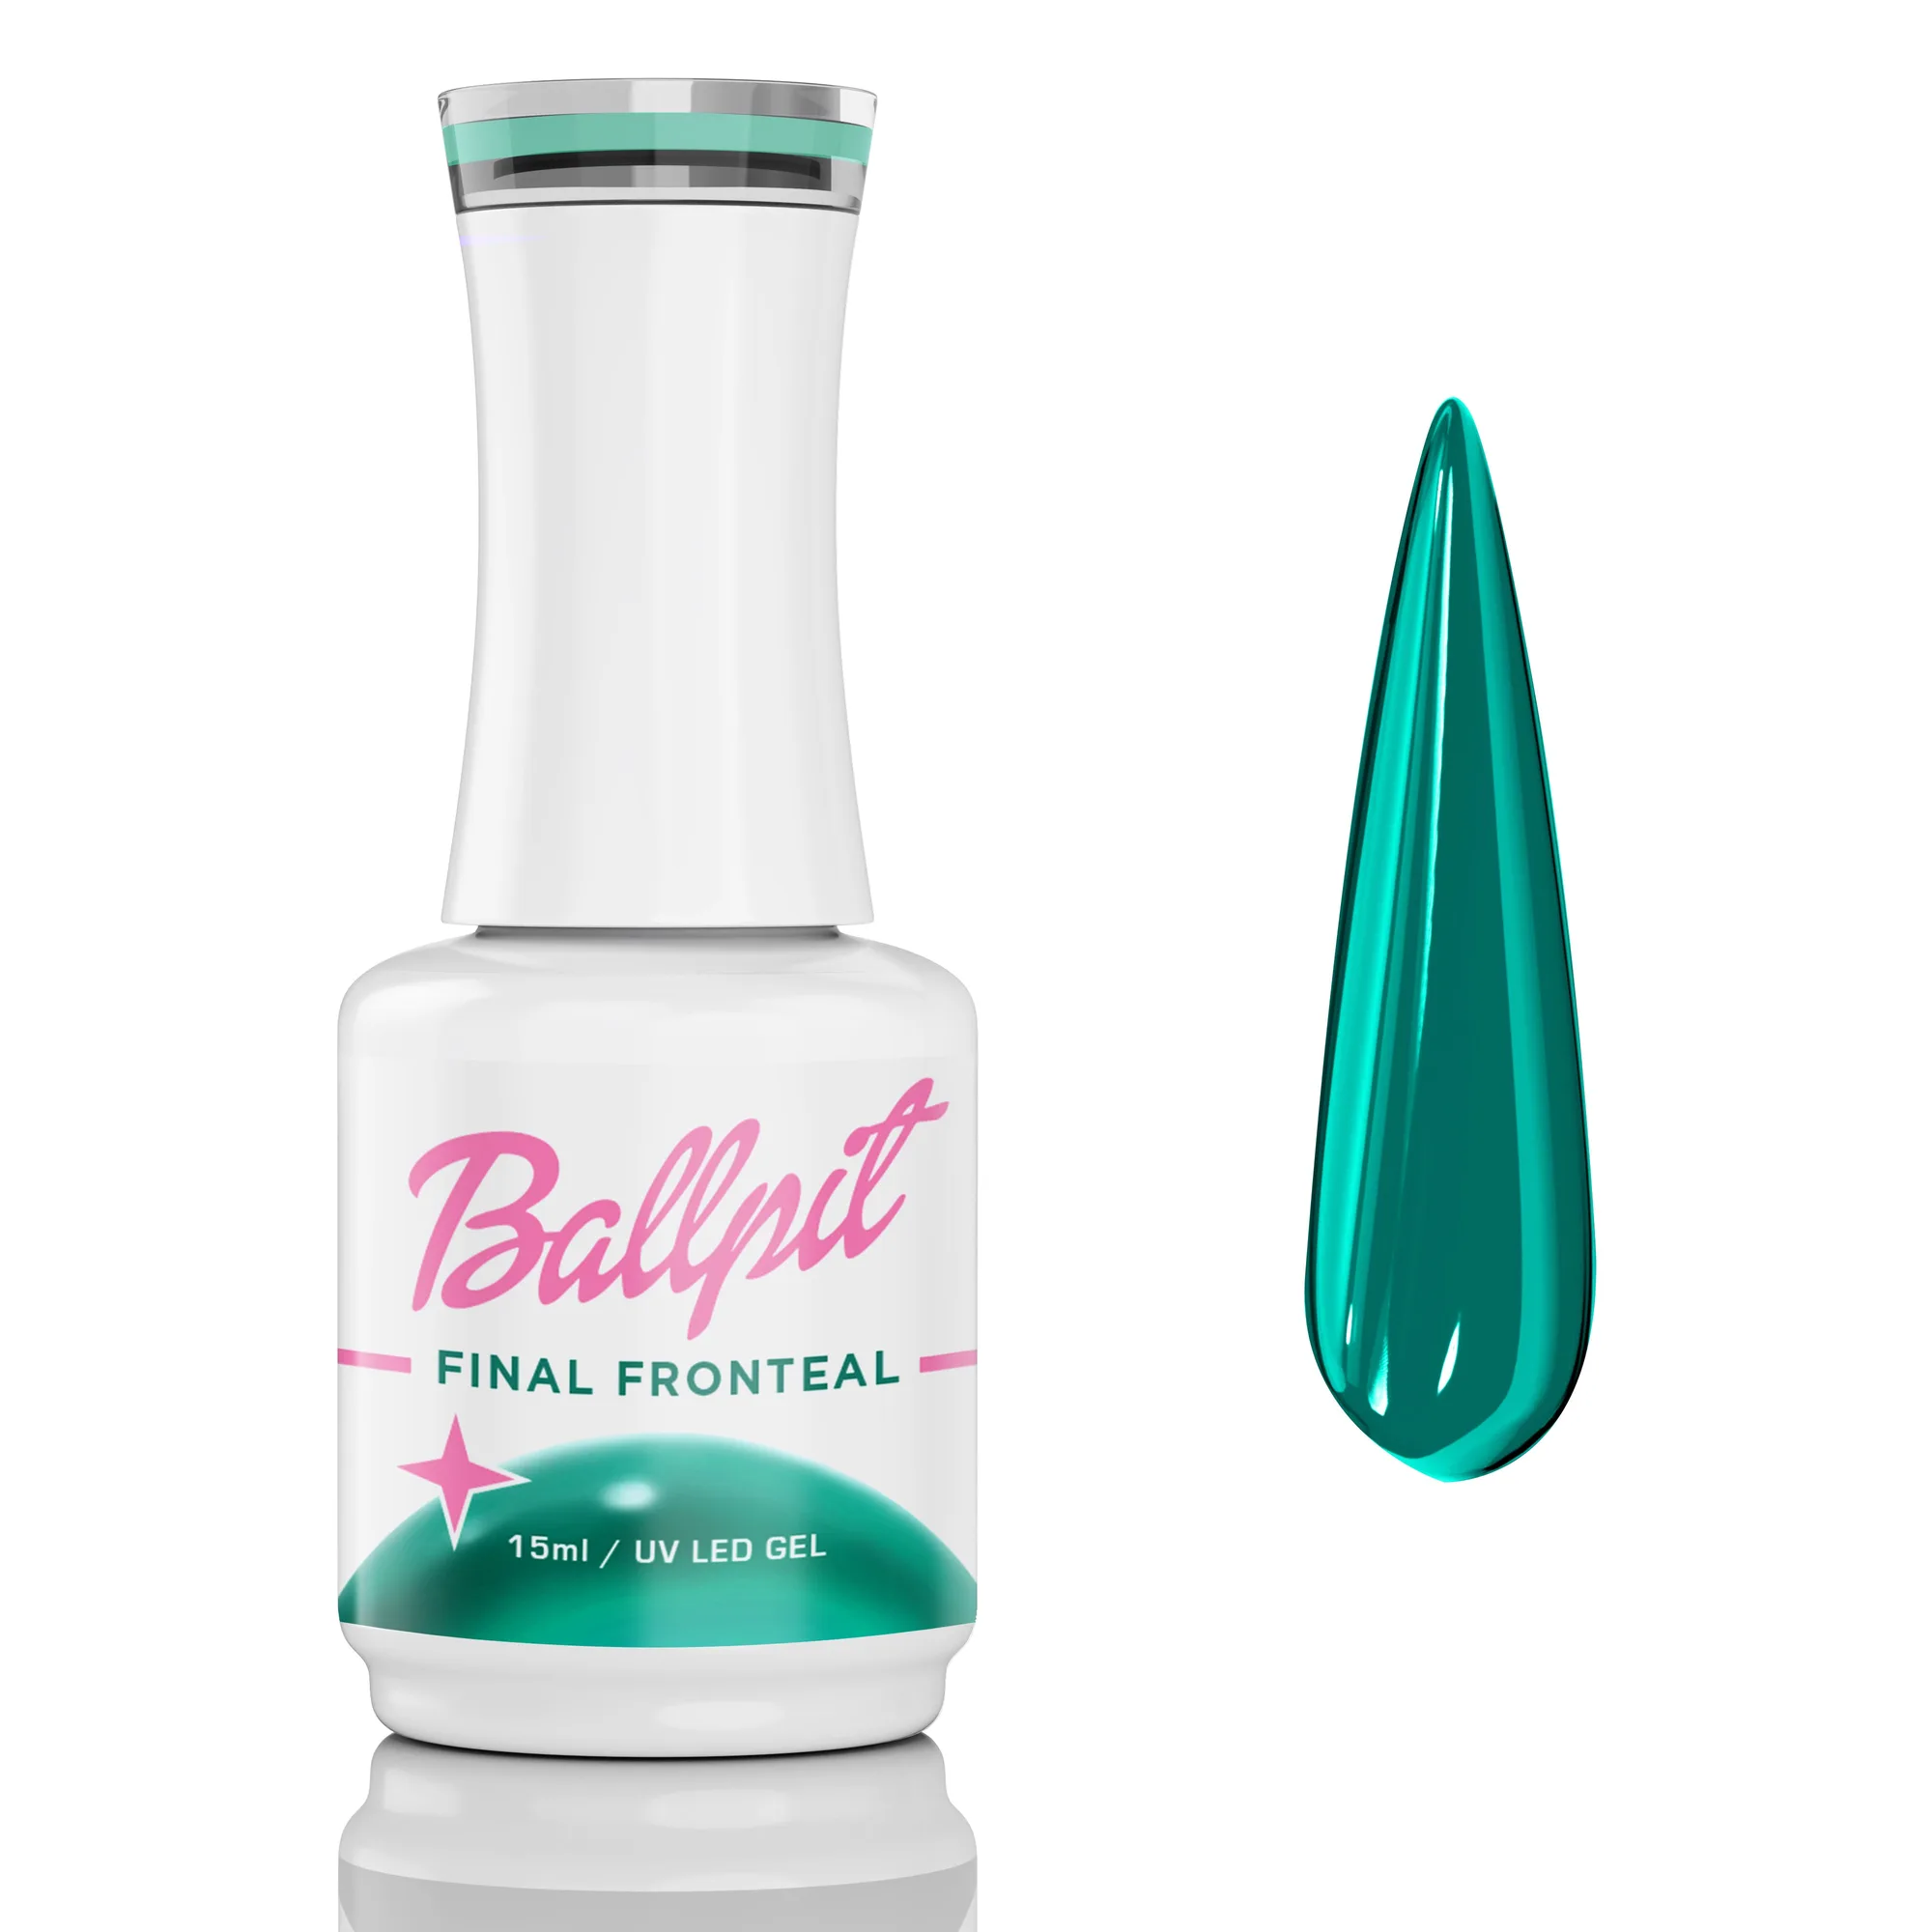
- Final Fronteal - Gel Polish: 15ml jelly polish, UV/LED soak-off gel with extreme pigment and anti-spread performance. A jelly finish can sit under or over glitter without hiding it, and still cures in thin layers.
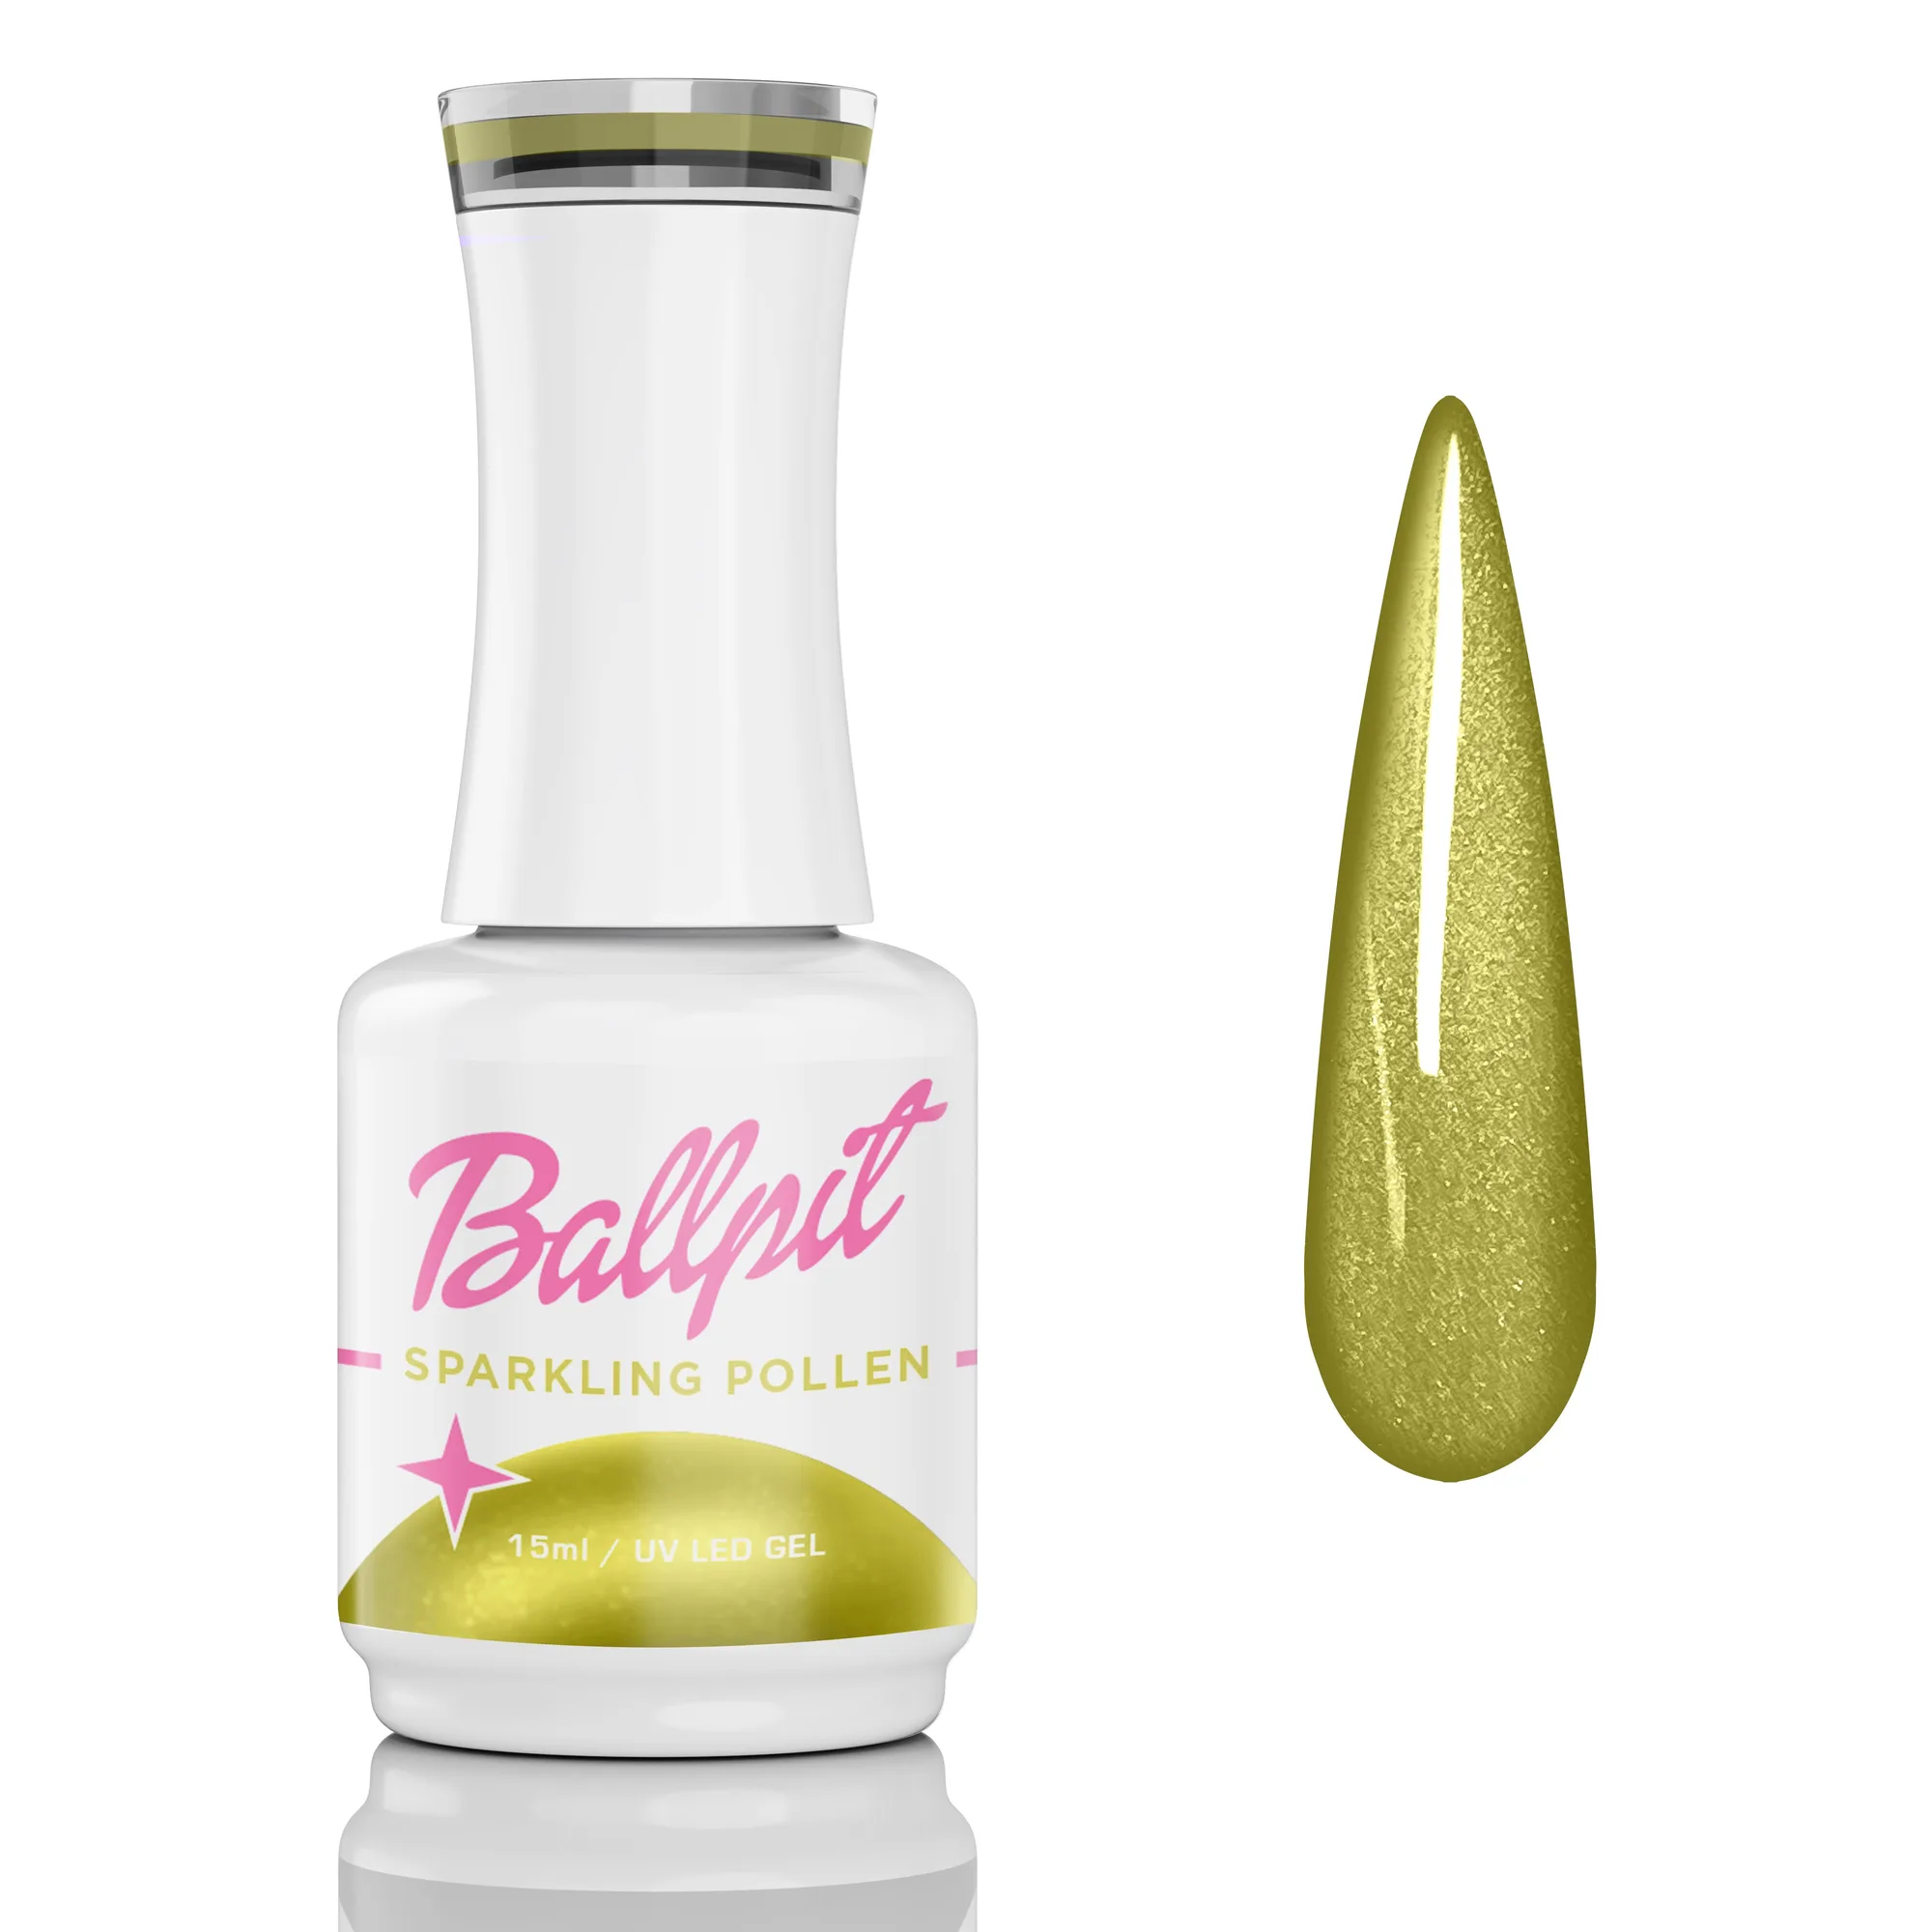
- Sparkling Pollen - Gel Polish: Sparkling citrine yellow velvet cat eye shade, HEMA and TPO free, 15ml, 60-second cure. A glitter-effect gel that can replace loose glitter for a similar look with a more controlled, thin application.
A glitter gel manicure does not have to be a removal nightmare. Keep the base smooth and glitter-free, cure every layer fully, and file before you soak. Those three habits do most of the work. The products above fit naturally into that process, but the method matters more than any single bottle.