Quick Answer
Apply glitter to nails without the mess by working over a folded foil tray, using a small brush to place glitter exactly where you want it, and sealing it under a clear top coat. Keep your workspace contained and your layers thin. This method works for both gel and acrylic services, and it prevents stray glitter from ruining your finish.
Glitter nail art can transform a simple manicure into something eye-catching, but loose glitter has a reputation for ending up everywhere except the nail. The good news is that mess is not inevitable. With a few simple habits and the right supplies, you can create glitter nail designs cleanly and confidently, even if you are new to nail art.
This guide walks you through a no-mess glitter application process from prep to seal. You will learn how to contain loose glitter, place it precisely, and lock it in so your design lasts. Whether you are working on natural nails, gel, or acrylic, these steps will help you get a polished result without the cleanup headache.
Why Loose Glitter Gets Messy (and How to Stop It)
Loose glitter is lightweight and static-prone, so it clings to skin, clothing, and every surface it touches. The biggest mistake is pouring glitter directly over the nail without a catch tray. Once it scatters, you cannot easily recover it, and stray particles can get trapped in your top coat or acrylic, creating a bumpy finish.
The fix is containment. Work over a folded piece of foil or a small tray so you can funnel excess glitter back into its container. Keep your hands low and your movements deliberate. A little planning turns a messy product into a controlled, precise medium.
- Fold a piece of foil into a shallow tray before you start. It catches loose glitter and makes cleanup quick.
- Never pour glitter directly from the jar. Tap a small amount onto your tray and work from there.
Prep Your Nails and Workspace
Start with clean, dry nails. If you are applying glitter over gel or acrylic, finish your base shape and remove any dust with a soft brush. For natural nails, push back cuticles and lightly buff the surface so your base product adheres well. A clean surface means glitter sits evenly instead of clumping.
Set up your workspace with a foil tray, a small detail brush, your glitter, and a top coat within reach. If you are using gel, have your lamp ready. If you are using acrylic, have your monomer and powder nearby. Keeping everything organized reduces the chance of accidental spills.
- Wipe your work surface with a lint-free wipe before starting. Static and dust attract loose glitter.
- Keep a small piece of tape handy to lift stray glitter off your skin without smudging your design.
Choose the Right Glitter for Your Service
Not all glitter behaves the same way. Fine glitter gives a smooth, almost encapsulated look and is easier to seal under a top coat. Chunky glitter creates more texture and may need a thicker clear layer to sit flat. For acrylic nails, you can mix glitter into clear powder or place it on a wet bead for a custom effect.
If you are new to glitter application, start with fine or medium-cut glitter. It is more forgiving and less likely to create sharp edges that catch on things. Once you are comfortable, you can experiment with larger flakes and shapes.
- Fine glitter is easiest to seal and looks smooth under a top coat.
- Chunky glitter may require two clear layers to avoid a rough surface.
Apply Glitter Without the Mess: Step by Step
The core technique is simple: place, don't pour. Apply a thin layer of base gel or a wet acrylic bead where you want the glitter. Use a small brush to pick up a pinch of glitter from your foil tray and pat it gently onto the nail. Patting, rather than sprinkling, keeps the glitter where you put it.
Work one nail at a time so your base does not dry before you add glitter. If you are using gel, cure after each nail or after a few nails, depending on your lamp and product. For acrylic, place the glitter while the bead is still wet, then press it lightly with a brush or your finger to embed it.
After placement, tap off excess glitter back onto your tray. Do not brush it off with your hand, as this spreads it around. A gentle tap is enough to remove loose particles without disturbing your design.
- Use a small detail brush to place glitter precisely along the cuticle or tip.
- If glitter gets on the skin, remove it with a clean brush dipped in a little monomer or gel cleanser before curing.
Seal and Finish for a Long-Lasting Look
Sealing is where many glitter manicures fail. If you leave glitter exposed, it will catch on clothing and flake off. Apply a clear top coat over the entire nail, making sure to cap the free edge. For gel, use a gel top coat and cure according to the manufacturer's instructions. For acrylic, apply a thin layer of clear acrylic or a gel top coat over the glitter.
If the surface feels rough, you can lightly file the edges with a fine grit file, but be careful not to file through the glitter. A second thin layer of top coat will smooth out any remaining texture. The goal is a glossy, sealed surface that locks the glitter in place.
- Cap the free edge with top coat to prevent lifting and chipping.
- Avoid thick layers of top coat, which can pool and cause uneven curing.
Cleanup Tips for a Truly No-Mess Finish
Even with careful placement, a few stray pieces of glitter will land on your skin. The trick is to remove them before they get sealed in. Use a small brush dipped in cleanser or a piece of tape to lift them off. If you are working with gel, do this before curing; once cured, glitter on the skin is much harder to remove.
When you are finished, funnel the glitter from your foil tray back into its container. Wipe your workspace with a damp paper towel to catch any remaining particles. A quick cleanup now saves you from finding glitter in unexpected places later.
- Clean up stray glitter before curing or applying top coat.
- Store loose glitter in a sealed container to prevent spills and contamination.
Glitter Application Steps: Checkpoints for a Clean Finish
- Set up your containment tray: Fold a piece of foil into a shallow tray and place it under your working hand. Tap a small amount of glitter into the tray instead of pouring from the jar. Checkpoint: If glitter is rolling off the foil, your tray edges are too low. Fold higher sides.
- Apply a thin base layer: Brush on a thin layer of base gel or place a wet acrylic bead where you want glitter. Do not let the base flood the cuticle or sidewalls. Checkpoint: The base should be tacky but not runny. If it is too wet, glitter will sink and spread.
- Place glitter with a small brush: Pick up a pinch of glitter with a detail brush and pat it gently onto the nail. Work in small sections and avoid sprinkling. Checkpoint: If glitter is bouncing off the nail, you are dropping it from too high. Pat it directly.
- Tap off excess glitter: Gently tap the finger over your foil tray to release loose particles. Do not blow on the nail, as this spreads glitter around. Checkpoint: The nail should look evenly covered with no loose glitter sitting on top.
- Seal with a clear top coat: Apply a thin layer of gel top coat or clear acrylic over the glitter, capping the free edge. Cure if using gel. Checkpoint: Run your brush over the surface. If it feels rough, add another thin layer of top coat.
- Clean up stray glitter before curing: Use a small brush dipped in cleanser or a piece of tape to remove any glitter that landed on the skin. Do this before curing gel. Checkpoint: Once cured, glitter on the skin is difficult to remove without damaging the manicure.
Products That Help You Apply Glitter Cleanly
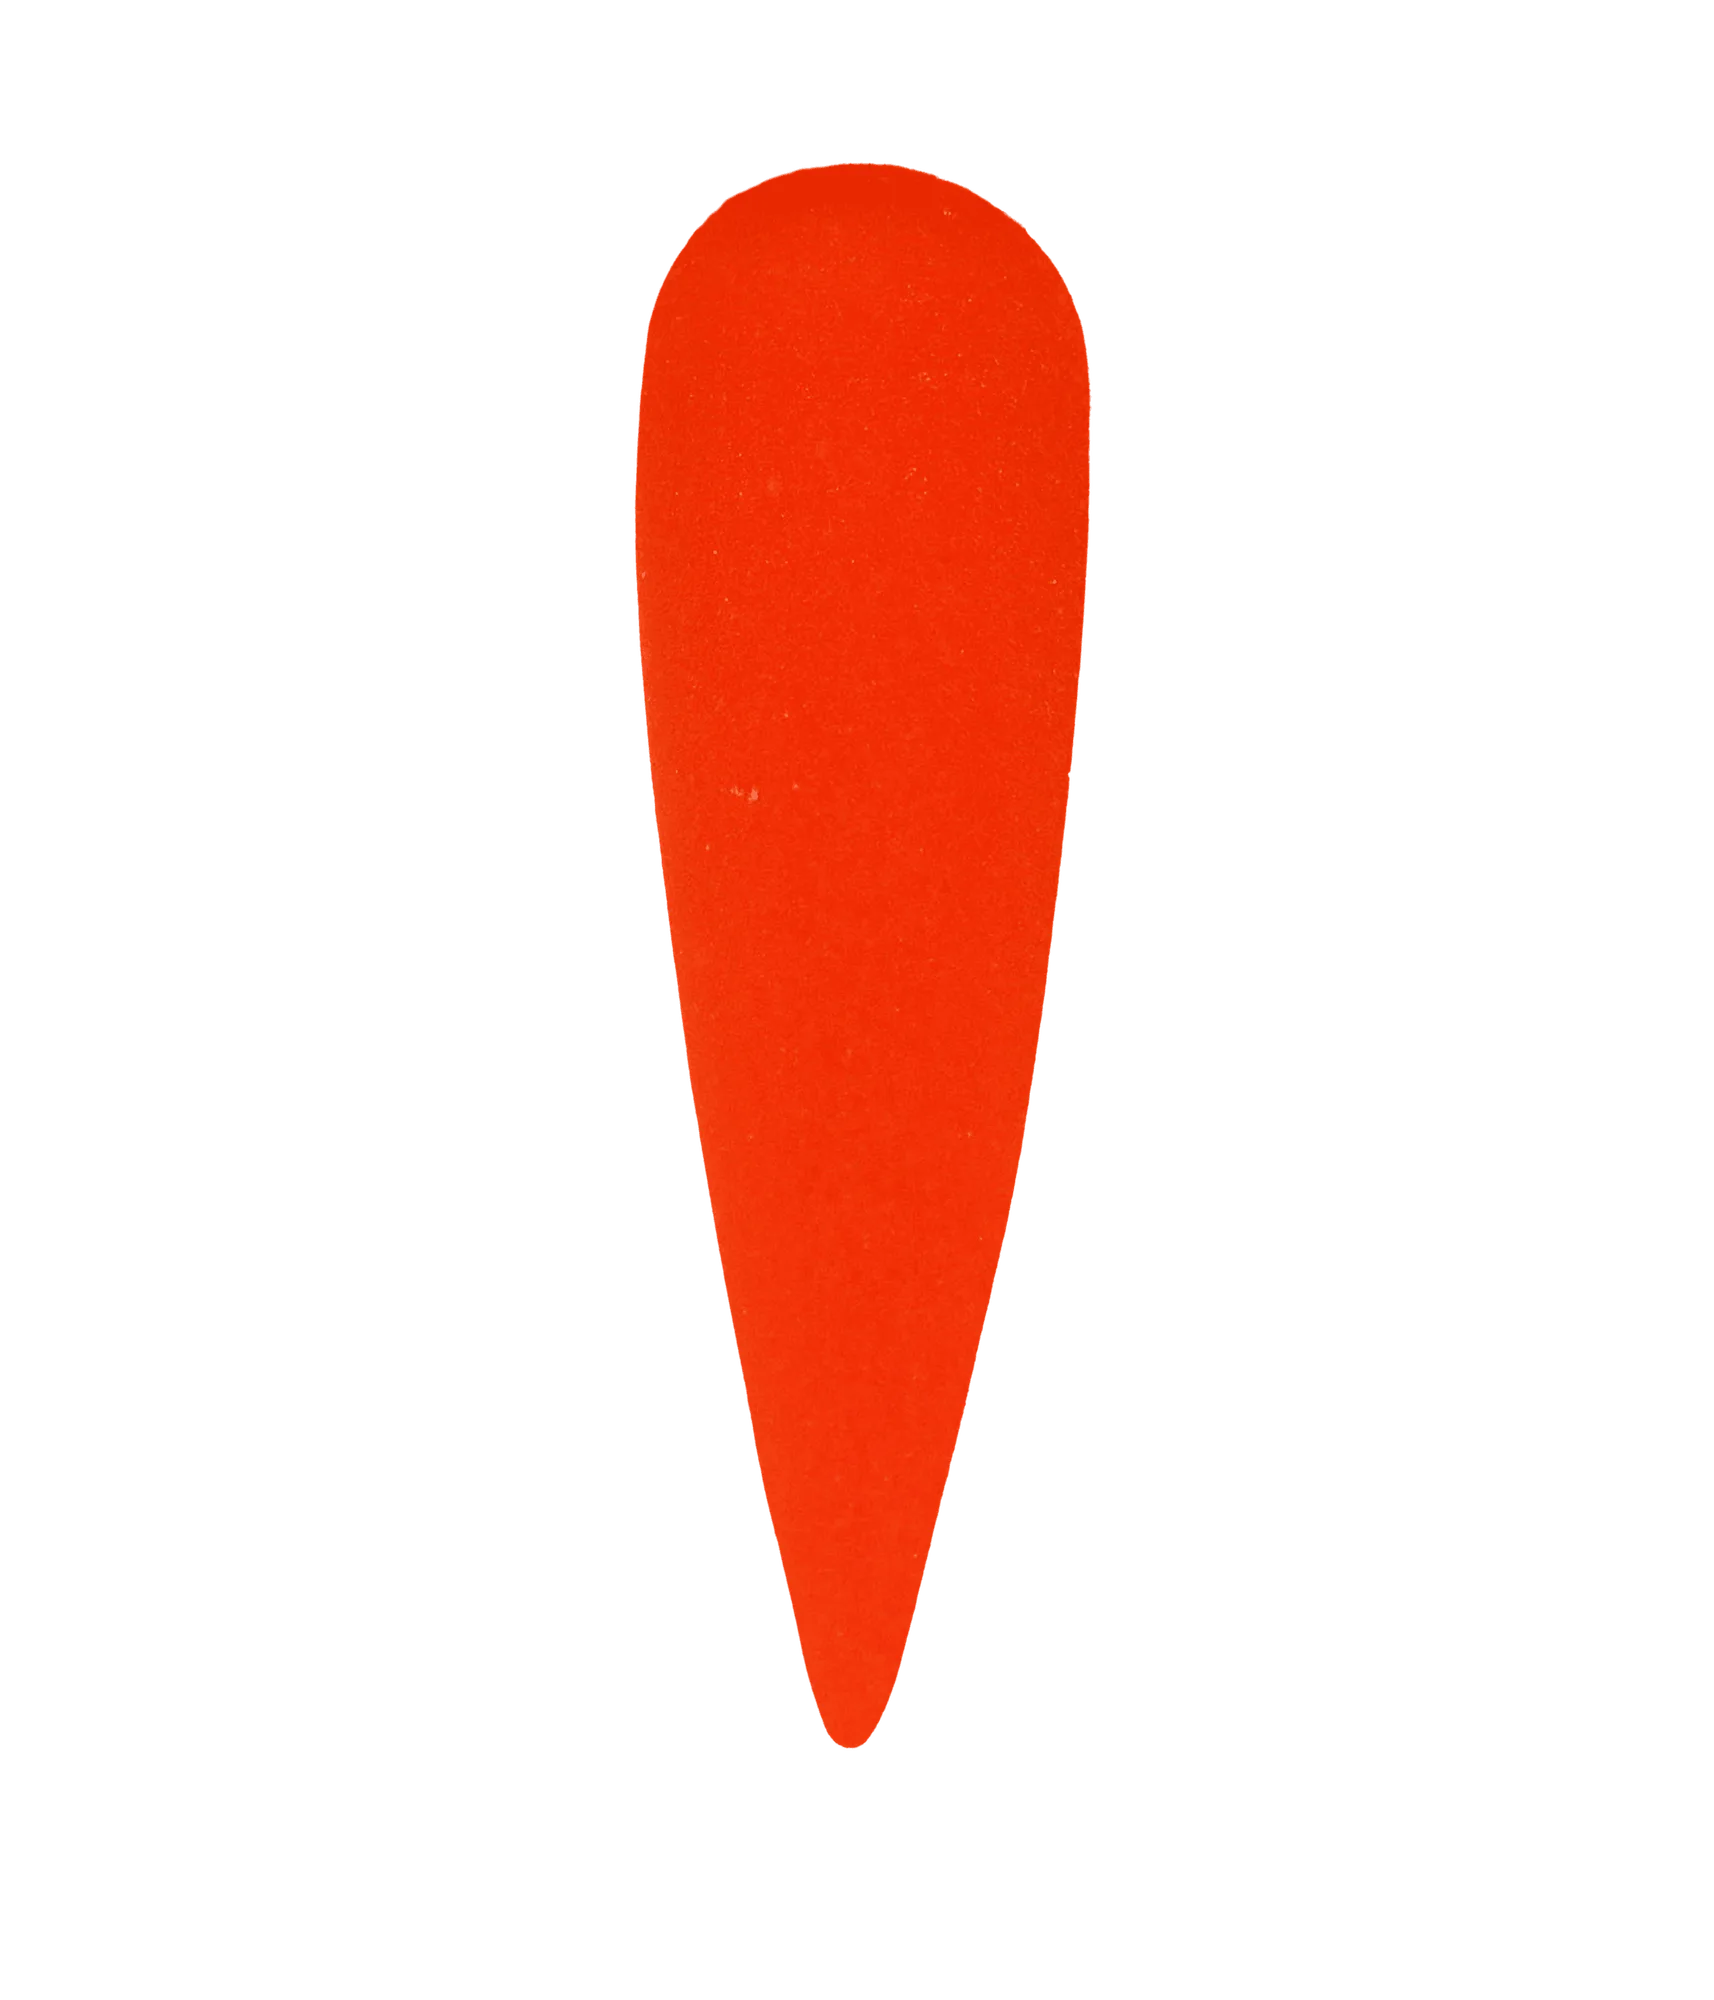
- #75 Pumpkin Spice Martini Acrylic Nail Powder: Jessica Danielle Nails uniquely formulated acrylic powder ensures a flawless, smooth finish with every application, providing a professional-grade result. The formula is designed for a butter-like consistency, making it easy to work with and ideal for creating stunning nails. A smooth, easy-to-control acrylic base gives you a stable surface for glitter placement, so you can pat glitter on without the base shifting or setting too fast.
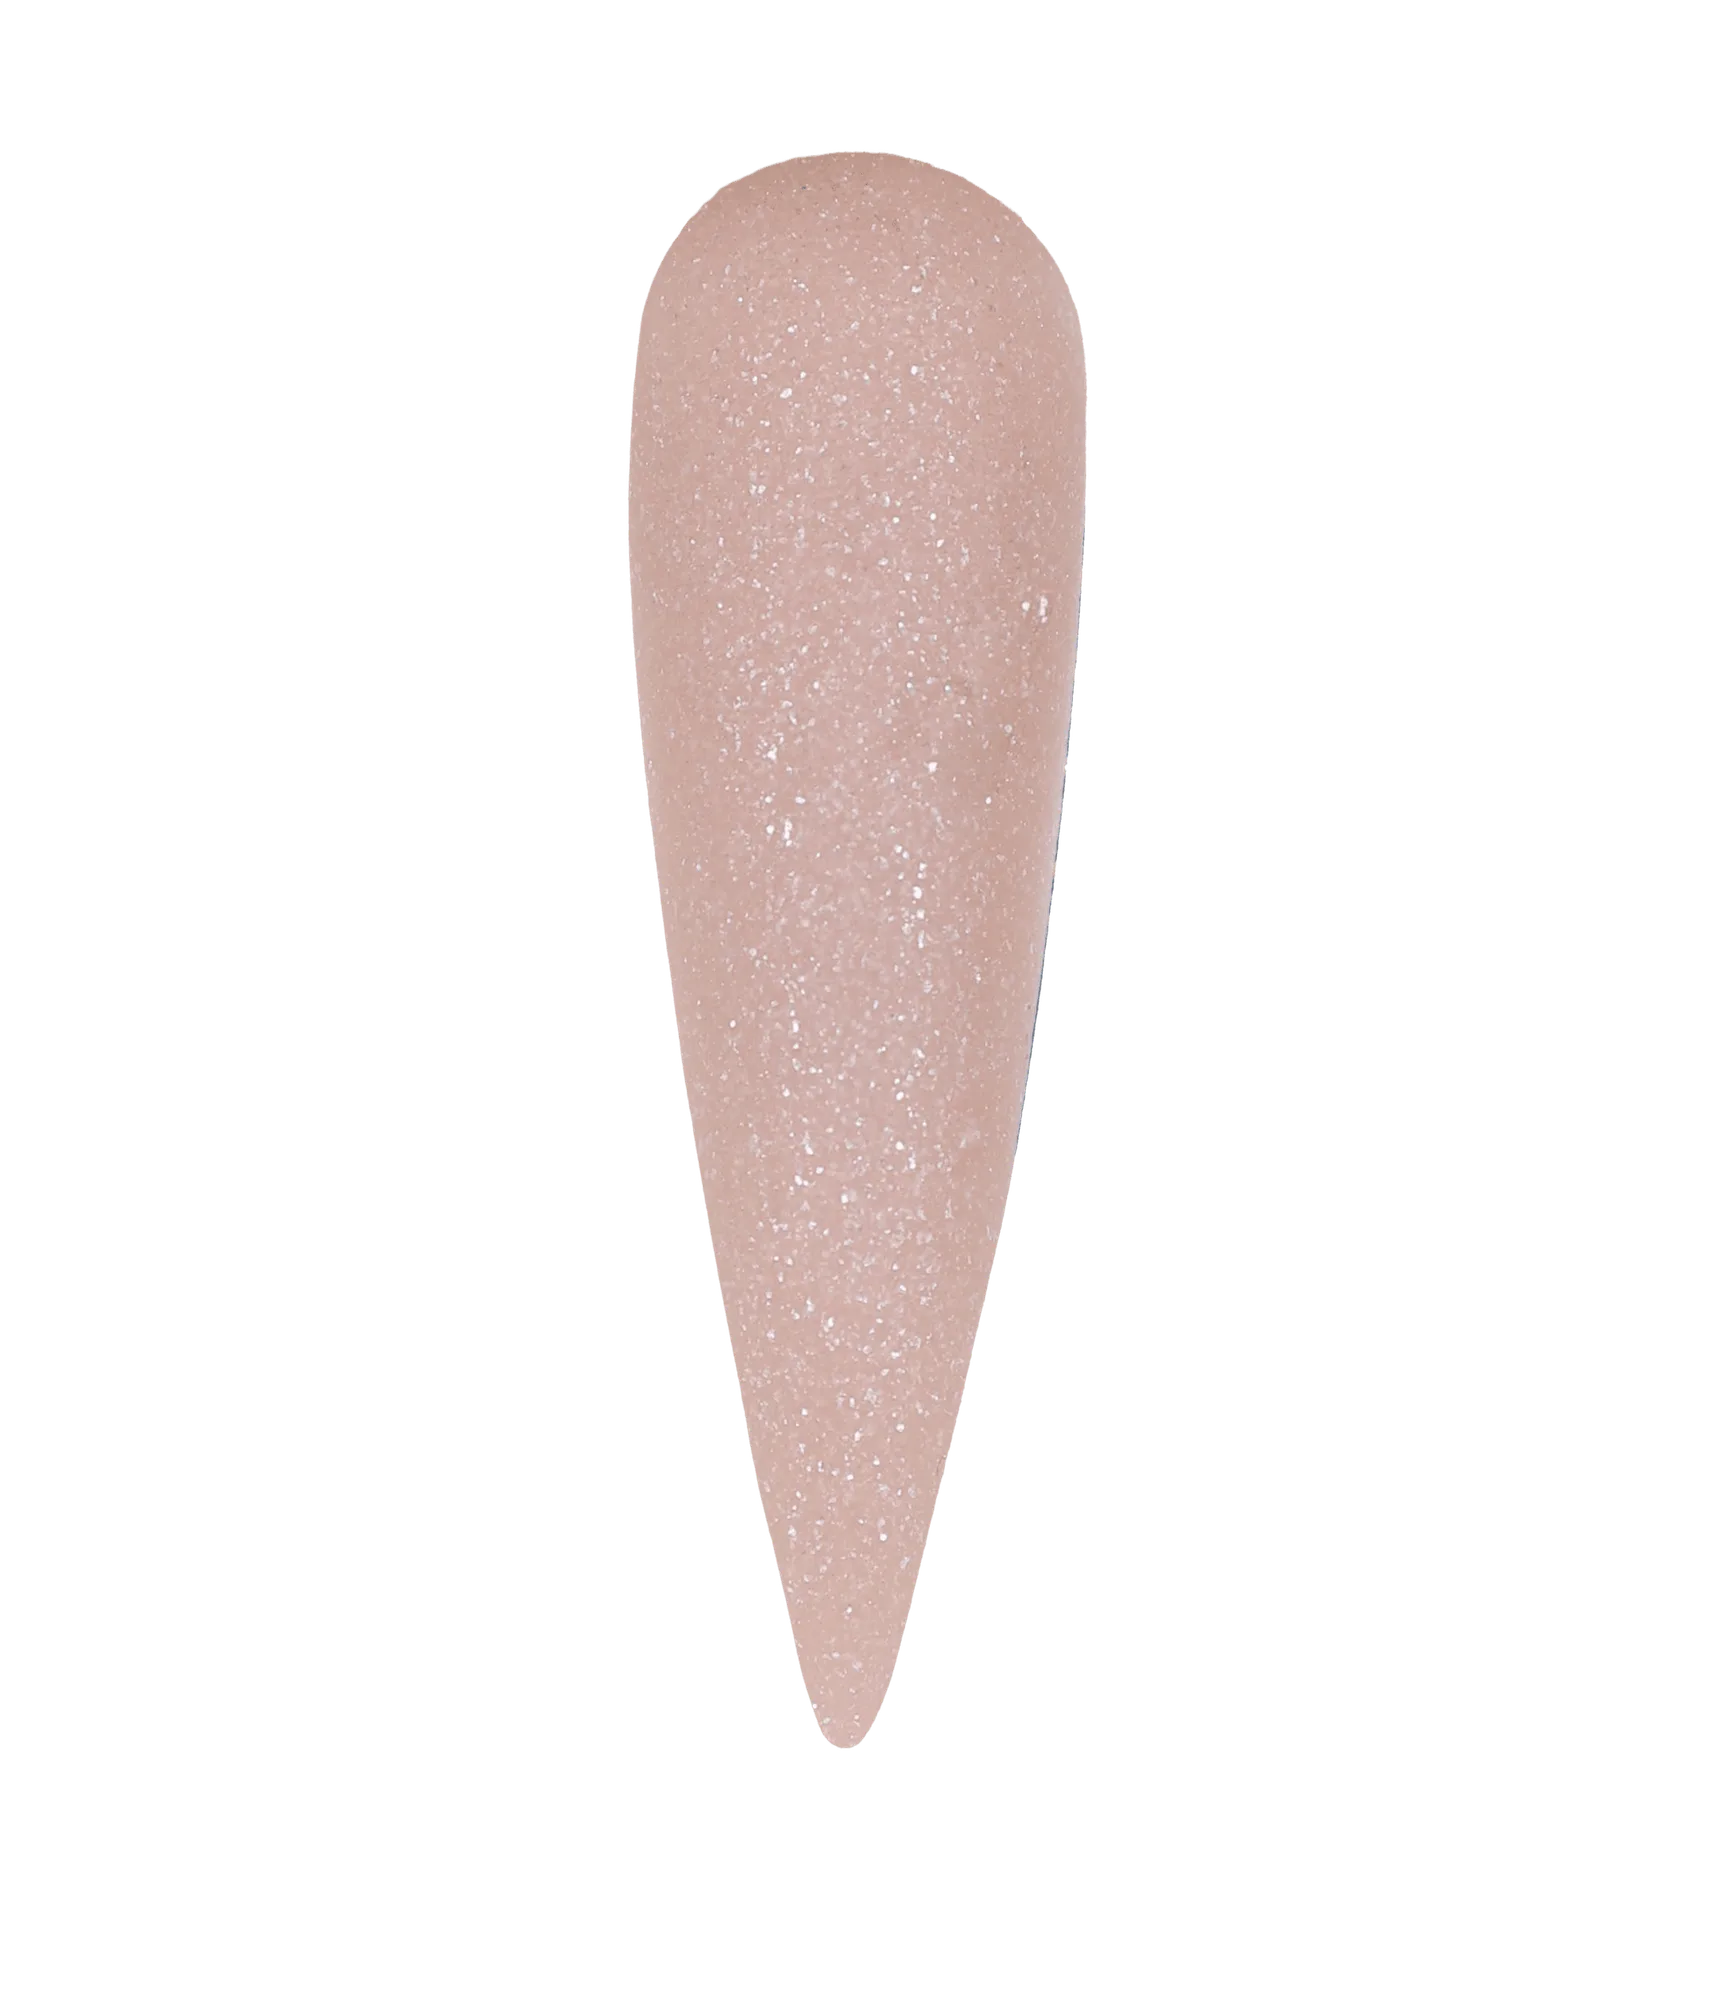
- #54 Champagne Kisses - Acrylic Nail Powder: Versatile Application: Tailored for both beginner nail techs and seasoned professionals, Jessica Danielle Nails acrylic nail powder is designed to accommodate a range of skill levels, ensuring a smooth experience for all users. Perfect Pairing: Achieve optimal results by combining our acrylic nail powder with our premium EMA monomer. If you are new to glitter application, a forgiving acrylic powder lets you practice placement and embedding without the pressure of a fast-setting product.
Applying glitter without the mess comes down to containment, precise placement, and sealing. Work over a foil tray, pat glitter on with a small brush, and always seal with a top coat. With these habits, you can enjoy glitter nail art without the cleanup stress. Practice on a few nails first, and you will quickly find your rhythm.