If you've ever tried making gluten-free pizza at home, you know the struggle: crumbly crusts, gummy centers, or a texture that just doesn't satisfy that pizza craving. But with the right mix and a few pro tips, you can achieve a crispy, chewy, and delicious gluten-free pizza crust that rivals your favorite pizzeria.
In this guide, we'll walk you through everything you need to know about using a gluten-free classic pizza dough mix—from preparation to baking—so you can enjoy perfect pizza night every time. Whether you're a seasoned gluten-free baker or just starting out, these tips will help you get the best results.
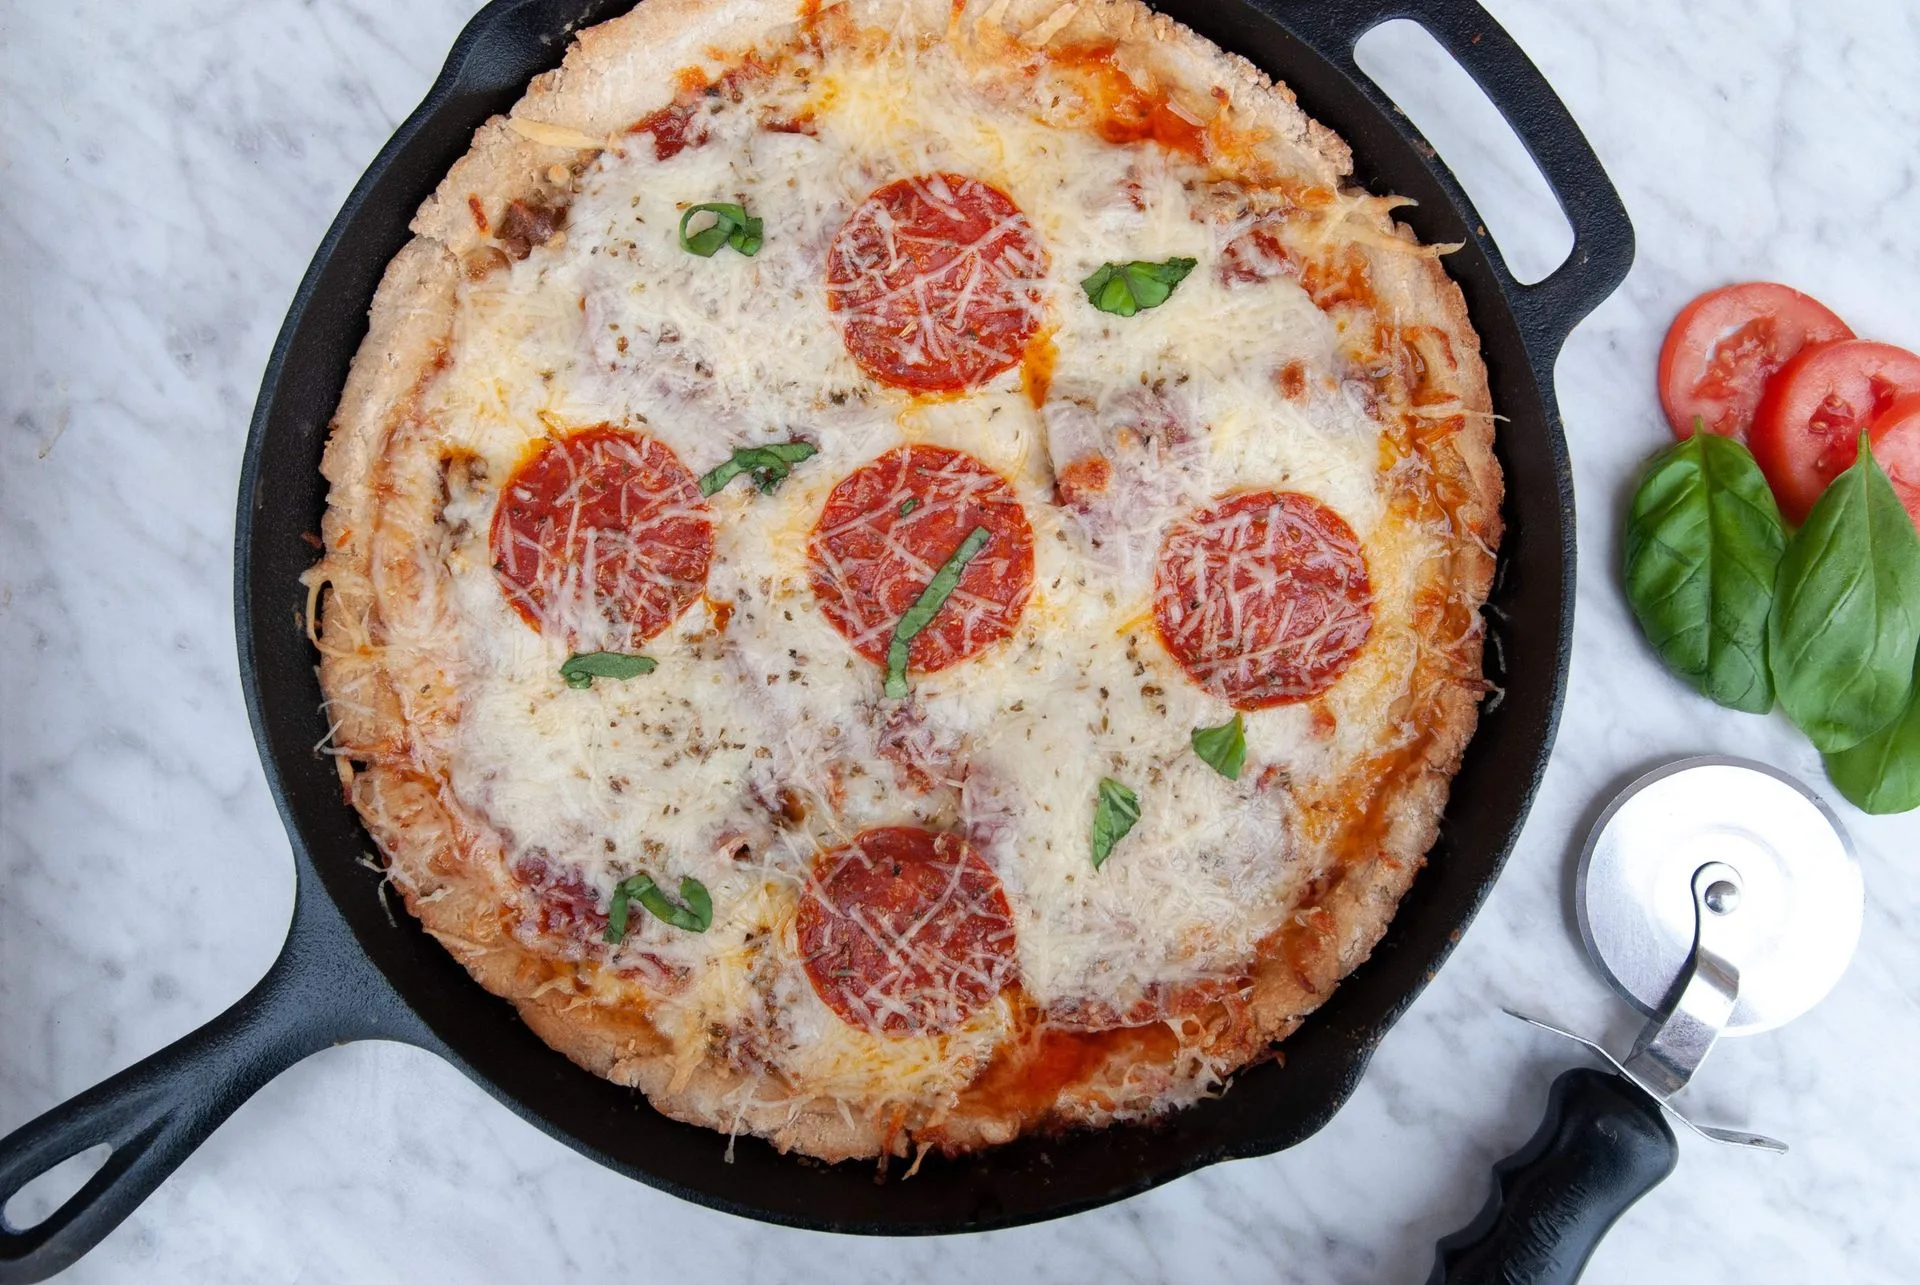
gluten-free classic pizza dough mix
Why Choose a Classic Pizza Dough Mix?
Making gluten-free pizza dough from scratch can be intimidating. Gluten-free flours behave differently than wheat flour, often requiring a blend of starches and gums to mimic the elasticity of gluten. A high-quality classic pizza dough mix simplifies the process by combining the right flours, starches, and binders in the correct proportions, so you don't have to guess.
Using a mix also ensures consistency. When you use a trusted product like the Gluten-Free Classic Pizza Dough Mix from Moms Place Gluten Free, you know exactly what to expect. You can focus on the fun part—topping and baking—rather than worrying about whether your dough will hold together.
- Look for a mix that includes xanthan gum or guar gum for structure.
- Check the ingredient list for a blend of flours (like rice, tapioca, and potato) for better texture.
- A mix with a good protein content helps mimic the chew of traditional pizza dough.
Essential Tips for the Perfect Gluten-Free Pizza Crust
Start with room-temperature ingredients. Cold water or eggs can hinder the hydration of the gluten-free flours, leading to a dry or crumbly dough. Let your water, eggs, and any other liquids sit out for about 30 minutes before mixing.
Mix the dough thoroughly. Unlike wheat dough, gluten-free dough benefits from extended mixing to develop structure. Use a stand mixer with a paddle attachment for 2-3 minutes until the dough is smooth and slightly sticky. Don't overmix, though—you want a soft, pliable dough.
Let the dough rest. After mixing, cover the dough and let it rest for at least 10-15 minutes. This allows the flours to fully hydrate, resulting in a more tender and workable crust. Some bakers even refrigerate the dough for 30 minutes to make it easier to handle.
- Use a light touch when pressing the dough into the pan—gluten-free dough can be delicate.
- If the dough sticks to your fingers, lightly oil your hands or use a piece of parchment paper.
- For a crispier crust, pre-bake the dough for 5-7 minutes before adding toppings.
How to Roll and Shape Your Gluten-Free Pizza Dough
Gluten-free dough is more fragile than traditional dough, so rolling it out requires a different approach. Instead of tossing it in the air, place the dough between two sheets of parchment paper and roll it gently with a rolling pin. This prevents tearing and makes it easy to transfer to your pizza pan or stone.
If you prefer a thicker, chewier crust, press the dough directly into a greased pizza pan using your fingertips. For a thin and crispy crust, roll it as thin as you can—about 1/4 inch—and use a pizza stone preheated in the oven.
Don't worry if the edges crack or look uneven. You can always patch them with a little extra dough and a damp finger. The rustic look is part of the charm of homemade pizza!
- Use a pizza peel dusted with cornmeal or rice flour to slide the pizza onto a hot stone.
- If you don't have a stone, a preheated baking sheet works well too.
- For a stuffed crust, roll the dough slightly larger and fold the edges over cheese sticks.
Baking Secrets for a Golden, Crispy Crust
The key to a crispy gluten-free crust is high heat. Preheat your oven to the highest temperature it can go—usually 500°F (260°C) or 550°F (290°C)—and let it heat for at least 30 minutes. If you have a pizza stone, place it in the oven while it preheats.
Bake your pizza on the bottom rack or directly on the stone to get a browned, crisp bottom. For an even crispier result, you can bake the crust on a preheated baking sheet for 8-10 minutes, then add toppings and finish baking.
Don't overload your pizza with toppings, especially if they are watery (like fresh mozzarella or vegetables). Too much moisture can make the crust soggy. Pre-cook watery toppings like mushrooms or peppers, or use a thicker sauce.
- Use a pizza cutter with a sharp blade to avoid tearing the crust.
- Let the pizza rest for 2-3 minutes before slicing to allow the cheese to set.
- If your crust is browning too quickly, tent it with foil during the last few minutes.
Troubleshooting Common Gluten-Free Pizza Dough Issues
If your dough is too sticky, add a little more mix or gluten-free flour, one tablespoon at a time, until it pulls away from the sides of the bowl. If it's too dry, add a teaspoon of warm water at a time until it comes together.
A crumbly crust often means the dough wasn't hydrated enough or wasn't mixed enough. Make sure you measure your ingredients accurately—gluten-free flour blends can vary in weight. Use a kitchen scale for best results.
If your crust is gummy in the center, it may not have baked long enough. Try pre-baking the crust for a few extra minutes before adding toppings, and make sure your oven is fully preheated.
- Always follow the package instructions for your specific mix, as different blends may require different hydration levels.
- If your dough is too soft to handle, refrigerate it for 15-20 minutes.
- Bake on a lower rack to ensure the bottom cooks through.
Serving and Storage Ideas for Gluten-Free Pizza
Gluten-free pizza is best enjoyed fresh out of the oven, but leftovers can be stored in an airtight container in the refrigerator for up to 3 days. To reheat, place slices on a baking sheet and warm in a 350°F oven for 5-7 minutes, or until the cheese is bubbly and the crust is crisp.
You can also freeze the baked pizza for up to 2 months. Wrap it tightly in plastic wrap and then foil. To serve, thaw in the refrigerator overnight and reheat as directed.
Get creative with your toppings! Try a classic Margherita with fresh basil, a BBQ chicken pizza with red onion, or a veggie-packed Mediterranean version with olives and feta. The possibilities are endless.
- For a quick weeknight dinner, make individual personal pizzas—kids love to customize their own.
- Serve with a side salad or roasted vegetables for a complete meal.
- Use gluten-free pepperoni or sausage to keep the whole pizza gluten-free.
With these gluten-free pizza dough tips, you'll be able to create a delicious, crispy crust using a classic pizza dough mix. Remember to let your dough rest, bake at high heat, and don't overload on toppings. For a reliable mix, check out the Gluten-Free Classic Pizza Dough Mix from Moms Place Gluten Free—it's the perfect base for your next pizza night.


