There's nothing more disappointing than pulling a homemade gluten-free pizza out of the oven only to find a soggy, limp crust. You've invested in quality ingredients and followed the recipe, yet the bottom is pale and wet, and the toppings slide off. If this sounds familiar, you're not alone. Soggy crust is one of the most common challenges in gluten-free baking, but it's also one of the most preventable.
In this guide, we'll walk through the science behind why gluten-free pizza crusts turn soggy and provide practical, actionable tips to ensure your next pizza is crispy, golden, and delicious. Whether you're using a store-bought mix or making dough from scratch, these strategies will transform your pizza nights.
Why Gluten-Free Pizza Crust Gets Soggy
Gluten-free doughs lack the protein structure that gives traditional wheat dough its elasticity and strength. This means they can't hold onto moisture the same way, and they often have a higher liquid-to-flour ratio to compensate. The result is a crust that absorbs moisture from the sauce, cheese, and toppings, turning it soft and doughy.
Additionally, gluten-free flours like rice flour, tapioca starch, and potato starch are more hygroscopic, meaning they attract and hold water. Without proper baking techniques, that water stays trapped in the crust, leading to a gummy interior and a wet exterior. Understanding this moisture dynamic is the first step to fixing it.
- Gluten-free dough often has more water than wheat dough, making it prone to sogginess.
- Lack of gluten means less structure to hold up against wet toppings.
- Hygroscopic flours absorb moisture from toppings, especially if not fully baked.
Pre-Bake Your Crust for a Crispy Foundation
One of the most effective ways to prevent a soggy gluten-free pizza crust is to pre-bake (or par-bake) the crust before adding toppings. This allows the dough to set and dry out slightly, creating a barrier that resists moisture. For most gluten-free pizza mixes, a 5-7 minute pre-bake at a high temperature (around 425°F) works wonders.
When pre-baking, prick the dough with a fork to prevent air bubbles from forming. This also helps steam escape, ensuring the crust stays flat and cooks evenly. After pre-baking, let the crust cool for a few minutes before adding sauce and toppings. This brief cooling period allows the crust to firm up further, making it more resilient to moisture.
- Pre-bake at 425°F for 5-7 minutes until lightly golden.
- Prick the dough with a fork to release steam and prevent bubbles.
- Cool the crust for 3-5 minutes before topping.
Manage Toppings and Sauce to Reduce Moisture
The amount and type of toppings you use can make or break your crust's crispiness. Start with a thin layer of sauce—too much sauce is a common culprit for soggy pizza. You can also cook your sauce down to thicken it, reducing its water content. If you're using fresh mozzarella, which has high moisture, consider patting it dry with paper towels before placing it on the pizza.
Vegetables like mushrooms, peppers, and onions release water as they cook. To prevent this, sauté them briefly before adding them to the pizza. This pre-cooking step removes excess moisture and enhances their flavor. Also, avoid overloading the pizza with too many toppings, as the weight and moisture will compact the crust.
- Use a thin layer of sauce; thicken it by simmering.
- Pat dry fresh mozzarella and other high-moisture cheeses.
- Pre-cook watery vegetables like mushrooms and peppers.
Baking Techniques for Maximum Crispiness
Your oven setup plays a crucial role in achieving a crispy crust. A preheated pizza stone or baking steel absorbs heat and transfers it directly to the dough, helping to crisp the bottom. If you don't have a stone, use an inverted baking sheet and preheat it in the oven. Place the pizza on the hot surface to start baking immediately.
Baking on the lowest oven rack also helps, as it exposes the crust to more direct heat from the bottom. Additionally, consider finishing the pizza under the broiler for the last 1-2 minutes. This will brown the top and crisp the edges without overcooking the center. Keep a close eye on it to avoid burning.
- Preheat a pizza stone or baking steel for at least 30 minutes.
- Bake on the lowest rack for better bottom heat.
- Finish under the broiler for a crispy top and edges.
Choosing the Right Gluten-Free Pizza Dough Mix
The quality of your gluten-free pizza dough mix can significantly impact the final texture. Look for mixes that are specifically formulated for pizza, as they often include a blend of flours and starches that mimic the chewiness of wheat dough. Some mixes also contain xanthan gum or other binders to improve structure.
At Moms Place Gluten Free, you'll find a variety of mixes that can be adapted for pizza. For example, the Gluten-Free Buttermilk Biscuit & Mild Chili Seasoning Mix Combo is a versatile option that can be used to create a unique pizza crust with a hint of spice. Pair it with the Gluten-Free Mild Chili Seasoning for an extra kick. These products are designed to deliver consistent results, making it easier to achieve a crispy crust.
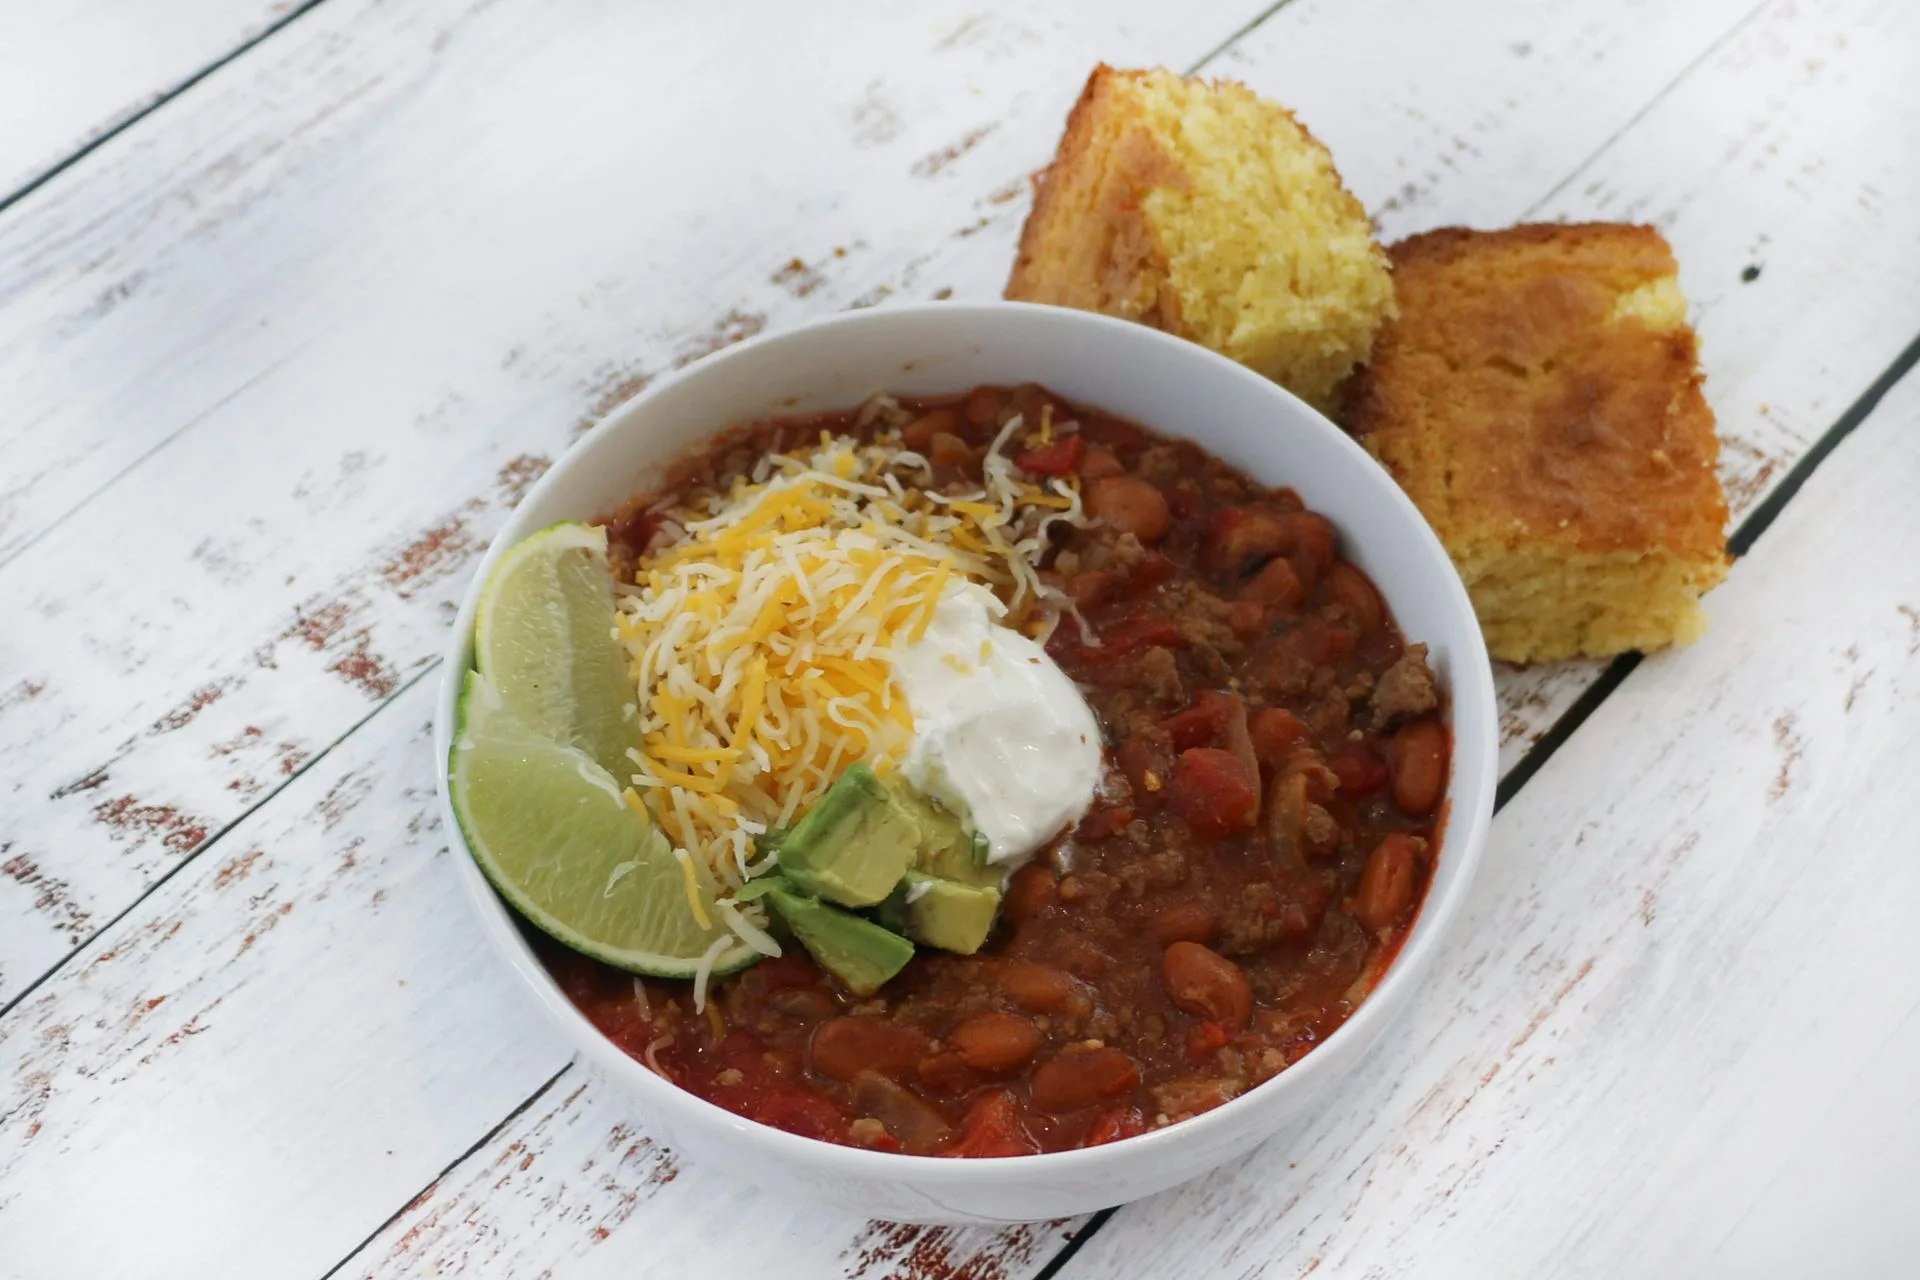
Gluten-Free Mild Chili Seasoning
- Choose a mix specifically for pizza or a versatile mix like buttermilk biscuit.
- Check the ingredient list for binders like xanthan gum.
- Experiment with different mixes to find your favorite texture.
Common Mistakes to Avoid
Even with the best intentions, certain mistakes can lead to a soggy crust. One of the most common is not preheating the oven long enough. A properly preheated oven ensures the crust cooks quickly and doesn't steam. Another mistake is rolling the dough too thin, which can cause it to become fragile and absorb more moisture.
Also, avoid adding cold toppings directly from the fridge. Cold cheese and sauce lower the oven temperature, which can lead to undercooked crust. Let them come to room temperature first. Finally, don't skip the resting time after shaping the dough. Resting allows the flours to hydrate fully and the dough to relax, resulting in a better texture.
- Always preheat the oven fully before baking.
- Don't roll the dough too thin; aim for about 1/4 inch thickness.
- Let toppings come to room temperature before adding.
With these tips, you'll be well on your way to enjoying a crispy, golden gluten-free pizza crust every time. Remember to pre-bake, manage moisture, and use the right baking techniques. For a delicious start, try the Gluten-Free Buttermilk Biscuit & Mild Chili Seasoning Mix Combo to create a unique, flavorful crust that holds up beautifully. Happy baking!