Why the Fine Edge Set Works for Panel Lining
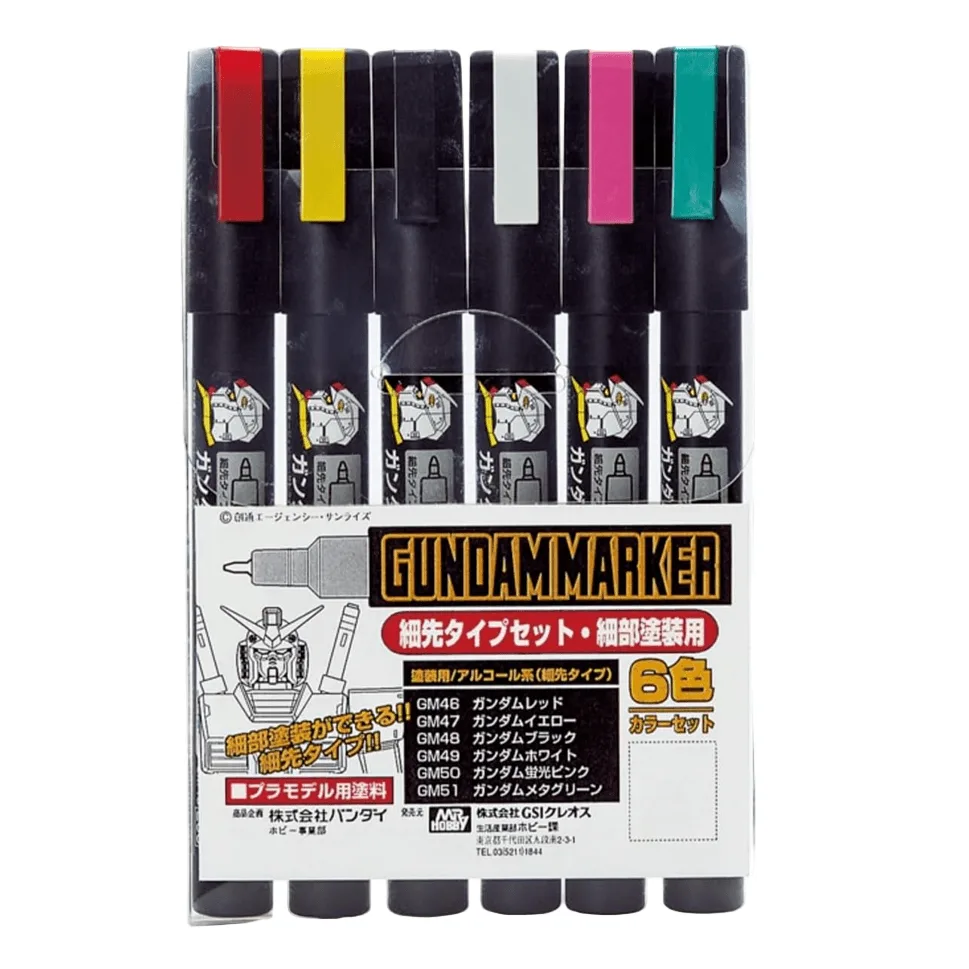
Panel lining adds depth and definition to Gunpla by filling the recessed lines on armor parts. The Gundam Fine Edge Set Marker 6 Pack is built for this job: each marker has a precision ultra-fine tip that lets you apply color directly into tight seams and along edges without flooding the surrounding plastic.
The set includes six colors—Gundam Red, Gundam Yellow, Gundam Black, Gundam White, Fluorescent Pink, and Metallic Green—so you can match classic Gundam palettes or add small accents. The markers are designed for smooth application and quick drying, making them suitable for builders of any skill level.
What You Get in the Set
-
Gundam Fine Edge Set Marker 6 Pack: Each marker features a precision ultra-fine tip for panel lines, edge highlights, and small color accents, even on tight armor seams. The fine tip is the key feature for controlled panel lining, especially on small or detailed parts.
Gundam Fine Edge Set Marker 6 Pack
-
Gundam Fine Edge Set Marker 6 Pack: The set includes Gundam Red, Gundam Yellow, Gundam Black, Gundam White, Fluorescent Pink, and Metallic Green. Six colors give you options for standard panel lines and creative accents without buying multiple sets.
-
Gundam Fine Edge Set Marker 6 Pack: Markers offer smooth application, quick drying, and clean results for builders of any skill level. Quick drying reduces the risk of smudging, and the smooth flow helps beginners avoid blobs.
How to Panel Line Your Gunpla with Fine Edge Markers
Follow these steps for clean results. Work in a well-lit area and test on a spare runner first.
- Prepare your parts: Clean the surface of dust or oil. If you are touching up parts straight off the runner, ensure the plastic is dry and free of mold release agents.
- Choose your color: For dark plastic, use black or a darker shade; for light plastic, use black or a complementary color. The set’s Gundam Black is a safe default for most panel lines.
- Apply along the panel line: Use the ultra-fine tip to draw a steady line along the recessed groove. Let the tip do the work—avoid pressing hard. For tight seams, a gentle touch is enough.
- Clean up as needed: If you get marker outside the line, wipe it away quickly with a clean swab or cloth before it dries. The quick-drying formula means you should check after each stroke.
- Add accents and highlights: Use the colored markers (Red, Yellow, Fluorescent Pink, Metallic Green) for small details like vents, thrusters, or edge highlights. The fine tip allows precise placement.
Panel Line Marker Tips for Cleaner Results
- Test on a runner first: Before touching your model, try each marker on the plastic runner to see how the color flows and dries. This helps you gauge pressure and speed.
- Work in small sections: Panel line one area at a time and let it dry before moving on. This prevents accidental smearing.
- Use the right tip angle: Hold the marker at a slight angle so the ultra-fine tip glides along the groove. Too steep an angle may cause the tip to skip.
- Layer for intensity: If you want a darker line, wait for the first pass to dry and go over it again. The markers are buildable.
- Keep the caps on: Marker tips can dry out if left uncapped. Replace the cap immediately after use.
What the Supplied Information Does Not Confirm
The product record does not specify a recommended drying time, compatibility with topcoats, or whether the markers can be used on painted surfaces. It also does not list any safety warnings or age recommendations. If you plan to use these markers on a painted kit or with clear coats, test on a hidden area first. For specific safety or usage instructions beyond what is listed, refer to the manufacturer’s documentation.