Quick answer
Use heart-shaped buttons as decorative accents, not load-bearing closures. Plan placement before you sew, choose a thread that matches or intentionally contrasts, and secure each button with a shank so it sits above thick fabric. For a playful, durable option, the Pink Bow Small 5/8" Buttons work well on garments, bags, and small accessories.
Heart-shaped buttons add instant charm to handmade projects, but they behave differently from standard round buttons. Their shape can shift under thread tension, and their decorative nature means they often serve as embellishment rather than a functional closure. That changes how you place, stitch, and care for them.
This guide walks through a practical process for using heart-shaped buttons in sewing projects. You will find steps for planning placement, testing on scraps, stitching securely, and keeping the buttons looking good after washing. There are also decorative button ideas for garments, bags, quilts, and small accessories.
Why heart-shaped buttons need a different approach
Heart-shaped buttons are usually made from materials like cellulose acetate, which gives them a pearly finish and a lightweight feel. Because the shape is asymmetrical, the button can rotate or tilt when sewn with standard two-hole or four-hole stitching. That rotation is not a defect; it is a design feature that you need to control with your stitch placement.
Unlike flat round buttons, heart shapes often have a distinct top and bottom. If you sew through the holes without checking orientation, the heart may end up sideways or upside down. The fix is simple: mark the orientation on your fabric before you thread your needle, and treat the button as a decorative element that should be placed intentionally.
- Check the button's hole pattern: two-hole buttons are easier to keep aligned than four-hole buttons.
- If the button has a pronounced top and bottom, decide which way the heart should point before you sew.
Step 1: Plan placement with the garment or project in mind
Before you sew anything, lay the buttons on your project and step back. On a garment, avoid placing heart buttons where they will catch on bag straps or seatbelts. On a bag, keep them away from high-friction areas like the bottom corners. On a quilt, place them where they will not be crushed by folding.
A common mistake is placing buttons too close to a seam or edge. Leave at least 1/2 inch of fabric beyond the button's edge so the button can lie flat and your presser foot has room to maneuver. If you are using multiple buttons, space them evenly and mark each position with a water-soluble pen or chalk.
- For garments, test the placement while wearing the item to check comfort and visibility.
- For quilts and wall hangings, avoid placing buttons where quilting lines already create bulk.
Step 2: Test on a fabric scrap first
Heart-shaped buttons can sink into thick fabrics or float above thin ones. Before committing to your final project, sew one button onto a scrap of the same fabric and interfacing. This test reveals whether you need a shank, a stabilizer, or a different thread weight.
If the button disappears into the fabric, add a small square of fusible interfacing behind the placement area. If the button feels loose, you may need to build a thread shank. Testing takes five minutes and prevents you from unpicking stitches later.
- Use the same needle and thread you plan to use on the final project.
- If the button is lightweight and the fabric is heavy, consider a decorative stitch that distributes tension.
Step 3: Sew with a shank for thick fabrics
A thread shank raises the button above the fabric so it does not compress the material or pop off under stress. To create one, place a toothpick or matchstick between the button and the fabric as you sew. Stitch through the holes several times, then remove the toothpick and wrap the thread around the stitches underneath the button.
For thin fabrics like quilting cotton, a shank may not be necessary. But for denim, canvas, wool, or layered quilts, a shank keeps the button from pulling tight and distorting the fabric. This is especially important for heart-shaped buttons because their irregular shape can torque the stitches if they are sewn flat.
- Use a thread color that matches the button for an invisible look, or a contrasting color to make the stitching part of the design.
- Always knot securely on the back and weave in ends rather than tying a bulky knot.
Step 4: Use heart buttons as decorative accents, not closures
Heart-shaped buttons are rarely strong enough to serve as the only closure on a garment that gets pulled open and closed. Instead, use them as decorative button embellishment ideas: sew them along a placket, at the top of a pleat, or as a cluster on a pocket. They can also replace a standard button on a bag flap if you add a hidden snap or hook-and-loop tape underneath.
For quilts, heart buttons can accent a corner or frame a label. For accessories like key chains or zipper charms, a small heart button can be sewn onto a felt shape or attached with a jump ring. The key is to think of them as jewelry for your project, not structural hardware.
- If you want a functional closure, pair a heart button with a hidden snap or a larger standard button underneath.
- On children's clothing, avoid small buttons that could come loose; check the button size against safety guidelines.
Step 5: Care for heart buttons so they last
Decorative buttons still need care. Wash garments inside out on a gentle cycle, or hand wash if the button is particularly delicate. Avoid high heat in the dryer, which can warp some acetate buttons or loosen threads. If you used a thread shank, check it after each wash and tighten the wrapping if needed.
For quilts and wall hangings, spot clean around the buttons rather than machine washing the entire piece. If you must wash, place the quilt in a pillowcase or mesh bag to protect the buttons from tumbling. Always test a small area first if you are unsure how the button will react to water or detergent.
- Never iron directly over a button; press around it or use a pressing cloth.
- Store projects with buttons flat or rolled to avoid crushing the button shape.
Heart button project checklist
- Plan placement: Lay out the buttons on the project and mark each position with chalk or a water-soluble pen. Check that the heart orientation is consistent. Checkpoint: step back and view the layout from a distance before you sew.
- Test on a scrap: Sew one button onto a scrap of the same fabric and interfacing to check tension, shank needs, and appearance. Checkpoint: if the button sinks or tilts, adjust with interfacing or a thread shank.
- Sew with a shank: For thick fabrics, place a toothpick between the button and fabric as you stitch, then remove it and wrap the thread underneath to form a shank. Checkpoint: the button should sit slightly above the fabric, not compressed into it.
- Secure the thread: Knot on the back and weave in ends. Avoid bulky knots that can create lumps under the fabric. Checkpoint: tug gently on the button to confirm it is secure before moving on.
- Care and wash: Wash inside out on gentle cycle or hand wash. Avoid high heat. Check thread shanks after washing and tighten if needed. Checkpoint: store projects flat or rolled to protect the button shape.
Product facts that help with heart button projects
- Pink Bow Small 5/8" Buttons: Made from eco-friendly cellulose acetate, their cute bow shape in a pearly pink color makes them a sweet addition to any garment or bag. Sold in packs of 10 buttons. The small size and lightweight material make them ideal for decorative accents on garments and bags without adding bulk. The pack of 10 gives you enough to plan a repeating pattern.
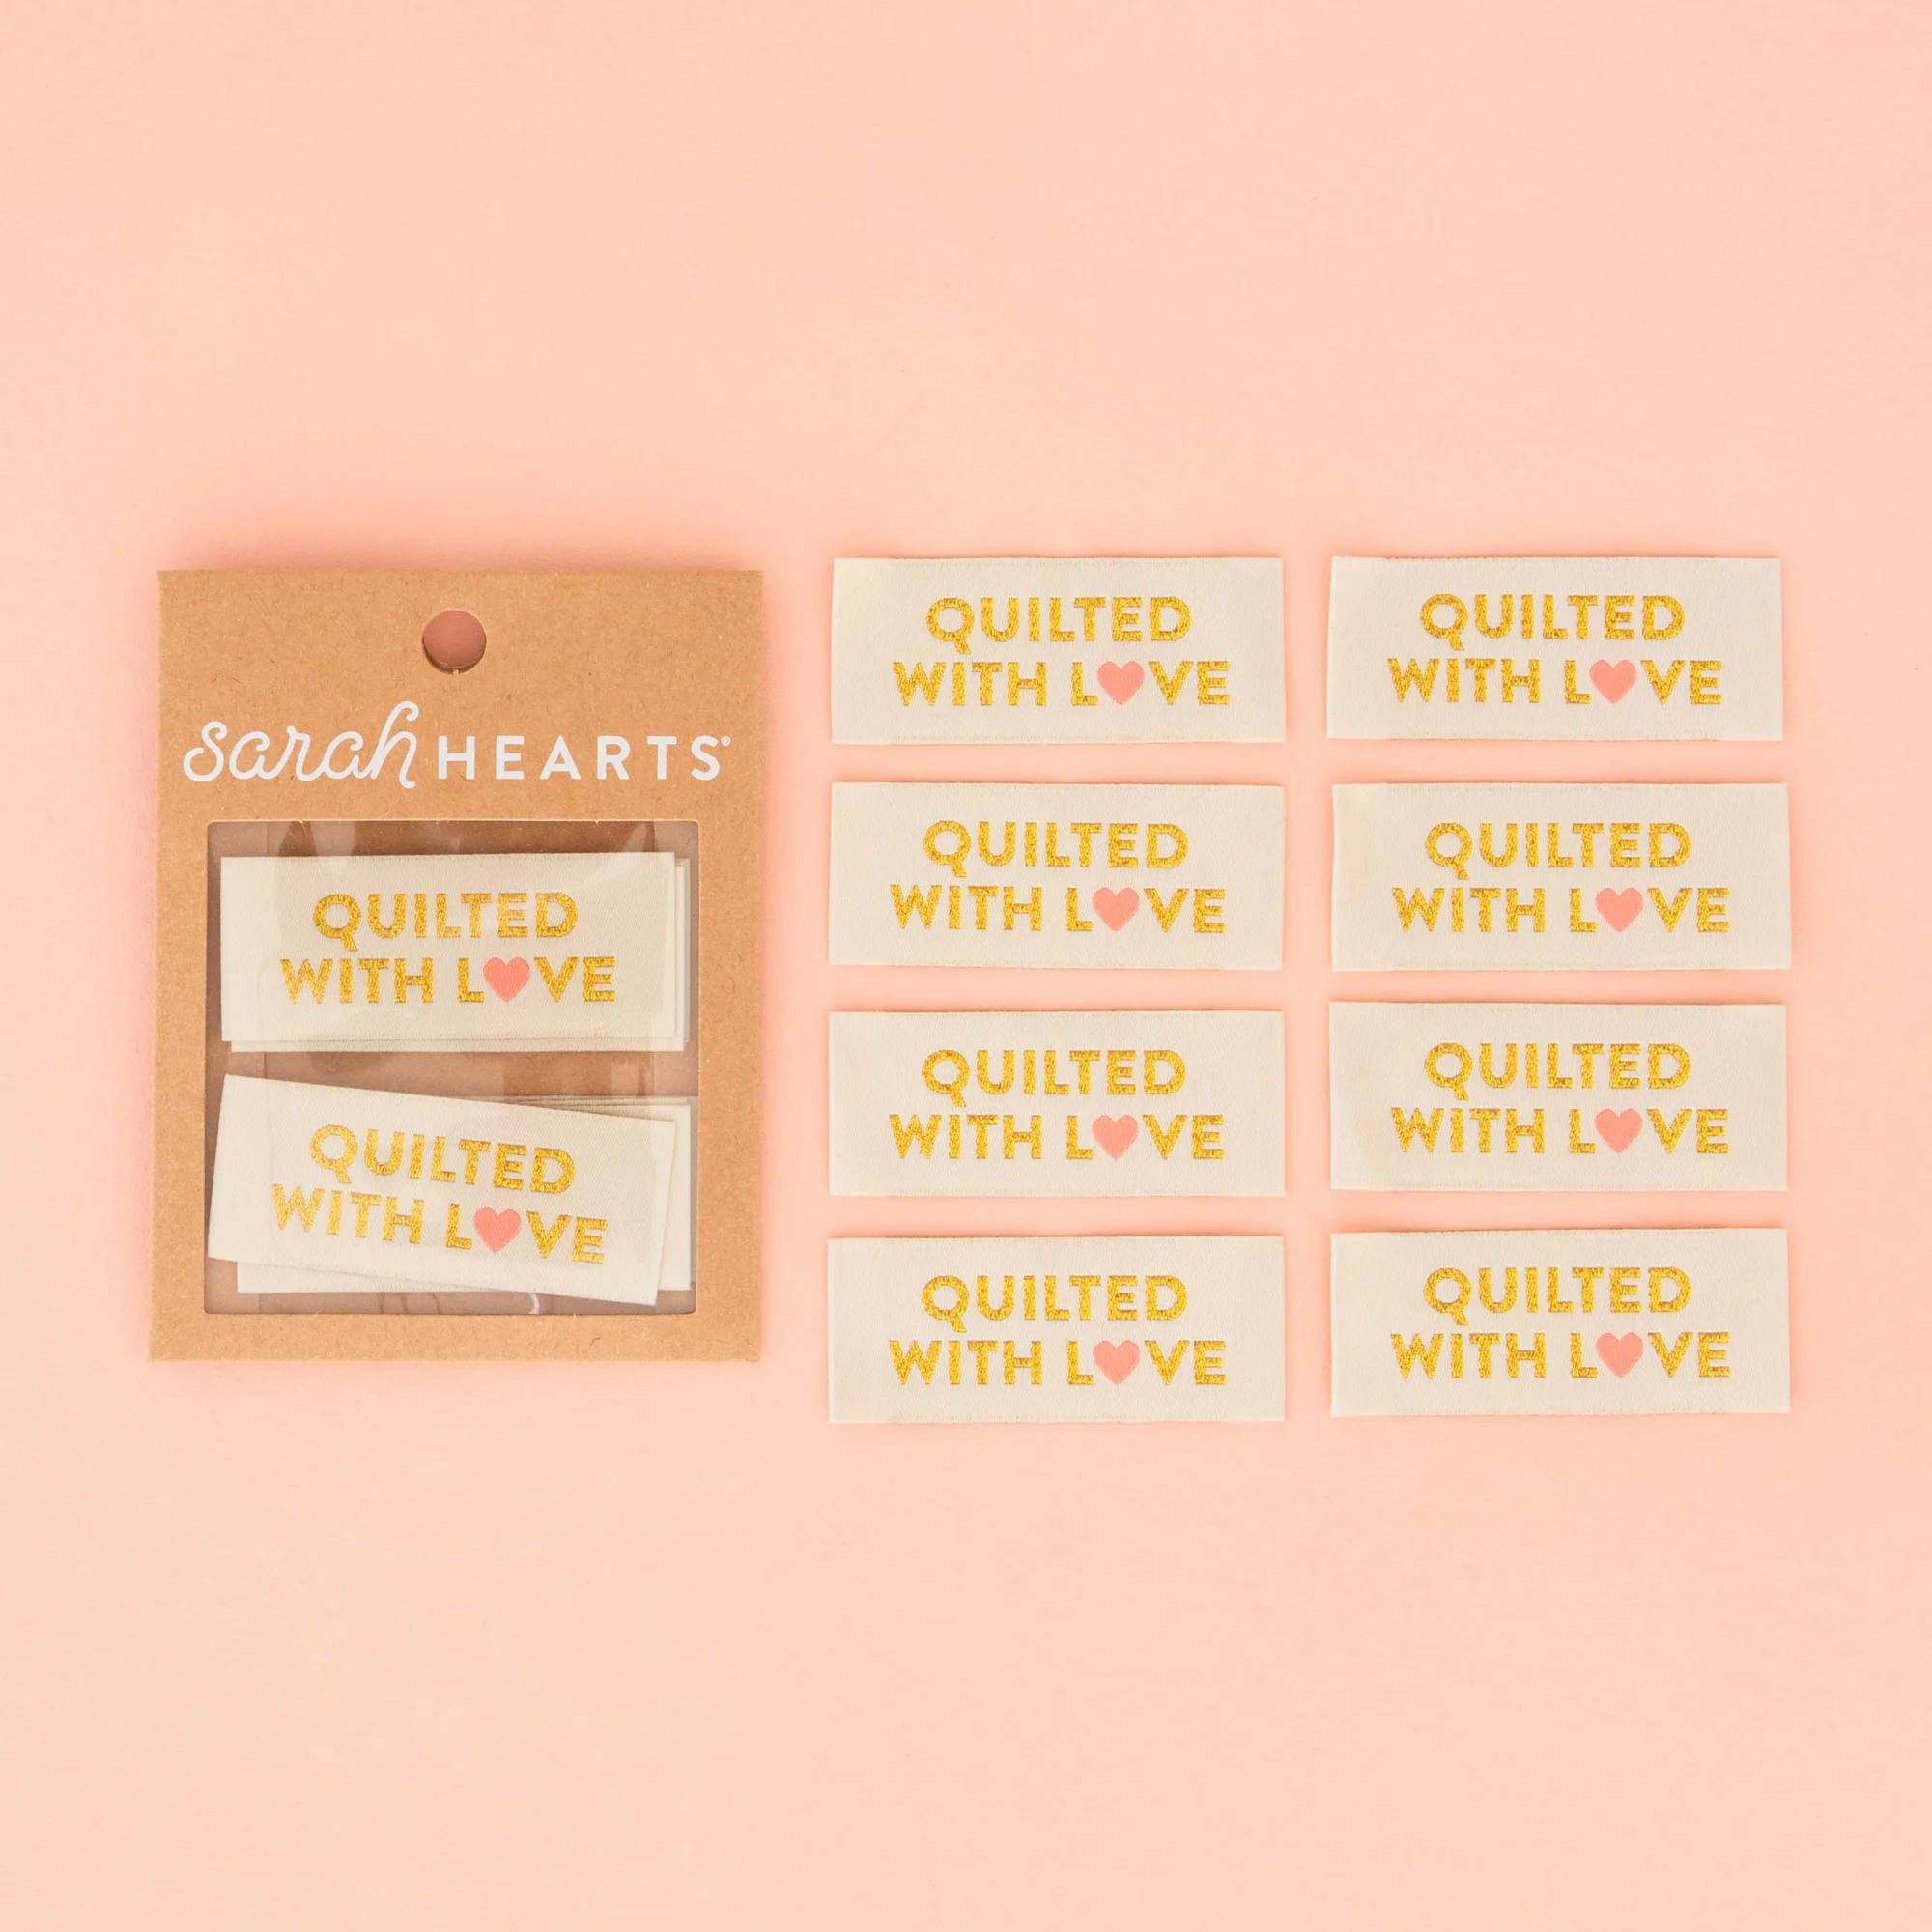
- Quilted with Love Gold Woven Sewing Labels: The metallic gold label features a cute coral pink heart and is designed as an end fold label for easy application. Simply sew along the short sides to attach. The labels are super soft to the touch and fully washable. Sold in packs of 8 labels. A heart-themed label can pair with heart-shaped buttons to carry a motif through a quilt or garment. The end fold design makes it quick to attach along a seam or edge.
Heart-shaped buttons are a small detail that can make a project feel personal and finished. Treat them as decorative accents, plan their placement, and sew them with a shank when the fabric is thick. With a little care, they will stay put and keep looking good through many wears and washes.


