Quick answer
Replace the Glowee 2.0 canopy when the crack runs through a mounting point, spreads when you flex the shell, or changes how the helicopter sits or flies. Small cosmetic scratches are fine to leave alone. For a clean swap, work on a large cutting mat, keep the original screws and clips in a cup, and fit the new shell without forcing it.
A cracked canopy is one of the most common reasons a Glowee 2.0 ends up on the bench. The shell takes the first hit in almost every landing, and once a crack reaches a screw hole or the nose, the body stops doing its job as a protective cover.
This guide separates the symptoms you can ignore from the ones that mean a replacement, then walks through removal, fitting, and the care habits that keep a new shell intact.
Symptom check: what a damaged canopy actually looks like
Not every mark on a helicopter body is a problem. Hairline scuffs, paint chips, and stress whitening around a screw hole are cosmetic and usually stable. What matters is whether the shell still holds its shape and still attaches securely.
Look for cracks that open when you press gently near the mounting points, splits that run from the nose toward the cabin, or missing chips around a screw boss. If the canopy moves independently of the frame when you hold the helicopter by the body, the shell is no longer doing its structural job.
- Flex the shell gently near each screw hole and watch for the crack opening.
- Check the nose and skid contact points first, since that is where impact energy goes.
- Photograph the damage before disassembly so you can match the replacement orientation.
Likely causes, from hard landings to storage damage
Impact is the obvious cause, but it is not the only one. Repeated hard landings fatigue the plastic around screw holes even when the shell looks fine. Over-tightening a screw on a previous repair creates a stress riser that cracks later, often during a routine flight rather than a crash.
Storage and heat also matter. A body left in a hot car or pressed under other gear can deform, and a deformed shell no longer lines up with its mounts. That misalignment forces you to flex the plastic every time you install it, which accelerates cracking.
- Loosen screws that were tightened hard during an earlier repair.
- Store the helicopter so nothing rests on the canopy.
- Keep spare bodies out of direct sun and hot vehicles.
Corrective action: removing the Glowee 2.0 canopy
Removal is straightforward if you work methodically. Set the helicopter on a large, well-lit surface, remove the battery so the model cannot power up, and take out the canopy screws or clips in the order the manual specifies. Keep fasteners in a small cup or magnetic tray so none roll away.
Once the fasteners are out, lift the shell from the rear first and let the nose release last. If it resists, stop and check for a hidden screw or a tab you missed rather than pulling harder. A shell that has to be forced off is usually a shell that will crack on the way back on.
- Use a correctly sized screwdriver to avoid stripping small heads.
- Work over a tray so dropped screws do not disappear into carpet.
- A Revell Cutting Mat - Large (A3) gives you a 450 x 300 mm work surface that protects the bench and keeps small parts visible.
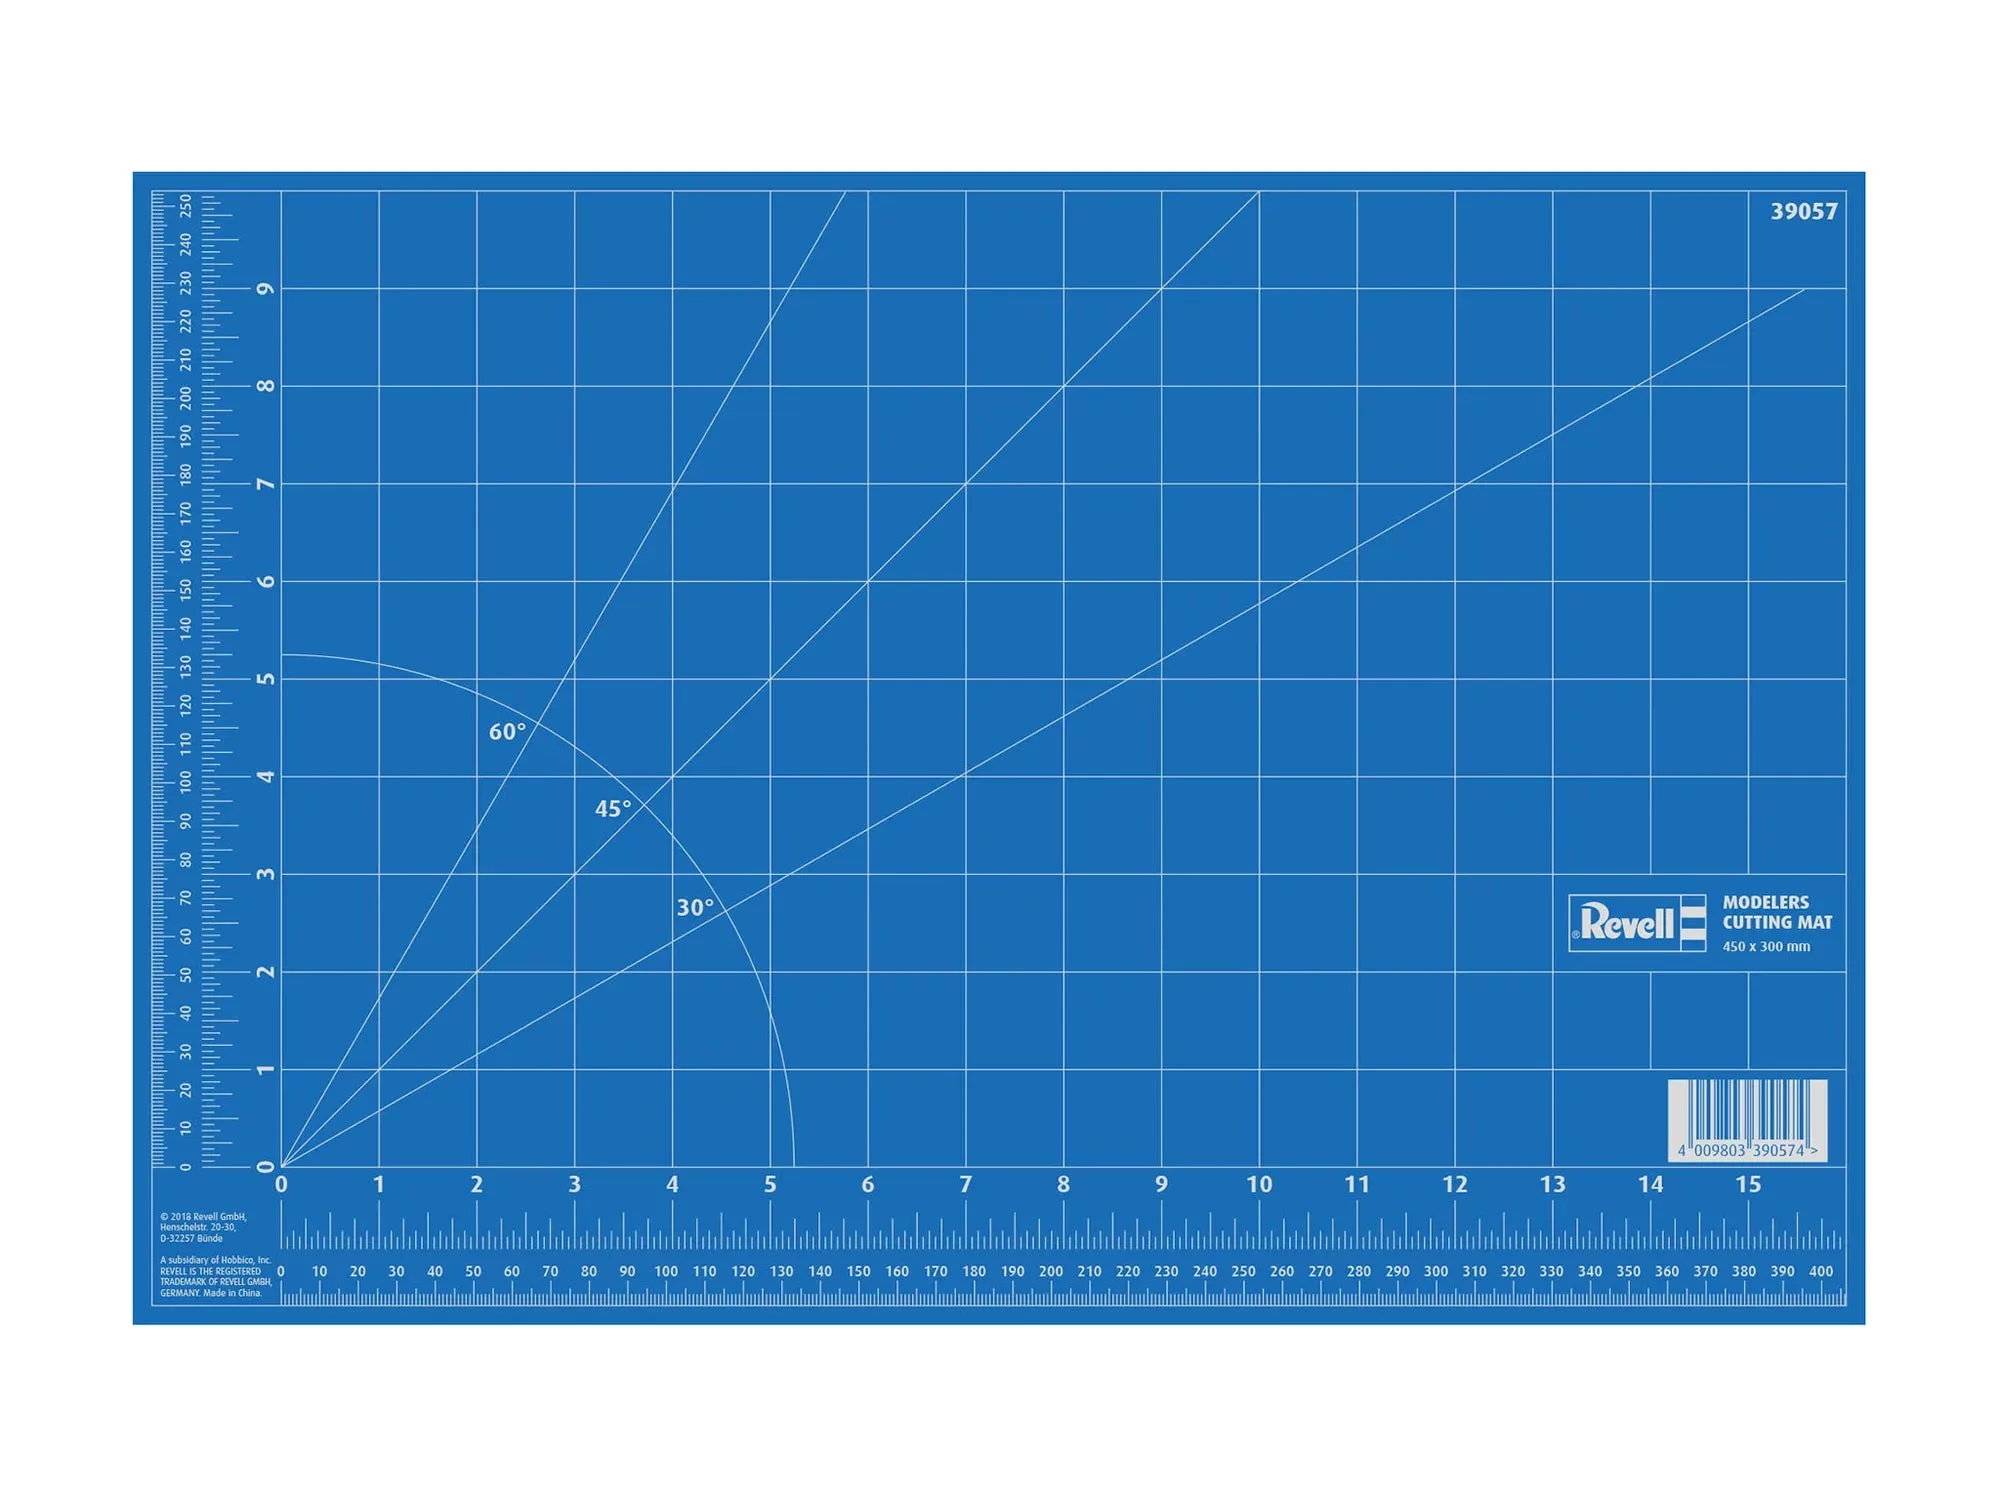
Revell Cutting Mat - Large (A3)
Fitting a replacement canopy without creating the next crack
Test-fit the new shell before you tighten anything. Seat the nose, align the rear mounts, then install fasteners finger-tight and snug them in a cross pattern. The canopy should sit flush with no gaps and no pressure points; if it does not, recheck orientation before continuing.
If you are refreshing the finish at the same time, Revell Spray Color acrylic aerosol dries quickly and offers high coverage with high scratch resistance, and its composition means it can also be used on polycarbonate RC car bodies. Paint in thin passes and let each one flash off rather than flooding the surface.
- Snug screws, do not crush the plastic around them.
- Check that the canopy does not rub the rotor linkage through its full travel.
- Allow paint to cure fully before the first flight.
Canopy care habits that extend shell life
Most replacement canopies fail for the same reasons the originals did. Landing on hard surfaces, storing the model under weight, and over-tightening fasteners all shorten shell life. Softening your landing area and loosening your screw technique costs nothing and adds real time between replacements.
When you do repair a minor crack instead of replacing, keep the repair small and monitor it. A patch that holds through ten flights is fine; one that opens again after two is a sign the shell has lost enough structure that a new canopy is the better spend.
- Land on grass or a mat rather than bare concrete when you can.
- Recheck canopy screws after the first few flights of a new shell.
- Retire a repaired canopy if the crack returns in the same spot.
Canopy diagnosis: symptom, cause, action, stopping point
- Hairline scuff or paint chip, shell still rigid: Cosmetic wear from normal handling. Clean the area and leave the shell in service. Stop here. No replacement needed.
- Crack opens when you flex near a screw hole: Stress from impact or over-tightened fasteners has reached the mounting point. Replace the canopy rather than patching a load-bearing area. Order a replacement shell and stop flying this body.
- Shell no longer aligns with its mounts: Heat deformation or a previous repair has changed the shape. Forcing it on will crack the new plastic too. Choose a replacement instead of a repair; a deformed shell will not fit correctly.
- Small crack in a flat, unstressed panel: A local repair can work if the crack does not touch a mount and does not spread under gentle flex. Repair and monitor for two or three flights; replace if it returns in the same spot.
Parts and tools that fit this job
- Revell Cutting Mat - Large (A3): It offers a 450 x 300 mm work surface and is designed to protect the workbench during model building projects. A defined, generous work area keeps tiny canopy screws and clips from rolling away and protects your table from tools and paint.
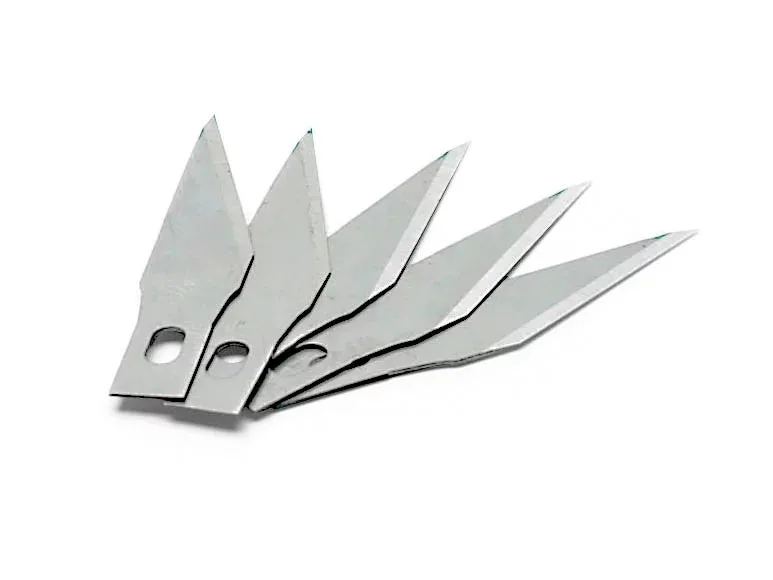
- Replacement Blades for 39059 (5pcs): These five replacement blades are made to fit the 39059 Scalpel and are described as easy to change for precise, sharp cuts. If you trim flashing, decals, or tape around a new canopy, a fresh sharp blade cuts cleanly instead of dragging and tearing the plastic.
- Silk "Light Grey" Spray Color Acrylic Aerosol 100ml: Revell Spray Color acrylics dry very quickly with high coverage and high scratch resistance, and their composition allows polycarbonate RC car bodies to be painted with them. A light grey base coat lets you refinish or touch up a replacement shell quickly, with a finish that resists handling scratches.
A cracked canopy is a small part with a big effect on how a Glowee 2.0 looks, fits, and flies. Diagnose honestly, replace when the damage reaches a mounting point, and take your time on removal and refitting so the new shell lasts longer than the old one.