Quick answer
Adding a disc swing is a straightforward upgrade: mount two wood swing hangers on the 4x4 swing beam at the spacing your disc swing requires, hang the disc level with the other swings, and tighten every bolt before the first ride. The two things that go wrong most often are hanger spacing that is too wide or too narrow and a disc hung so high that kids have to jump to reach it. Measure twice, hang once, and test the swing yourself before handing it over.
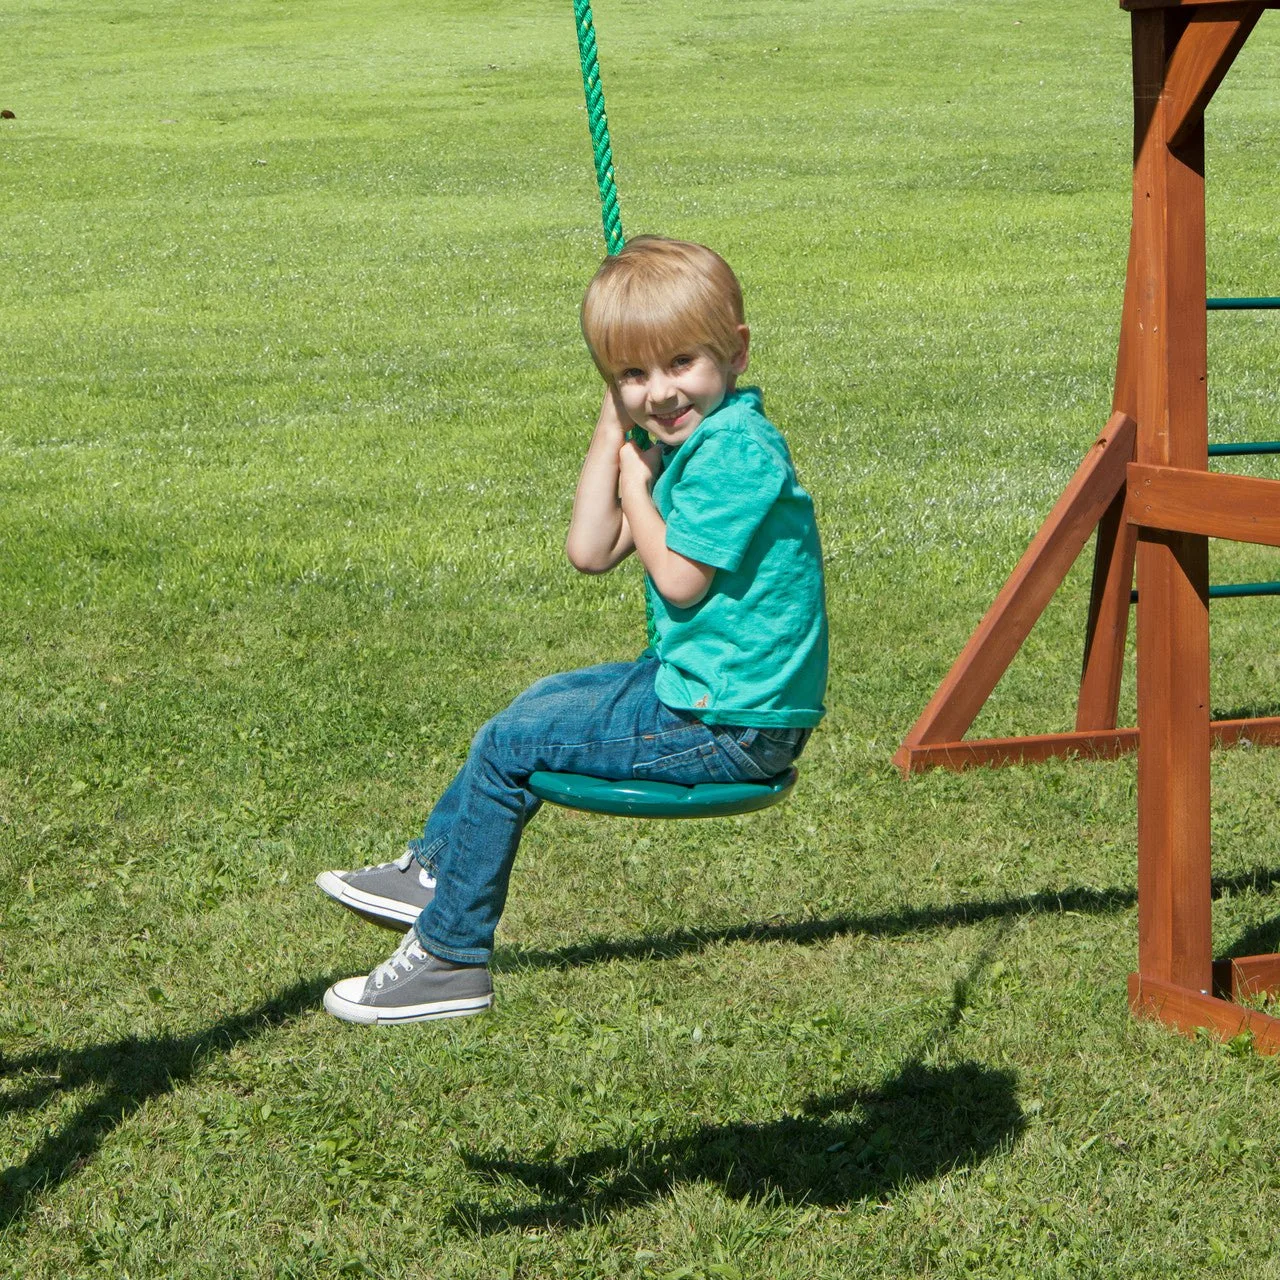
disc swing
A disc swing gives kids a completely different ride from a belt swing. Instead of sitting upright and pumping, they balance, spin, and shift their weight, which is why it is one of the most popular additions to a backyard swing set. If your set already has an open bay on the swing beam, you can usually add one in an afternoon.
This guide walks through the process in order, from confirming your beam and hardware to the final safety check. It also covers the disc swing attachment details people skip, like hanger spacing and why the disc should not sit at the same height as your belt swings.
Before you buy: check your beam and hardware
Start by looking at the swing beam itself. Disc swings are typically mounted with two hangers rather than one, so you need enough clear beam length for the hanger pair plus the swing's motion. If your beam is already crowded with a trapeze bar, a glider, or a full row of belt swings, measure the open space before ordering anything.
Then check what your beam is made of. A 4x4 wood swing beam is the standard for wooden playsets, and hangers are sold specifically for that size. If your set uses a different beam profile, confirm the hanger matches before you drill.
- Photograph the beam and existing hanger spacing so you can compare it to the new swing's instructions.
- Count the bolts already in the beam; adding a second pair of hangers means four more holes, so choose a spot with clean wood.
Gather the right parts for the attachment
A disc swing addition needs three things: the disc swing itself, a pair of hangers sized for your beam, and the mounting hardware that comes with them. The Wood Swing Hangers for 4x4 swing beam include two 4-inch swing hangers and easy-to-use mounting hardware, which makes the job quick even for a first-time installer. That is the part most people forget to order separately when they buy a disc swing.
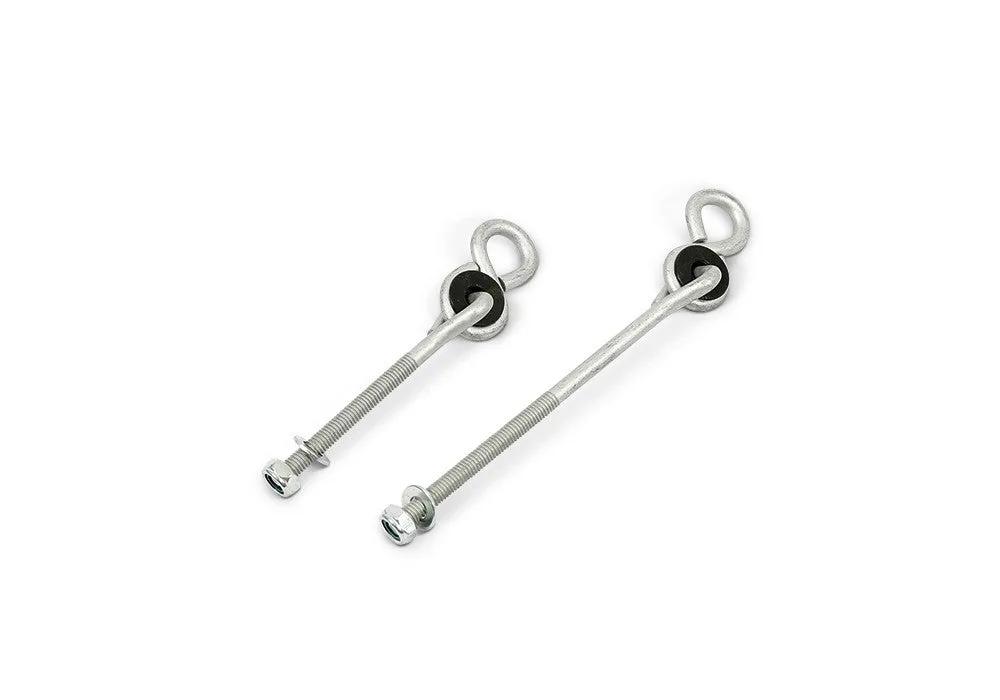
Wood Swing Hangers for 4x4 swing beam
If you are replacing old hangers rather than adding new ones, the same set works for that too. Check that your existing chain or rope ends will fit the hanger, and replace any worn hardware rather than reusing it.
- Buy hangers and the disc swing together so you are not waiting on a second shipment mid-project.
- Keep the included hardware with the hangers; mismatched bolts are a common source of loosening later.
Set the hanger spacing before you drill
Disc swings need two attachment points, and the spacing between them matters more than most people expect. Follow the spacing given in your disc swing's instructions. If you set the hangers too far apart, the disc will fight the rope angle and swing unevenly; too close together and it will twist instead of gliding.
Mark both holes with a pencil and check them with a level before drilling. A few seconds with a level here saves you from a disc that hangs visibly crooked.
- Measure from the center of one hanger to the center of the other, not from the outer edges.
- If your beam already has hanger holes, match the new spacing to the swing's requirement rather than to the old holes.
Hang the disc and set the height
Once the hangers are mounted, attach the disc swing and check its height. The bottom of the disc should sit low enough that a child can reach it from the ground without jumping, but high enough that it clears the ground through the full arc of the swing. A good starting point is roughly the same clearance you allow your belt swings, then adjust from there.
Hang the disc level with the other swings on the beam. If one side sits lower, the disc will drift to that side every time it is used.
- Test the swing yourself first; an adult ride reveals wobble or rubbing that is hard to see from the ground.
- Keep the disc clear of the slide exit and the ladder so kids do not walk into it.
Tighten, check, and maintain
After the first few rides, re-check every bolt you installed. New wood and new hardware settle, and a hanger that felt tight on day one can loosen after a weekend of use. Make this part of your regular swing set check, along with the rest of your hardware.
Inspect the disc itself for cracks, fraying rope, or worn chain links. If you are adding a disc swing to a set that also has a playhouse, small upgrades like the Playhouse Window Kit can improve the play space at the same time, but keep the focus on the swing hardware first.
- Re-tighten hanger bolts after the first week, then check monthly during heavy use seasons.
- Replace frayed rope or worn chain immediately rather than waiting for a full seasonal inspection.
Step-by-step: installing your disc swing
- Confirm beam space and beam size: Measure the open length on your swing beam and confirm it is a 4x4 if you plan to use standard wood swing hangers. Common mistake: ordering a disc swing before checking whether the beam has room for two hangers plus swing motion. Checkpoint: you have at least the required clear beam length and know your beam profile.
- Order the disc swing and a pair of hangers: Buy the disc swing and hangers together so the hardware matches. Common mistake: assuming the disc swing includes mounting hardware for your beam. Checkpoint: you have two hangers, mounting hardware, and the disc swing in hand.
- Mark and drill the hanger holes: Use the spacing from the disc swing instructions, mark both centers, and check them with a level before drilling. Common mistake: eyeballing the spacing, which causes uneven swing motion. Checkpoint: both marks are level and match the required spacing.
- Mount the hangers and attach the disc: Bolt the hangers to the beam, then hang the disc and check that it sits level. Common mistake: overtightening one side, which pulls the disc off-center. Checkpoint: the disc hangs level and clears the ground through its full arc.
- Set the height and test the swing: Adjust so a child can reach the disc without jumping, then ride it yourself to check for wobble or rubbing. Common mistake: hanging the disc at belt-swing height, which is usually too high for a disc. Checkpoint: an adult test ride is smooth with no contact against other equipment.
- Re-tighten and inspect after first use: After the first weekend of play, re-check every bolt and inspect the rope, chain, and disc for wear. Common mistake: treating the install as finished once the swing is hung. Next step: add the hanger check to your monthly swing set maintenance routine.
Parts that make this project work
- Wood Swing Hangers for 4x4 swing beam: Each set includes two 4-inch swing hangers and easy-to-use mounting hardware, making the job quick and easy even for first-time installers. A disc swing needs two attachment points, so this set gives you the correct pair of hangers and the hardware in one purchase instead of piecing it together.
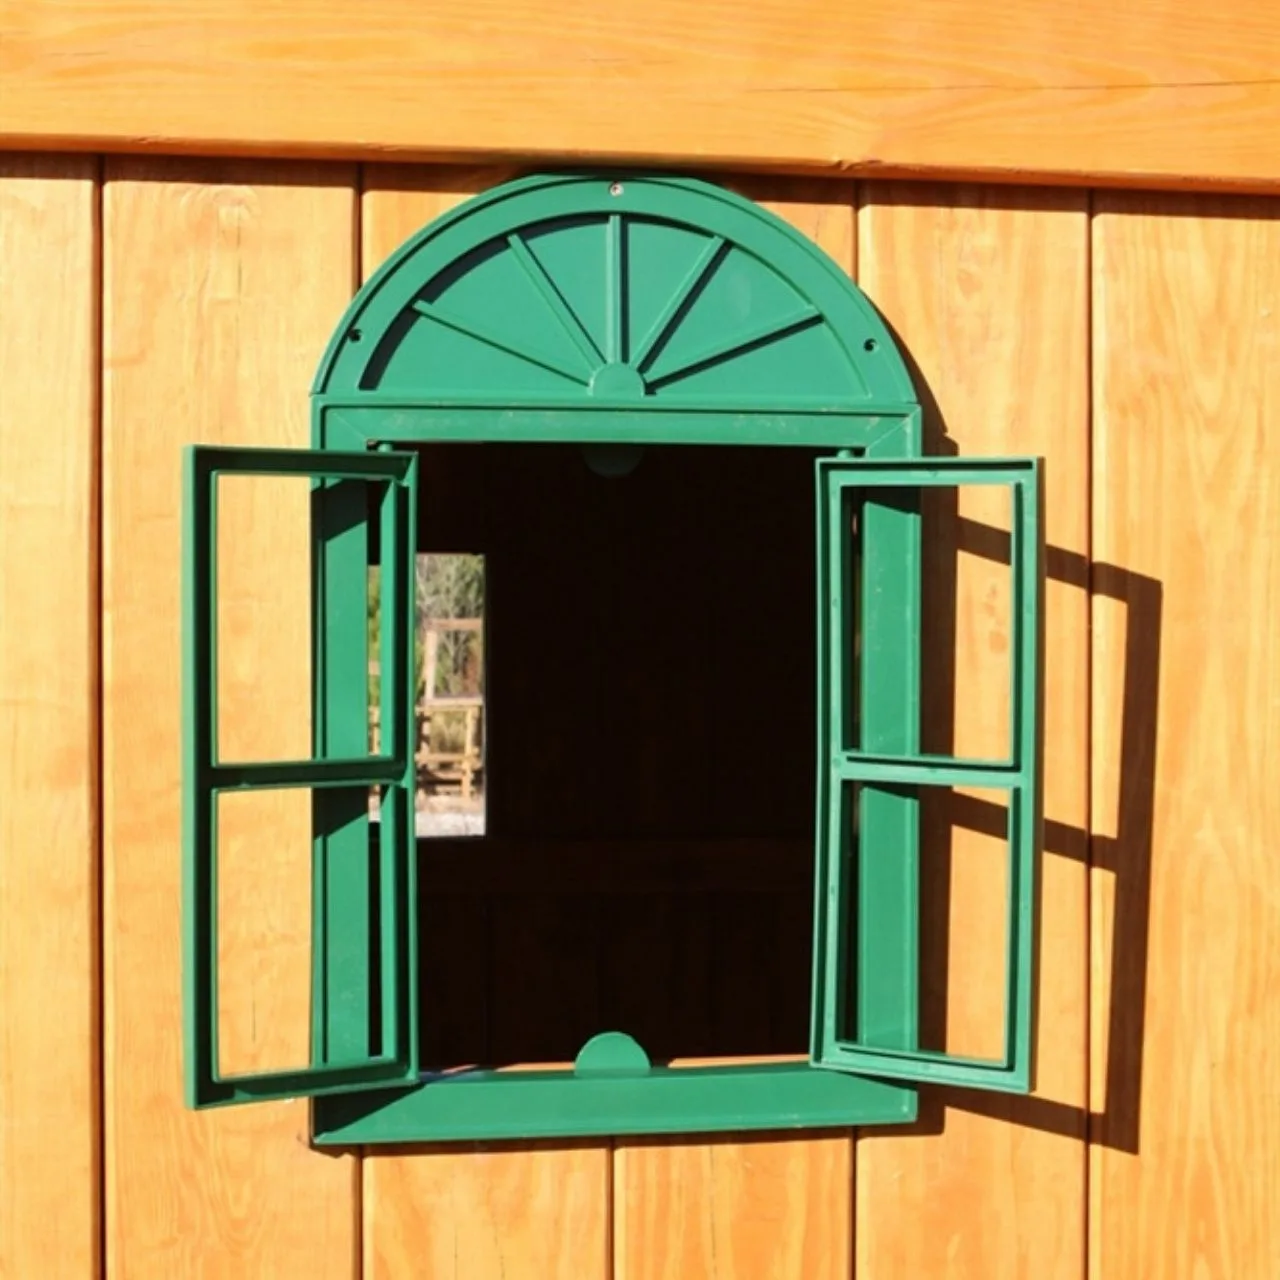
- Playhouse Window Kit: The Window Kit is a great addition to any swing set that has an enclosed playhouse at the top, and it opens with a functioning window and working shutters. If your set has a playhouse, this is a small companion upgrade that adds light and breeze to the play space while you are already working on the swing beam.
Adding a disc swing comes down to three things: the right hangers for your beam, correct spacing between them, and a height that lets kids reach the disc without jumping. Get those right and the upgrade takes an afternoon. Re-check the bolts after the first week of use, and the disc swing will earn its place alongside the rest of your set.