Quick answer
To adjust a dress form to your measurements, take your body measurements first, then use the form's adjustment dials or wheels to match those numbers at the bust, waist, and hips.
Why adjusting a dress form matters
An adjustable dress form lets you create a body double that matches your exact size. Without proper adjustment, garments you sew on the form may fit poorly on you. Taking the time to set the dials correctly saves hours of rework later.
Most adjustable forms use turn wheels or dials at the bust, waist, and hips. Some also adjust the neck or shoulder width. Even small differences of half an inch can change how a sleeve or waistband hangs, so precision matters.
How to adjust your dress form in 6 steps
- Take your body measurements: Use a soft measuring tape to measure your bust (fullest part), waist (narrowest part), and hips (widest part). Write down each number. For best results, measure over the undergarments you plan to wear with the finished garment. Common mistake: measuring over bulky clothing adds inches. Always measure against bare skin or thin layers.
- Set the dress form to your bust measurement: Locate the bust adjustment dials on the form. Turn them evenly on both sides until the bust circumference matches your measurement. Some forms have a single dial; turn it until the tape reads your number. Check that both sides are equal. An uneven bust setting will twist your garment's center front.
- Adjust the waist dials: Find the waist dials (usually below the bust). Turn them in or out until the waist circumference matches your measurement. The waist is typically the smallest part of the form, so start narrow and widen as needed. A too-tight waist setting can distort side seams. Leave a finger's width of space if you want a relaxed fit.
- Set the hip measurement: Adjust the hip dials, usually located near the bottom of the form, until the hip circumference matches your measurement. Turn both sides evenly to keep the form symmetrical. Don't skip the hips even for a fitted top — the form's hip setting affects how the lower edge of a blouse or jacket hangs.
- Fine-tune the neck and shoulder settings (if available): Some forms have a rotating pin cushion at the neck or separate shoulder dials. Adjust these to match your shoulder slope and neck circumference. This step is critical for collared garments or raglan sleeves. If your form lacks shoulder adjustment, pad the shoulders with cotton batting to match your shape.
- Verify all settings with a test garment: Put a simple muslin or existing well-fitting garment on the form. Check that the center front, side seams, and hemline fall where they should. Pin any gaps or wrinkles and adjust dials again if needed. A quick visual check saves time. If the garment twists or sags, re-measure the form before cutting your final fabric.
Dress forms that make adjustment easier
-
My Double Designer Adjustable Dress Form: The Dritz My Double Designer Adjustable Dress Form helps you fashion a double of your body for professional looking garments. Its adjustable dials let you fine-tune bust, waist, and hip measurements, so you can audition fabrics and test drape before cutting your final fabric.
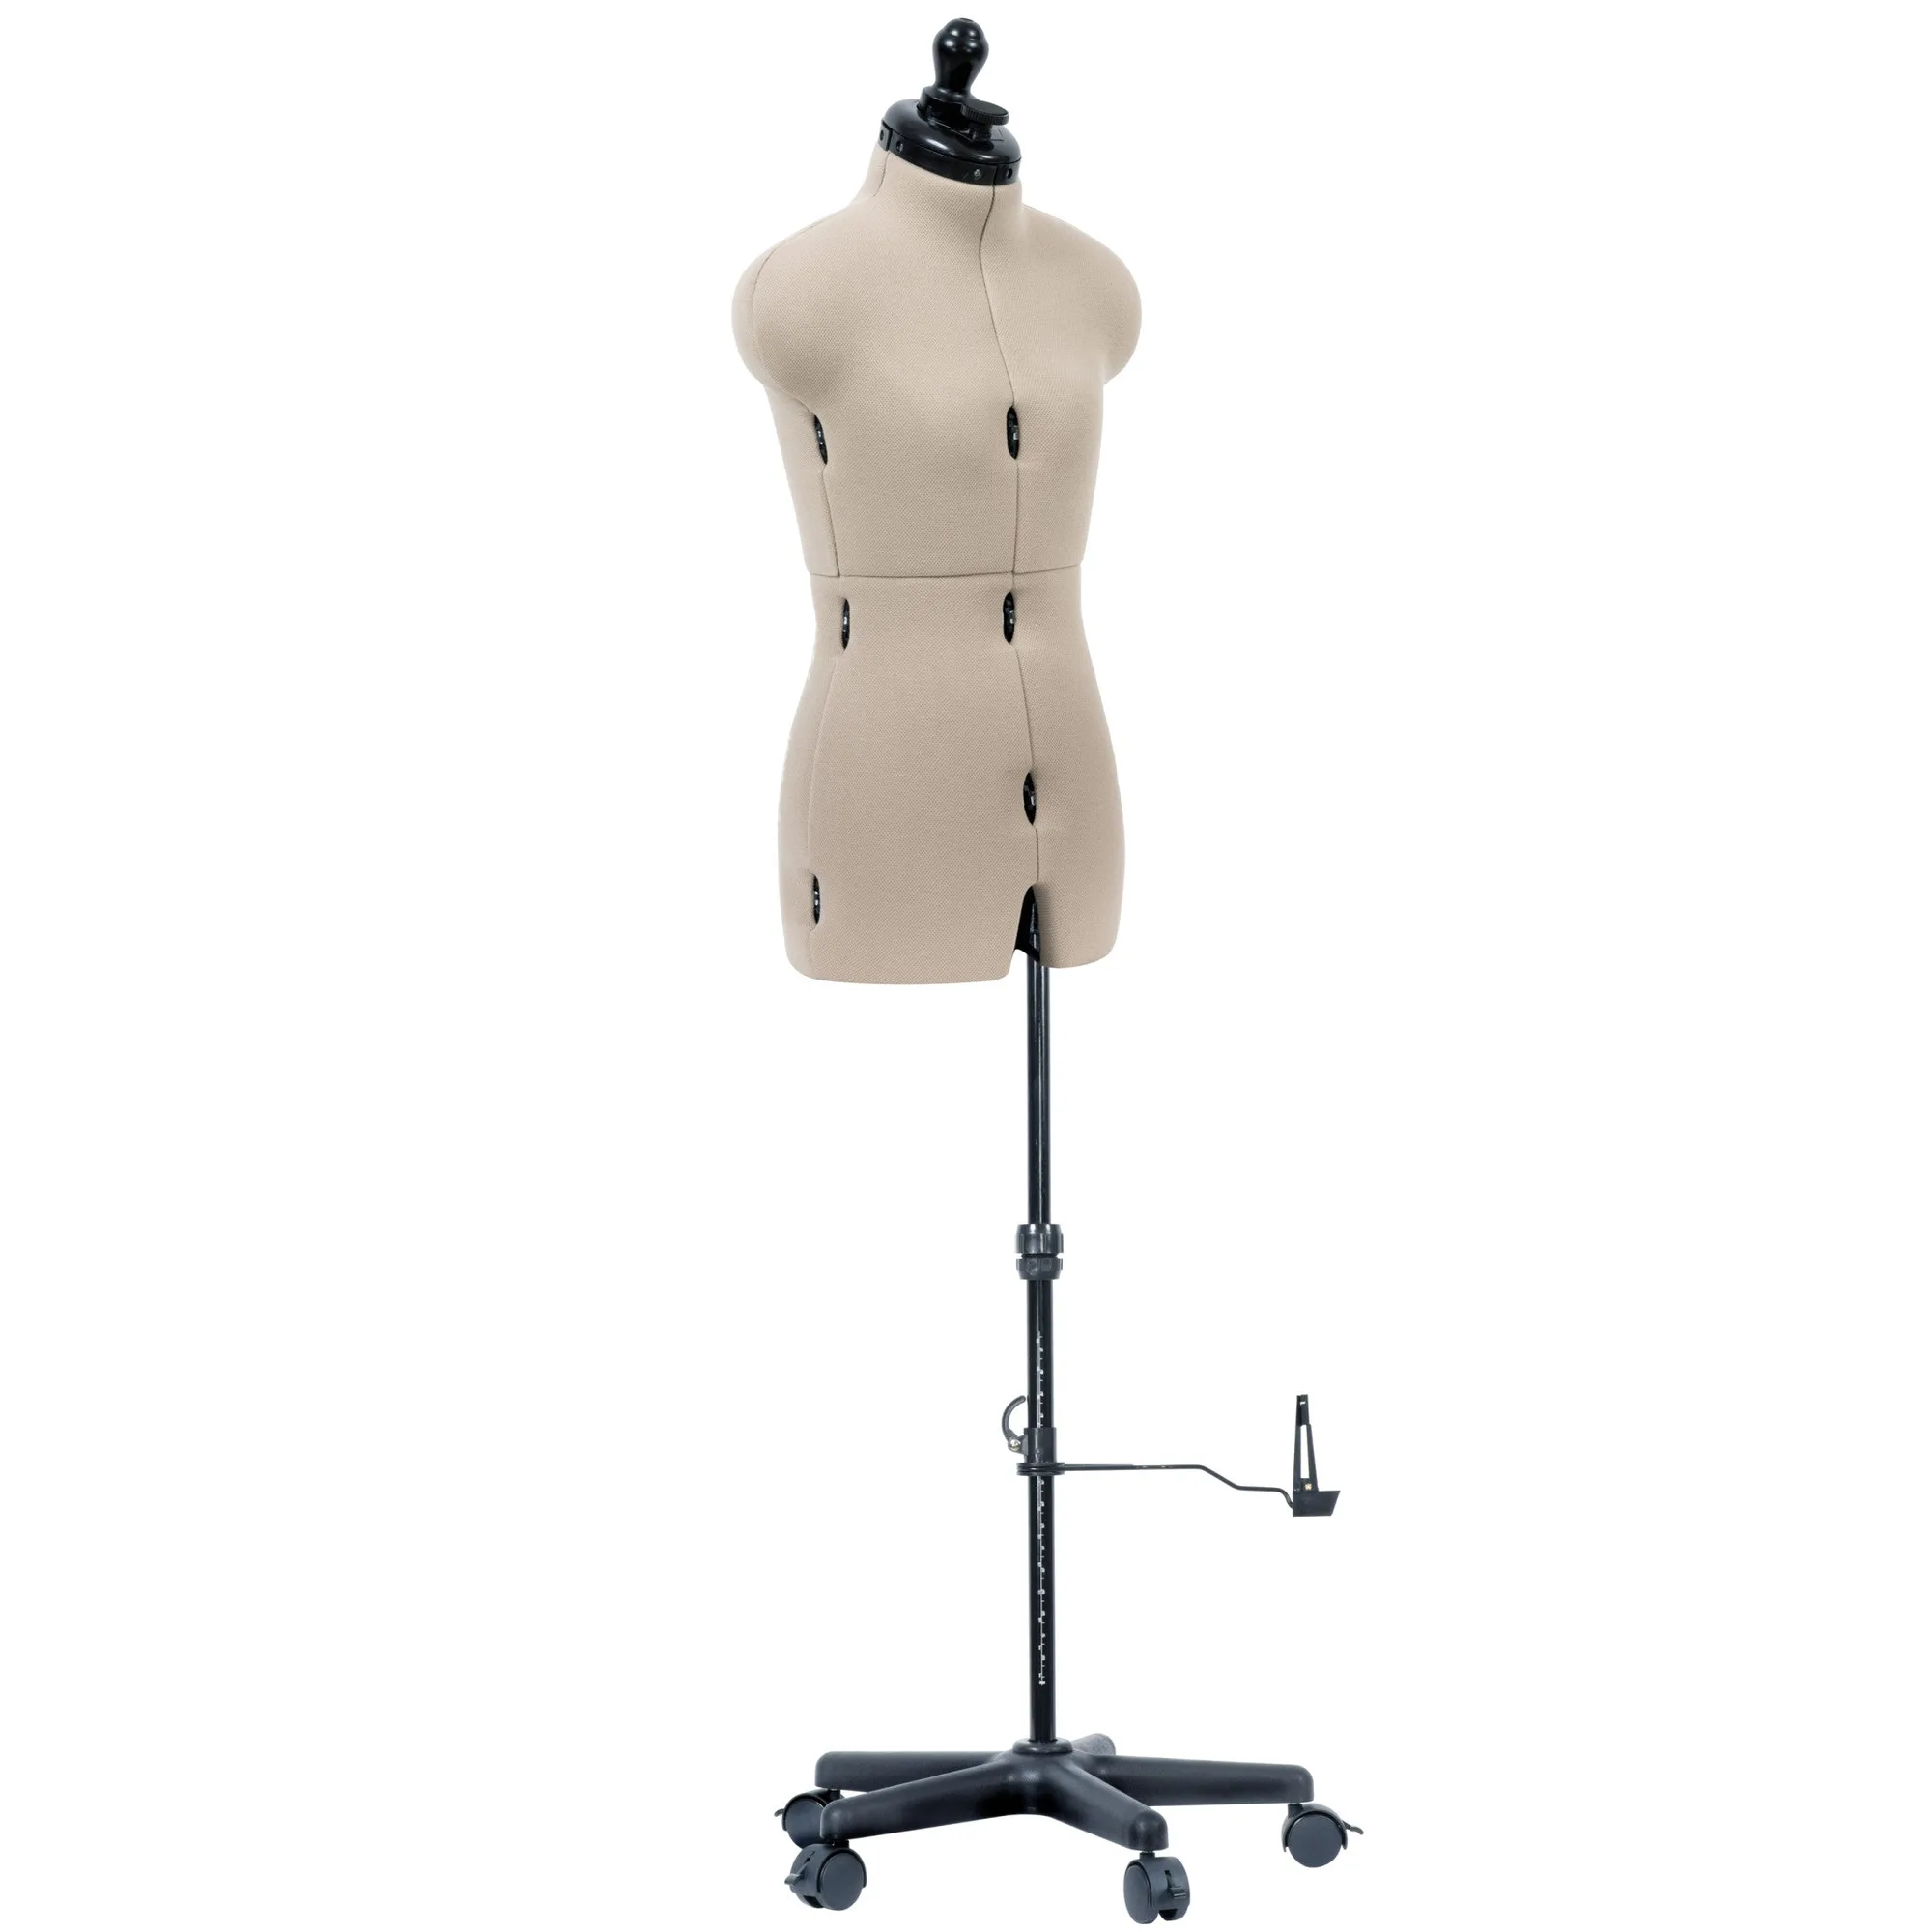
My Double Designer Adjustable Dress Form
-
Twin-Fit Adjustable Dress Form: The Dritz Twin-Fit Adjustable Dress Form uses dials at bust, waist, and hips and has a polyester fabric with foam backing for easy pinning. The foam backing holds pins securely, making it simple to mark alterations or test muslin fit without the form shifting.
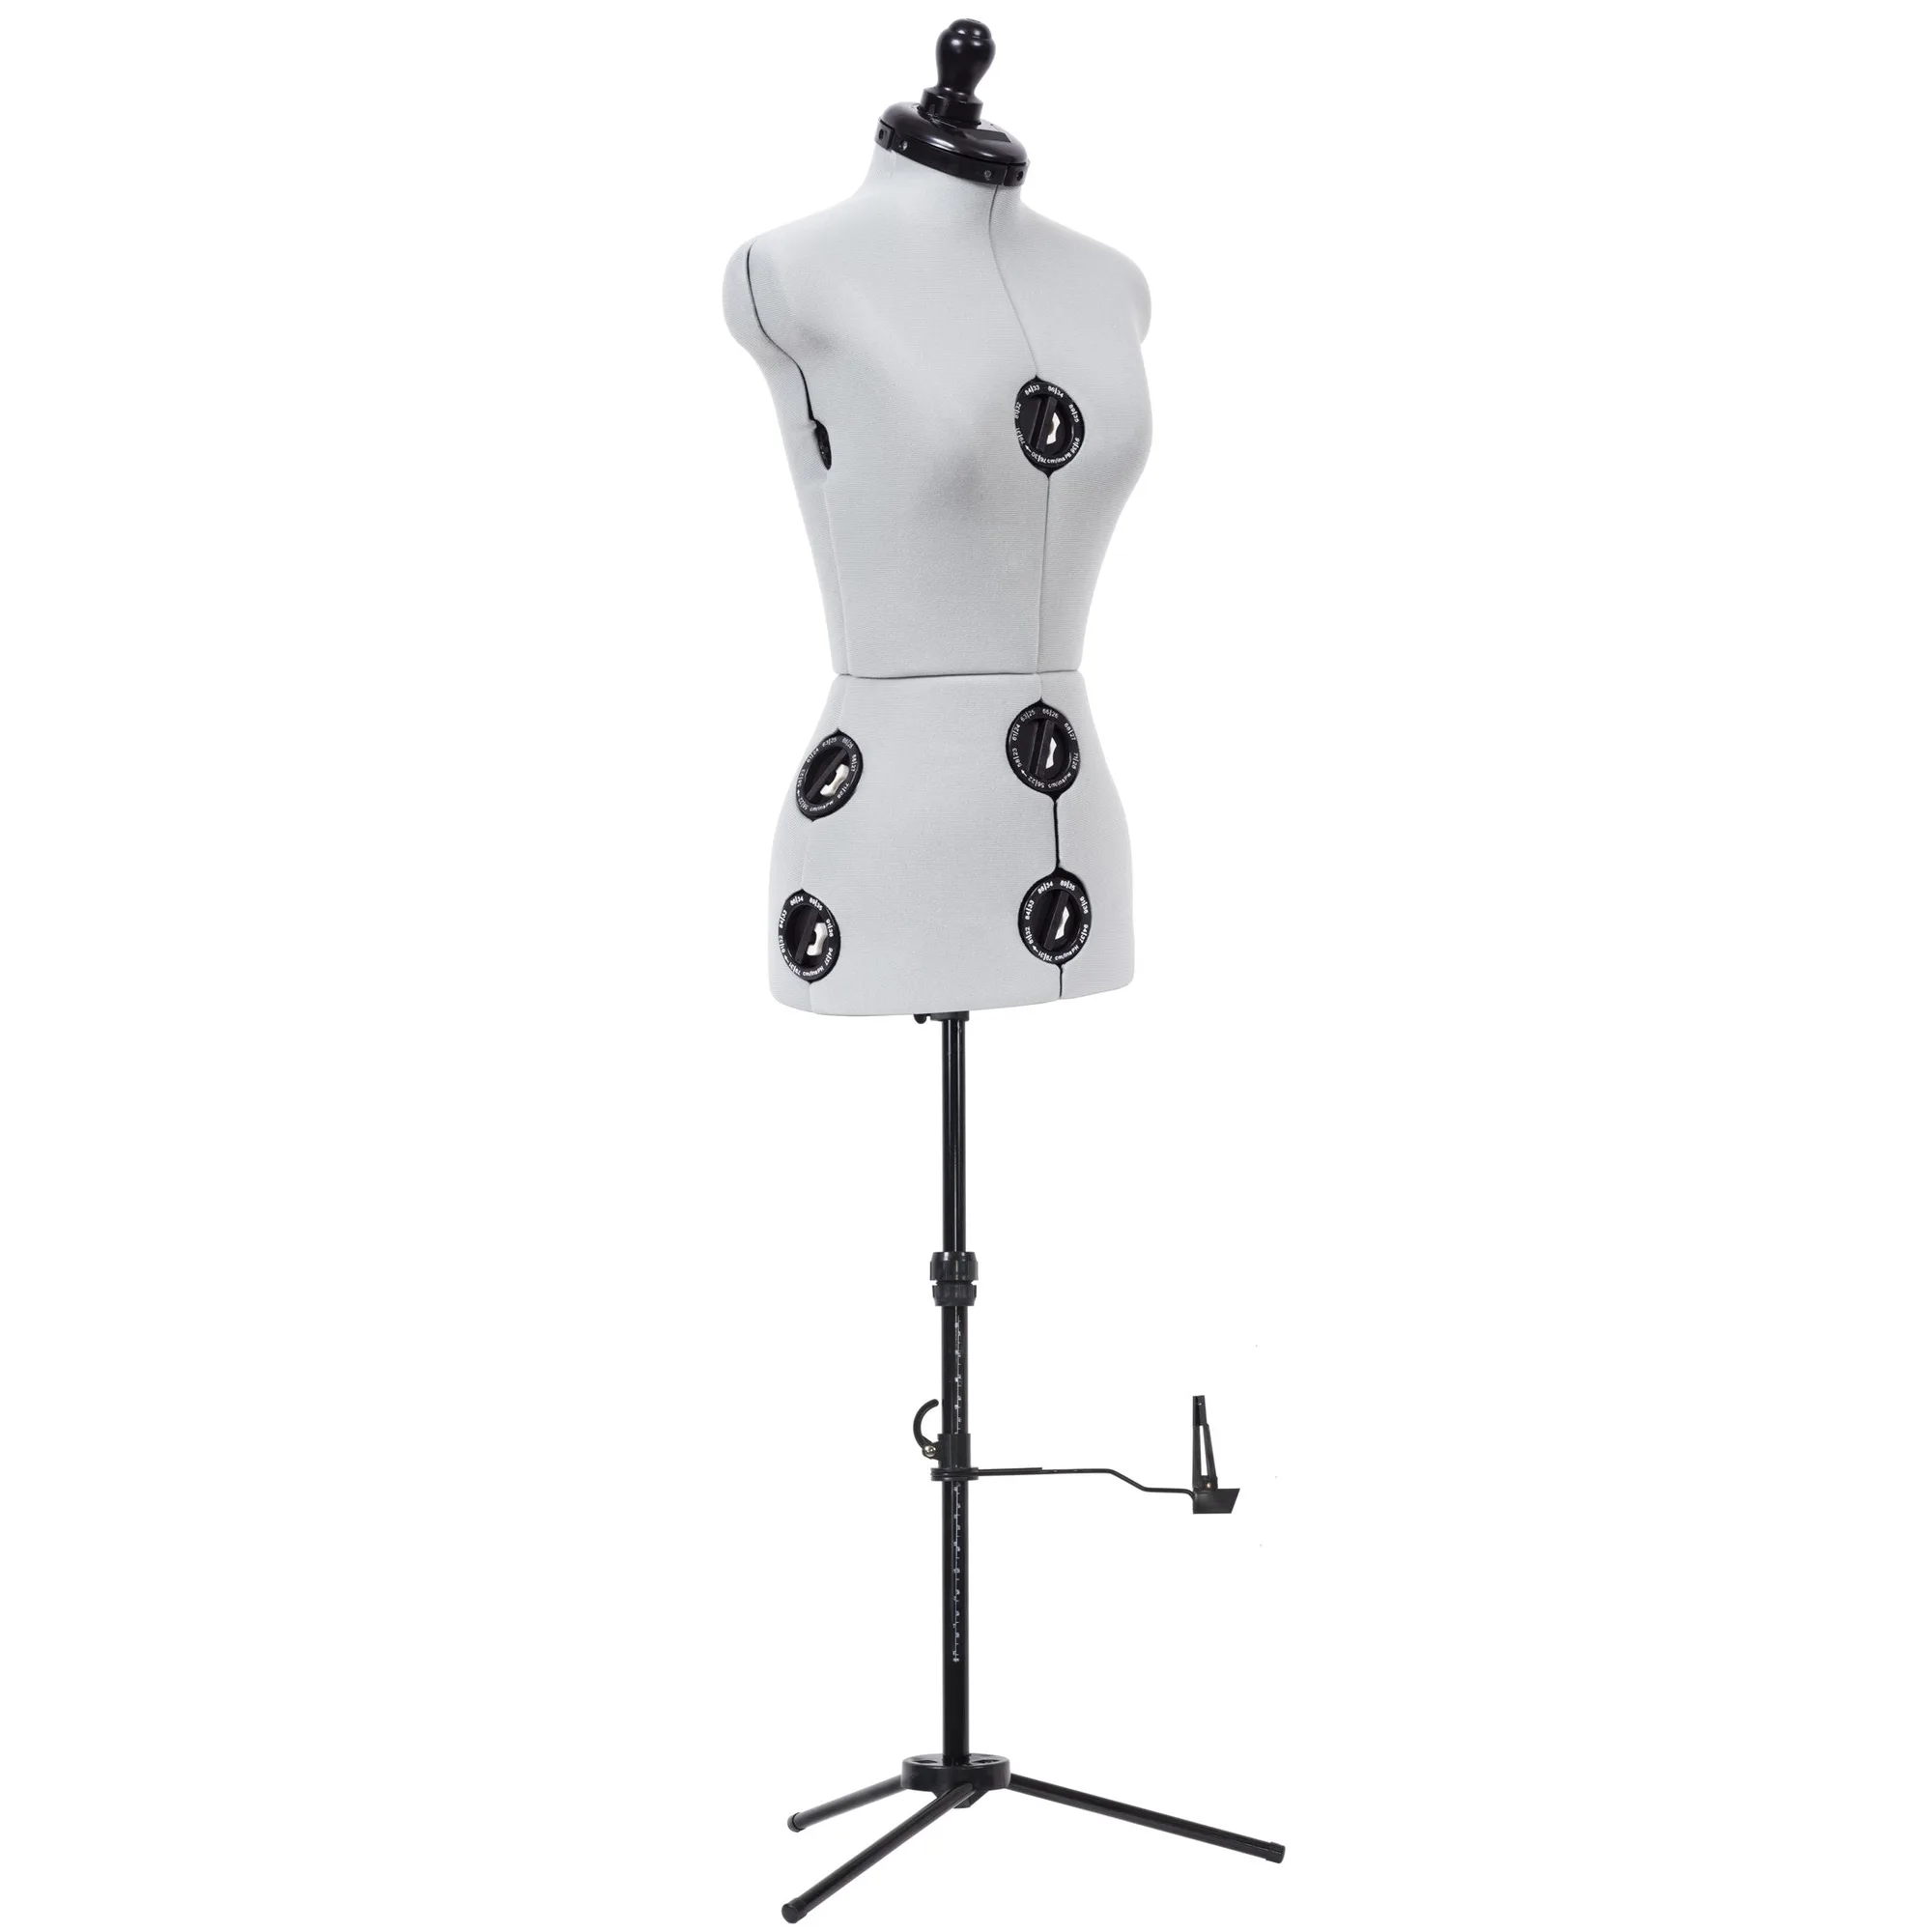
Twin-Fit Adjustable Dress Form


