Quick answer
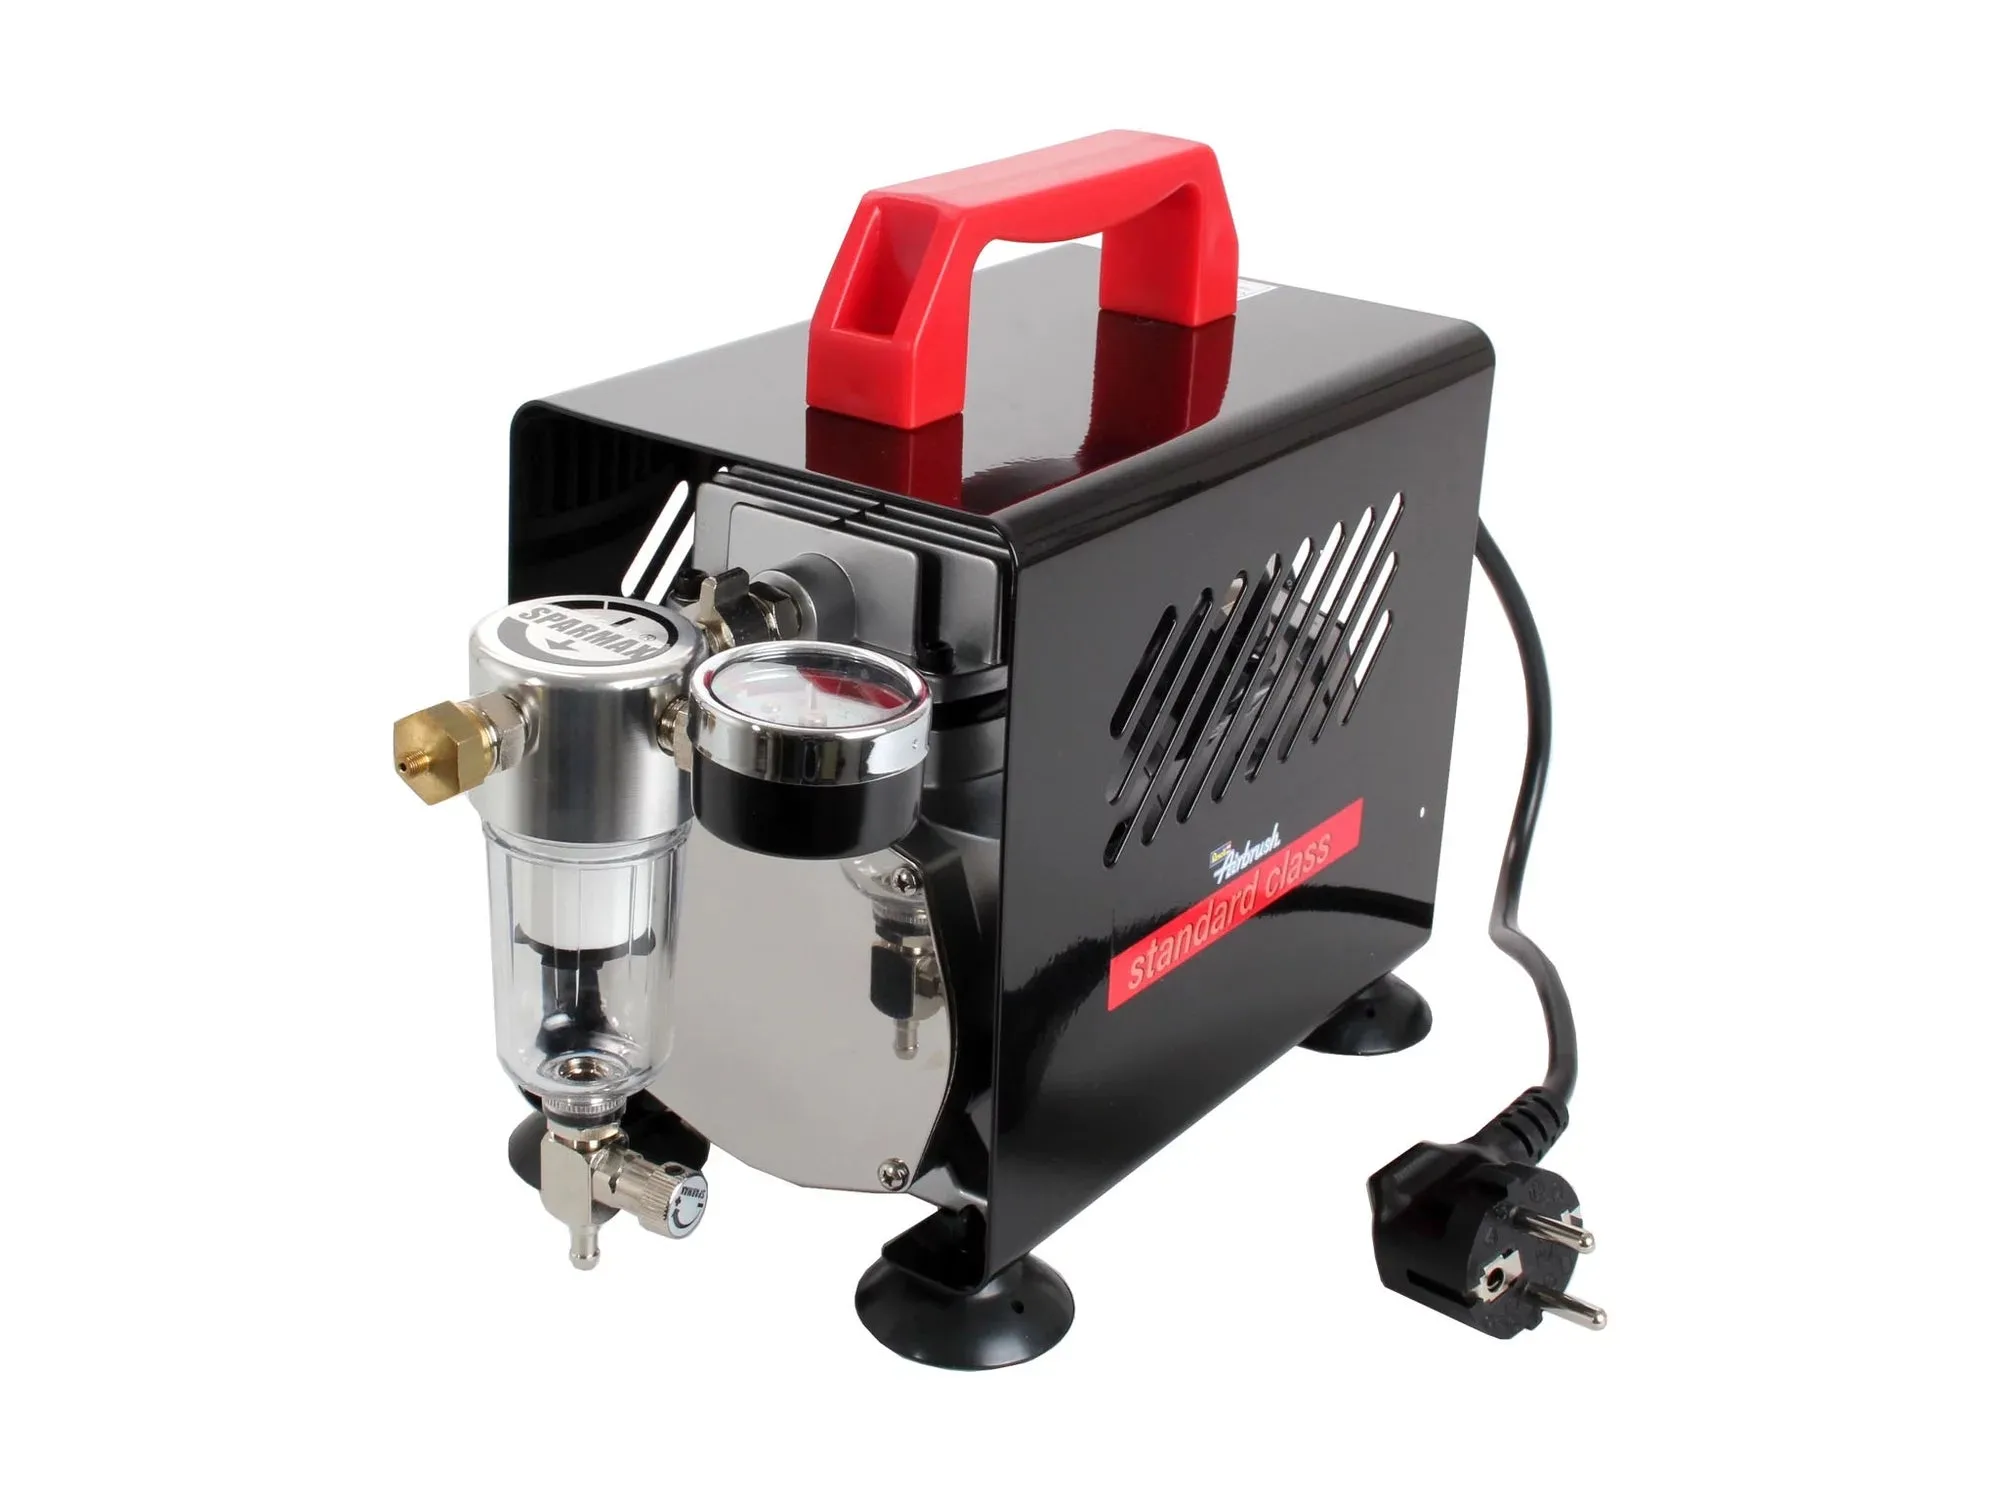
The Revell Standard Class Compressor is an oil-free piston unit that works optimally with the matching Standard Class airbrush spray gun. For most model-kit work, start around 15-20 psi, thin paint to a skim-milk consistency, and spray in thin passes rather than one heavy coat. Clean the needle and nozzle after every session so the next start is predictable.
What the Standard Class compressor is designed to do
The Revell Standard Class Compressor is an oil-free piston compressor sold for ambitious beginners in the airbrush hobby. Because it is oil-free, you do not need to add or change compressor oil, which removes one maintenance task from your routine. It is built to work optimally with the Standard Class airbrush spray gun, so pairing those two items keeps your setup simple.
This is not a high-output production compressor, and that is fine for model kits. A 1:24 car body or a 1:72 aircraft needs controlled, low-volume passes, not a large spray pattern. If you plan to spray full-size helmets or large RC bodies in one sitting, you will feel the duty-cycle limit sooner than a modeler working in small batches.
Pressure, thinning, and distance in practice
Pressure, paint thickness, and spray distance work as a team. If you change one, expect to adjust the others. The numbers below are starting points for model acrylics and enamels; always test on scrap plastic or the inside of a kit part before touching a visible surface.
Thin paint in small increments. Add thinner a few drops at a time, stir, and test the drip on the side of your mixing cup. If it runs like water, it is too thin for a first coat; if it clings and looks like heavy cream, it needs more thinner. Spray distance of roughly 10-15 cm works for most detail work, and you should move the airbrush rather than holding it still.
- General work: 15-20 psi for primer, base coats, and clear coats on 1:24 and 1:72 kits.
- Fine detail: 10-15 psi for cockpit panels, camouflage edges, and pre-shading.
- Thinning ratio: begin around 1 part thinner to 2 parts paint, then adjust toward 1:1 for fine lines.
- Distance: about 10-15 cm from the surface, moving steadily to avoid pools and runs.
A first project that suits this setup
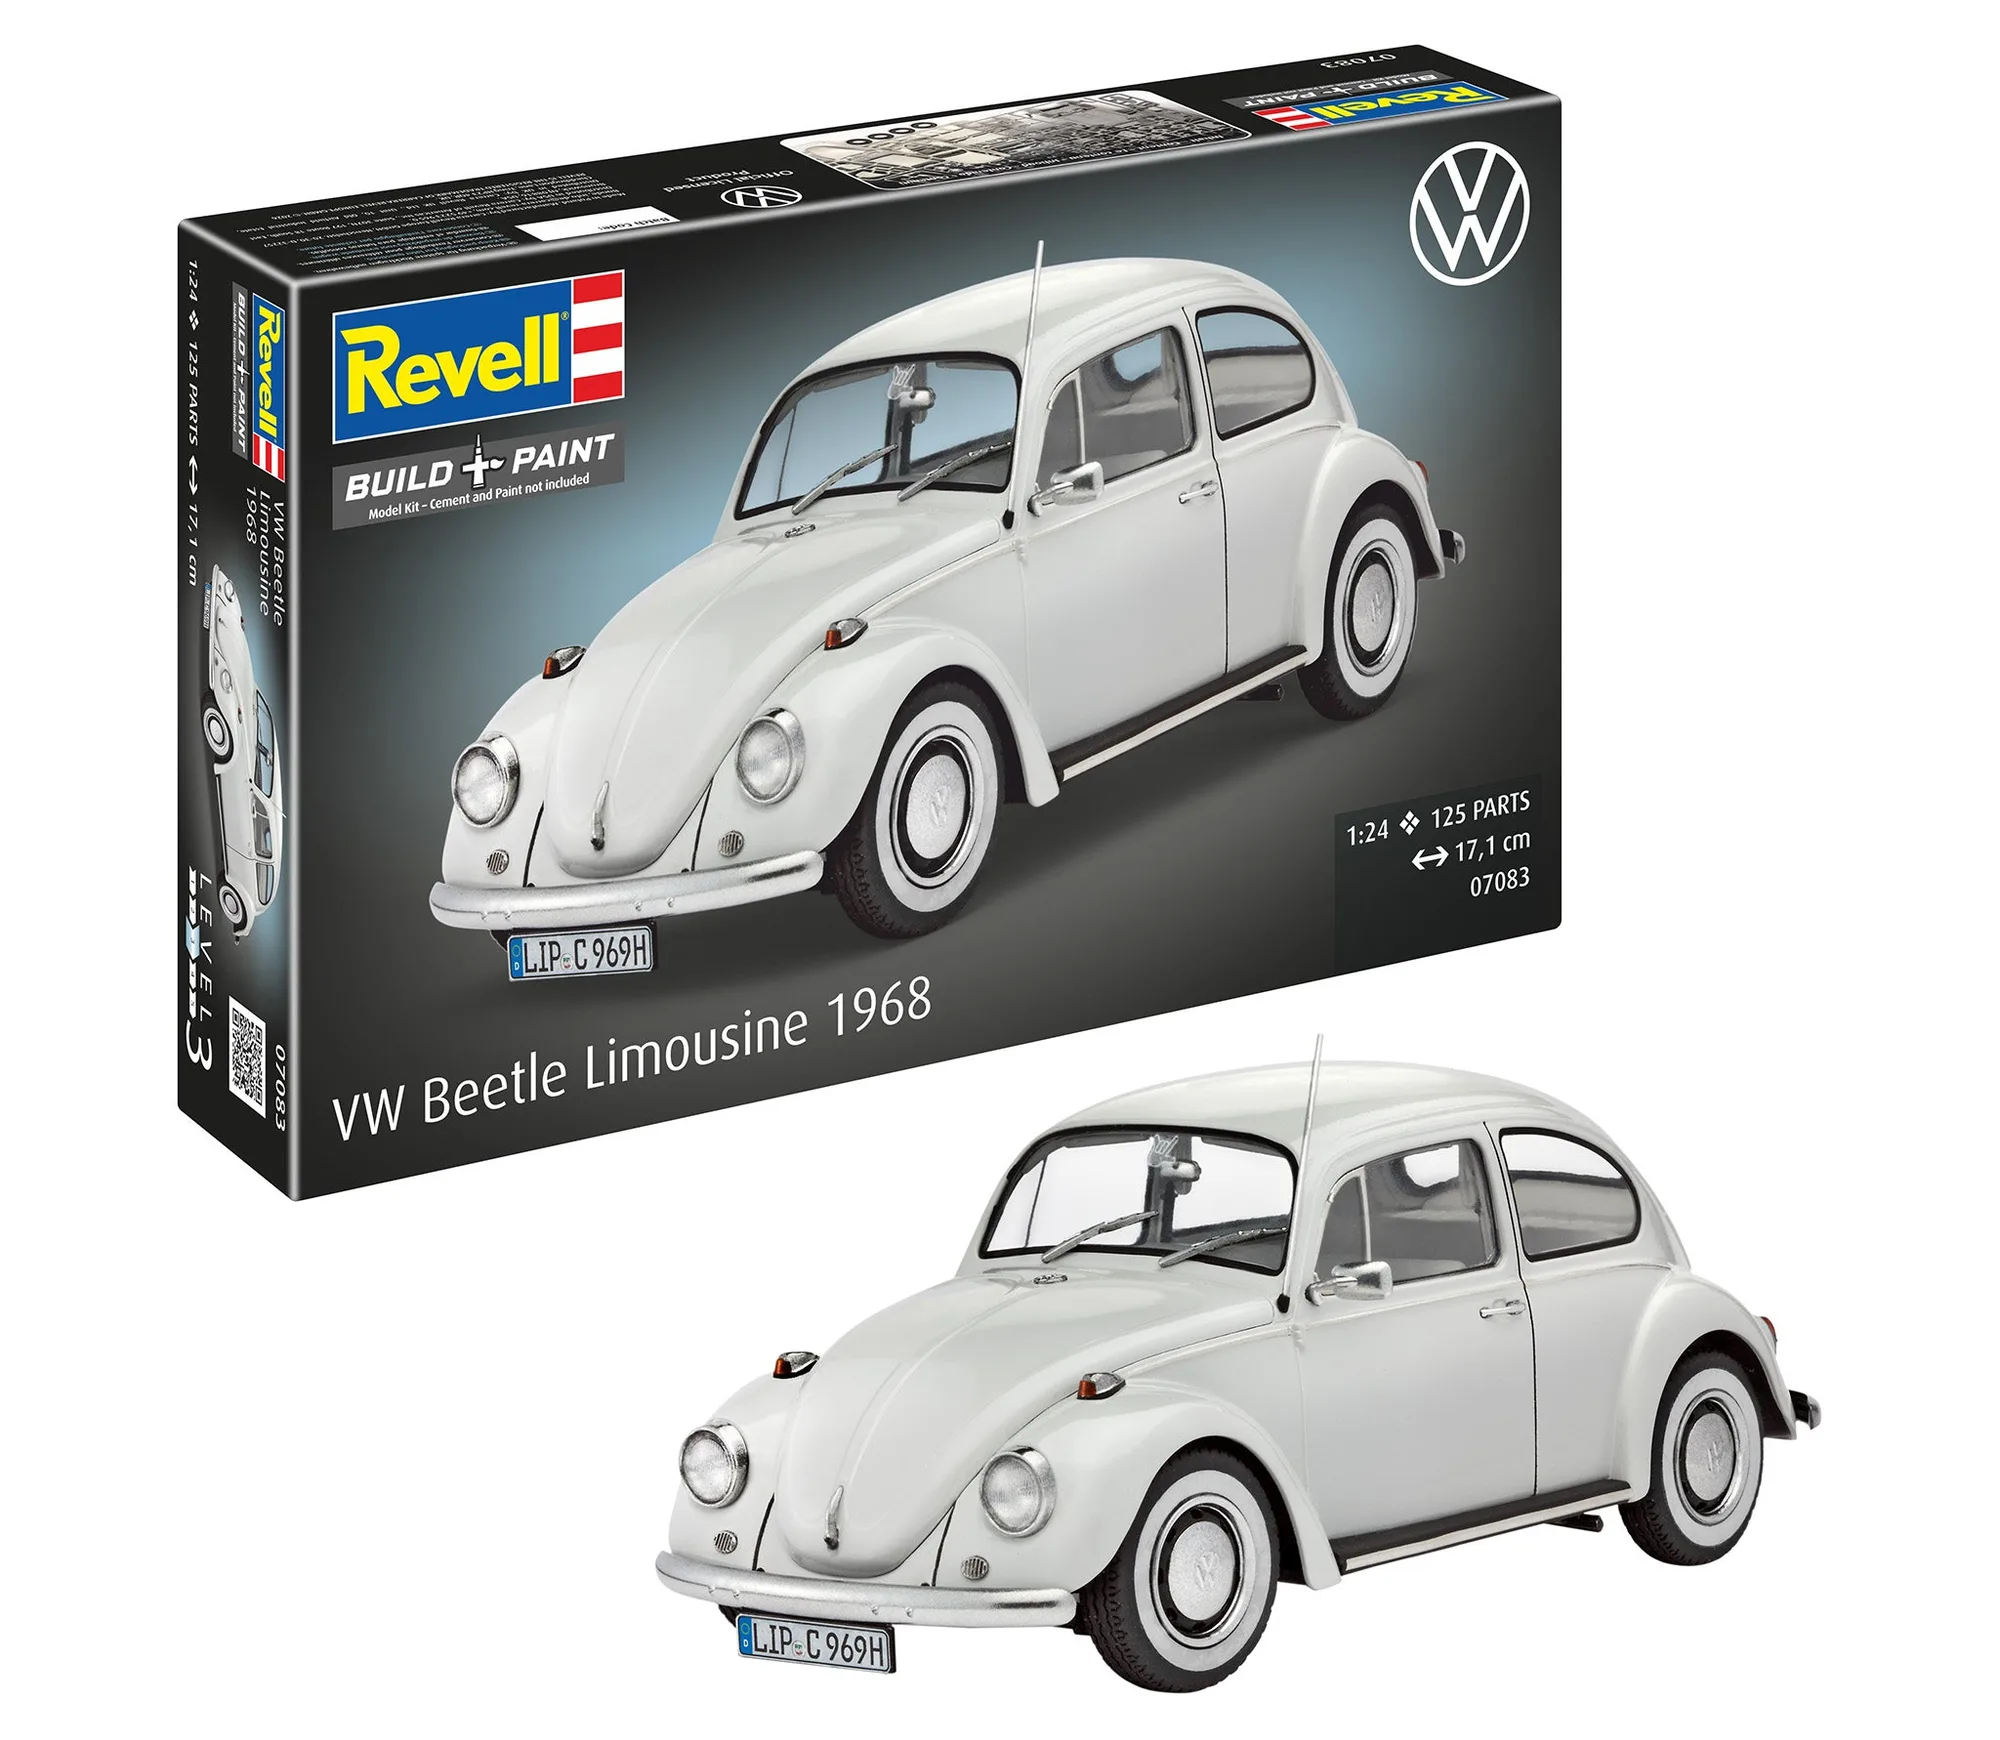
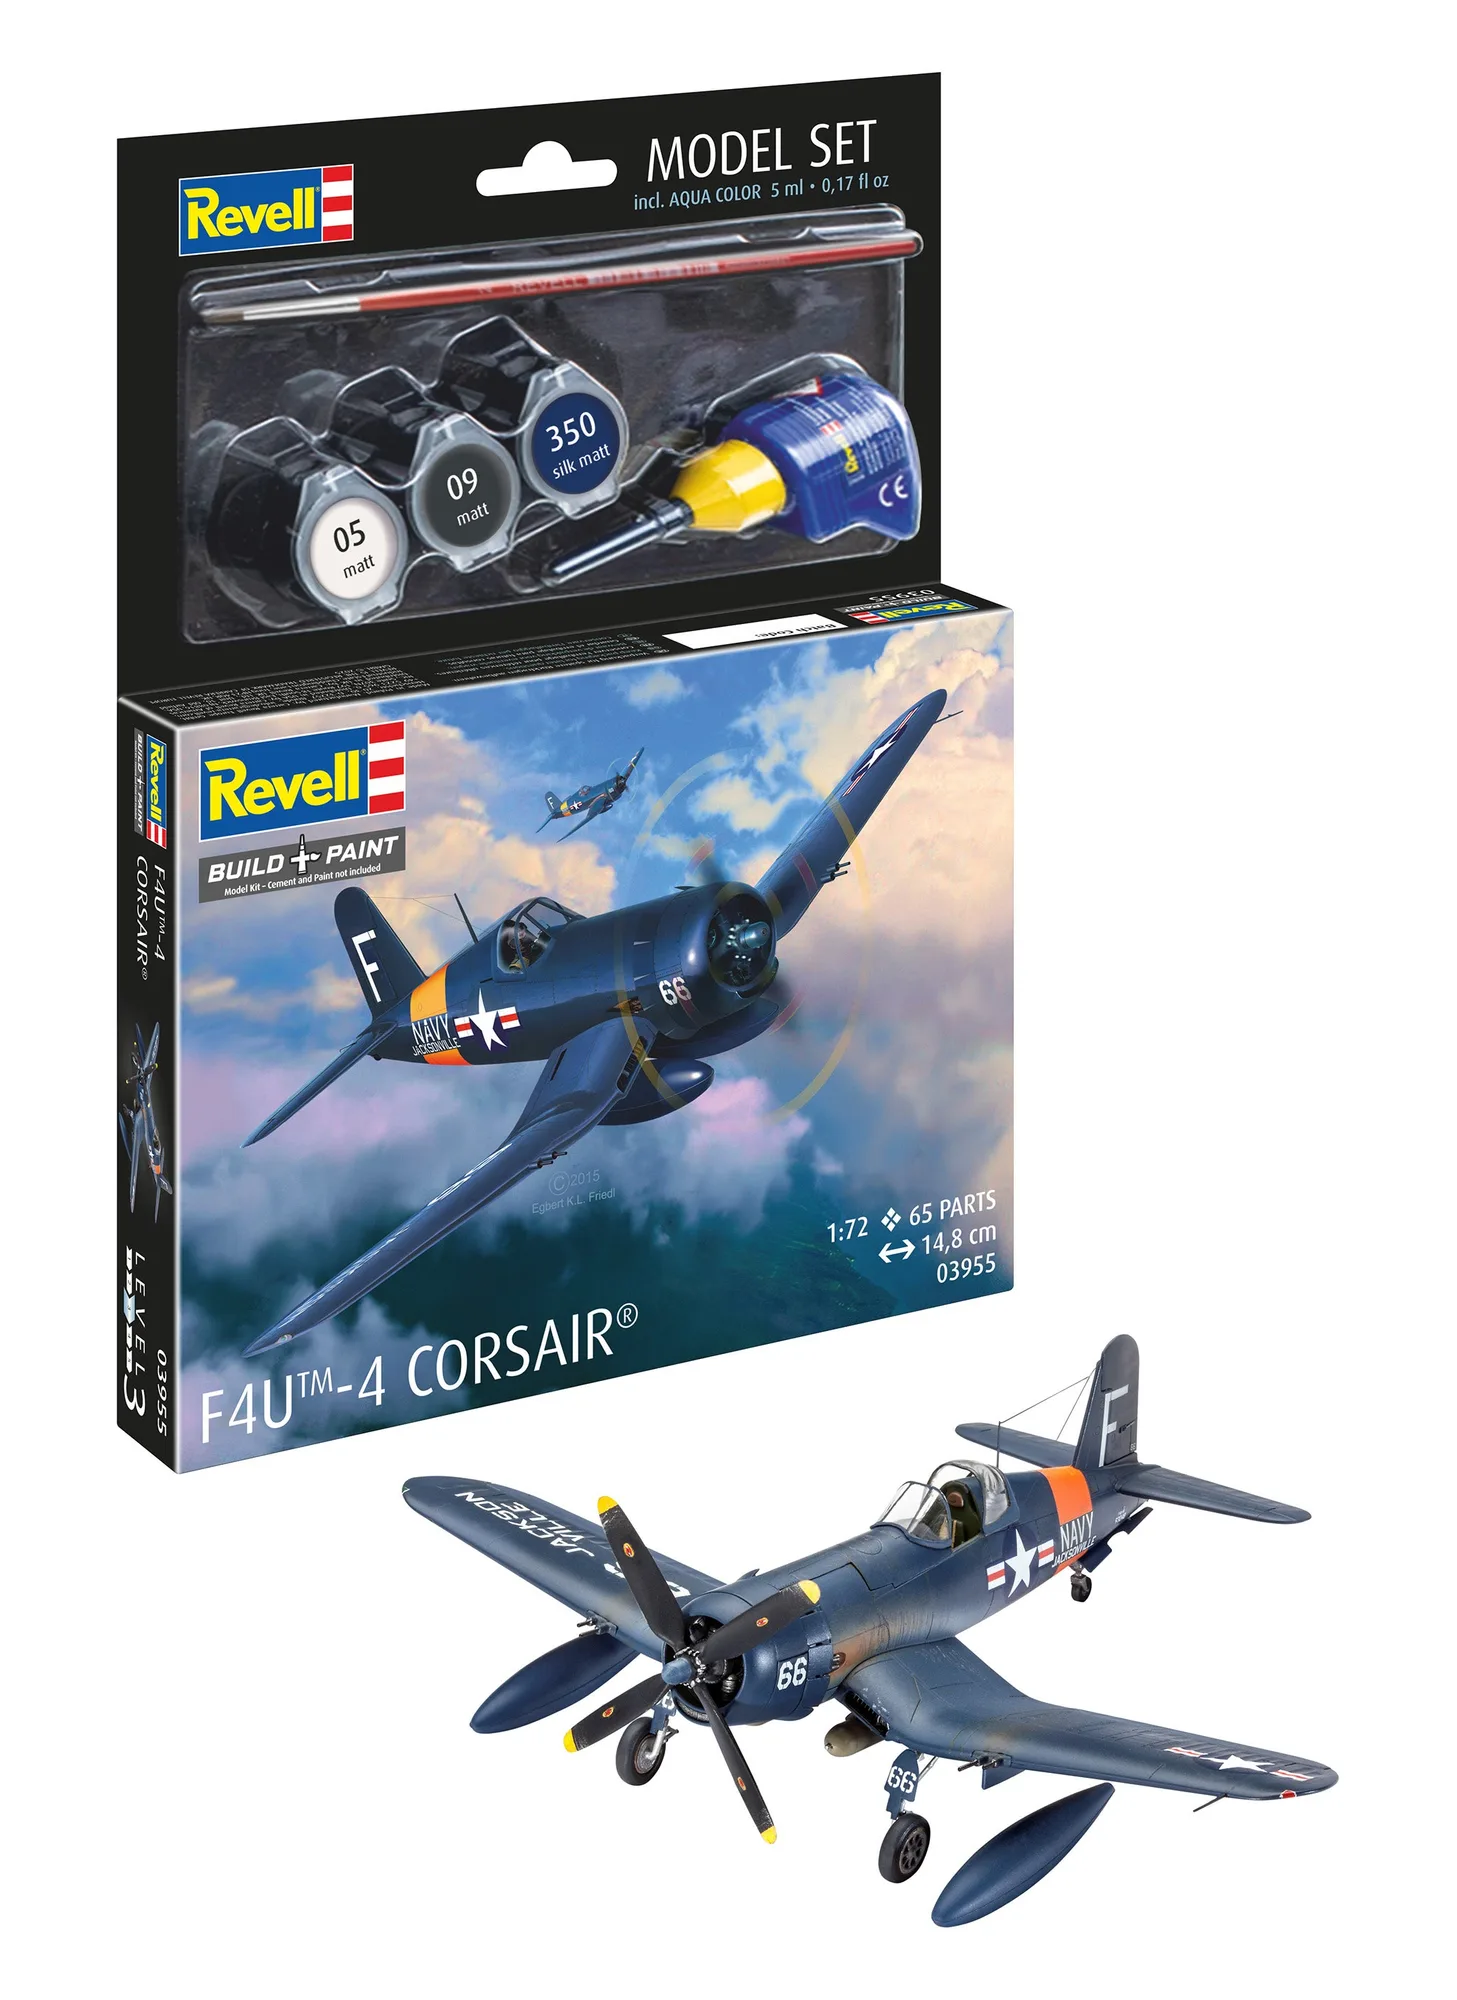
Small, well-fitting kits are the best way to learn because you can finish a whole model before frustration sets in. The Model Set F4U-4 Corsair includes the kit, construction instructions, decal, three main colors, a brush, and glue, so you can assemble and then practice airbrushing the main airframe colors. The VW Beetle Sedan 1968 is a 1:24 scale, 125-part kit measuring 171 mm long, which gives you a larger curved body to practice smooth coverage and clear coats.
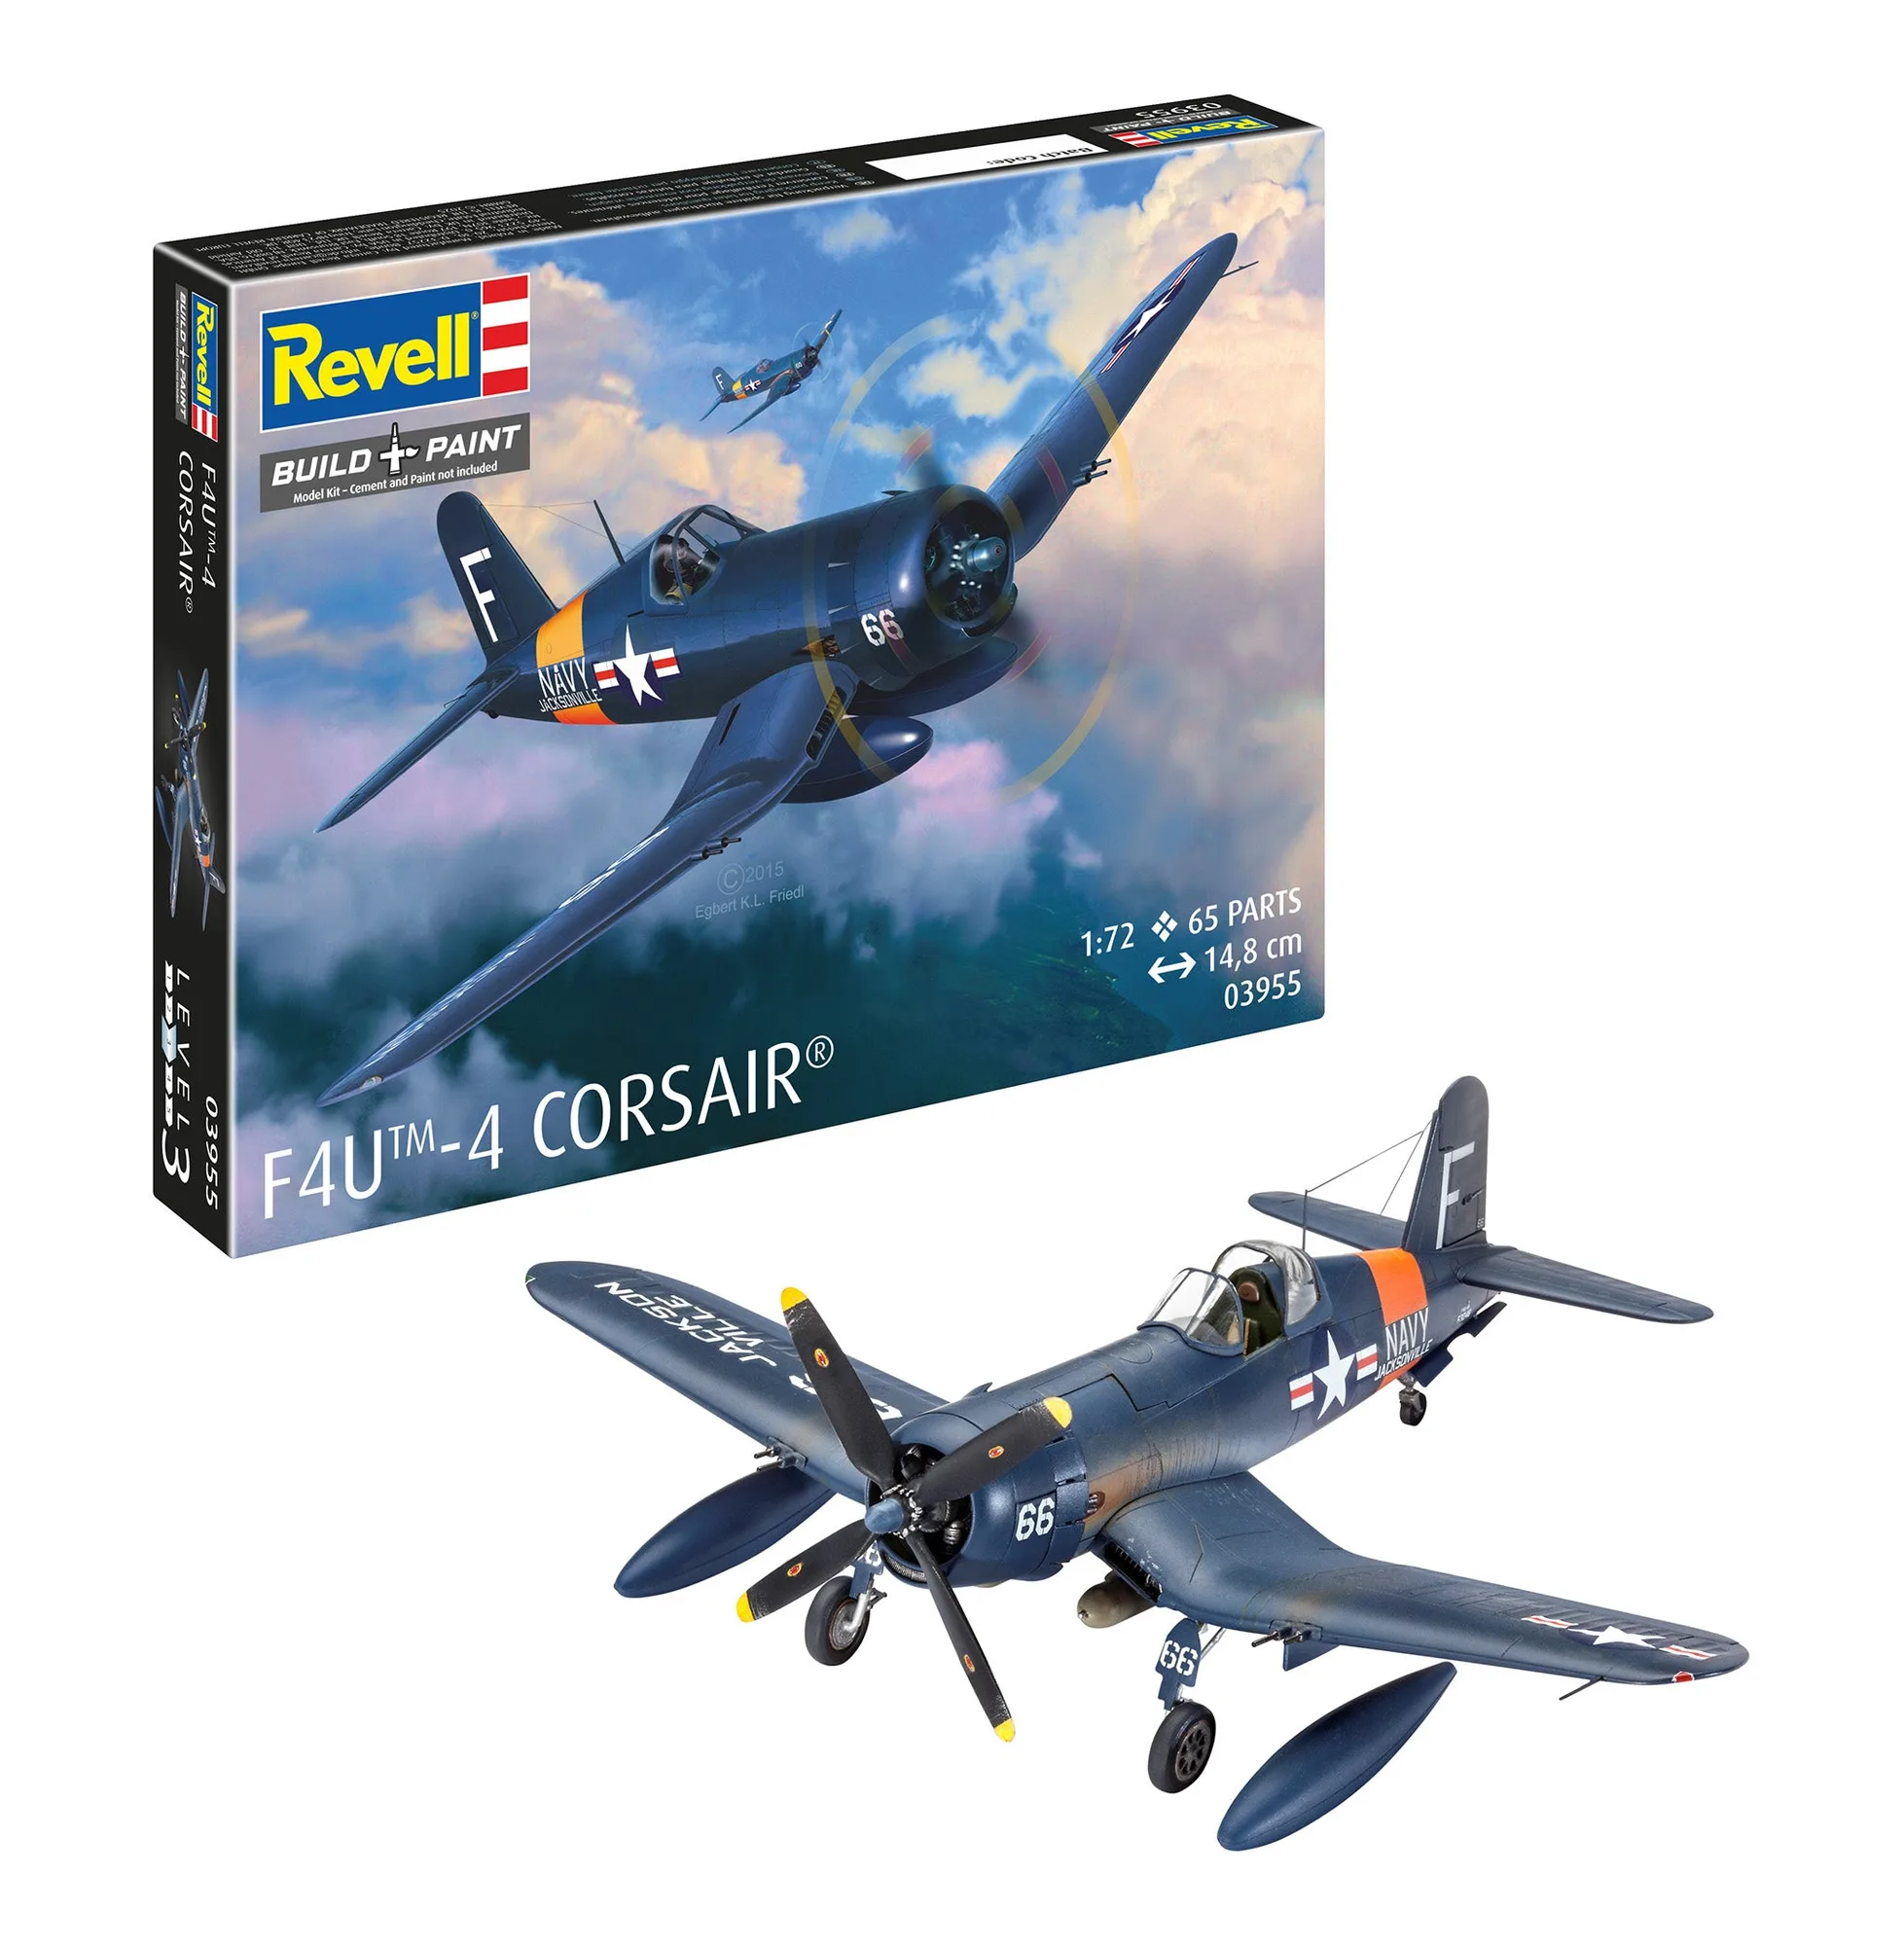
F4U-4 Corsair
Use the included brush and colors for small details and use the airbrush for the large surfaces. That division of labor keeps your airbrush sessions short while you build confidence.
Cleaning and storage between sessions
Dried paint inside the nozzle is the most common cause of a sputtering airbrush. Flush the color cup with the appropriate thinner as soon as you finish, then spray clean thinner through the gun until the mist runs clear. Wipe the needle with a soft cloth and avoid bending the tip.
For the compressor itself, keep it on a flat, stable surface with space around the vents. Do not cover it while running, and let it cool before packing it away. Because this is an oil-free piston unit, no oil changes are required, but you should still check the air intake and the moisture situation in humid weather.
Step-by-step airbrushing with the Standard Class Compressor
- Set up the compressor and gun: Place the compressor on a stable, flat surface with clear space around the vents. Connect the air hose to the Standard Class spray gun and check that the connection is snug. Fill the color cup only about one-third full to start. Checkpoint: listen for a steady motor note and feel for a consistent air stream at the nozzle before adding paint.
- Set a starting pressure: Begin around 15-20 psi for general model work. If your compressor has a regulator, adjust it while the air is flowing, not while it is stopped, so the reading reflects working pressure. Common mistake: setting pressure with the gun closed, which gives a misleading high reading.
- Thin the paint gradually: Add thinner a few drops at a time and stir. Aim for a skim-milk consistency for general coats and slightly thinner for fine lines. Test the drip on the side of the cup before spraying the model. Checkpoint: if the paint runs off the stirrer like water, add a little more paint; if it clings heavily, add thinner.
- Test on scrap and adjust distance: Spray a test pattern on scrap plastic or the inside of a kit part. Hold the airbrush about 10-15 cm from the surface and move your arm steadily. If the finish looks dusty, move closer or lower the pressure slightly; if it looks wet and glossy, move faster or increase distance. Common mistake: spraying the model first and then trying to fix a bad pattern on a visible surface.
- Build thin coats: Apply several light passes rather than one heavy coat. Let each pass flash off before the next. For the VW Beetle Sedan 1968 body, work in sections and keep the gun moving to avoid runs on curved surfaces. Checkpoint: you should still see some of the underlying surface after the first pass; full coverage comes from layered passes.
- Clean immediately after spraying: Empty any leftover paint from the cup, flush with thinner, and spray clean thinner through the gun until the mist runs clear. Wipe the needle with a soft cloth and store the gun safely. Common mistake: leaving paint to dry in the nozzle, which causes sputtering and uneven spray next session.
- Store the compressor correctly: Let the compressor cool, then store it on a flat surface away from dust and moisture. Because it is oil-free, no oil change is needed, but keep the vents clear and check the air intake periodically. Next step: before your next session, do a quick air-only spray to confirm the gun is clean and the airflow is steady.
Product facts
- Revell "Standard Class" compressor: The Revell "Standard Class" compressor is an oil-free piston compressor that works optimally with the "Standard Class" airbrush spray gun and is aimed at ambitious beginners. You can skip oil changes and pair it directly with the matching gun, which reduces setup guesswork for a first airbrush station.
- Model Set F4U-4 Corsair: The Model Set F4U-4 Corsair includes the kit, construction instructions, decal, three main colors, brush, and glue. It provides a complete first project, so you can practice airbrushing main colors while using the brush for small details.
- VW Beetle sedan 1968: The VW Beetle Sedan 1968 is a 1:24 scale kit with 125 parts and a finished length of 171 mm. The larger curved body gives you useful practice with smooth coverage and clear coats before you move to smaller subjects.