Quick answer
To apply acrylic powder without lumps, pick up a bead with a 1:1.5 monomer-to-powder ratio, let it sit for 2–3 seconds, then press and smooth it before it sets. Work in thin layers, keep your brush damp but not dripping, and never add wet monomer on top of a bead that has already started to harden.
Lumpy acrylic is almost never a product problem. It is a timing problem. The powder starts to set the moment it touches monomer, so the window to smooth the bead is only a few seconds. If you miss that window, you get ridges, pits, and a file job that takes twice as long.
This guide walks through the exact steps for a smooth acrylic nail application, with the checkpoints that tell you whether your bead is ready. You do not need years of experience. You need a consistent ratio, a clean brush, and the patience to stop touching a bead once it starts to cure.
What actually causes lumps in acrylic powder
Lumps come from three things: too little monomer, a dirty brush, or working a bead after it has begun to set. When the monomer-to-powder ratio is off, the powder does not dissolve evenly and dry pockets form. A brush contaminated with dried acrylic or excess powder will also drag clumps across the nail.
Temperature and humidity matter too. In a cold room, monomer evaporates more slowly and the bead stays workable longer. In a hot room, it sets fast and punishes hesitation. Adjust by picking up a slightly wetter bead in warm conditions and a slightly drier bead in cool conditions.
- Check your brush before every nail: squeeze out old monomer and wipe it on a lint-free pad.
- If your bead looks powdery on the surface, it is too dry. Discard it and pick up a new one.
The monomer to powder ratio that prevents lumps
Aim for a bead that looks like a glossy pearl, not a snowball and not a puddle. Dip the brush tip into monomer, wipe one side against the dappen dish, then drag the brush through the powder. The powder should form a ball that holds its shape on the brush but still moves when you press it.
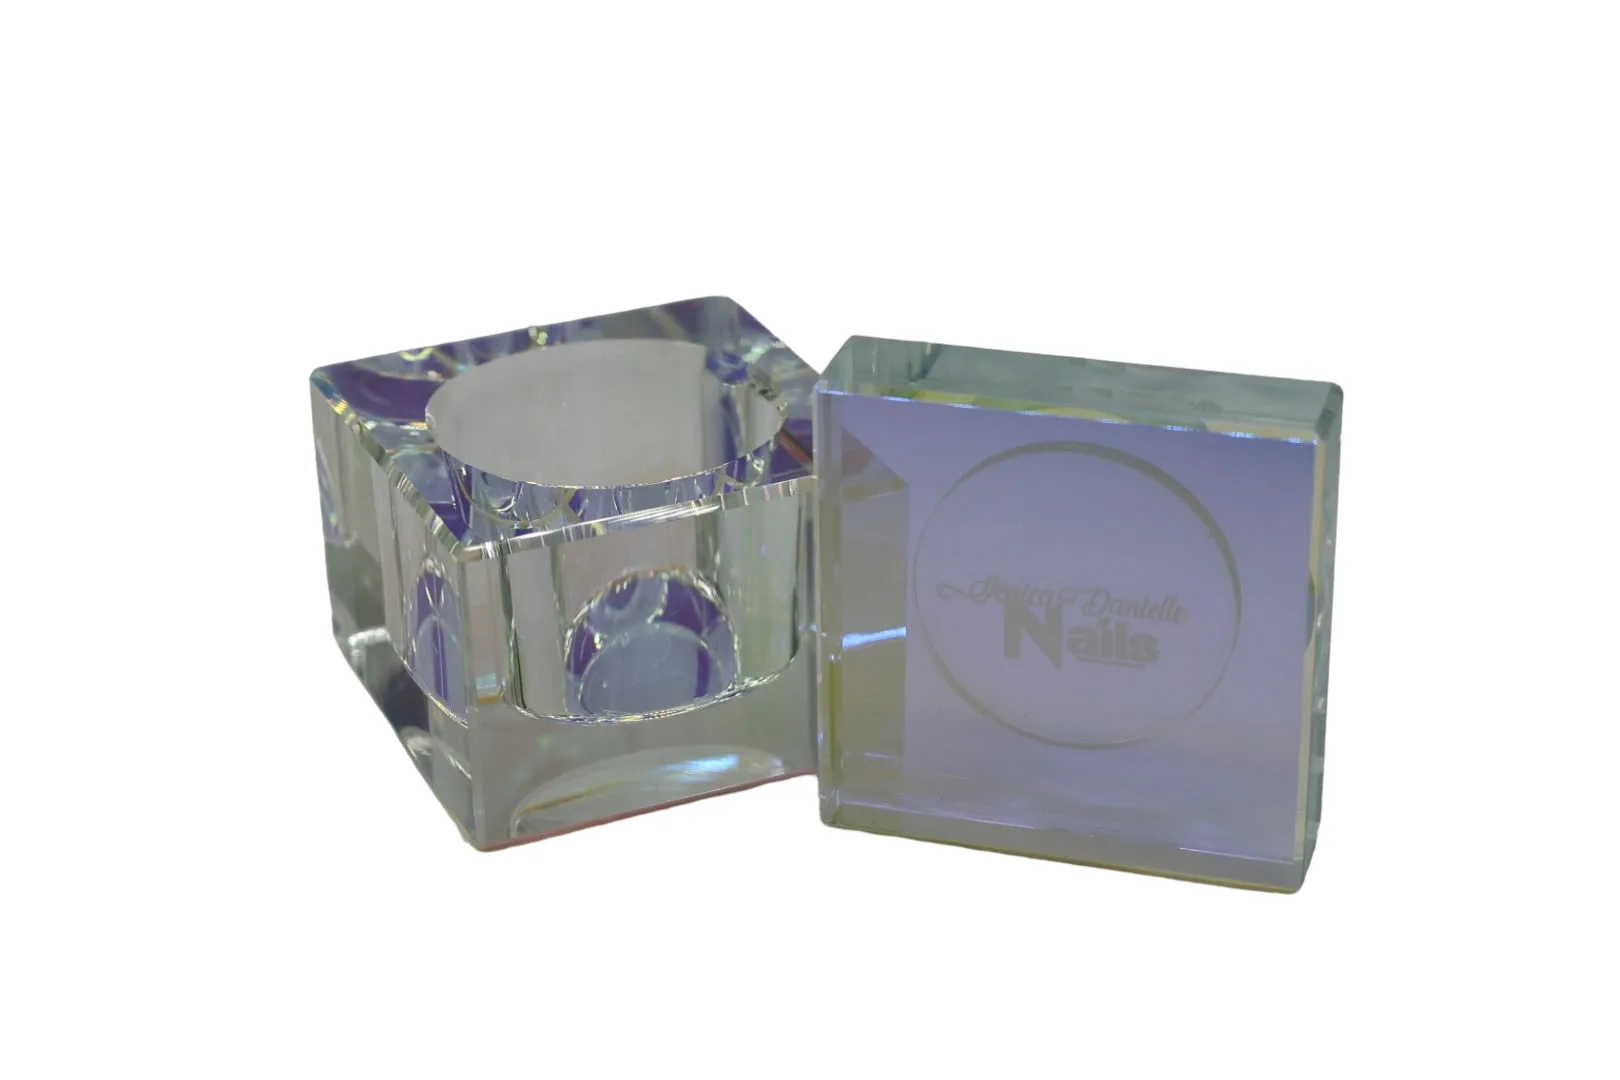
dappen dish
If the bead slides off the brush immediately, you have too much monomer. If it crumbles or leaves dry powder on the brush, you have too little. Both extremes create lumps, so fix the ratio before you touch the nail.
- Wipe only one side of the brush on the dish rim; a fully wiped brush picks up too little monomer.
- Practice the pickup on a tip or foil until the bead holds a soft dome shape.
Prep the nail so the bead can self-level
Acrylic cannot smooth itself over a rough surface. Shape the natural nail, remove cuticle from the plate, and lightly buff the shine away. Any ridge or lifted cuticle will show through the acrylic as a lump or shadow, no matter how good your bead is.
Apply a dehydrator and primer according to their instructions, then let the primer dry completely. If the surface is still wet, the acrylic will slide and set unevenly, which forces you to overwork the bead.
- Use a cuticle nipper to remove any lifted skin that could catch the brush.
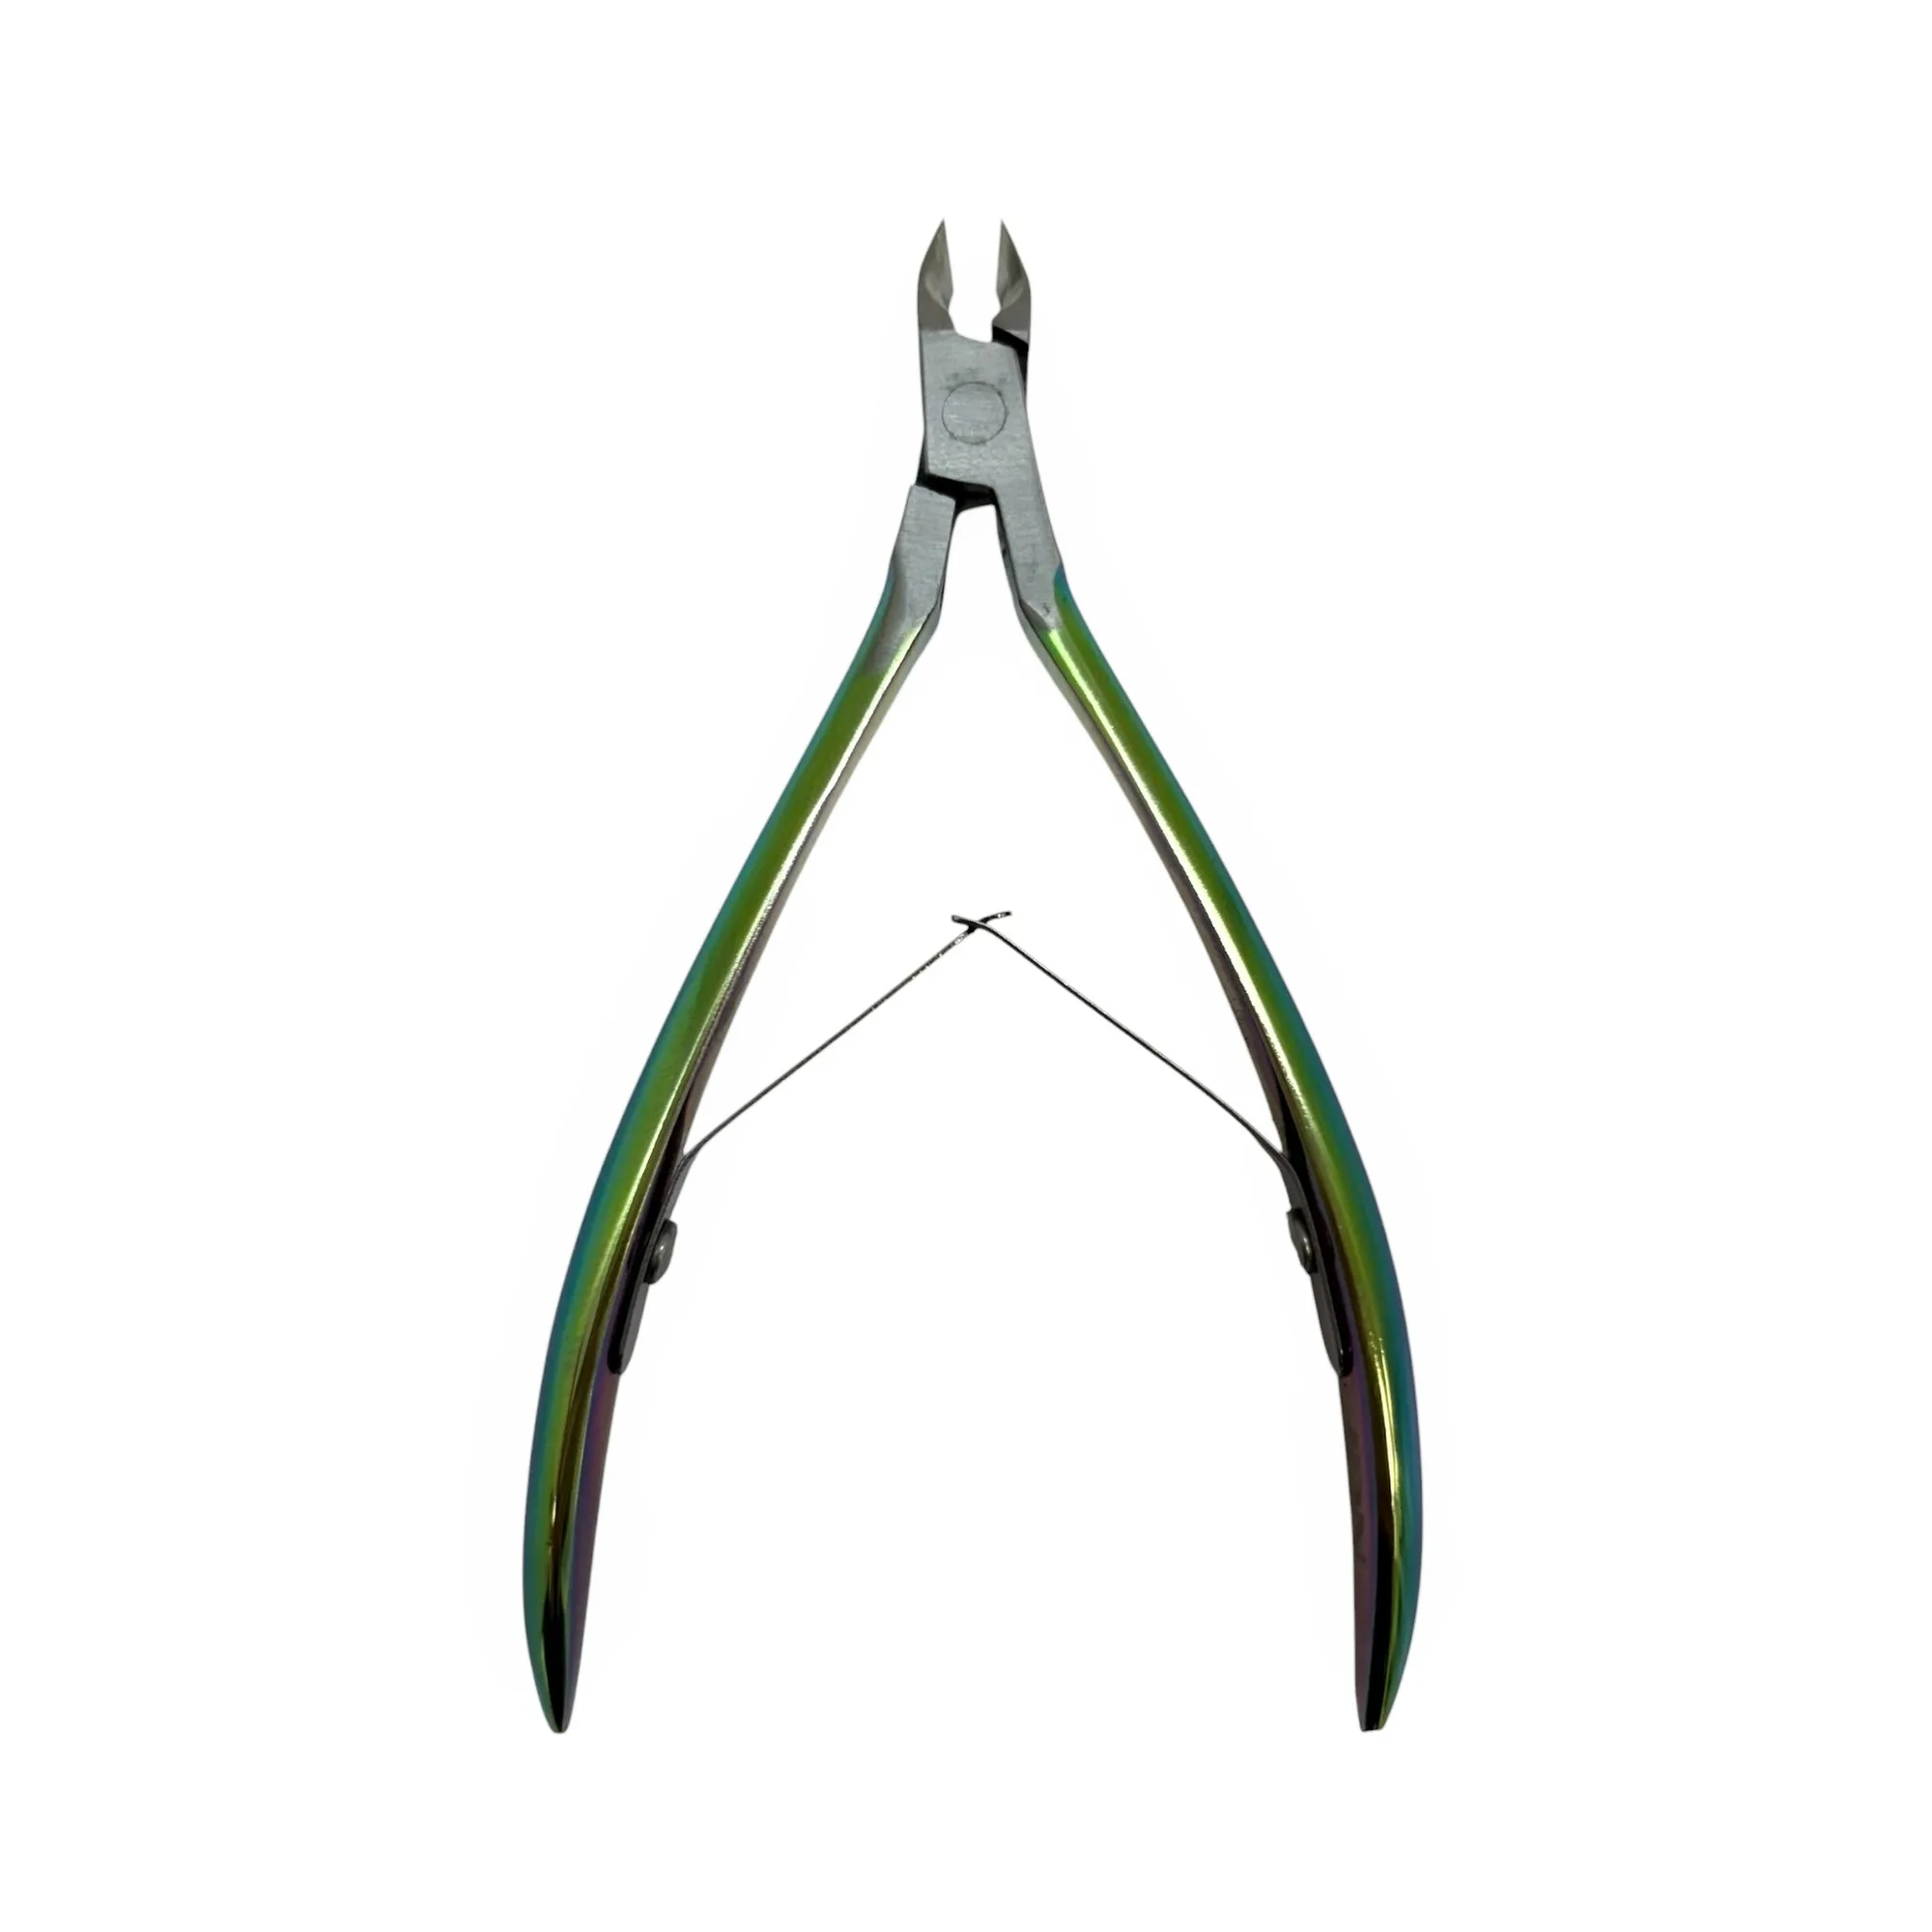
cuticle nipper
- Do not touch the prepared nail plate with your fingers before applying acrylic.
Place and press the bead in one motion
Place the bead slightly above the center of the nail, then press it down with the belly of the brush and push it toward the cuticle, then back toward the free edge. Use light pressure and short strokes. The goal is to guide the acrylic, not to paint it like polish.
Once the bead stops moving freely, stop. Every extra stroke after that point drags semi-set acrylic and creates the lumps you are trying to avoid. If the shape is not perfect, let it cure and file it smooth later.
- Keep the brush at a low angle; a steep brush digs ridges into the bead.
- If the acrylic starts to string or drag, the bead is setting. Leave it alone.
Build in thin layers and check before filing
For strength without bulk, apply two or three thin layers instead of one thick bead. Thin layers self-level faster and give you a chance to correct the shape between passes. Let each layer lose its shine before adding the next.
After the final layer cures, look across the nail at eye level. You should see a smooth curve from cuticle to free edge. File only the high spots and the sidewalls, then buff lightly. Over-filing thin areas is a common beginner mistake that leads to cracks later.
- A 180-grit file removes ridges without gouging the acrylic.
- Check the sidewalls with your finger; sharp edges mean you missed a pass.
Your step-by-step acrylic application checklist
- Prep and dehydrate the nail plate: Shape, buff, remove cuticle, and apply primer. Let it dry fully. Checkpoint: the nail should look matte with no shiny spots or wet primer.
- Pick up a 1:1.5 bead: Dip the brush in monomer, wipe one side, drag through powder until a soft ball forms. Checkpoint: the bead holds its shape but still moves when pressed. If it crumbles, add monomer; if it runs, add powder.
- Let the bead settle for 2–3 seconds: Wait until the surface goes from wet and shiny to slightly satin. Mistake to avoid: pressing too early pushes monomer out and leaves dry powder behind.
- Press and guide with the belly of the brush: Place above center, press toward the cuticle, then back to the free edge in short strokes. Checkpoint: the acrylic moves as one mass. If it strings, stop immediately.
- Build thin layers, not one thick bead: Apply two or three thin passes, letting each lose its shine before the next. Mistake to avoid: adding wet monomer on a setting bead, which causes pits and lumps.
- Cure, inspect, and file lightly: Look at the nail from the side, then file only high spots and sidewalls with a 180-grit file. Checkpoint: a smooth curve from cuticle to free edge with no visible ridges.
Products that support a smooth application
- #25 Drunk Text - Acrylic Nail Powder: Super fine acrylic nail powder absorbs liquid evenly and is self-leveling for an effortless application. Even liquid absorption is exactly what keeps a bead from forming dry pockets, so this powder is forgiving while you practice your ratio.
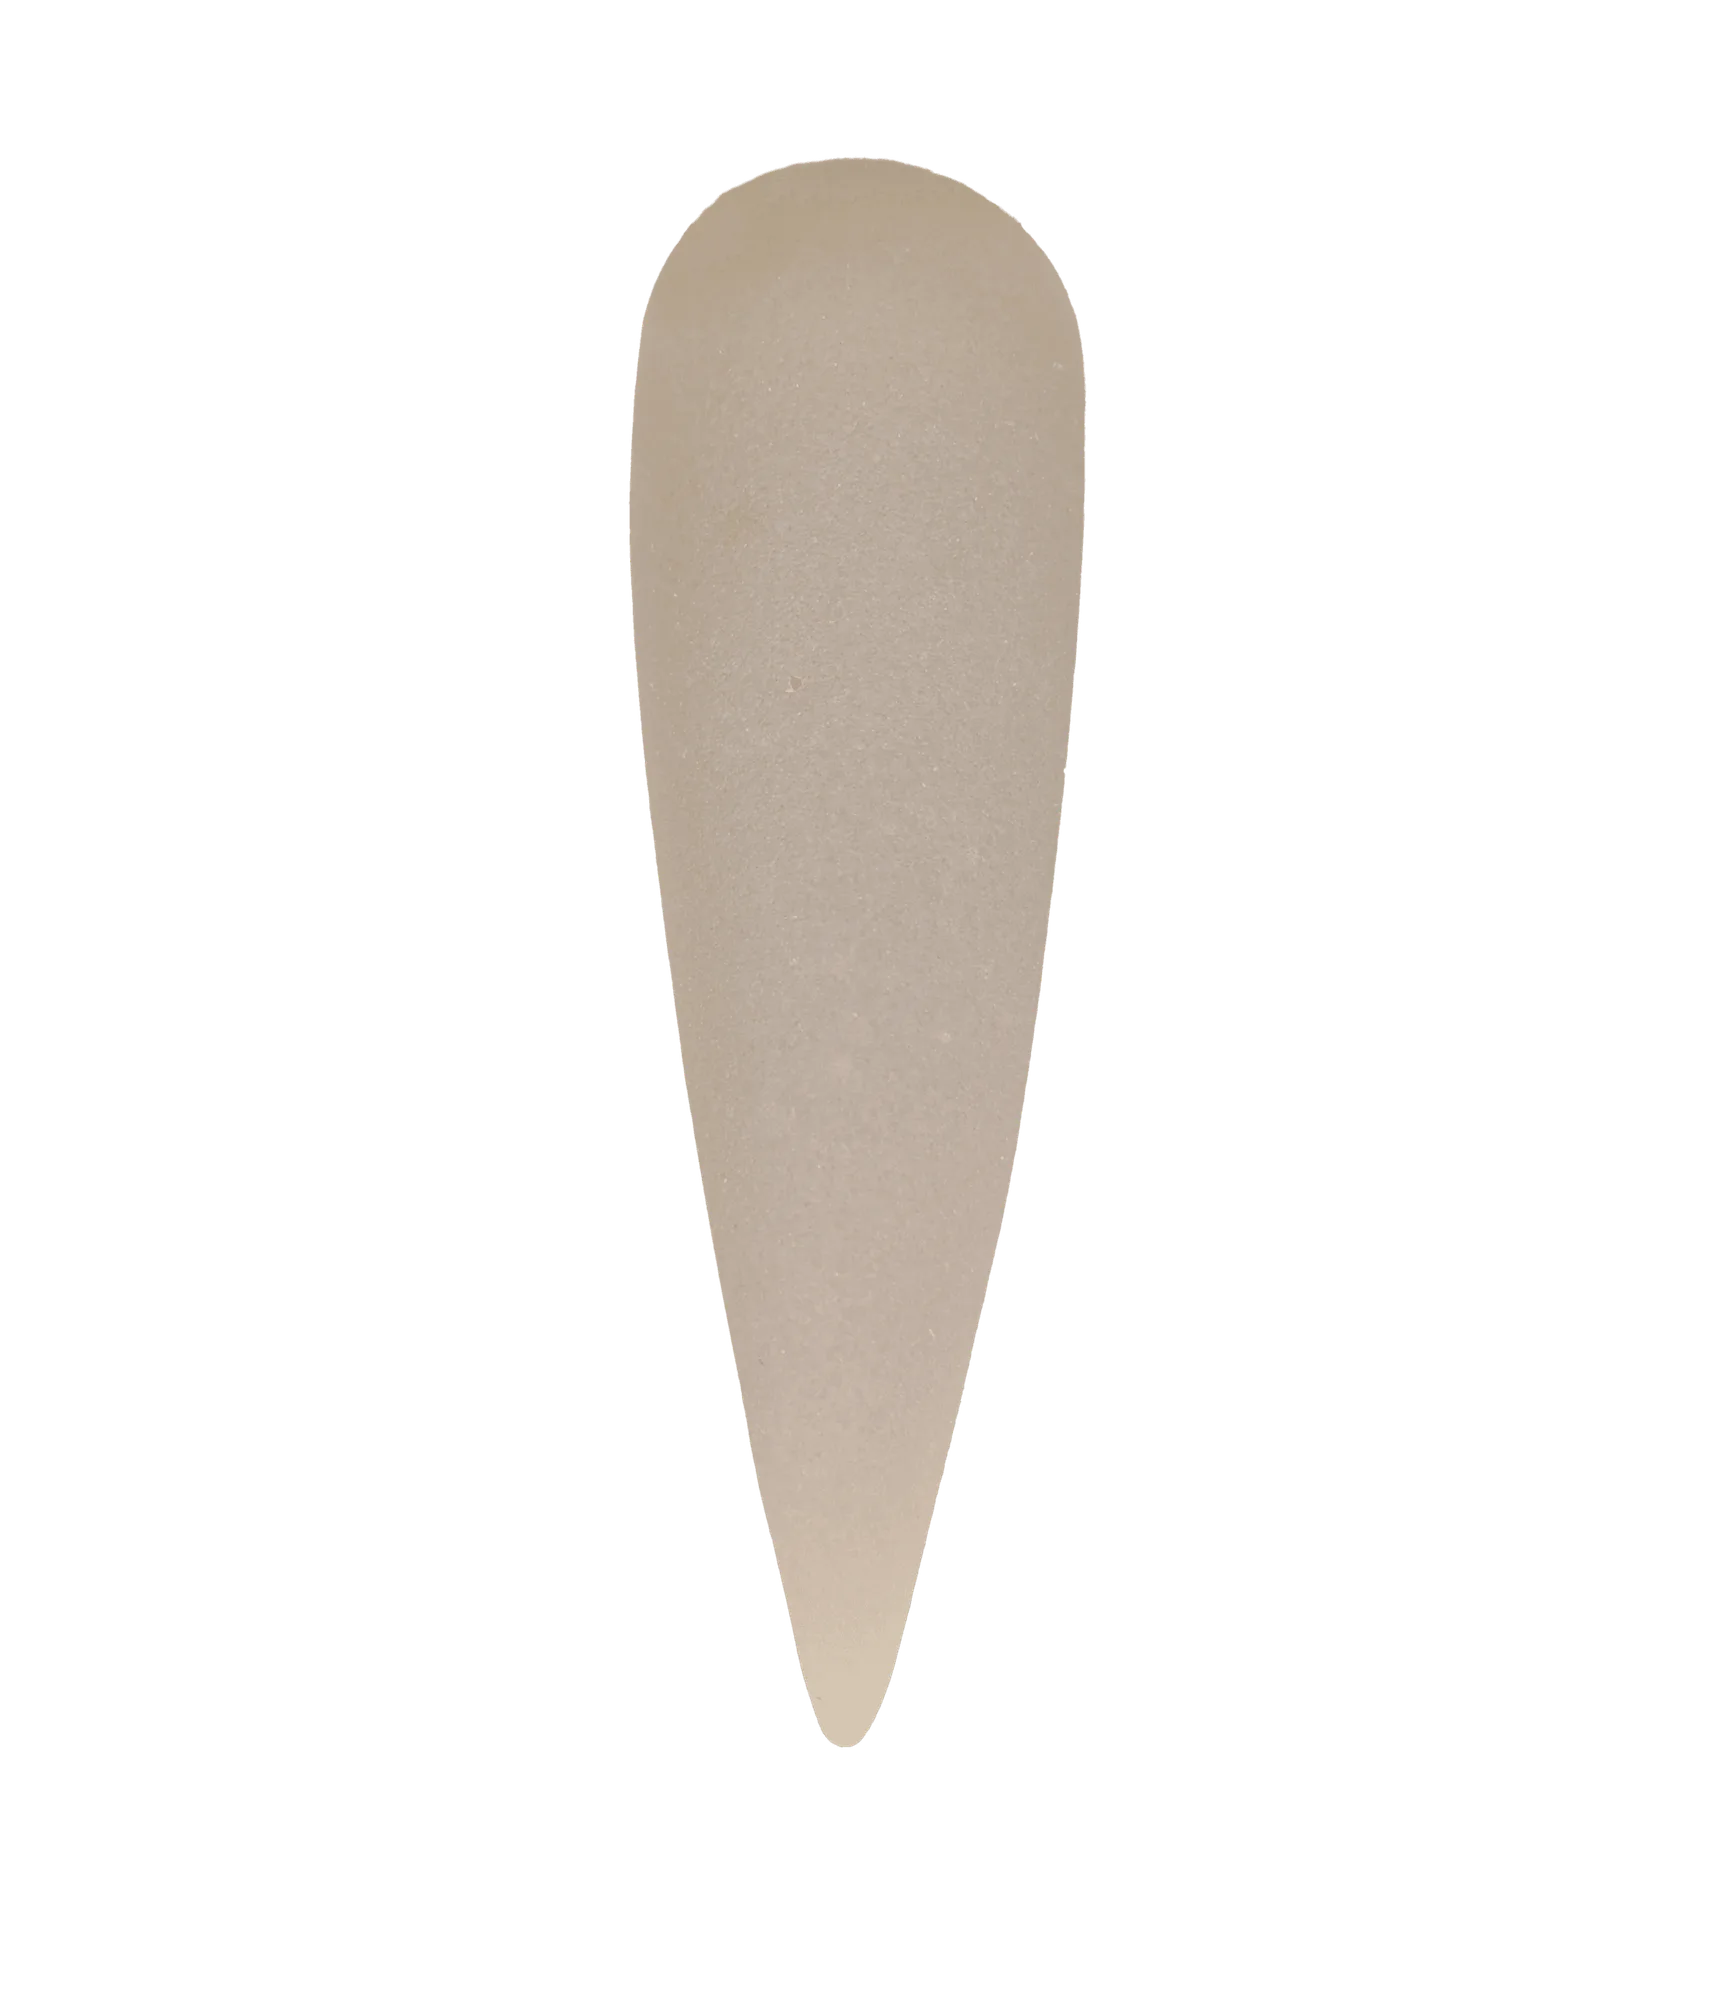
- #2 Buttery Nipple - Acrylic Nail Powder: The formula is designed for a butter-like consistency, making it easy to work with and ideal for creating stunning nails. A butter-like consistency gives you more working time to press and smooth the bead before it sets, which reduces lumping for beginners.
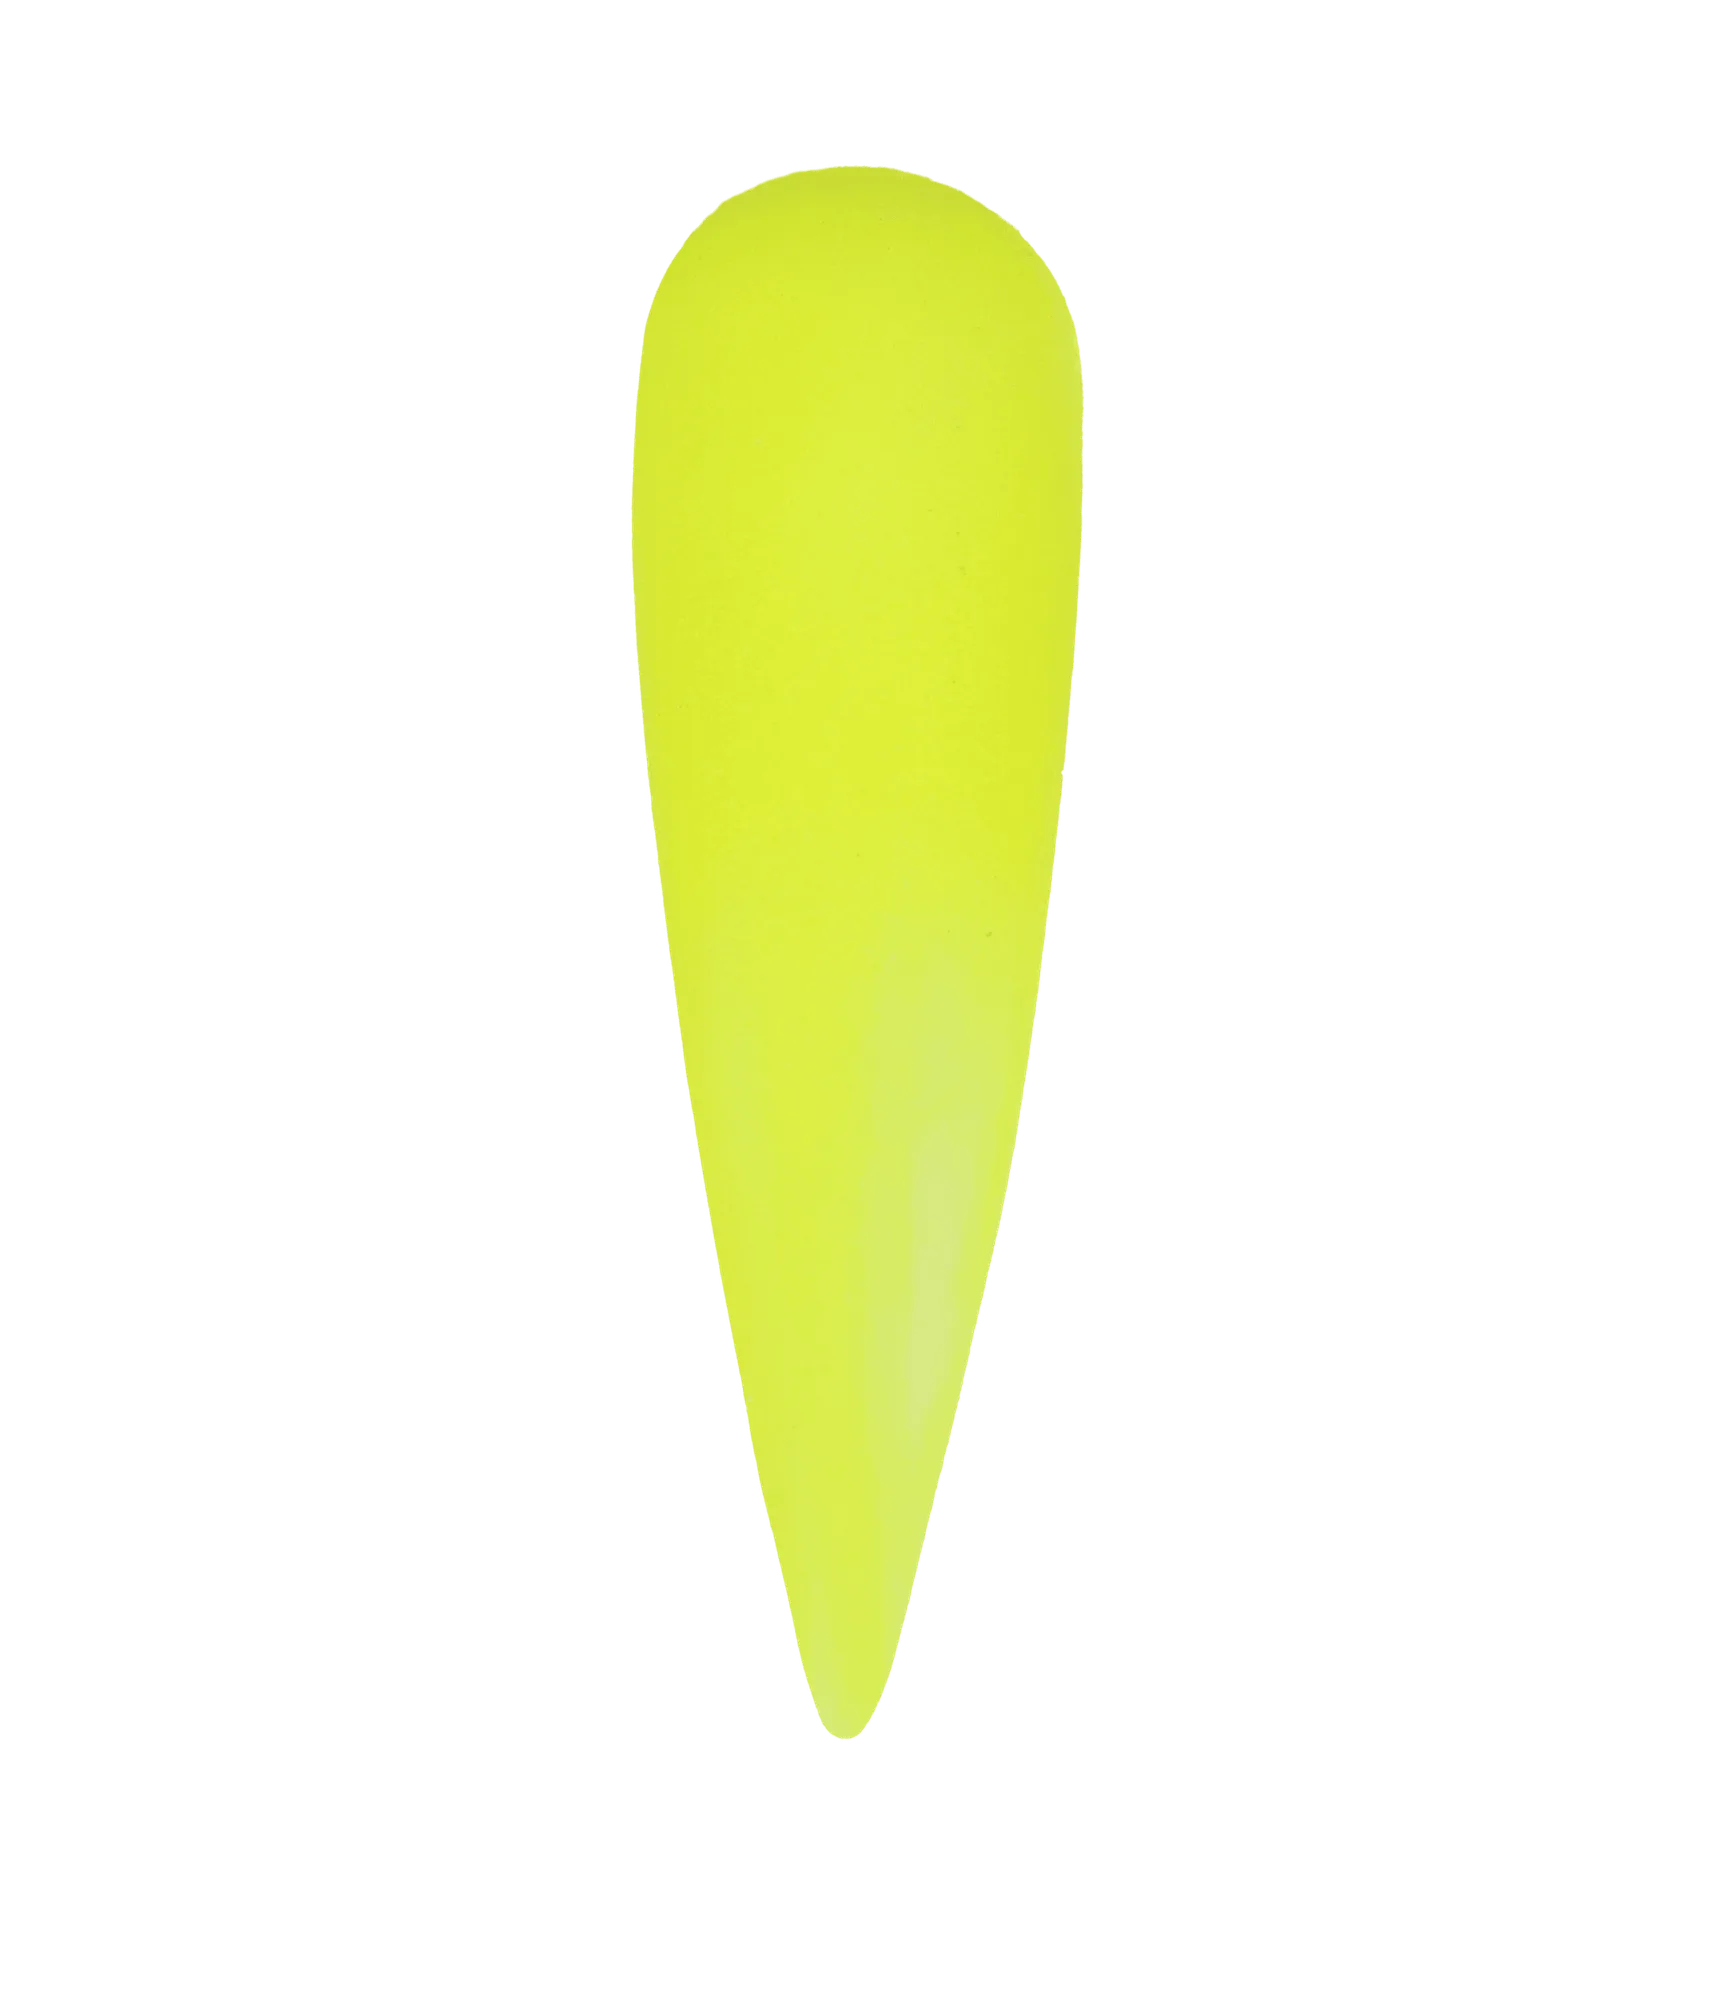
- #36 Electric Lemonade - Acrylic Nail Powder: Acrylic nail powder can be applied with monomer or dip system. If you are still struggling with bead control, you can use the same powder in a dip system while you build confidence with liquid and powder.
Smooth acrylic is a timing skill, not a talent. Keep your ratio consistent, stop touching the bead once it sets, and build in thin layers. Practice the pickup on a tip a few times before your next full set, and the lumps will disappear.