Quick Answer
To apply sclera lenses safely, always wash your hands, check the lens for damage, and center it on your eye using a gentle, straight-on motion. For removal, use a clean fingertip to slide the lens downward and pinch it off—never pull straight out—to avoid tearing or scratching the lens and your eye.
Sclera lenses are larger than standard colored contacts, covering most of the white of your eye for dramatic cosplay and special effects. Their size makes them trickier to handle, and improper insertion or removal can lead to torn lenses, eye irritation, or even infection. With the right technique, you can put them in and take them out quickly and safely.
This guide walks you through each step, highlighting common mistakes and checkpoints along the way. Whether you're using 22mm sclera lenses for full-eye coverage or smaller 17mm styles, the same principles apply. Follow these steps every time to protect your eyes and extend the life of your lenses.
Before You Start: Preparation Matters
Always begin with clean, dry hands. Wash with fragrance-free soap and rinse thoroughly, then dry with a lint-free towel. Avoid oily lotions or hand creams, as residue can cloud the lens and irritate your eyes. Set up a clean, well-lit area with a mirror, lens solution, and your lens case within reach.
Check the lens before insertion. Hold it on your fingertip and inspect for tears, chips, or debris. If it looks damaged, do not wear it—replace it. Also verify the lens is not inside out; the edges should curve upward like a bowl, not flare out like a saucer. This simple check prevents discomfort and potential damage.
- Use fresh solution every time—never reuse or top off old solution.
- Keep your nails short and smooth to avoid puncturing the lens.
Inserting Sclera Lenses Step by Step
Hold the lens on the pad of your index finger, making sure it's stable and centered. With your other hand, use your middle finger to pull down your lower eyelid, and your index finger to lift your upper eyelid—this creates a wide opening. Look straight ahead, not upward, to avoid trapping air bubbles under the lens.
Gently place the lens directly onto the center of your eye. Release your eyelids slowly and blink a few times to help the lens settle. If you feel a bubble or the lens shifts, remove it and reinsert. Do not press on the lens; let it adhere naturally. For larger sclera lenses, like the 22mm Burst, you may need to hold your eye open wider and use a mirror to guide placement.
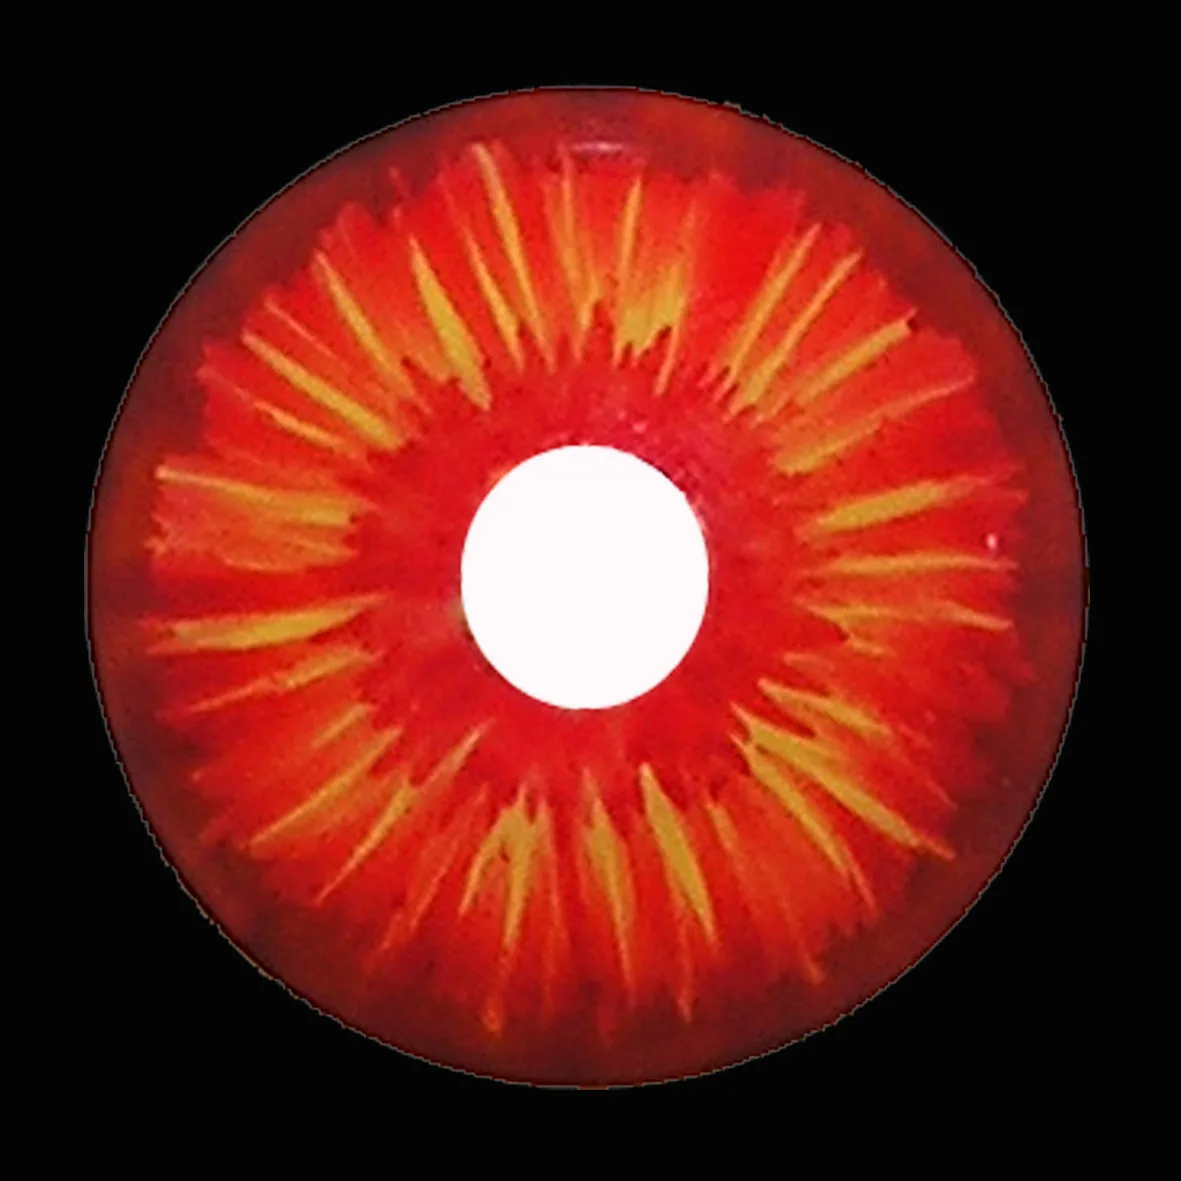
22mm Burst
- If the lens feels dry, moisten it with a few drops of lens solution before insertion—never use saliva or tap water.
- Practice with a mirror until you can insert without hesitation.
Removing Sclera Lenses Without Tearing
Removal is where most damage occurs. Wash your hands again and sit comfortably. Look slightly upward and use your index finger to gently pull the lens down onto the white of your eye. This breaks the suction and moves the lens away from your cornea.
Once the lens slides down, pinch it gently between your thumb and index finger—like a soft fold—and lift it away. Avoid pulling straight out from the center, as this can tear the lens and scratch your eye. If the lens feels stuck, apply a drop of lens solution to rewet it and wait a few seconds before trying again. Never use tweezers or tools.
- Always remove lenses before sleeping, swimming, or showering.
- If the lens is difficult to remove, check that it's not dry—hydrate first.
Cleaning and Storing Sclera Lenses
After removal, place each lens in the correct side of your lens case and fill with fresh multipurpose solution. Rub the lens gently with your fingertip for a few seconds to remove debris, then rinse with solution. Never use water or saline for storage—only multipurpose solution is designed to disinfect and condition.
Close the case tightly and store it at room temperature away from direct sunlight. Replace your lens case every three months to prevent bacterial buildup. If you wear sclera lenses infrequently, change the solution every few days even if you don't wear them, to keep lenses hydrated and clean.
- Use separate cases for each eye to avoid mix-ups.
- Never store lenses in a case without solution—they will dry out and crack.
Quick-Reference Sclera Lens Handling Steps
- Wash and dry hands: Use fragrance-free soap, rinse well, and dry with a lint-free towel. Avoid lotions before handling. Checkpoint: No residue on hands—this prevents lens clouding.
- Inspect the lens: Look for tears, chips, or debris. Ensure the lens is not inside out by checking the edge shape. Checkpoint: If damaged, discard; never wear a compromised lens.
- Insert with a steady hand: Hold the lens on your fingertip, pull eyelids open wide, look straight ahead, and place the lens on the center of your eye. Release slowly and blink to settle. Checkpoint: No air bubbles—if you feel one, remove and reinsert.
- Remove by sliding and pinching: Slide the lens down to the white of your eye with a fingertip, then gently pinch it off. Never pull straight out. Checkpoint: Lens comes off without resistance—if stuck, rewet and try again.
- Clean and store properly: Rub the lens with fresh solution, rinse, and place in the case with new solution. Close tightly and store at room temperature. Checkpoint: Lens fully submerged in solution—never store dry.
Sclera Lenses That Fit Your Needs
- 22mm Burst: DIA size: 22mm, B.C: 11mm, 2 pieces (1 pair) in 1 box, stored in separate blister, 1 year, Hydrogel Lens, Water Content: 40%, Made in Korea. The 22mm diameter provides full sclera coverage, creating a dramatic effect. Its larger size requires a wider eye opening during insertion and a careful slide-and-pinch removal to avoid tears. The 11mm base curve is designed for a comfortable fit for most eyes, but always check your eye care professional's prescription.
- 17mm Avatar: DIA size: 17mm, B.C: 10mm, 2 pieces (1 pair) in 1 box, stored in separate blister, 1 year, Hydrogel Lens, Water Content: 40%, Made in Korea. At 17mm, this lens covers less of the white of the eye than a 22mm, making it easier to insert and remove for beginners. The smaller diameter also reduces the risk of air bubbles and makes handling more forgiving. It's a good middle ground for cosplayers who want a noticeable effect without the full sclera challenge.
Mastering sclera lens application and removal takes a little practice, but the payoff is a comfortable, damage-free experience every time. Always prioritize hygiene and gentle handling, and never rush the process. With these steps, you can enjoy your sclera lenses for many cosplay events to come.