Quick Answer
To apply card grabbers for nail art, start with a clean, dry nail, then press the grabber firmly onto the nail surface, and seal with a top coat. This method keeps your design secure and long-lasting.
Why Preparation Matters
A flawless card grabber nail art design starts before you even pick up the grabber. Oils and residue from your previous polish can prevent the grabber from adhering properly, leading to peeling or lifting. Taking a few minutes to prep your nails will make the application process smoother and the final result more durable.
Another key factor is choosing the right size and shape of card grabber for your nail. If the grabber is too large, it can overwhelm the nail and look bulky; if too small, it may not cover the intended area. Matching the grabber to your nail shape and size ensures a balanced, professional look.
Sealing for Longevity
Once you've placed your card grabber, sealing it is non-negotiable. A top coat not only locks the design in place but also smooths out any edges, preventing snags on clothing or hair. Without this step, your design is more likely to chip or lift within a few days.
Consider using a gel top coat if you want extra durability, especially if you're hard on your hands. Gel top coats cure under a lamp and provide a stronger, glossier finish than standard air-dry formulas. Just remember to cure it properly according to the product instructions to avoid tackiness.
Step-by-Step Application
- Prep Your Nail: Remove any old polish and gently push back your cuticles. Wipe each nail with a lint-free pad soaked in nail polish remover to eliminate oils and residue. This ensures the card grabber adheres properly. Check that your nail is completely dry and oil-free before moving on.
- Apply a Base Coat: Apply a thin layer of base coat and let it dry completely. This creates a smooth, sticky surface that helps the card grabber stay in place. If you skip this, the grabber may slide or lift. Wait until the base coat is fully dry to avoid shifting the grabber.
- Position the Card Grabber: Using tweezers, pick up the card grabber and place it gently on your nail in your desired position. Press down firmly for a few seconds to ensure it adheres evenly. Avoid touching the grabber with your fingers to prevent oils from transferring. Make sure the grabber lies flat without air bubbles or wrinkles.
- Seal with Top Coat: Apply a generous layer of top coat over the entire nail, making sure to cover the edges of the card grabber. This locks the design in place and gives a smooth, glossy finish. Allow it to dry completely. Check that the edges are fully sealed to prevent peeling.
- Cure if Using Gel: If you used a gel top coat, cure your nails under a UV/LED lamp according to the manufacturer's instructions. This ensures the top coat is fully hardened and your design is protected. Wipe off any sticky residue with a cleanser after curing for a shiny finish.
Product Facts
-
Card Grabbers: The Card Grabbers clip is designed to help pull stuck debit or credit cards from gas pumps or ATMs, and it attaches to your keychain for easy access. While not a traditional nail art item, its compact, flat design can be repurposed as a unique nail accent, giving your manicure a quirky, functional edge.
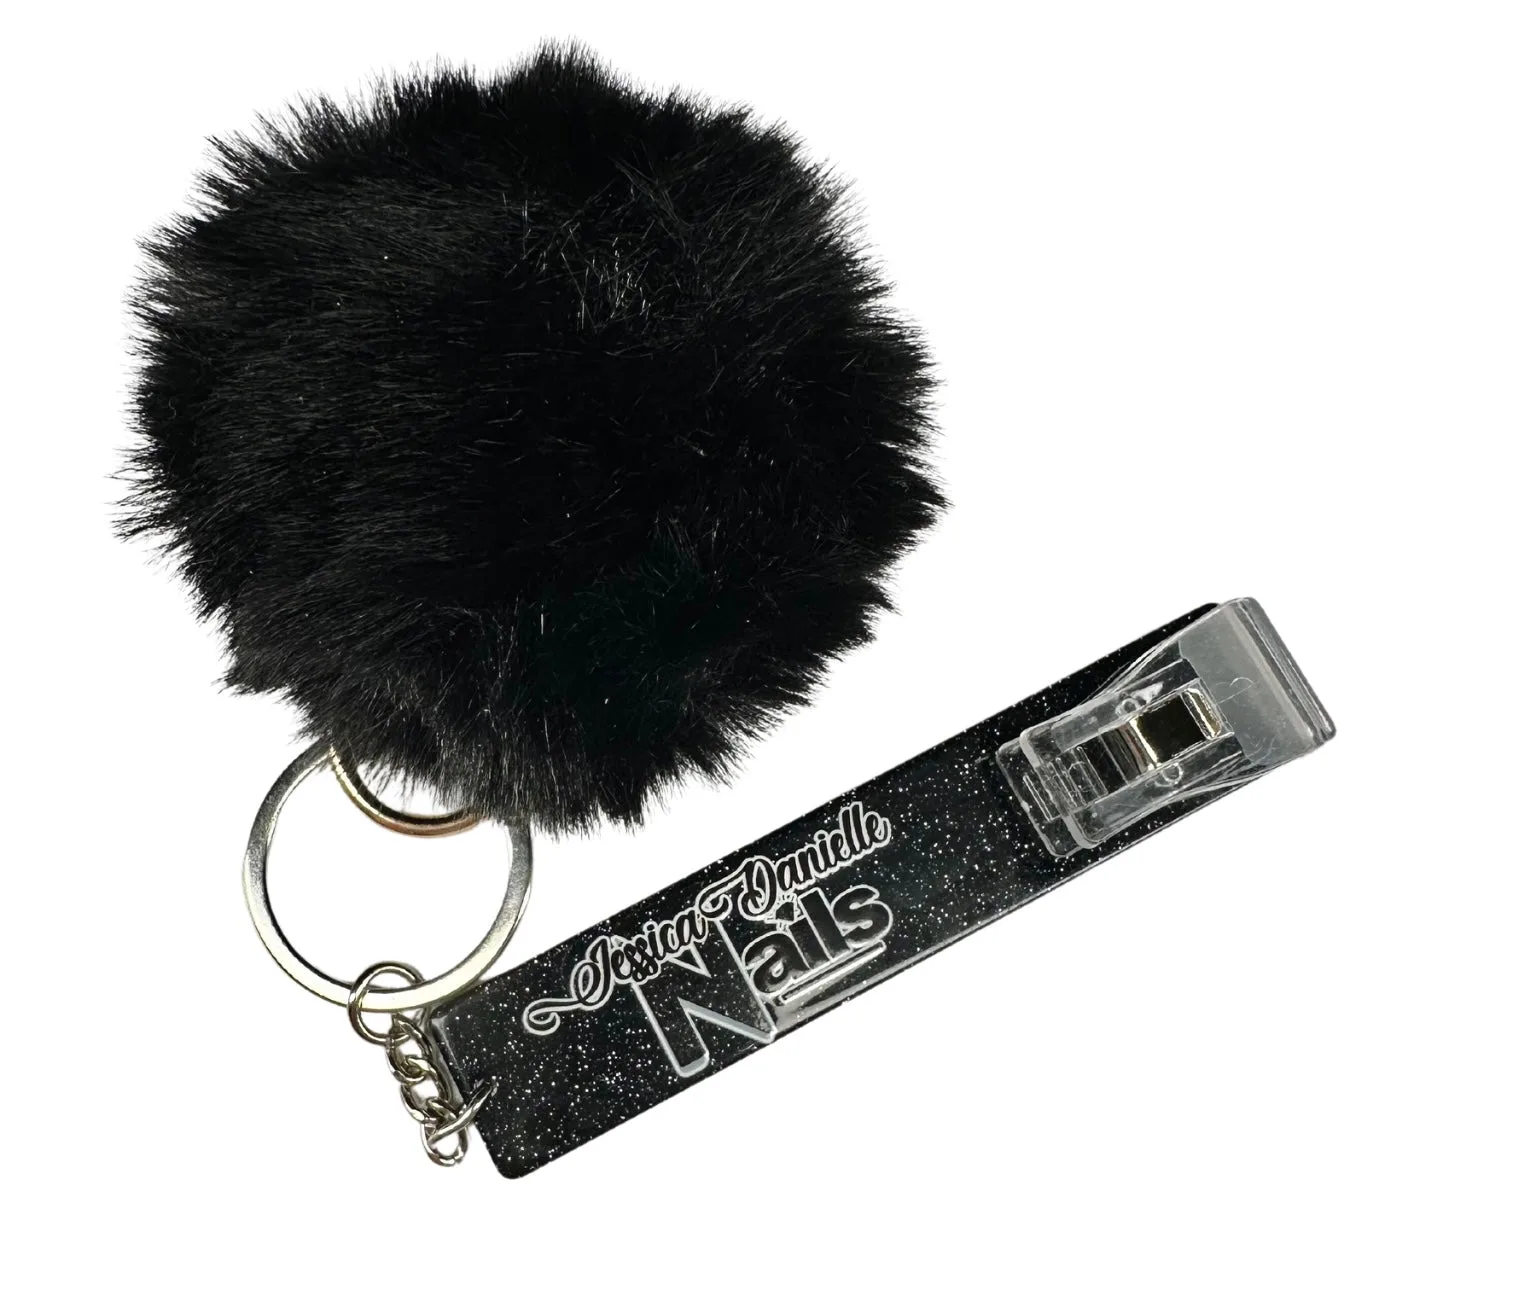
Card Grabbers


