Quick Answer
To apply decals like a pro, start with a clean, smooth surface, use the right tools (like a hobby knife, tweezers, and a squeegee), and choose the correct decal type for your rocket—vinyl for durability, water slide for a painted-on look. Take your time, work in a dust-free area, and always seal your decals with a clear coat for long-lasting results.
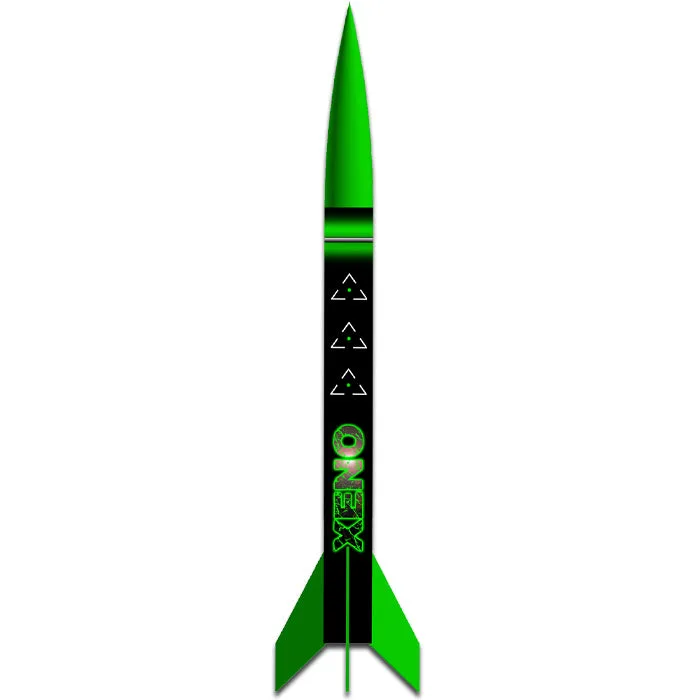
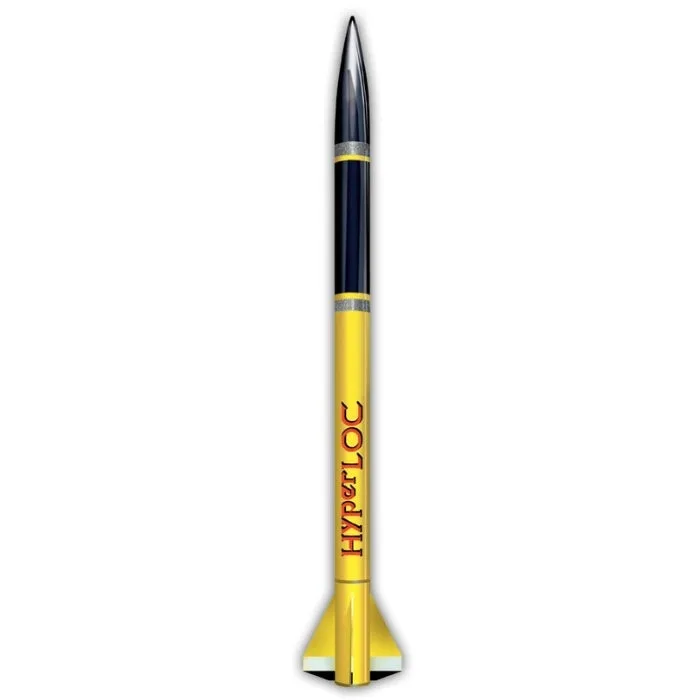
Applying decals is the final step that transforms a plain rocket into a showpiece. Whether you're finishing a high-power project like the HyperLOC 1600 or a simple classroom build like the https://locprecisionlvz.com/products/xeno-c14d7a58d8cf33aba8c3c220-884078LOC-I Xeno, a professional-looking decal job comes down to preparation and technique.
This guide covers the two main decal types you'll encounter—vinyl and water slide—and walks you through the process step by step. You'll learn how to avoid common pitfalls like bubbles, creases, and misalignment, so your rocket looks great on the pad and in the air.
Choose the Right Decal for Your Rocket
Vinyl decals are the most common on model rockets because they are durable, easy to apply, and come pre-cut. LOC Precision's vinyl decals, like the Decal Set AMRAAM AIM-120C 4", are made with advanced print technology and eco-solvent inks, making them vibrant and long-lasting. They are ideal for rockets that see frequent handling or outdoor storage.
Water slide decals, on the other hand, offer a painted-on look that many scale modelers prefer. They require a bit more skill because the decal must be soaked in water to release from its backing paper, then slid into place. If you're new to water slides, practice on a scrap surface first. For either type, ensure the surface is clean and free of fingerprints, dust, or oil before you begin.
- Vinyl decals are best for beginners and high-traffic rockets.
- Water slide decals are great for scale replicas where a painted-on appearance matters.
Prepare Your Surface and Tools
A smooth, clean surface is non-negotiable. After painting, let the rocket cure for at least 24 hours, then wipe it down with a tack cloth or a lint-free cloth and isopropyl alcohol. If you're applying decals over bare fiberglass or cardboard, a light coat of primer will help the decal adhere better.
Gather your tools: a hobby knife or scissors, tweezers, a squeegee or credit card, a spray bottle with water and a drop of dish soap, and a soft cloth. For water slide decals, you'll also need a bowl of warm water and a clear coat sealant. Having everything within reach prevents you from fumbling mid-application.
- Use a spray bottle with soapy water to allow repositioning of vinyl decals.
- Always test your tools on a scrap piece before touching the rocket.
Master the Application Techniques
For vinyl decals, peel the backing and position the decal dry or on a wet surface. The wet method lets you slide the decal into perfect alignment. Once positioned, use a squeegee to push out air bubbles and excess water, working from the center outward. Let it dry for a few hours before handling.
For water slide decals, cut out the design, soak it in warm water for about 30 seconds, then slide it onto the rocket. Use a moistened finger to nudge it into place. Blot excess water with a soft cloth, and avoid touching the decal until it's fully dry. A common mistake is rushing the soak time—if the decal doesn't move easily, soak it longer.
- Never pull a vinyl decal off the backing; peel the backing away from the decal.
- If a bubble persists, poke it with a pin and smooth it out.
Step-by-Step Decal Application Checklist
- Clean the surface: Wipe the rocket with isopropyl alcohol to remove dust, oil, and fingerprints. Let it dry completely. Clean surface prevents bubbles and ensures strong adhesion.
- Cut and prepare decals: Cut out each decal close to the design. For water slides, soak in warm water until it slides freely on the backing. Proper cutting prevents white edges; soaking prevents tearing.
- Position and apply: Apply vinyl decals using the wet method for repositioning. For water slides, slide into place and blot excess water. Take your time to align before pressing down.
- Smooth out bubbles: Use a squeegee to push out air and water from the center to the edges. For stubborn bubbles, poke with a pin and smooth. A smooth finish looks professional and prevents peeling.
- Seal with clear coat: After the decal dries fully (at least 24 hours), spray a light clear coat to protect the decal from UV rays and handling. Sealing extends the life of your decals and gives a uniform finish.
Products That Make Decal Application Easier
- Decal Set AMRAAM AIM-120C 4": LOC Precision's vinyl decals are professionally manufactured in-house using advanced print/cut technology and eco-solvent inks for vibrant, durable graphics. High-quality vinyl decals are easier to apply because they are pre-cut and have strong adhesive, reducing the risk of tearing or peeling.
- Decal Set 4" Phoenix: Decal Set for the LOC 4" Phoenix. This set is designed specifically for the 4" Phoenix kit, ensuring a perfect fit and alignment, which saves time and frustration.
With these techniques, you'll be able to apply decals with confidence, whether you're finishing a complex scale model or a simple sport rocket. Remember to work slowly, use the right tools, and always seal your work for durability. Now go make your rocket look as fast as it flies!