Quick answer
Apply water slide decals over a clean, glossy surface, use mark setter to grip and softener to conform, then seal everything with thin, misted top coat layers. The order matters: gloss first, decals second, clear coat last. Rushing the clear coat is the most common reason a build looks foggy or messy.
Why gloss before decals matters
Water slide decals need a smooth surface to sit flat. If you apply them over a matte or textured finish, air gets trapped underneath and you get silvering—that cloudy, visible film edge. A gloss clear layer before decals gives the decal something to slide on and press down against.
You do not need a perfect mirror finish. A thin, even gloss coat is enough. The goal is to remove the microscopic roughness that traps air. If you already have a glossy plastic surface straight from the box, you can sometimes skip this, but a light gloss coat still improves adhesion and protects the plastic underneath.
Tools that actually help
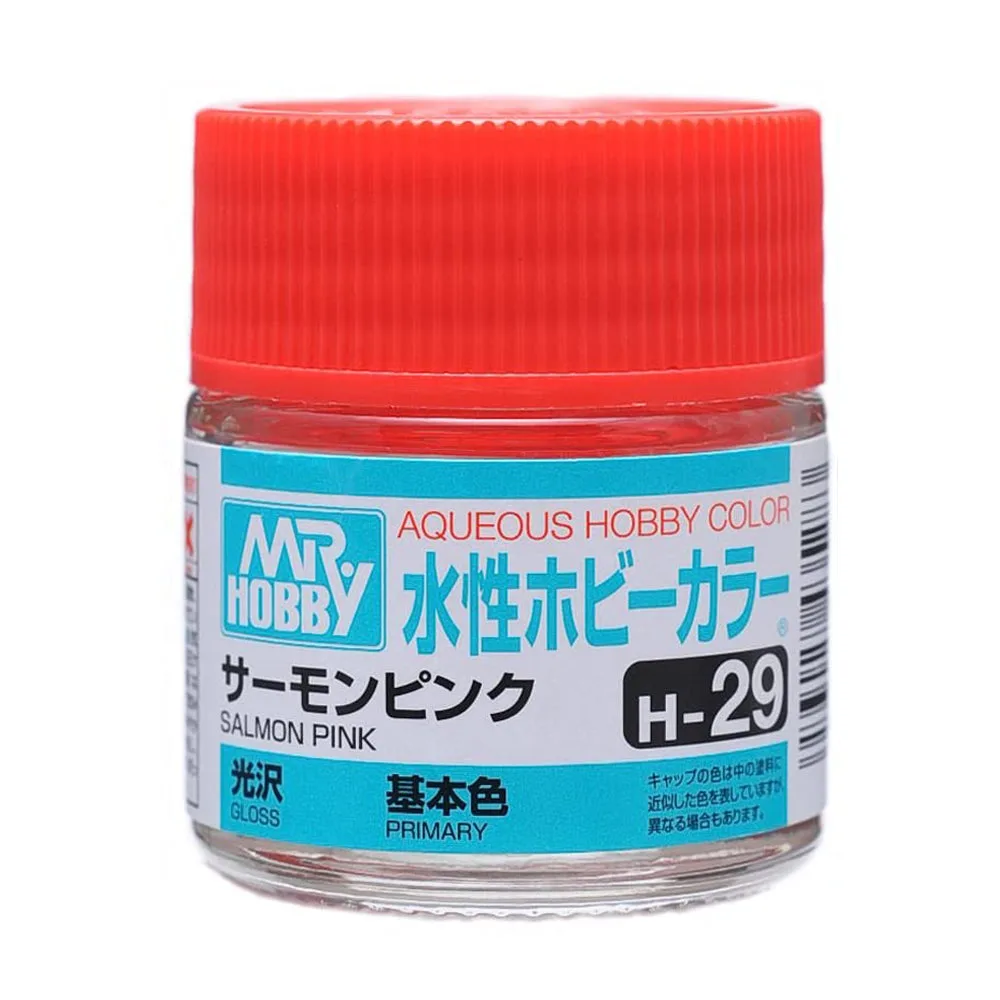
You need water, a soft brush or cotton swab, tweezers, a hobby knife, and paper towel. Mark setter and mark softener are optional but make a real difference on curved surfaces or thick decals. Aqueous Hobby Color H29 Gloss Salmon Pink is not a decal product, but it illustrates how a mild, water-friendly paint can be used for touch-ups around decals without harsh solvent risk.
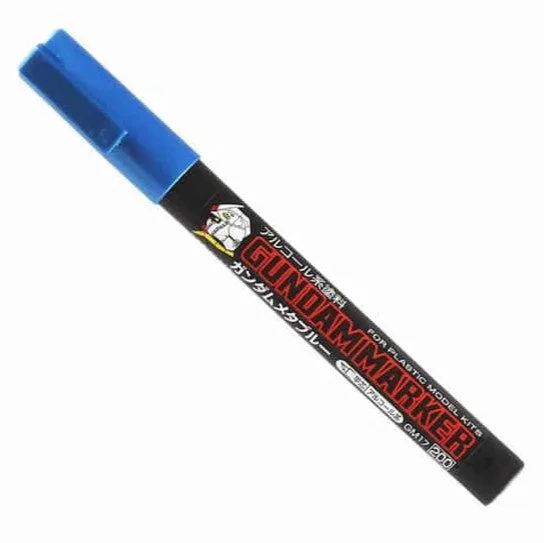
For small details or fluorescent accents, Gundam Marker - Fluorescent Green GM15 works as a quick color touch-up before clear coating. It is not a decal tool, but it shows how markers can complement decal work when you need a small color pop that decals cannot provide.
Step-by-step decal and top coat process
Each step below includes a checkpoint or common mistake. Follow the order—skipping or rearranging steps is how most finishing problems start.
Decal and top coat steps with checkpoints
- Prepare a clean, glossy surface: Wash your hands and the model. If the surface is matte or textured, apply a thin gloss clear coat and let it cure fully. Checkpoint: the surface should feel smooth and look slightly reflective. Mistake: handling the model with bare fingers after glossing, which leaves oils that cause decals to lift.
- Cut and soak the decal: Cut close to the decal edge with a hobby knife. Soak in lukewarm water for 10–20 seconds until it slides freely on the backing paper. Checkpoint: if it will not slide, soak a few seconds more. Mistake: leaving it in water too long, which washes away the adhesive.
- Position with setter, then soften: Wet the target area with mark setter or clean water. Slide the decal into place with a brush or tweezers. For curved or panel-line areas, apply mark softener on top after positioning. Checkpoint: the decal should conform without wrinkles. Mistake: applying softener before the decal is in its final position, which makes it tear or stick wrong.
- Blot and dry: Press gently with a dry cotton swab or paper towel to remove excess liquid and air. Roll from the center outward. Checkpoint: no trapped air bubbles or silver film. Mistake: pressing too hard and stretching or tearing the decal.
- Fix silvering if it appears: If you see a cloudy film, prick the decal with a pin and apply more setter, then blot again. For stubborn silvering, a second gloss coat over the decal can hide it. Checkpoint: the decal edge should disappear under a gloss layer. Mistake: ignoring silvering before top coating, which locks it in.
- Top coat in thin misted layers: Once decals are fully dry (at least a few hours), apply clear coat in light mist passes from 15–20 cm away. Build up 2–3 thin layers rather than one wet coat. Checkpoint: no runs, no white fog. Mistake: spraying too close or too heavy in humid conditions, which causes frosting.
Products mentioned in this guide
- Aqueous Hobby Color H29 Gloss Salmon Pink 10ml: Aqueous Hobby Color is a very safe paint which has a high degree of user friendliness. It can be diluted with water, and brushes can be cleaned in water before the paint dries. The solvent is very mild, and it provides a glossy texture with good levelling qualities. If you need to touch up paint around a decal or on a glossy surface, this water-friendly paint reduces the risk of damaging nearby decals or plastic compared to harsher solvents.
- Gundam Marker - Fluorescent Green GM15: Gundam Marker - Fluorescent Green GM15 can express color as configured, and you can paint both large and small places depending on the direction of the diagonally cut tip. Useful for adding small fluorescent accents or sensor details before top coating, especially where a decal would be too large or the wrong shape.
Let the final clear coat cure for 24 hours before handling or posing. If you used mark setter or softener, give it extra time—rushing the cure is the fastest way to ruin an otherwise clean finish.