Quick Answer
For beginners, the easiest way to apply false eyelashes is to choose a natural style, trim them to fit your eyes, apply a thin layer of glue, wait for it to get tacky, and press them onto your lash line using a mirror and tweezers or your fingers.
Why Natural Lashes Are Easier for Beginners
When you're just starting out, a natural style like the Wink Eye Lashes is more forgiving than dramatic, heavy styles. They're lighter, easier to position, and less likely to look uneven if your placement isn't perfect. The Wink lashes are designed to open up your eyes with a flattering, everyday look, which means you can practice without feeling overdone.
If you prefer a bolder look, you can still start with a natural style to build confidence, then gradually move to more dramatic options. Remember, practice makes perfect, and starting with a forgiving style will help you master the technique faster.
Choosing Between Glue and Magnetic Lashes
Traditional glue lashes give you precise control over placement but require a steady hand and time for the glue to dry. Magnetic lashes, like the Buzz Magnetic Eye Lashes, snap into place without glue, making them a great option if you're nervous about glue mishaps. They're also reusable and can be quicker to apply once you get the hang of it.
However, magnetic lashes can be trickier to align because they come in two pieces that sandwich your natural lashes. For beginners, glue lashes with a natural style are often the easiest starting point. If you want to skip glue, magnetic lashes are a solid alternative—just be patient with the alignment.
Step-by-Step Lash Application for Beginners
- Prepare Your Natural Lashes: Start with clean, dry lashes. Curl your natural lashes to help them blend with the falsies. If you use mascara, apply a light coat and let it dry completely before applying falsies. Checkpoint: Make sure your natural lashes are free of any leftover makeup or oil, as this can prevent the glue from sticking.
- Measure and Trim the Lashes: Hold the lash strip against your eyelid and mark where it extends past your eye. Trim the outer edge with small scissors, cutting from the outer corner to avoid ruining the inner corner's shape. Checkpoint: Trim a little at a time—you can always cut more, but you can't add back what you've cut.
- Apply the Glue: Squeeze a thin, even line of lash glue along the strip, focusing on the ends where lifting is most common. Wait 30-60 seconds until the glue becomes tacky. This is the most common mistake—applying too early leads to slipping. Checkpoint: The glue should feel tacky but not wet when you touch it lightly with your finger.
- Place the Lashes on Your Lash Line: Using tweezers or your fingers, position the lash strip as close to your natural lash line as possible. Press down gently from the center outward to secure the entire strip. Checkpoint: Look straight into a mirror and tilt your chin slightly down to see your lash line clearly—this prevents placing the lashes too high or too low.
- Secure and Blend: Once the glue is fully dry, gently press your natural lashes and the falsies together with your fingers or a lash curler. If needed, apply a light coat of mascara to blend them seamlessly. Checkpoint: If the outer corner lifts, apply a tiny extra dot of glue and press it down for a few seconds.
Lashes That Make Application Easier
-
Wink Eye Lashes: The Wink Eyelash Extensions are a natural, flattering style that opens up your eyes and gives them that perfect, just-had-a-great-night's-sleep look. A natural lash is more forgiving during application, so you can practice without worrying about perfect symmetry.
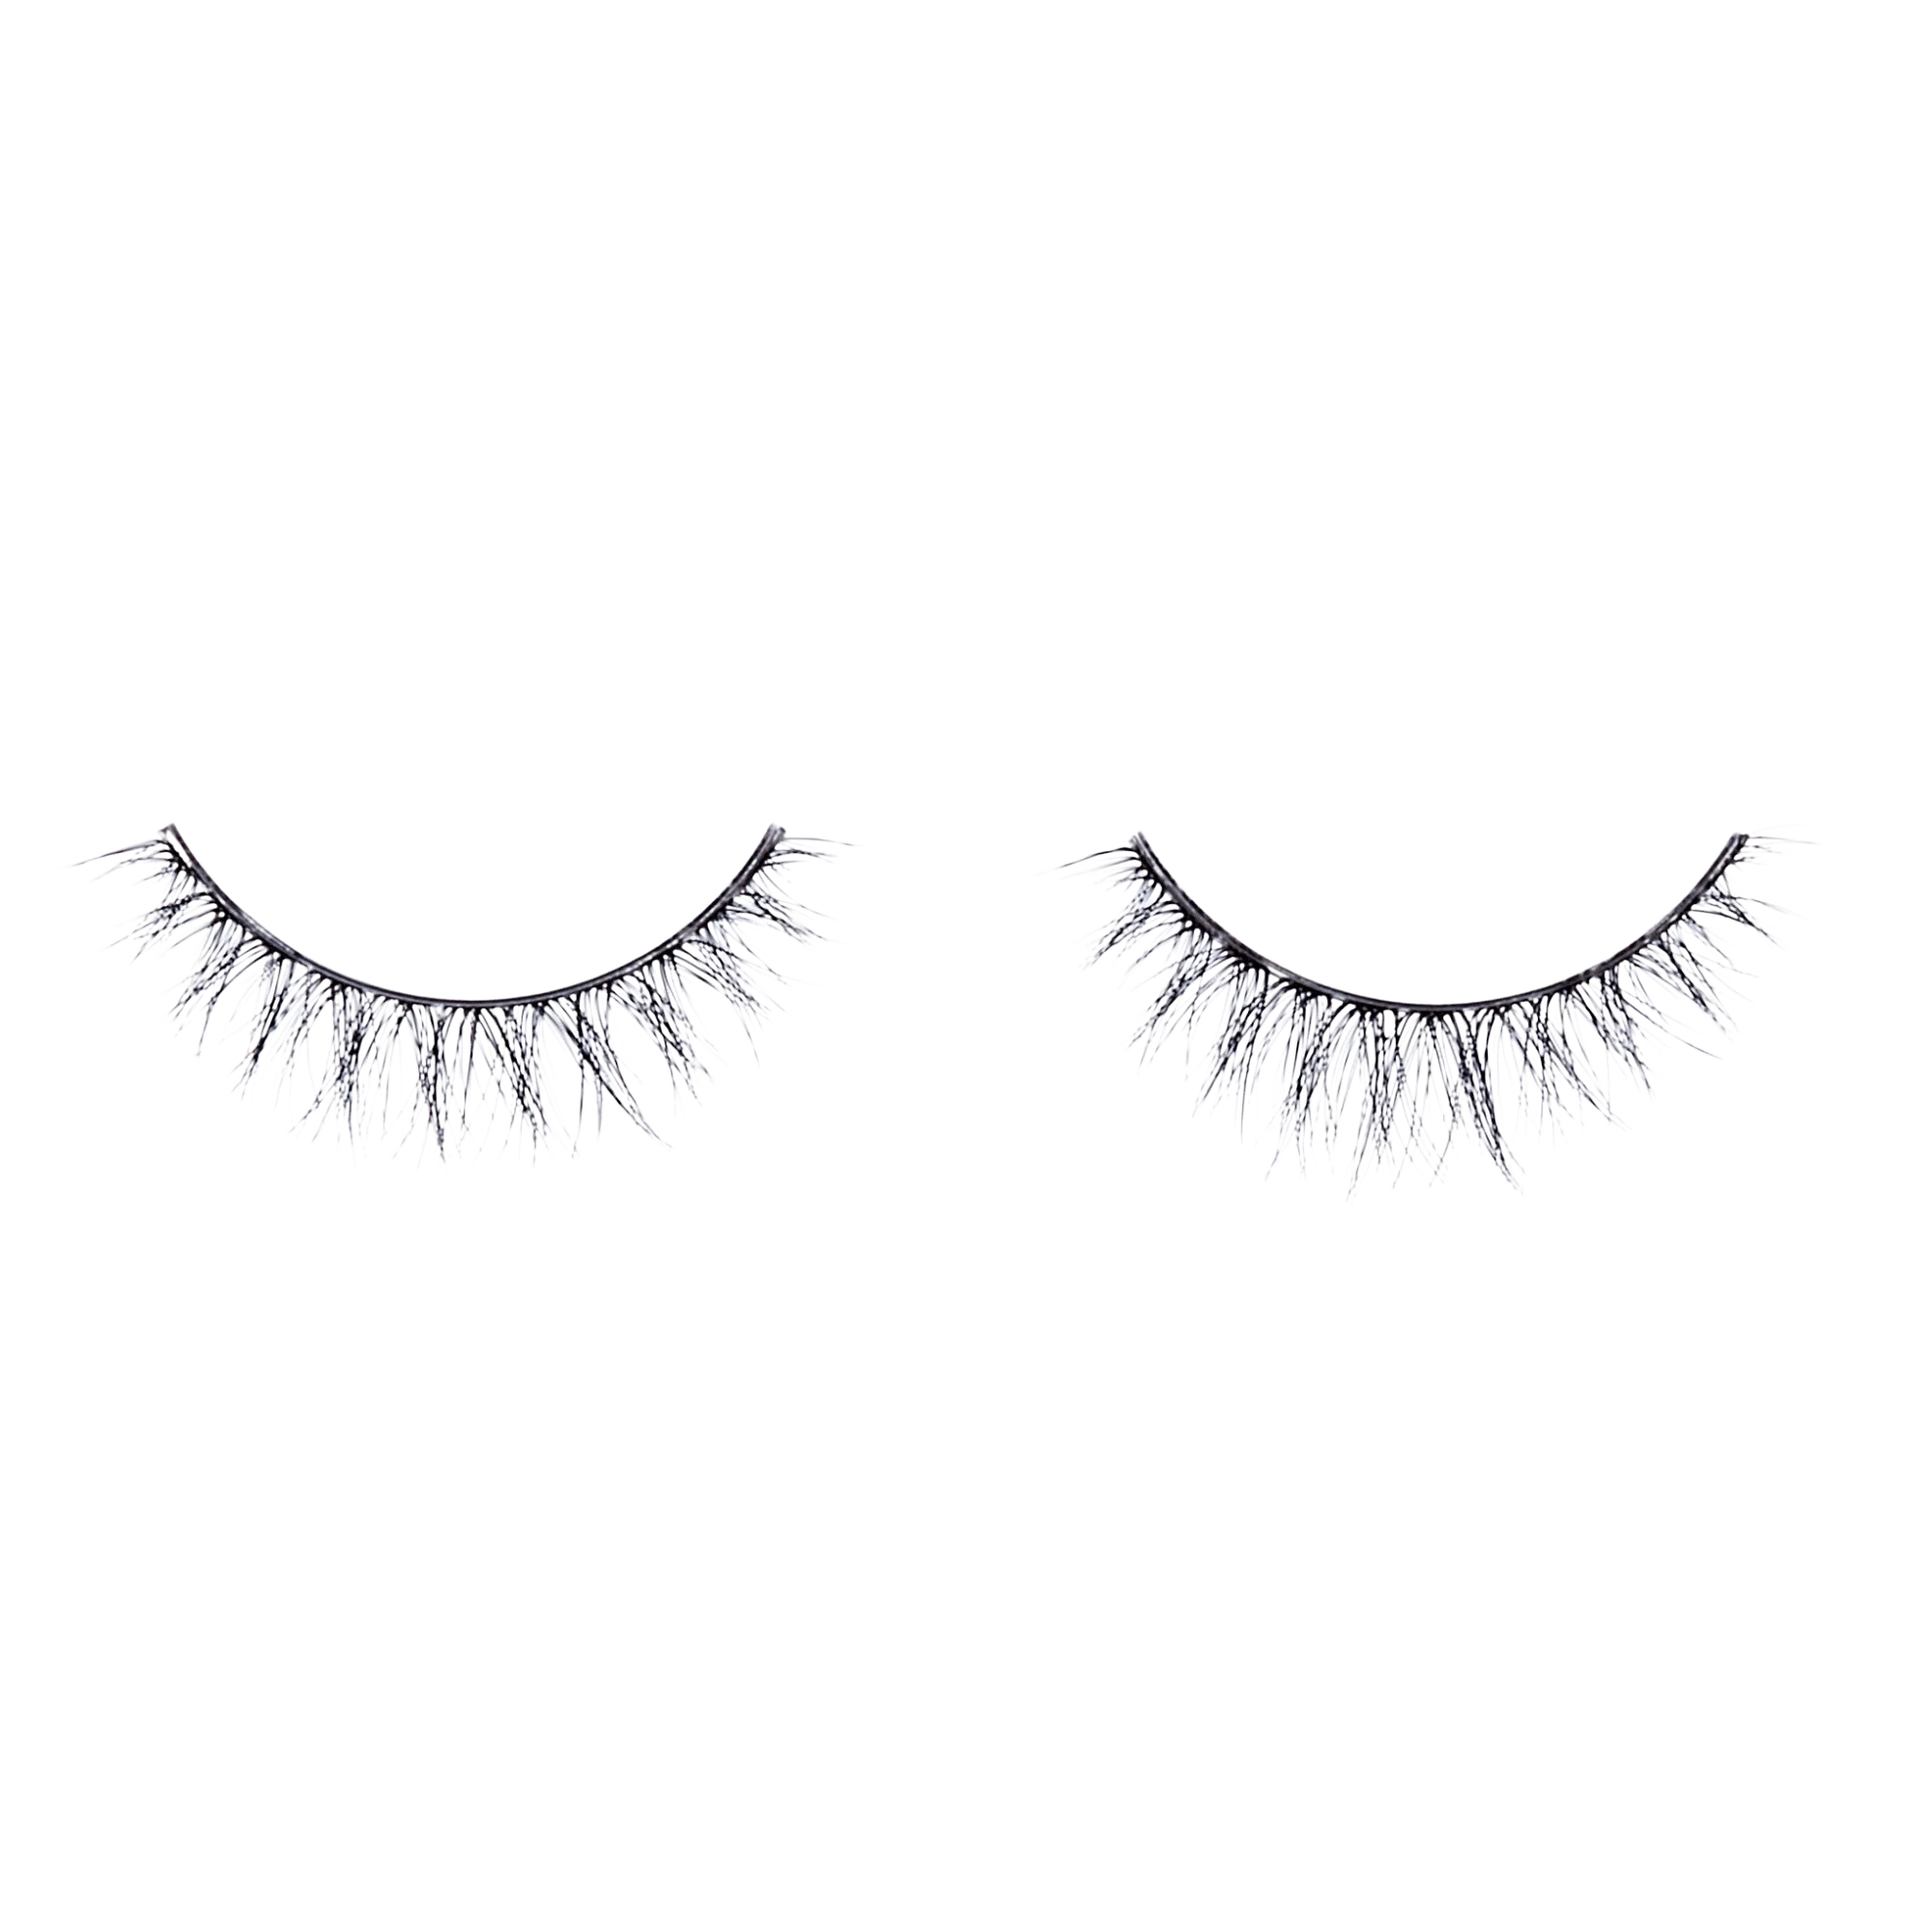
Wink Eye Lashes
-
Buzz Magnetic Eye Lashes: The Buzz Magnetic Eyelashes deliver a natural, fluttery lash look that snaps into place without any glue. If you want to skip glue entirely, magnetic lashes eliminate the mess and drying time, though they require a bit of alignment practice.
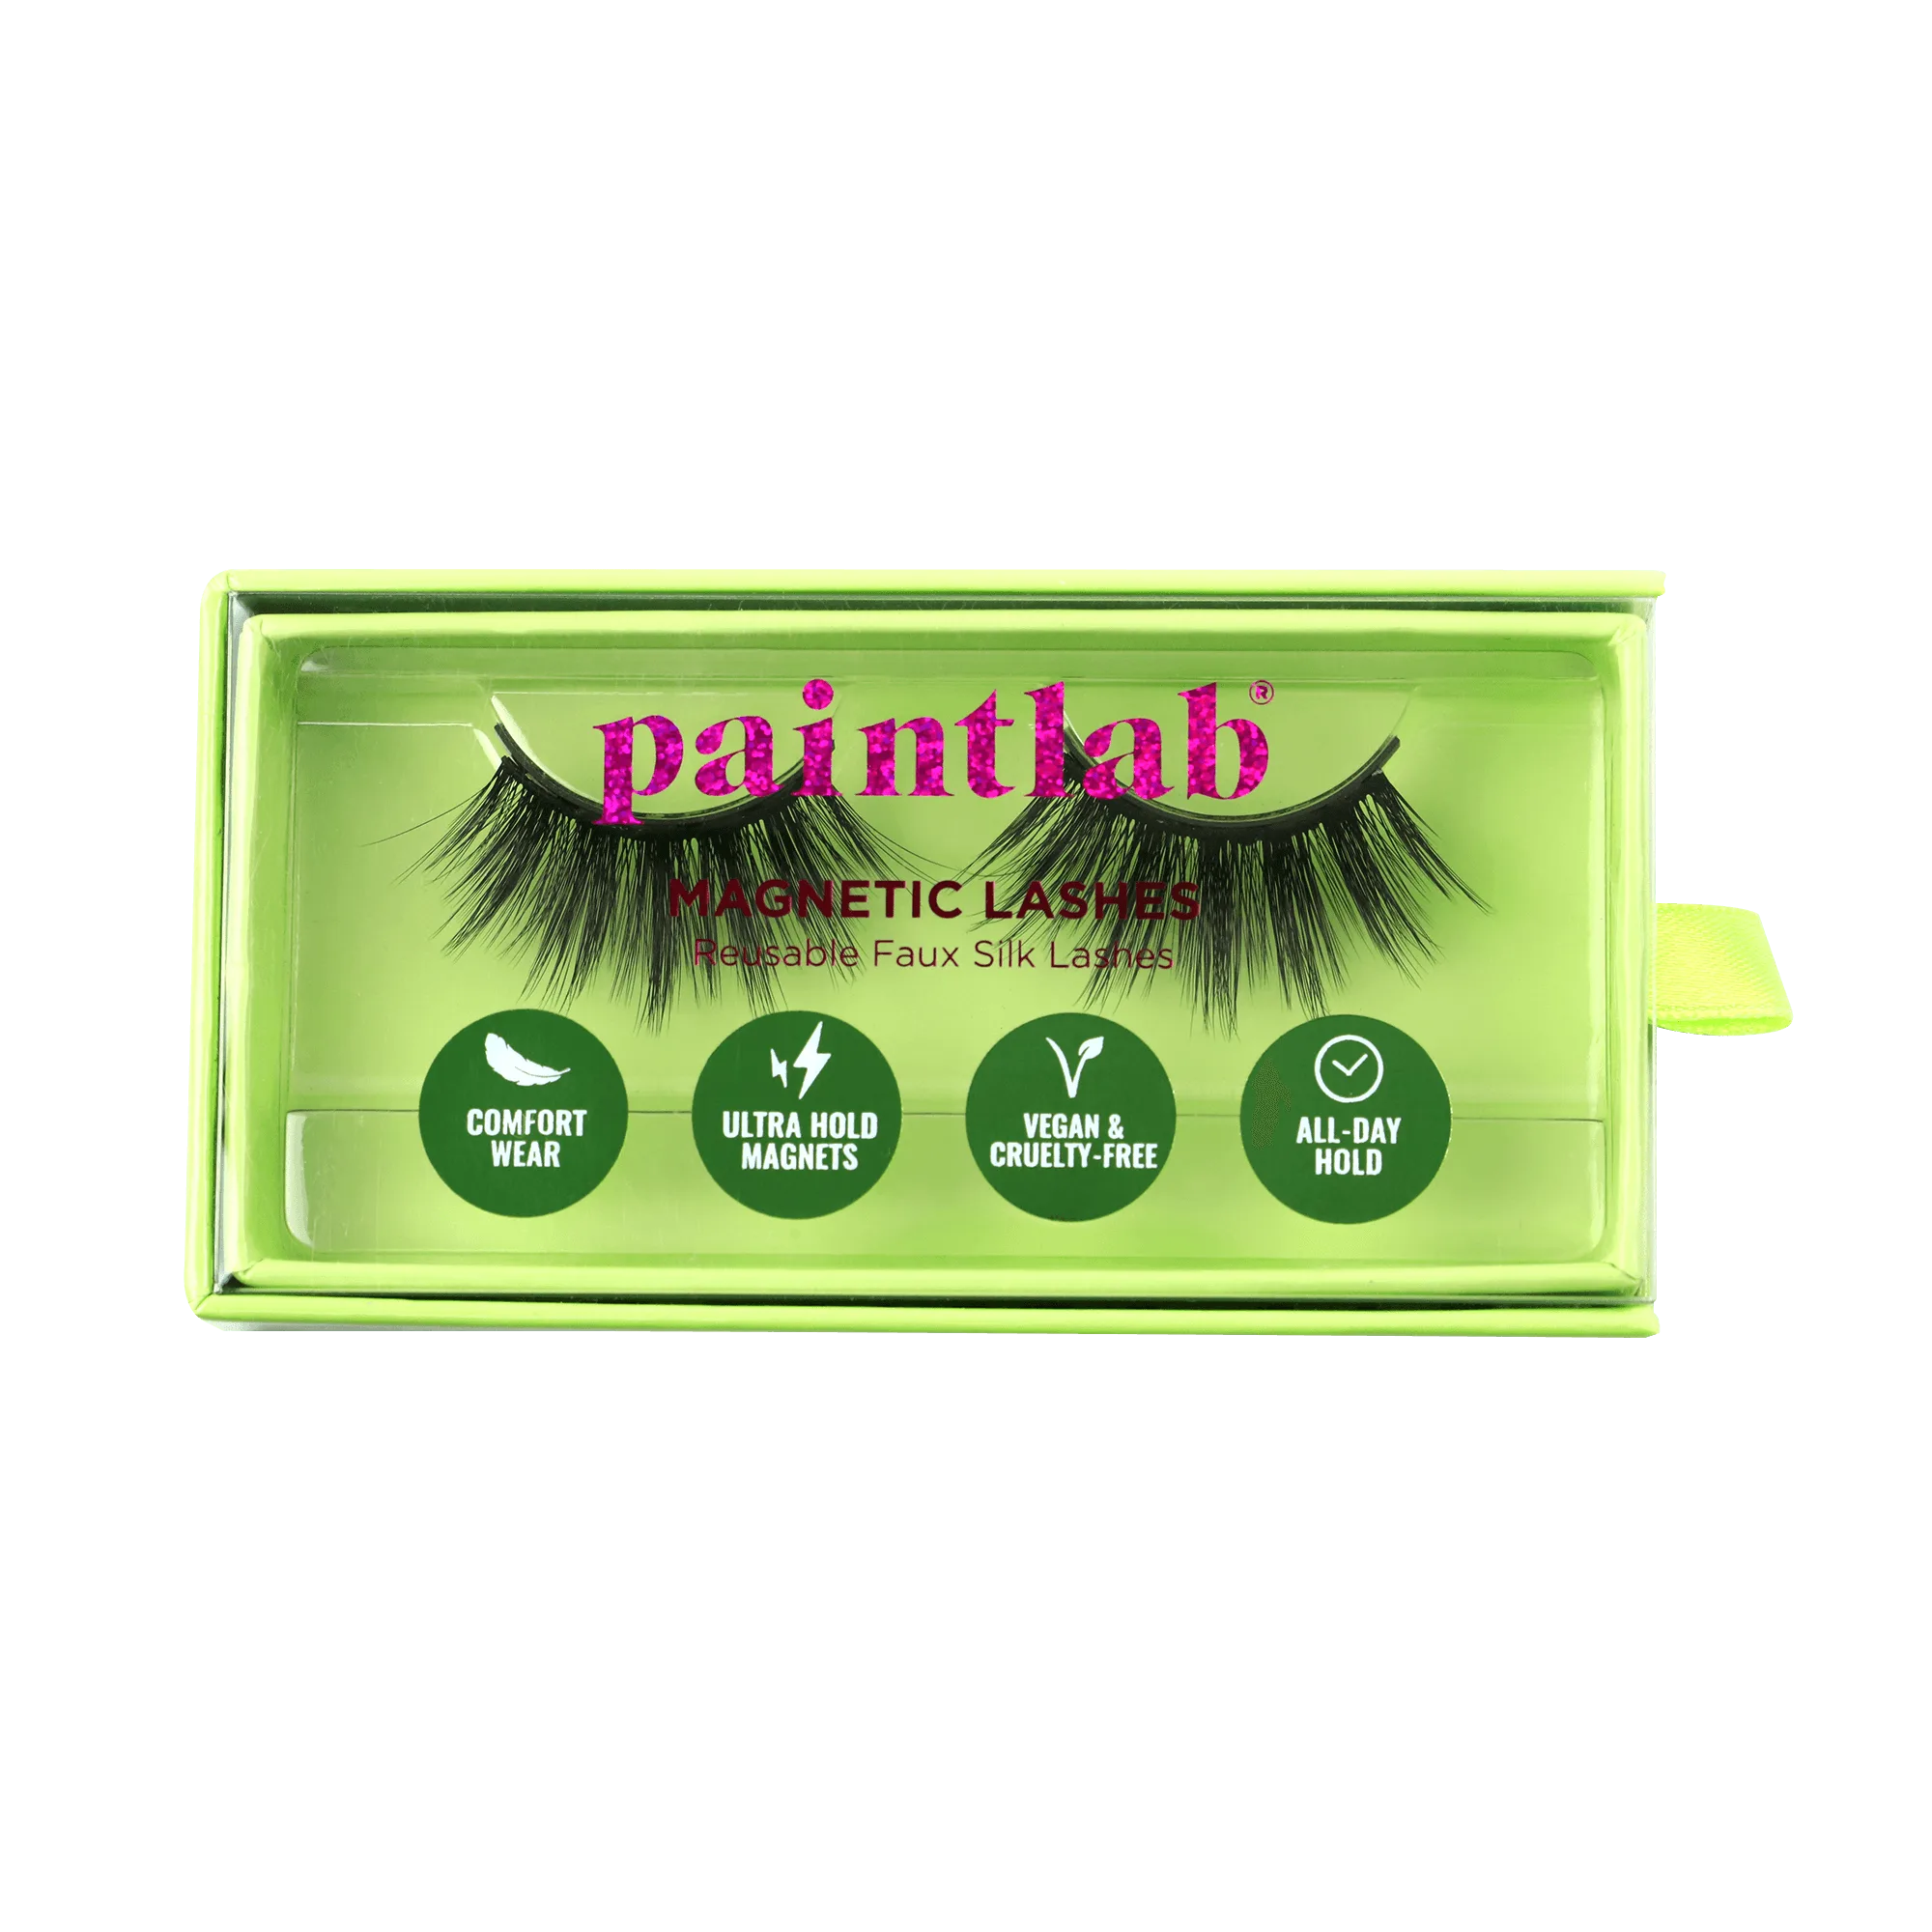
Buzz Magnetic Eye Lashes