Quick Answer
To apply false eyelashes like a pro, start by measuring and trimming the lashes to fit your eye shape, then apply a thin, even layer of lash glue and wait 30 seconds for it to become tacky before placing the lash as close to your natural lash line as possible. Press gently from the center outward, and finish with mascara to blend your natural lashes with the falsies.
What You Need Before You Start
Before you begin, gather your false eyelashes, lash glue, tweezers or an applicator, a mirror, and a small pair of scissors. Having everything within reach makes the process smoother and reduces the chance of glue drying out while you search for tools.
If you wear contact lenses, especially circle lenses, apply your lashes after inserting your lenses. This prevents any tugging or accidental displacement of the lenses. Also, ensure your eyelids are clean and free of oil or makeup residue to help the glue adhere better.
How to Choose the Right Lash Glue
The type of lash glue you use can make or break your application. Latex-free formulas are gentle on sensitive eyes and dry clear, making them a reliable choice for beginners. Avoid glues that dry too quickly or too slowly; a drying time of 30-45 seconds is ideal for adjusting the lash position.
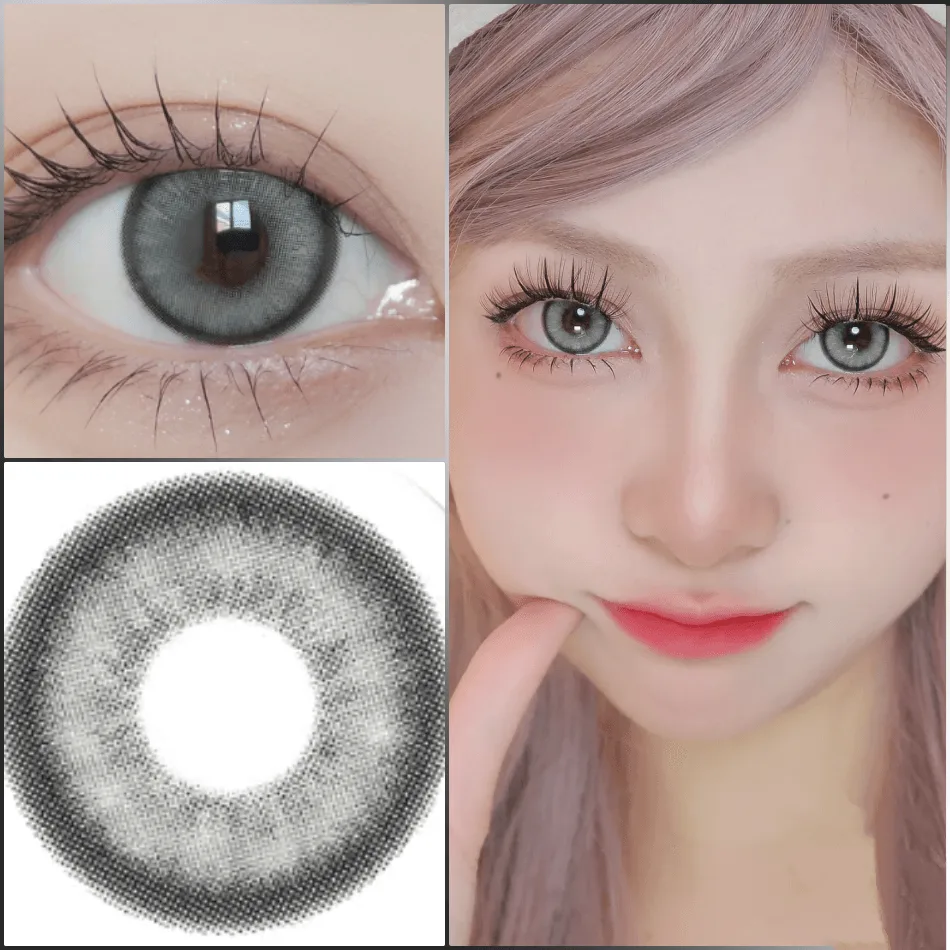
For a more dramatic look, you might pair your falsies with circle lenses to enhance eye appearance. If you're aiming for a natural everyday style, opt for a lighter lash and a subtle lens like Tipsy Gray (FD20) to keep the look balanced.
Step-by-Step Application Guide
- Measure and Trim: Hold the lash strip against your eyelid and mark where it should end (usually just past the outer corner). Trim the excess from the outer edge, not the inner corner, to maintain the natural lash gradient. Checkpoint: The lash should not extend past your natural lash line. If it pokes your inner corner, trim a bit more.
- Apply a Thin Layer of Glue: Squeeze a thin, even line of glue along the lash band. Wait 30 seconds for it to become tacky; this prevents slipping and helps the lash adhere immediately. Common mistake: Applying too much glue or not waiting long enough. The glue should feel slightly sticky, not wet.
- Place the Lash: Using tweezers or your fingers, place the lash as close to your natural lash line as possible. Start by pressing the center, then adjust the inner and outer corners. Checkpoint: Look straight ahead in the mirror to ensure the lash follows your eye shape without gaps.
- Press and Secure: Gently press the lash down along the entire band for about 10 seconds. Use a clean fingertip or the back of tweezers to ensure it's fully adhered. Common mistake: Not pressing long enough can cause the lash to lift at the corners. Give it a few extra seconds.
- Blend with Mascara: Apply a light coat of mascara to your natural lashes, pressing them together with the falsies. This fuses the two for a seamless look. Checkpoint: If you see a visible gap between your natural lashes and the strip, use an eyeliner to fill it in.
Enhance Your Look with Circle Lenses
- Tipsy Gray (FD20): Tipsy Gray (FD20) circle lenses from Chusme offer a subtle gray enhancement with a natural-looking finish. Designed for comfortable wear, these lenses are a dependable choice for everyday use. They feature a 14.5mm diameter for a noticeable yet tasteful enlargement effect and 40% water content to help maintain moisture throughout the day. If you want to elevate your daily makeup with false lashes without looking overdone, these lenses provide a gentle enhancement that pairs well with natural-style falsies.
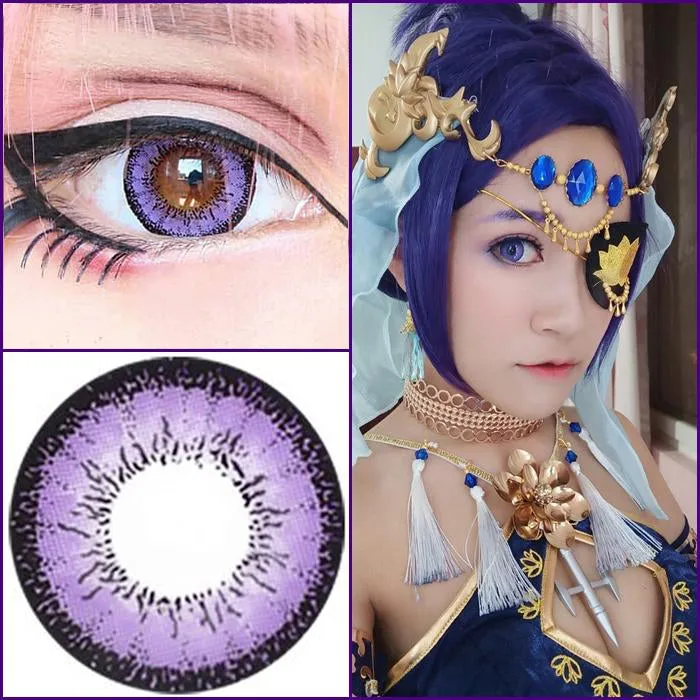
- I-Codi Dolly+ Violet: I-Codi Dolly+ Violet circle lenses feature a striking violet color, perfect for adding a playful or cosplay-inspired touch to your style. With a large 16.0mm diameter, they create a noticeable enlargement effect for a captivating appearance. They have a water content of 45% and are 1-year disposable. For a bold, dramatic eye look with voluminous lashes, these lenses amplify the doll-like effect, making your eyes the focal point.