Quick answer
To apply gel polish over nail tips without lifting, start with properly sized full-coverage soft gel tips, gently etch the tip surface, apply a thin base coat, and cure each layer fully. Keep the polish off your cuticles and sidewalls, and cap the free edge to seal the tip. Using a HEMA-free gel polish like Buttercup Garden can also reduce sensitivity and help the manicure last.
Why lifting happens on nail tips
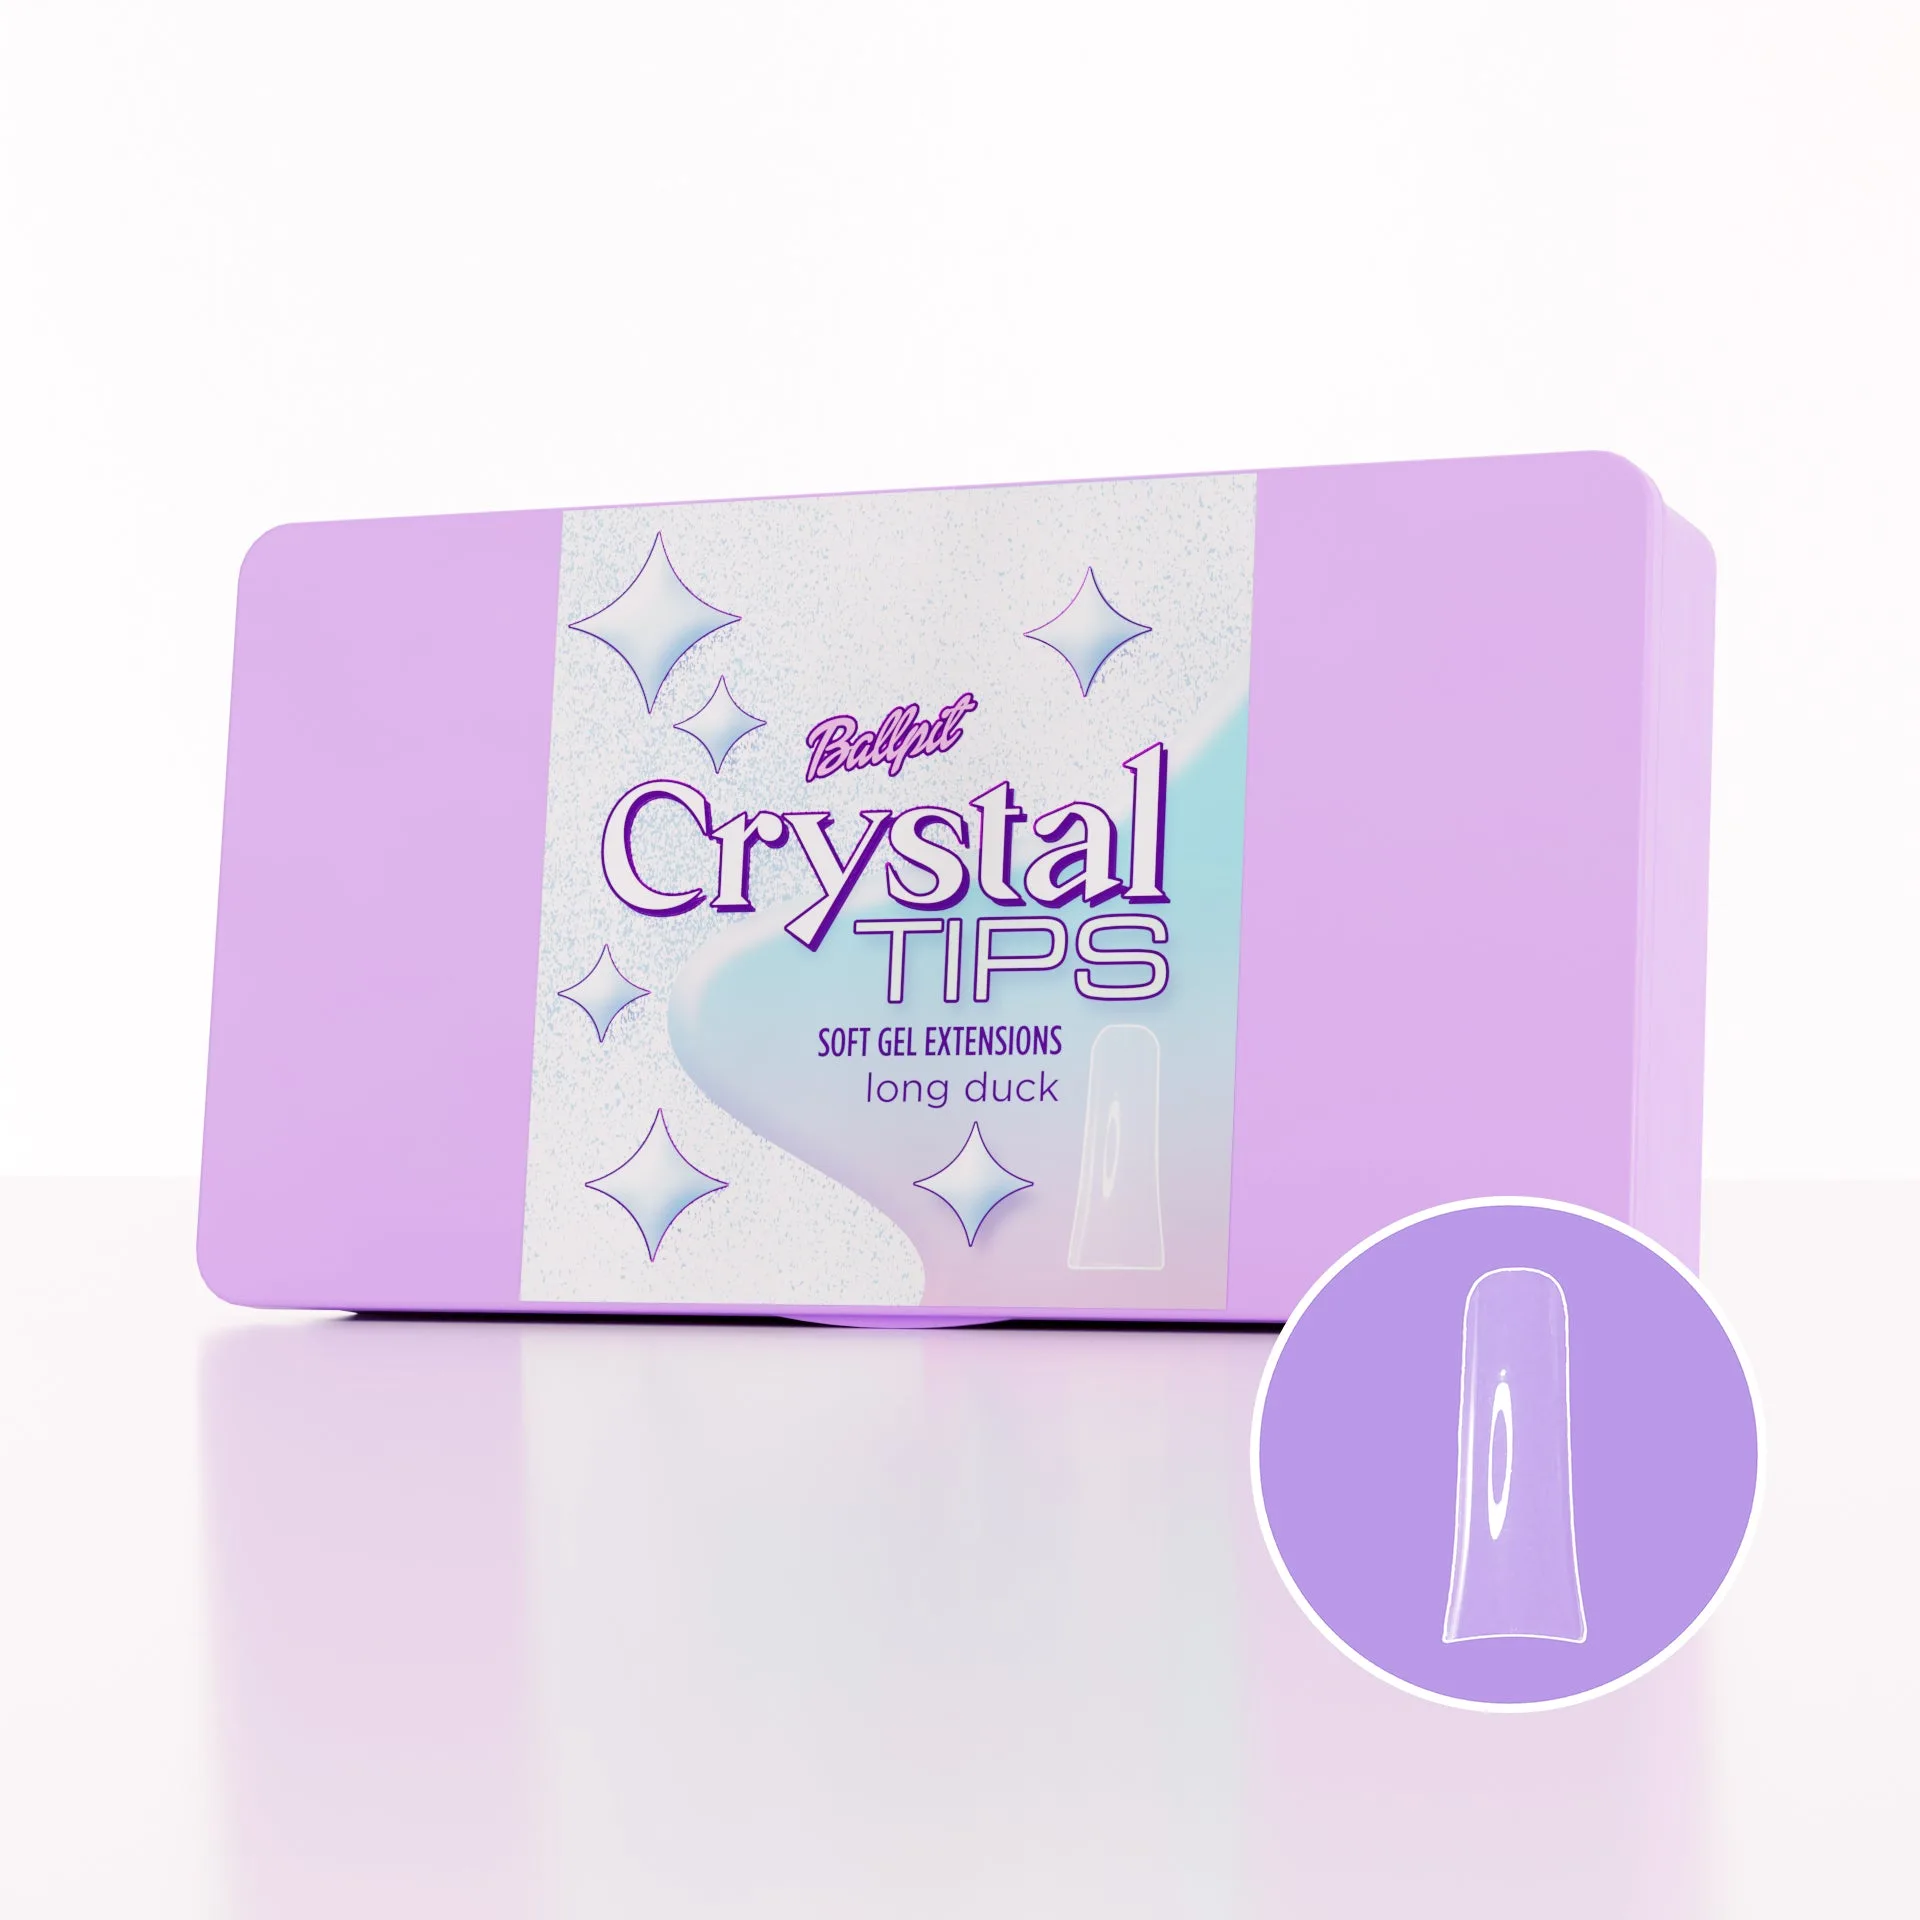
Lifting on nail tips usually starts at the edges—cuticle area or sidewalls—where gel hasn't bonded properly or where moisture gets trapped. Full-coverage soft gel tips like Crystal Tips - L Duck are designed to sit flush against the natural nail, but if there's any gap or overhang, polish can seep underneath and cause early lifting. Another common cause is skipping the etching step on the tip's surface; without a slightly rough texture, gel has nothing to grip. Finally, curing too fast or with a weak lamp leaves the base layer undercured, so it peels away from the tip within days.
Prep the natural nail and tip
Before applying any tip, push back cuticles and lightly buff the natural nail plate to remove shine. Wipe with a lint-free cleanser to remove dust and oils. For the tip itself, use a soft buffer to gently etch the entire surface that will receive gel—this includes the area that overlaps the natural nail. Be careful not to over-buff the tip's edges, which can weaken the structure. If you're using Crystal Tips - L Duck, they are 100% soft gel and full coverage, so they already have a slight flexibility; a light etch is enough. Avoid touching the etched surface with your fingers afterward, as oils will contaminate it.
Apply and cure the base coat
Apply a thin layer of gel base coat over the entire tip and the natural nail where the tip meets the nail plate. Keep the base coat thin—if it's too thick, it can pool at the cuticle and lift. Cap the free edge of the tip by swiping the brush along the tip's end to seal it. Cure according to your lamp's instructions; for most LED lamps, 30–60 seconds is typical. A common mistake is undercuring the base coat because it looks dry—if it's tacky after curing, it's not fully cured. Use a lamp with enough wattage and don't overcrowd the lamp.
Apply color in thin layers
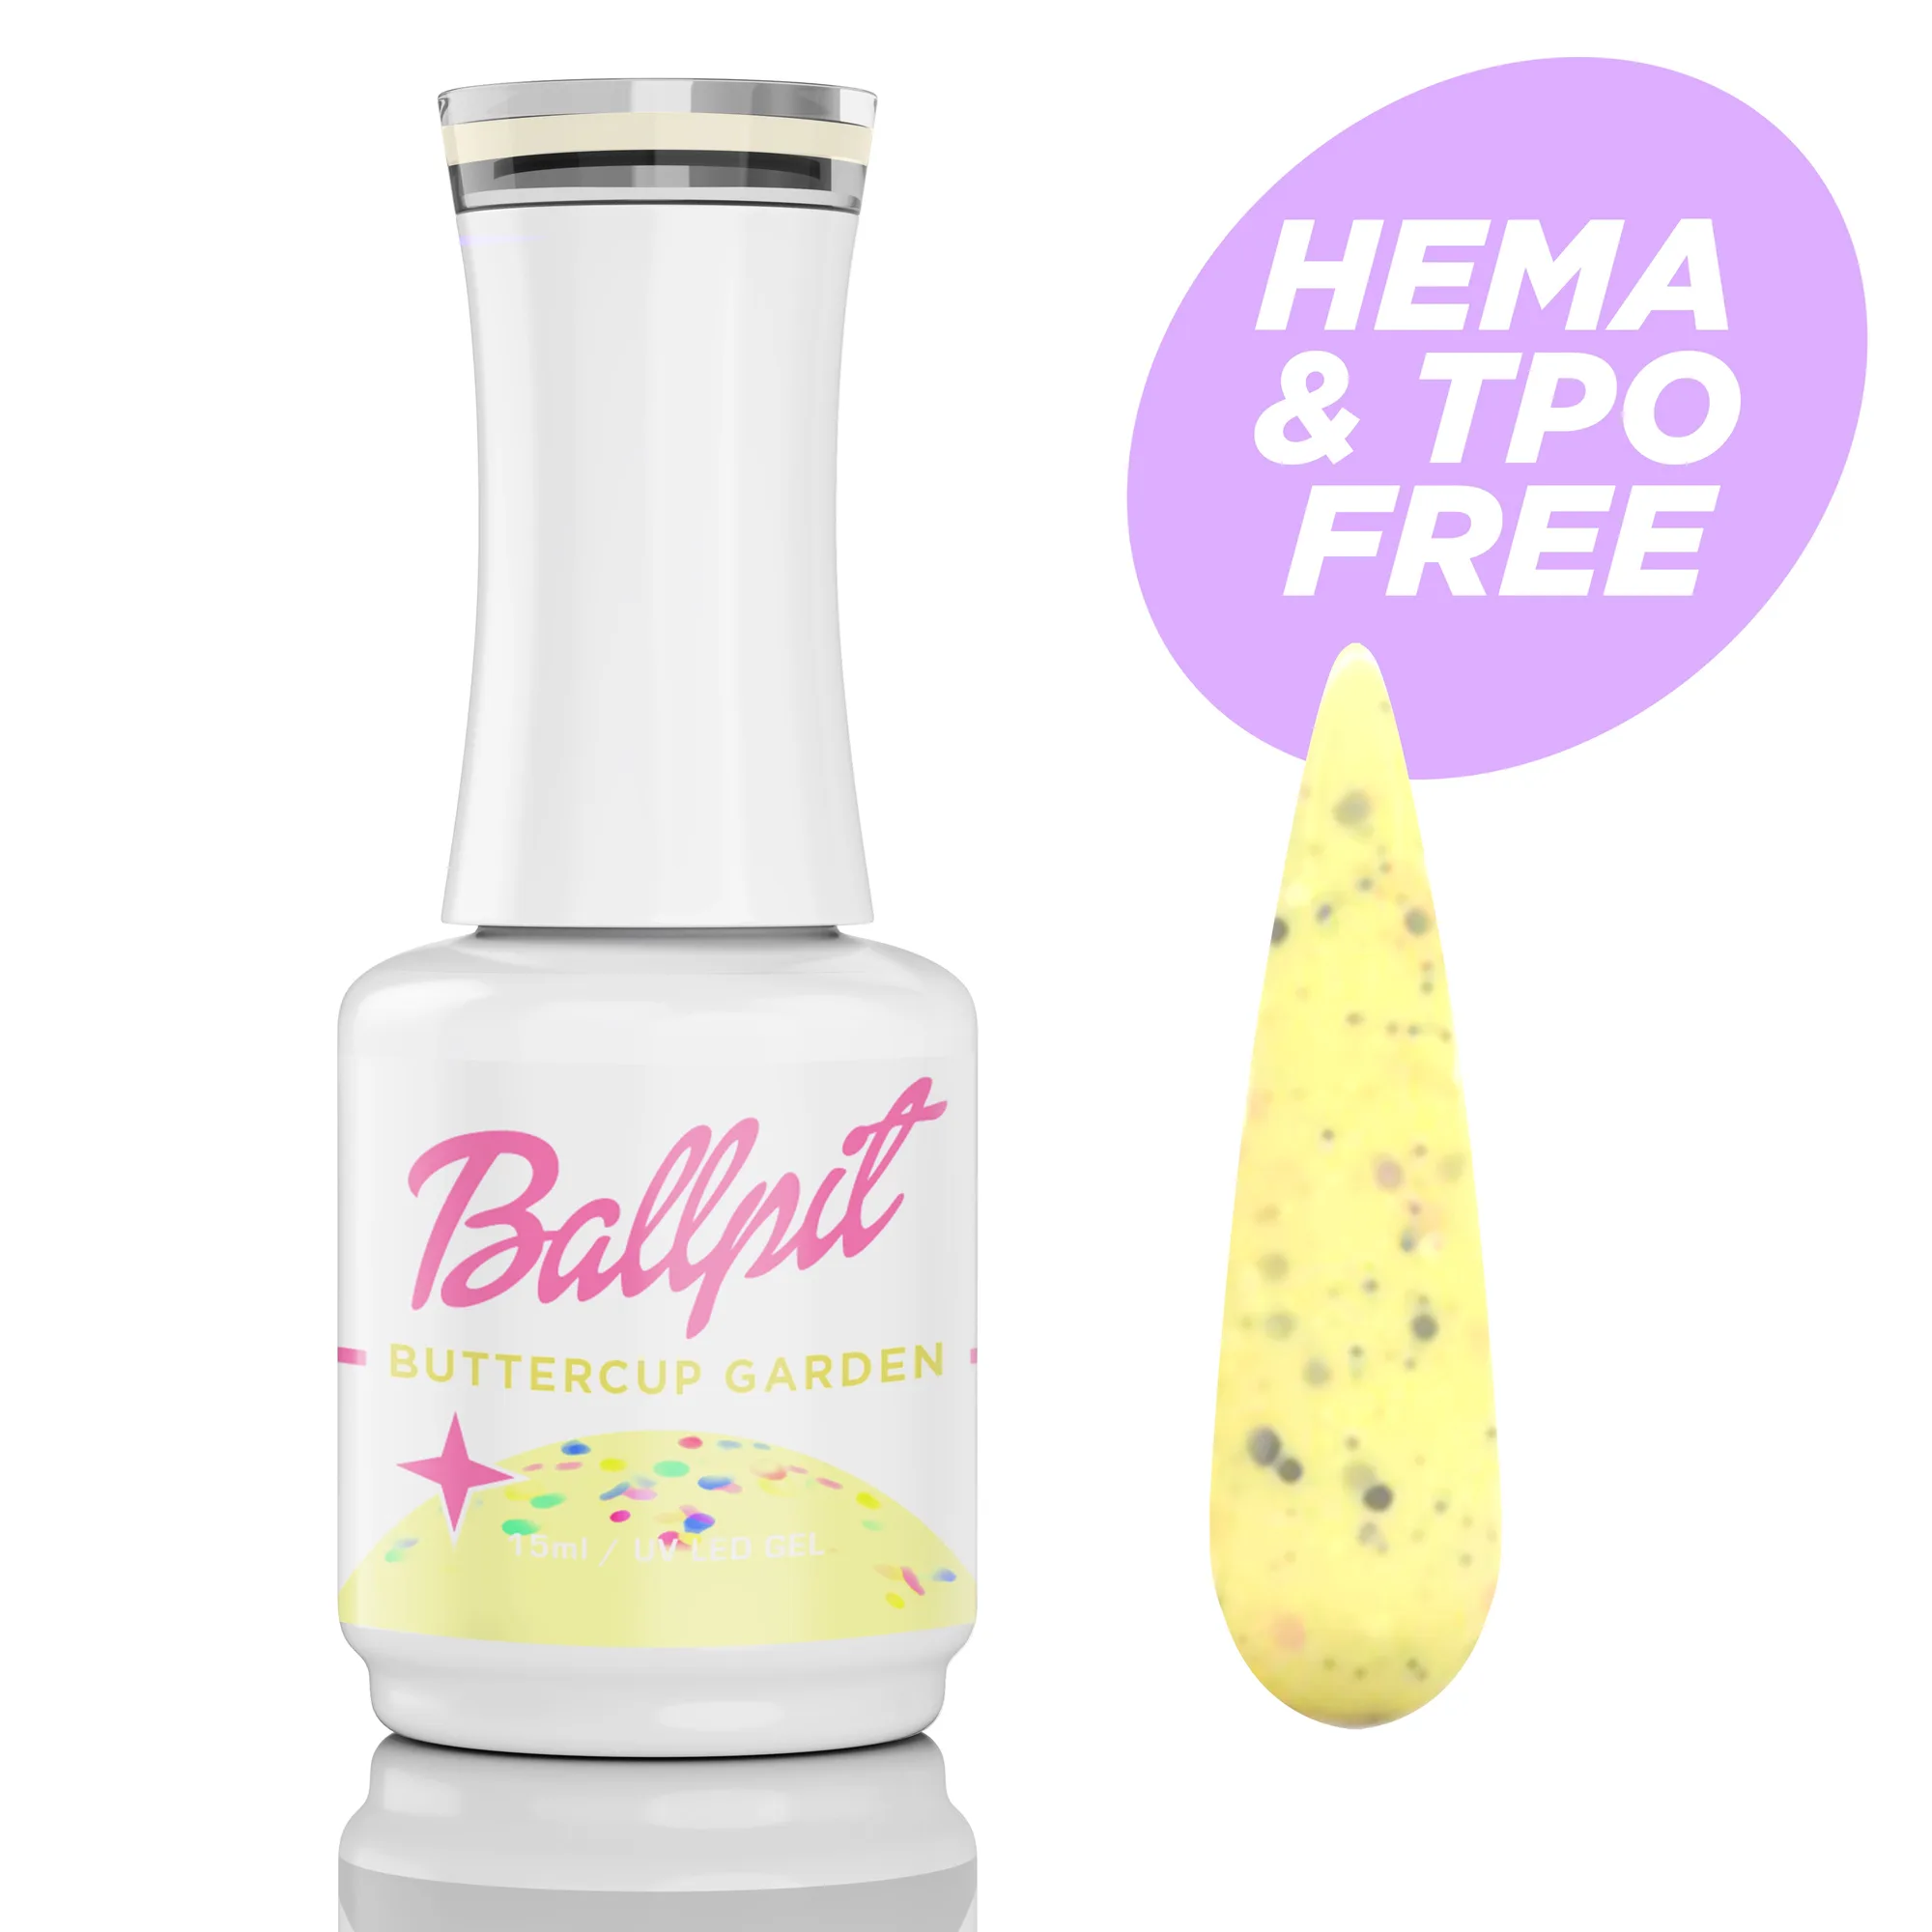
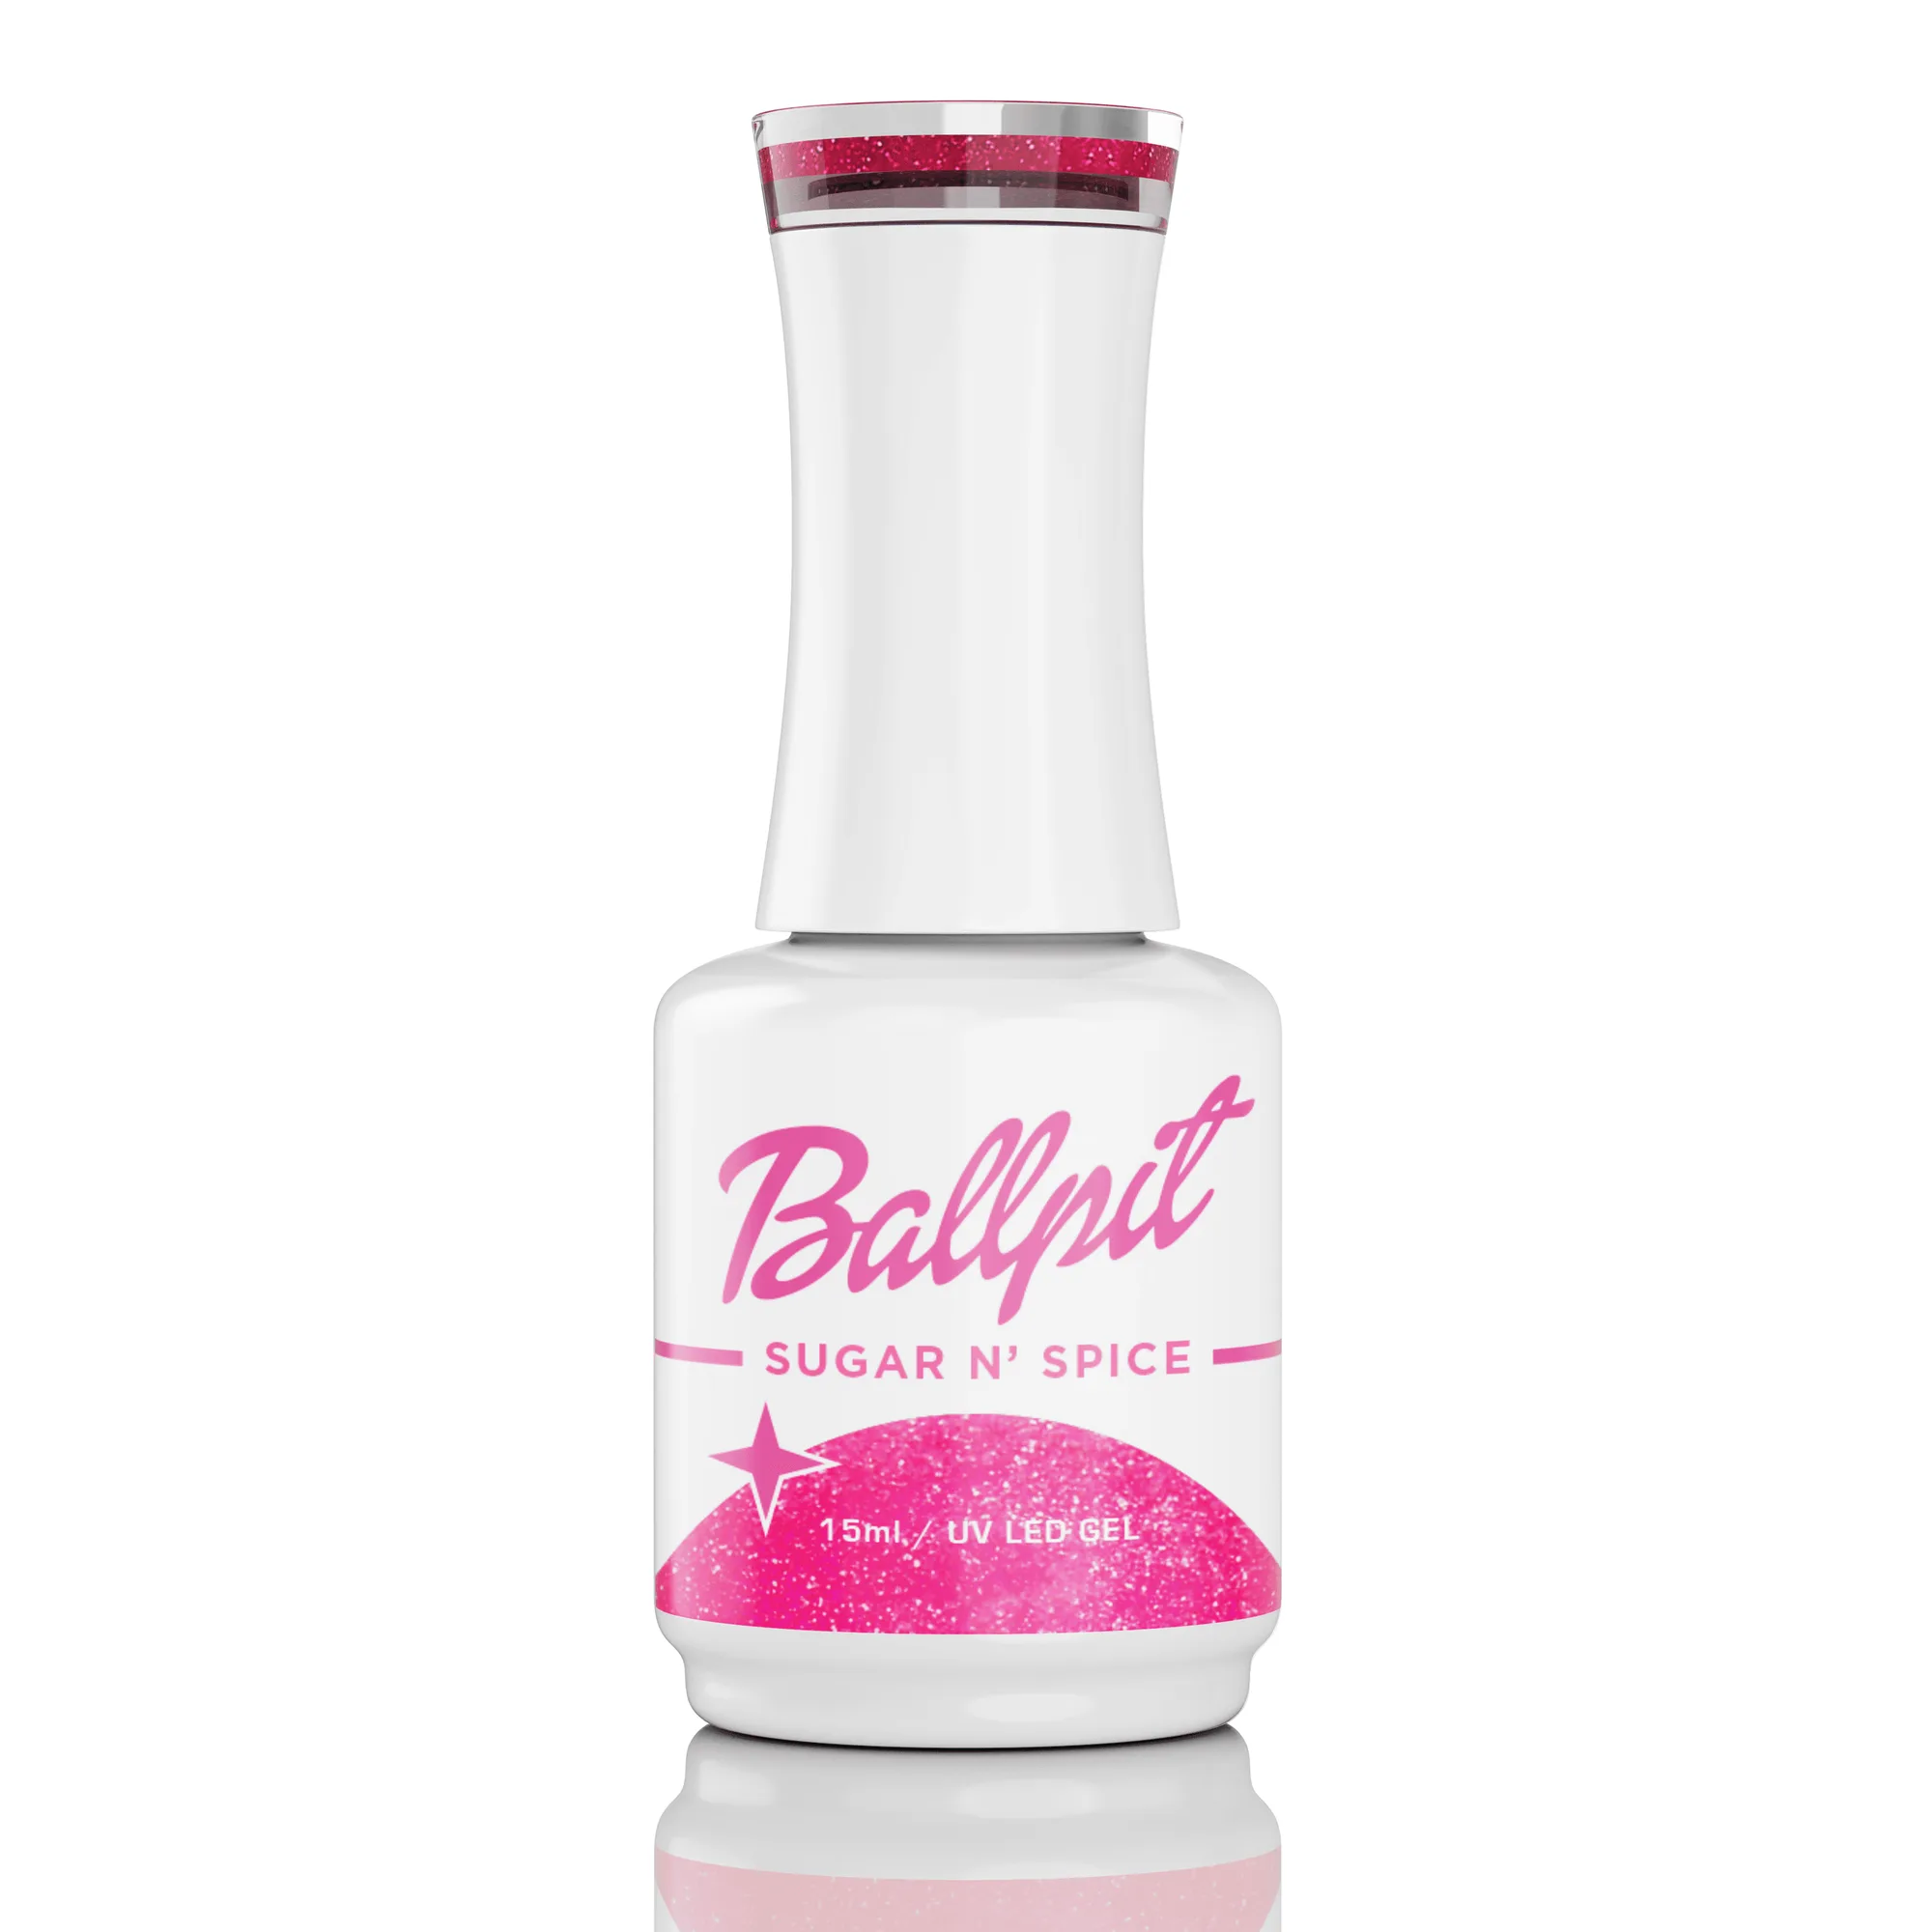
Apply gel polish in two thin coats rather than one thick coat. Thick layers cure unevenly and are more prone to lifting. For a shade like Sugar N Spice - Gel Polish, which is a hot pink packed with silver glitter, you may need two coats for full opacity; the glitter can create texture, so keep each coat thin and cure fully between coats. Avoid flooding the cuticle area—leave a tiny margin of bare tip around the cuticle and sidewalls. Cap the free edge with each coat to seal the tip. If you're using Buttercup Garden - Gel Polish, which is HEMA and TPO free, it's a good choice for clients with sensitive skin, but still apply thin coats and cure for 60 seconds as recommended.
Finish with top coat and final cure
Apply a gel top coat over the color, again keeping it thin and capping the free edge. Cure fully. After curing, wipe off the inhibition layer with cleanser if your top coat requires it. Inspect the cuticle area and sidewalls for any uncured gel or ridges; if you see any, gently file them away after curing to prevent lifting. Avoid using cuticle oil immediately after—wait at least a few hours to let the gel fully harden. For long-lasting results, keep your nails dry for the first few hours and avoid harsh chemicals.
Step-by-step: gel polish over nail tips without lifting
- Size and prep the tip: Select a full-coverage tip that fits your natural nail sidewall to sidewall without overhang. Lightly etch the entire tip surface with a buffer, then wipe away dust with a lint-free cleanser. Mistake to avoid: skipping the etch or touching the etched surface with your fingers. Checkpoint: The tip should look slightly matte, not shiny.
- Apply a thin base coat: Apply a thin layer of gel base coat over the tip and the natural nail where the tip overlaps. Cap the free edge. Cure according to your lamp's instructions (typically 30–60 seconds LED). Mistake to avoid: applying too thick a layer, which can pool and lift. Checkpoint: The base coat should be tacky after curing; if it's not, cure longer.
- Apply color in thin coats: Apply gel polish in two thin coats, curing between each. Keep the polish off the cuticle and sidewalls, and cap the free edge each time. For shades like Sugar N Spice or Buttercup Garden, thin coats ensure even curing. Mistake to avoid: flooding the cuticle area or using thick coats. Checkpoint: Each coat should be fully cured and dry to the touch before the next.
- Seal with top coat: Apply a thin gel top coat, cap the free edge, and cure fully. Wipe off any inhibition layer if needed. Mistake to avoid: missing the free edge, which leaves the tip exposed to moisture. Checkpoint: The top coat should be smooth and glossy with no dull spots.
- Post-care and maintenance: After curing, inspect for any ridges or uncured gel around the cuticle; gently file if needed. Avoid water and harsh chemicals for a few hours. Mistake to avoid: applying cuticle oil immediately, which can break down the gel bond. Checkpoint: Your manicure should feel secure with no lifting at the edges.
Products that help prevent lifting
- Sugar N Spice - Gel Polish: Sugar N Spice - Gel Polish is a 15ml UV/LED soak-off gel with a creamy, anti-spread formula and extreme pigment. Shade: Hot pink packed with silver glitter. The anti-spread formula helps you control the polish around cuticles and sidewalls, reducing the risk of flooding and lifting. The high pigment means you can use thinner coats, which cure more evenly.
- Buttercup Garden - Gel Polish: Buttercup Garden - Gel Polish is a 15ml HEMA and TPO free gel polish with a light buttercup yellow confetti shade. It has an anti-spread, creamy body and cures in 60 seconds. HEMA-free formulas are less likely to cause allergic reactions, making them a safer choice for sensitive clients. The 60-second cure time ensures you don't undercure, which is a key cause of lifting.
- Crystal Tips - L Duck: Crystal Tips - L Duck are 100% soft gel, full coverage tips that come in 500 tips across 10 sizes. They are perfect for press-ons or any gel system and have no white line when squeezed or clipped. Full coverage tips eliminate the need for blending at the free edge, reducing weak points where lifting often starts. The soft gel material bonds well with gel polish when properly etched.