Quick answer
Apply HEMA-free gel polish the same way you would any quality gel: prep the nail plate thoroughly, use a HEMA-free base coat, build color in thin layers, cure each layer fully, and finish with a top coat that matches the wear you want. The formula is not weaker than standard gel, but it does reward careful prep and full curing. If your manicure lifts early, the problem is almost always prep, thickness, or under-curing, not the HEMA-free label.
HEMA-free gel polish has become a go-to for nail techs and at-home users who want a traditional gel manicure without HEMA in the formula. The tradeoff is that some HEMA-free gels behave a little differently during application, so a few habits matter more than usual.
This guide walks through the actual gel polish application steps that keep a HEMA-free manicure on your nails instead of peeling off in a day. You will see where most people go wrong, how to check your work, and which products from La Catrina Nails, TX fit each stage.
Prep the nail before any gel touches it
Start by shaping the nail and gently pushing back the cuticle. Use a soft buffer to remove shine from the natural nail plate, then dust off all debris with a brush. Wipe each nail with a lint-free pad and a dehydrator or 91% isopropyl alcohol. This removes oils that stop gel from bonding.
The biggest mistake here is over-filing the natural nail or leaving cuticle tissue on the plate. Both create spots where the gel lifts within days. If you are doing a hema free manicure at home, keep filing light and focus on cleanliness rather than roughness.
- Checkpoint: the nail should look matte and dry, with no shiny patches.
- Do not touch the nail plate with your fingers after prep.
Apply a HEMA-free base coat in a thin layer
A base coat creates the bond between the natural nail and the color. Apply it thin, cap the free edge, and keep it off the skin. A duo like Preparacíon Del Más Allá Base Coat + Brillo Inmortal Top Coat Duo~ HEMA-Free and TPO Free Gel polish pairs a base and top coat designed to work together, which simplifies matching formulas.
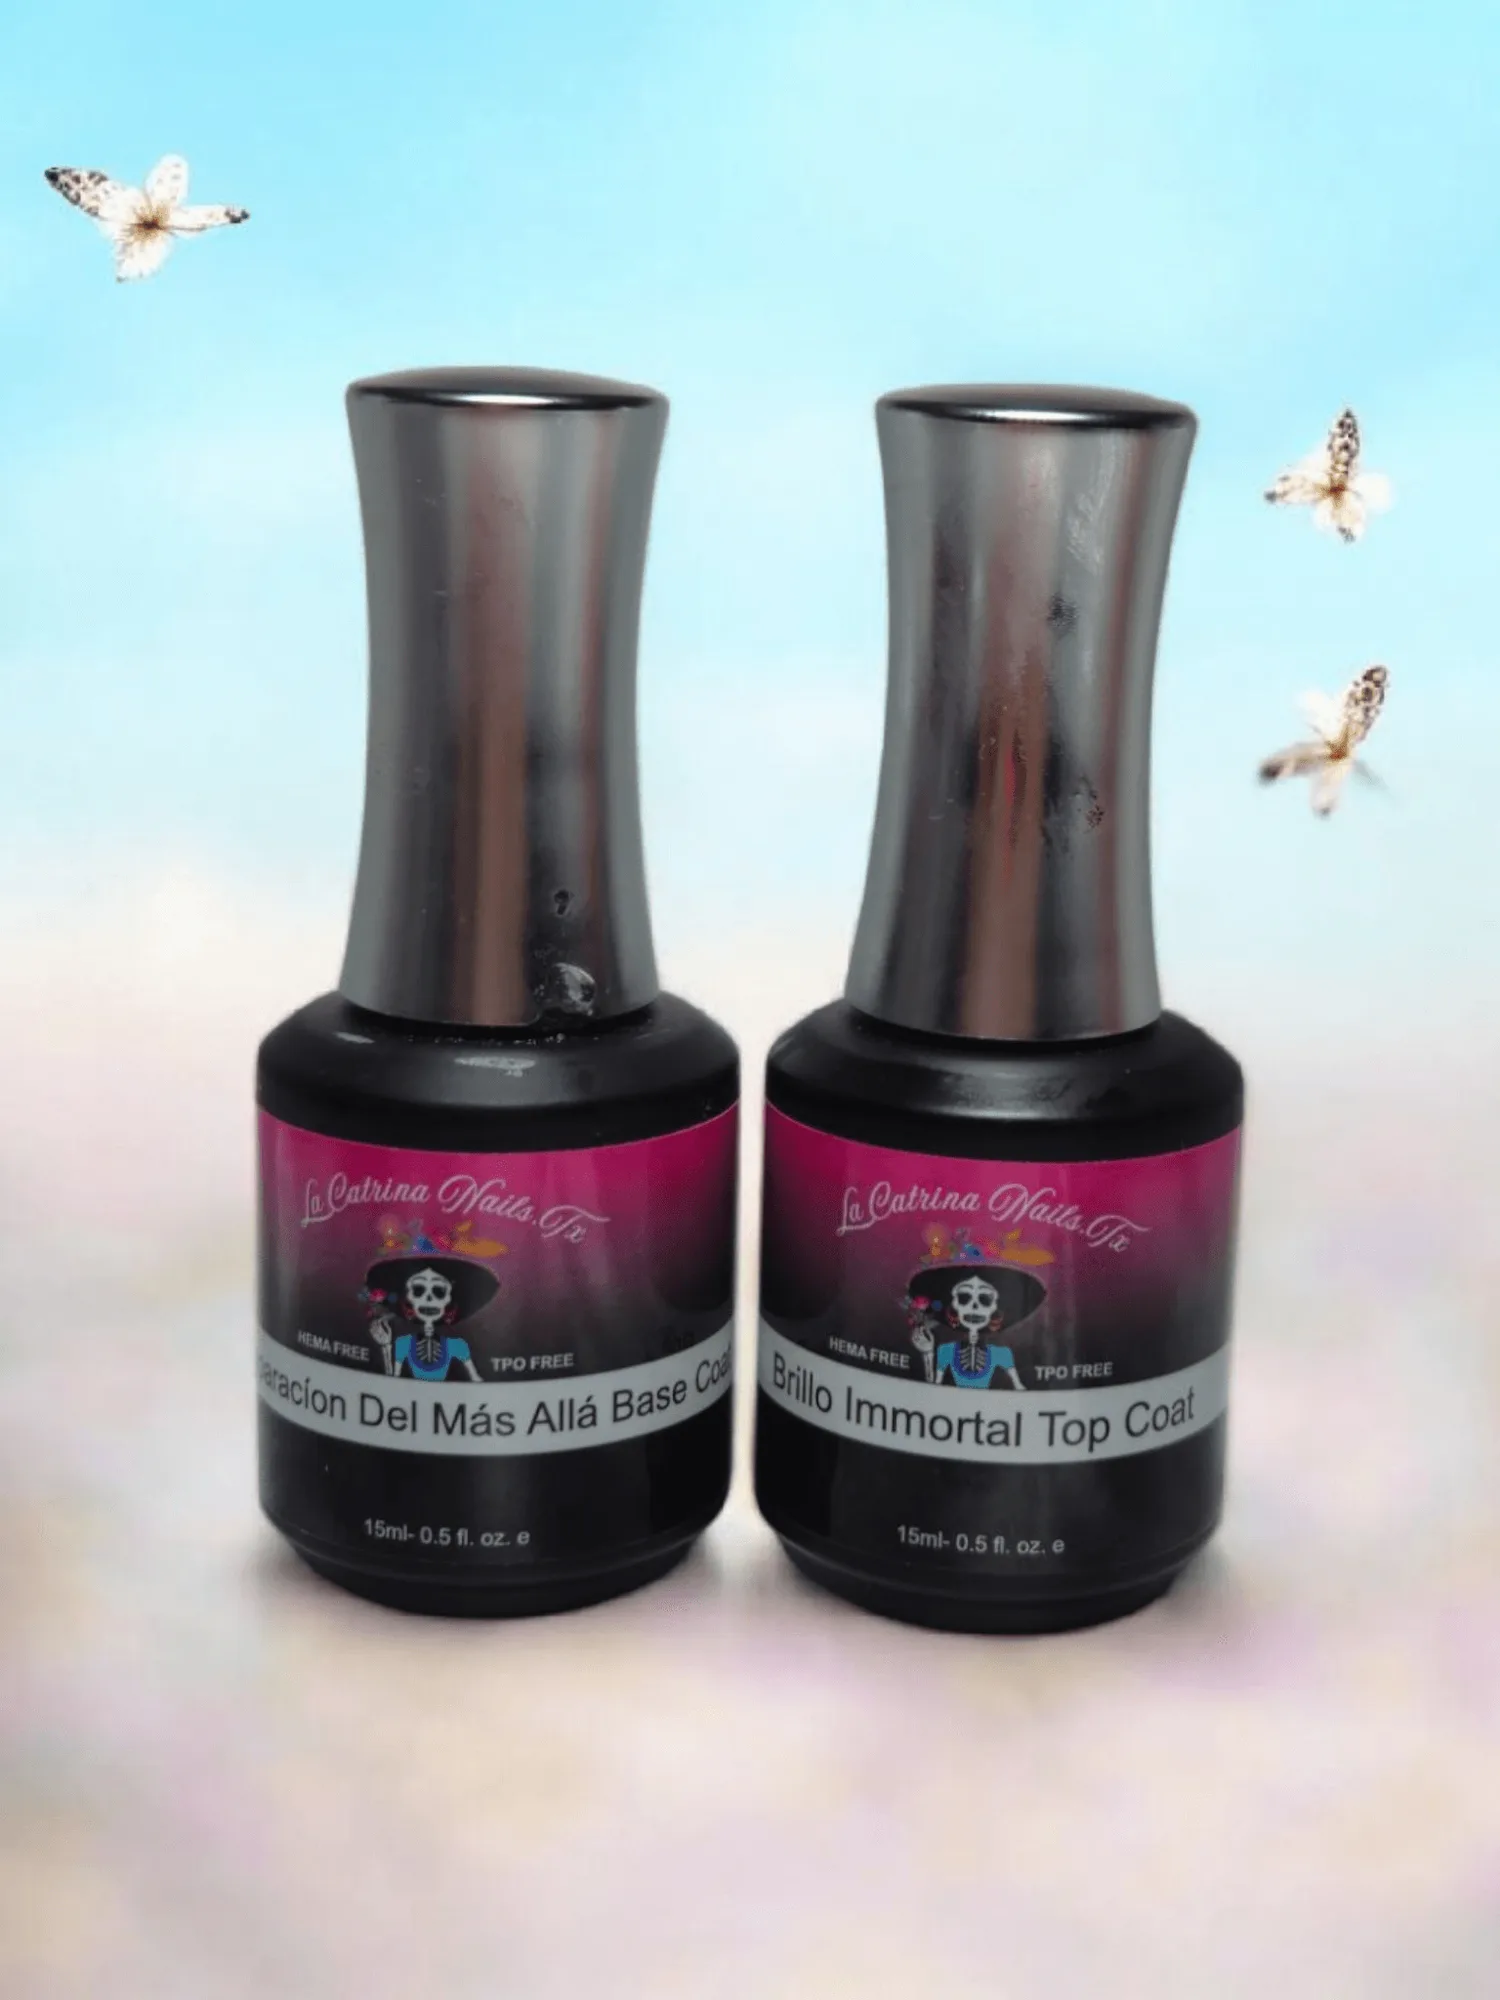
Preparacíon Del Más Allá Base Coat + Brillo Inmortal Top Coat Duo~ HEMA-Free and TPO Free Gel polish
The common mistake is applying base coat too thick to make it feel more secure. Thick base layers trap solvent, cure unevenly, and actually reduce adhesion. One thin, even pass is enough.
- Checkpoint: no pooling at the cuticle or sidewalls before curing.
- Cure according to your lamp and the product instructions, not by feel.
Build color in two or three thin layers
Color is where most lifting starts. Apply the first layer thin and slightly translucent, cure it, then repeat until you reach the coverage you want. A shade like La Cuesta / Teal Blue~ 2026~HEMA-Free and TPO Free Gel polish is described as smooth and creamy, which helps it self-level in thin coats without looking streaky.
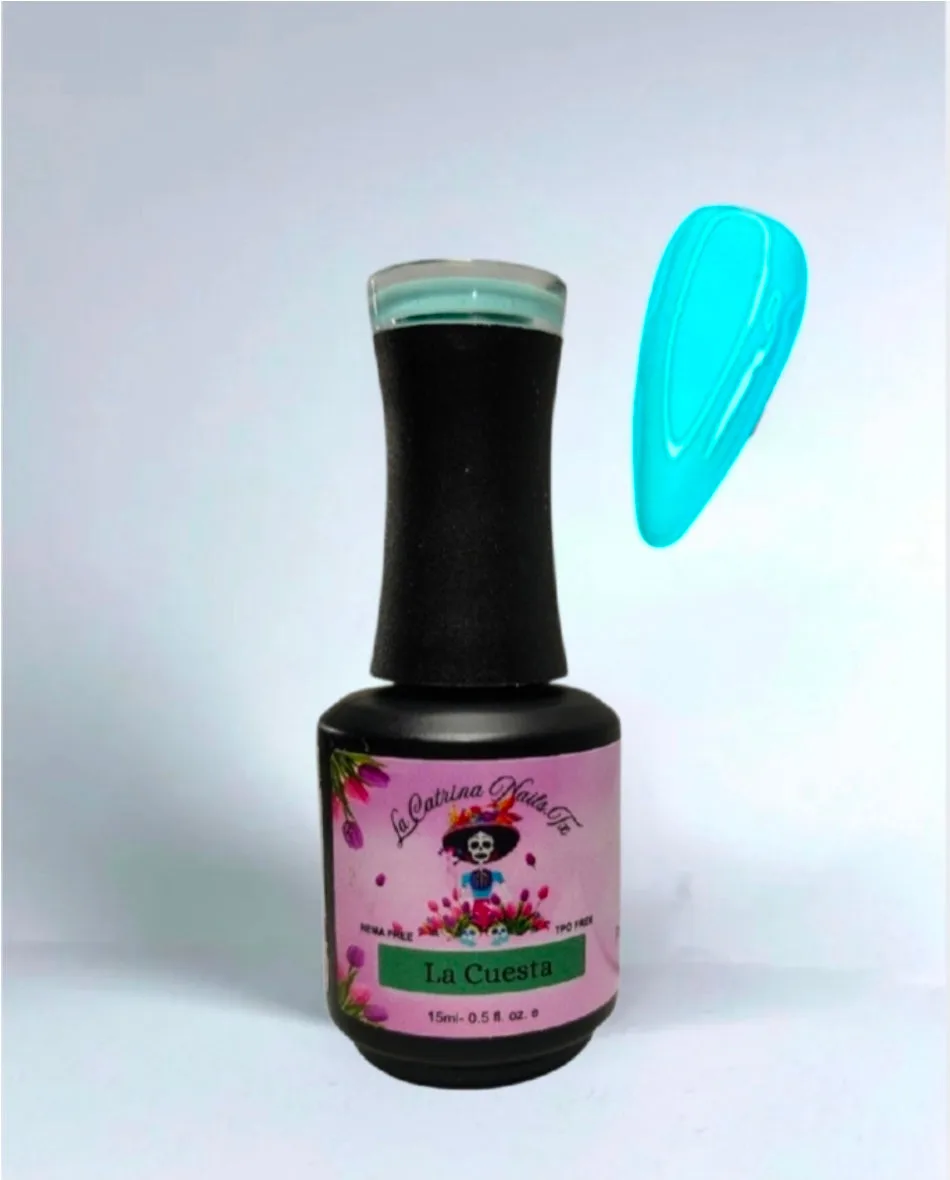
La Cuesta / Teal Blue~ 2026~HEMA-Free and TPO Free Gel polish
The mistake is trying to get full opacity in one pass. A thick color layer cures from the outside in, so the bottom stays soft and the manicure chips from the edge. Two thin coats beat one heavy coat every time.
- Checkpoint: each layer should look even, not bulky, before you cure.
- Wipe your brush on the bottle rim instead of dragging it on the nail.
Cure fully and consistently
Curing is the step people rush most. Place the hand flat in the lamp, keep fingers still, and follow the manufacturer's cure time for the specific product. If you are using a lower-wattage lamp, add time rather than guessing. Under-cured gel feels tacky underneath and will peel or cause sensitivity over time.
One useful gel polish curing tip: cure the thumb separately. Thumbs often sit outside the strongest part of the lamp, so they are the first nail to fail. Also replace lamp bulbs or units when they age, because output drops even when the light still looks bright.
- Checkpoint: cured gel should not smear when you lightly touch the surface.
- Do not cure with wet hands or product on the skin.
Choose the right top coat for the finish and wear
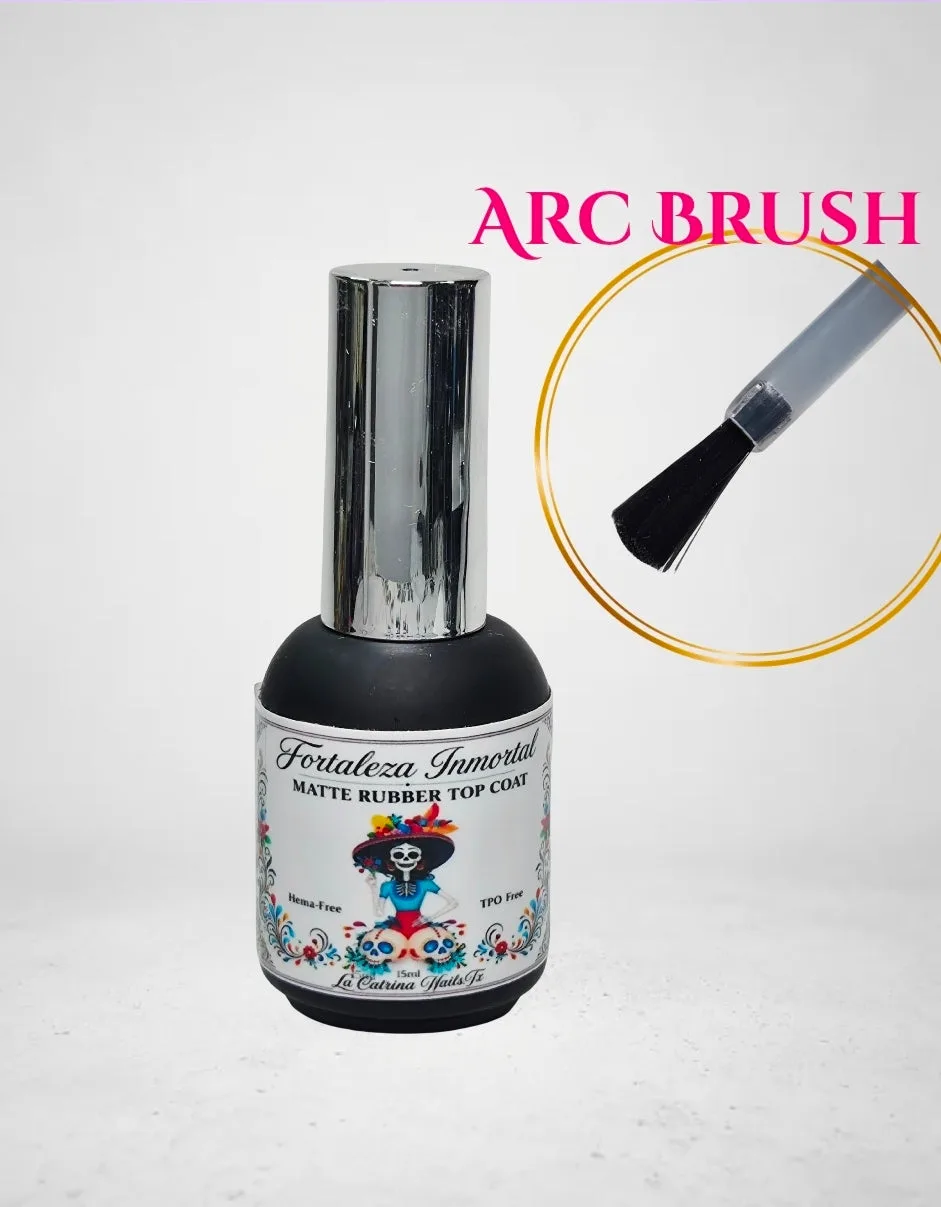
A top coat seals the color and determines the final look. For a glossy finish, use a clear top coat and cap the free edge. For a softer look with added flexibility, Fortaleza Inmortal Matte Rubber Top Coat~HEMA-Free and TPO Free Gel polish is described as a rubber-based formula that delivers strength, flexibility, and a smooth velvety matte finish.
The mistake is skipping the free edge or applying top coat over uncured color. Seal the tip and make sure every color layer is fully cured before the top coat goes on. If you want extra structure under color, Eternal Veil Reinforcement Gel~ HEMA-Free and TPO Free can be used as a protective base layer or natural-nail overlay.
- Checkpoint: the free edge should be sealed, not left exposed.
- Matte top coats show oil and lotion more than gloss, so cleanse after curing.
Application steps at a glance
- Prep and dehydrate: Shape, push back cuticles, buff shine, dust off, and wipe with dehydrator or 91% isopropyl alcohol. Checkpoint: matte, dry nail plate with no cuticle tissue left behind.
- Apply thin HEMA-free base coat: One thin layer, cap the free edge, keep it off the skin, and cure according to the product instructions. Mistake to avoid: applying base coat thick to feel more secure.
- Build color in thin layers: Apply two or three thin coats, curing each one, until you reach the coverage you want. Checkpoint: even color, no bulky layers before curing.
- Cure fully, including thumbs: Keep the hand flat and still in the lamp, follow the recommended cure time, and cure thumbs separately if needed. Mistake to avoid: guessing cure time with a low-wattage lamp.
- Finish with the right top coat: Seal the free edge with a gloss or matte top coat and cleanse the inhibition layer after curing. Checkpoint: sealed tip and no uncured color underneath.
Products that fit these steps
- Preparacíon Del Más Allá Base Coat + Brillo Inmortal Top Coat Duo~ HEMA-Free and TPO Free Gel polish: A HEMA-free and TPO-free base coat and top coat duo designed to work together for adhesion and a high-shine finish. Using a matched base and top coat removes guesswork about compatibility and supports a long lasting gel manicure.
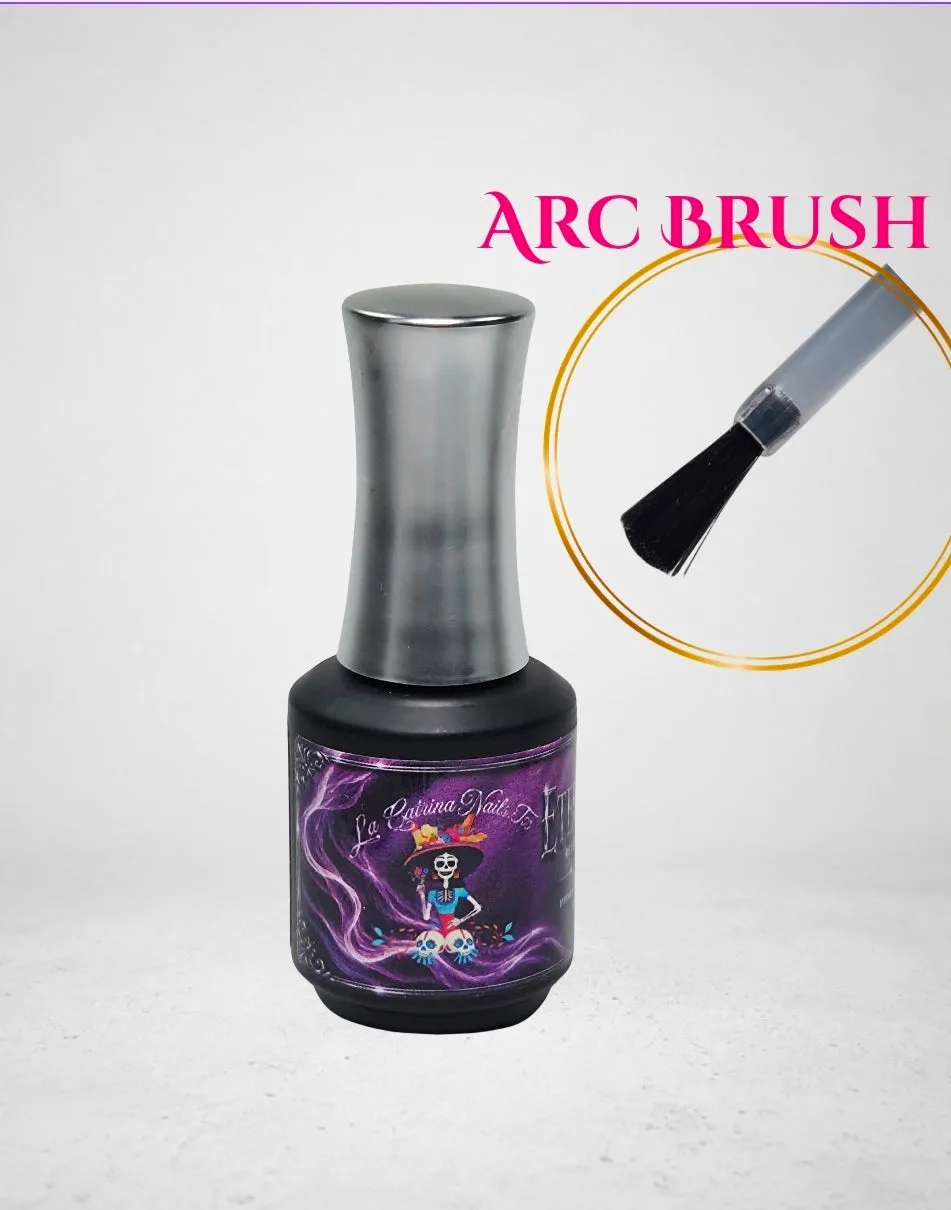
- Eternal Veil Reinforcement Gel~ HEMA-Free and TPO Free: A self-leveling reinforcement gel formulated to add durability, structure, and support to natural nails without added bulk. Useful as a protective base layer or natural-nail overlay when clients need extra strength before color.
- Fortaleza Inmortal Matte Rubber Top Coat~HEMA-Free and TPO Free Gel polish: A rubber-based matte top coat that adds durability and flexibility while creating a smooth velvety matte finish. A good choice when you want a matte look with more wear resistance than a standard matte top coat.
A HEMA-free gel manicure lasts when you treat prep, thin layers, and full curing as non-negotiable. Pick products that match your finish and strength needs, work in thin coats, and check each step before moving on. If a nail lifts, revisit prep and curing before blaming the formula.