Quick Answer
Apply nail art stickers on clean, dry nails after your polish has fully dried, then seal with a top coat for a smooth, long-lasting finish.
Why Sticker Placement Matters
The key to a professional look is placement. Stickers look best when they follow the natural curve of your nail and sit flat without wrinkles. Taking a few extra seconds to position them correctly makes the difference between a DIY look and a salon-quality finish.
Another factor is timing. If you apply stickers before the polish is completely dry, they can slide or trap air bubbles. Patience here pays off.
Choosing the Right Sticker for Your Nail Shape
Not all stickers are created equal. Small, detailed designs like cherries work well on shorter nails, while larger motifs can overwhelm them. Consider the size of your nail plate and the design's scale when picking stickers.
Also, think about placement: a single accent nail with a bold sticker can be more striking than covering every nail. This reduces the chance of misalignment and makes the design feel intentional.
Step-by-Step Application
- Prep Your Nails: Start with clean, dry nails. Remove any oils or residue with nail polish remover, and push back cuticles. This gives the sticker a smooth surface to adhere to. Skipping prep can cause stickers to lift or peel early.
- Apply Base Polish and Let It Dry Completely: Apply your base color or top coat and wait until it's fully dry to the touch—at least 10-15 minutes. Pressing a sticker on tacky polish can cause wrinkles or bubbles. Test dryness by lightly touching the polish with a clean fingertip; it should feel smooth, not sticky.
- Peel and Position: Use tweezers to peel the sticker from its backing. Place it on the nail and adjust the position before pressing down. Once it touches the polish, it's harder to move. If the sticker is large, trim it with small scissors to fit your nail shape.
- Press and Smooth: Press the sticker firmly from the center outward to remove any air bubbles. Use a cuticle pusher or your finger to smooth it flat, especially at the edges. Bubbles left under the sticker will show and may cause it to peel.
- Seal with Top Coat: Apply a clear top coat over the sticker, extending slightly beyond the edges to seal it. Let it dry completely. This protects the design and gives a glossy, even finish. A top coat is essential for longevity; without it, stickers can catch and lift.
Product Spotlight
-
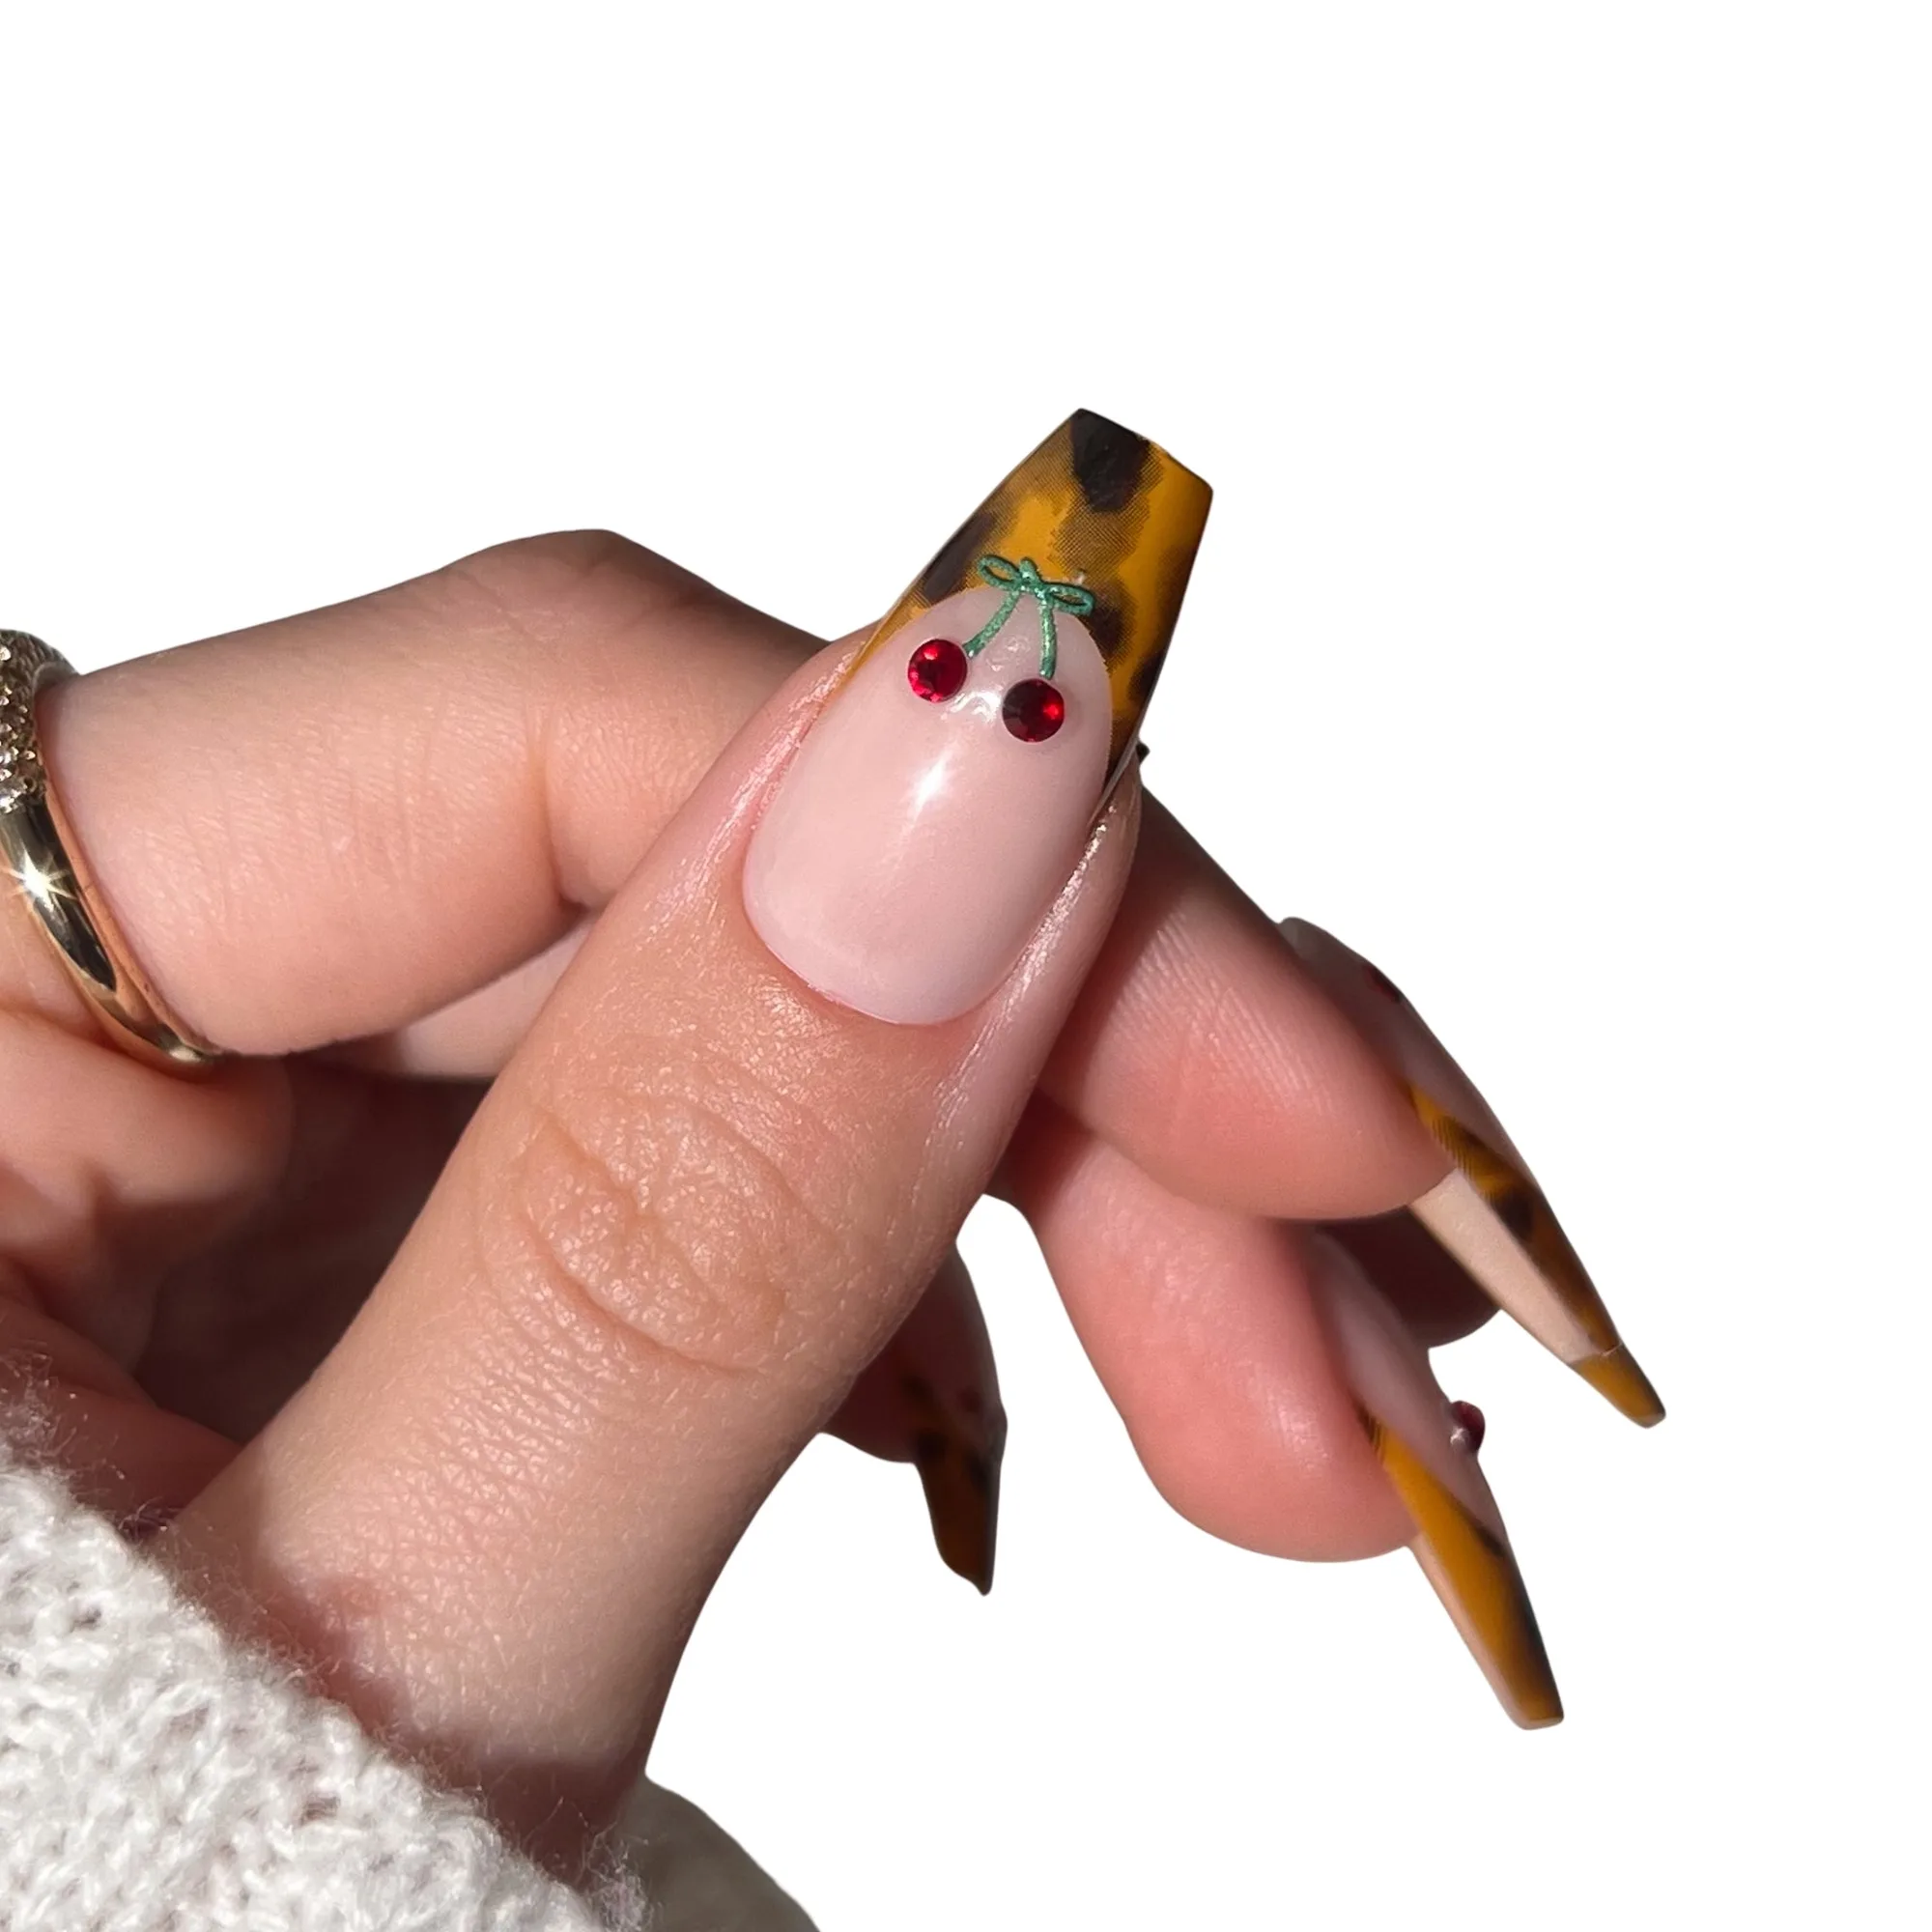
Cherrylicious Nail Art Stickers: The Cherrylicious Nail Art Stickers let you add adorable cherry detail to any manicure in seconds — no salon, no wait, no fuss. This means you can achieve a polished, themed look quickly, even if you're new to nail art.
Cherrylicious Nail Art Stickers