Quick answer
Start by priming both sets in a dark brown, then layer drybrushed greens for the forest and grays for the rock hills. Use washes to add depth and a final drybrush to highlight.
Why drybrushing works best for these sets
The Evergreen Pine Forest and Rock Hills sets have many textured surfaces—tree canopies, rocky ledges, and flat model-placement areas. Drybrushing catches these raised details quickly, letting you paint a whole set in an evening. Wet blending or layering would take much longer without adding noticeable improvement on gaming pieces.
How to paint your Evergreen Pine Forest and Rock Hills scenery
- Prime everything in dark brown: Use a spray primer or brush-on dark brown base coat. This unifies the plastic and provides a shadow color that shows through later drybrush layers. A common mistake is priming in black, which makes green and gray layers look duller. Dark brown gives warmer shadows than black for both forest and rock colors.
- Drybrush the rock hills with medium gray: Load a flat brush with medium gray, wipe most paint off on a paper towel, then lightly brush over the hills' raised edges and flat surfaces. Focus on the top layers first. A checkpoint: if the brush leaves streaks, you have too much paint on it.
- Drybrush the pine trees with two greens: Start with a dark olive green on the lower canopy sections, then switch to a brighter forest green on the upper canopies and tips. This creates natural light variation. Common mistake: using one green makes the tree look flat. Stack the canopy pieces in different orders to see how light hits each layer before painting.
- Apply a wash to both sets: Use a brown or dark green wash (thinned paint or ink) over the rock hills and tree canopies. Let it flow into crevices and undercuts. Wipe any excess pooling on flat surfaces with a clean brush. A checkpoint: too much wash hides your drybrush work. Let the wash dry completely before the next step.
- Final highlight drybrush: Lightly drybrush the rock hills with a pale stone gray and the tree canopies with a yellow-green. Hit only the highest points and edges. This step adds contrast and makes the scenery pop on the table. Common mistake: pressing too hard, which removes the wash effect. Use a soft, wide brush for the final pass to keep it subtle.
Scenery sets for this guide
-
Evergreen Pine Forest: The Evergreen Pine Forest includes two trees with removable canopy sections, a stump, and a double-sided neoprene mat (forest floor on one side, pond on the other). Stackable canopies let you vary tree height or spread pieces for a denser look, so your painting can emphasize different canopy layers.
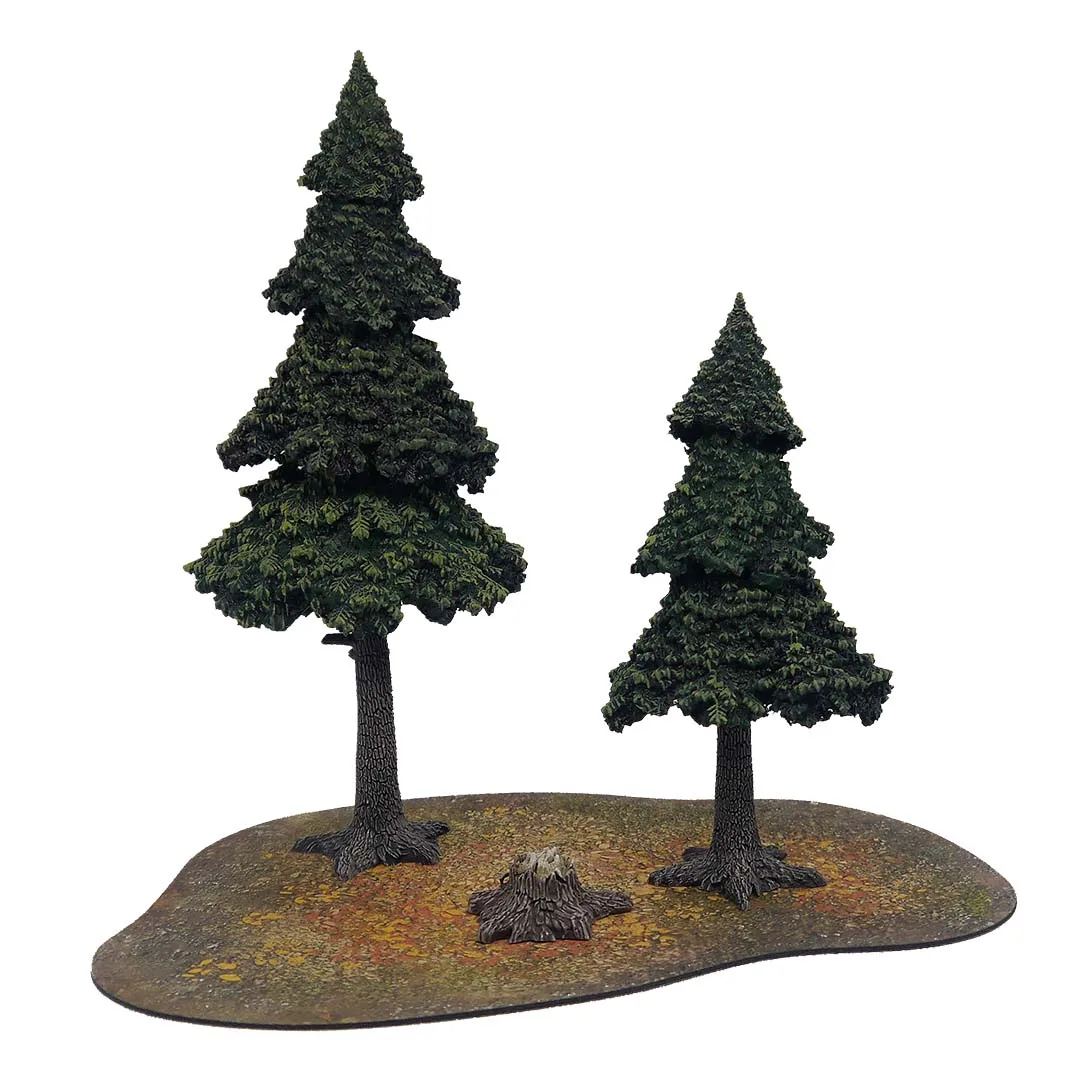
Evergreen Pine Forest
-
Rock Hills: The Rock Hills set has a large multi-level hill, a medium multi-layer hill, and a small rock, all with wide flat surfaces for placing models. Those flat surfaces need careful drybrushing to avoid chalky buildup, but they also make it easy to add washes without pooling.
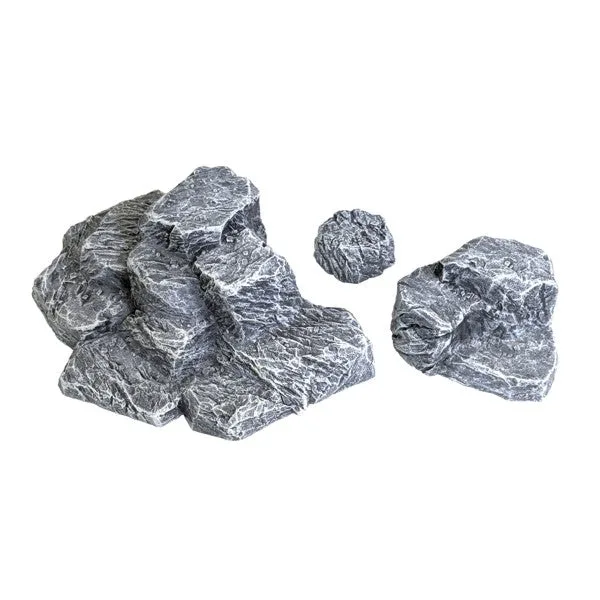
Rock Hills