Quick Answer
Apply transfer foil over a cured gel layer, not over dry polish. For a full-coverage transfer, use a dedicated transfer foil gel, cure it fully, press the foil down, and rub it in short, firm strokes. If the foil only sticks in patches, the gel layer was too thin or undercured, so add another gel layer and cure again.
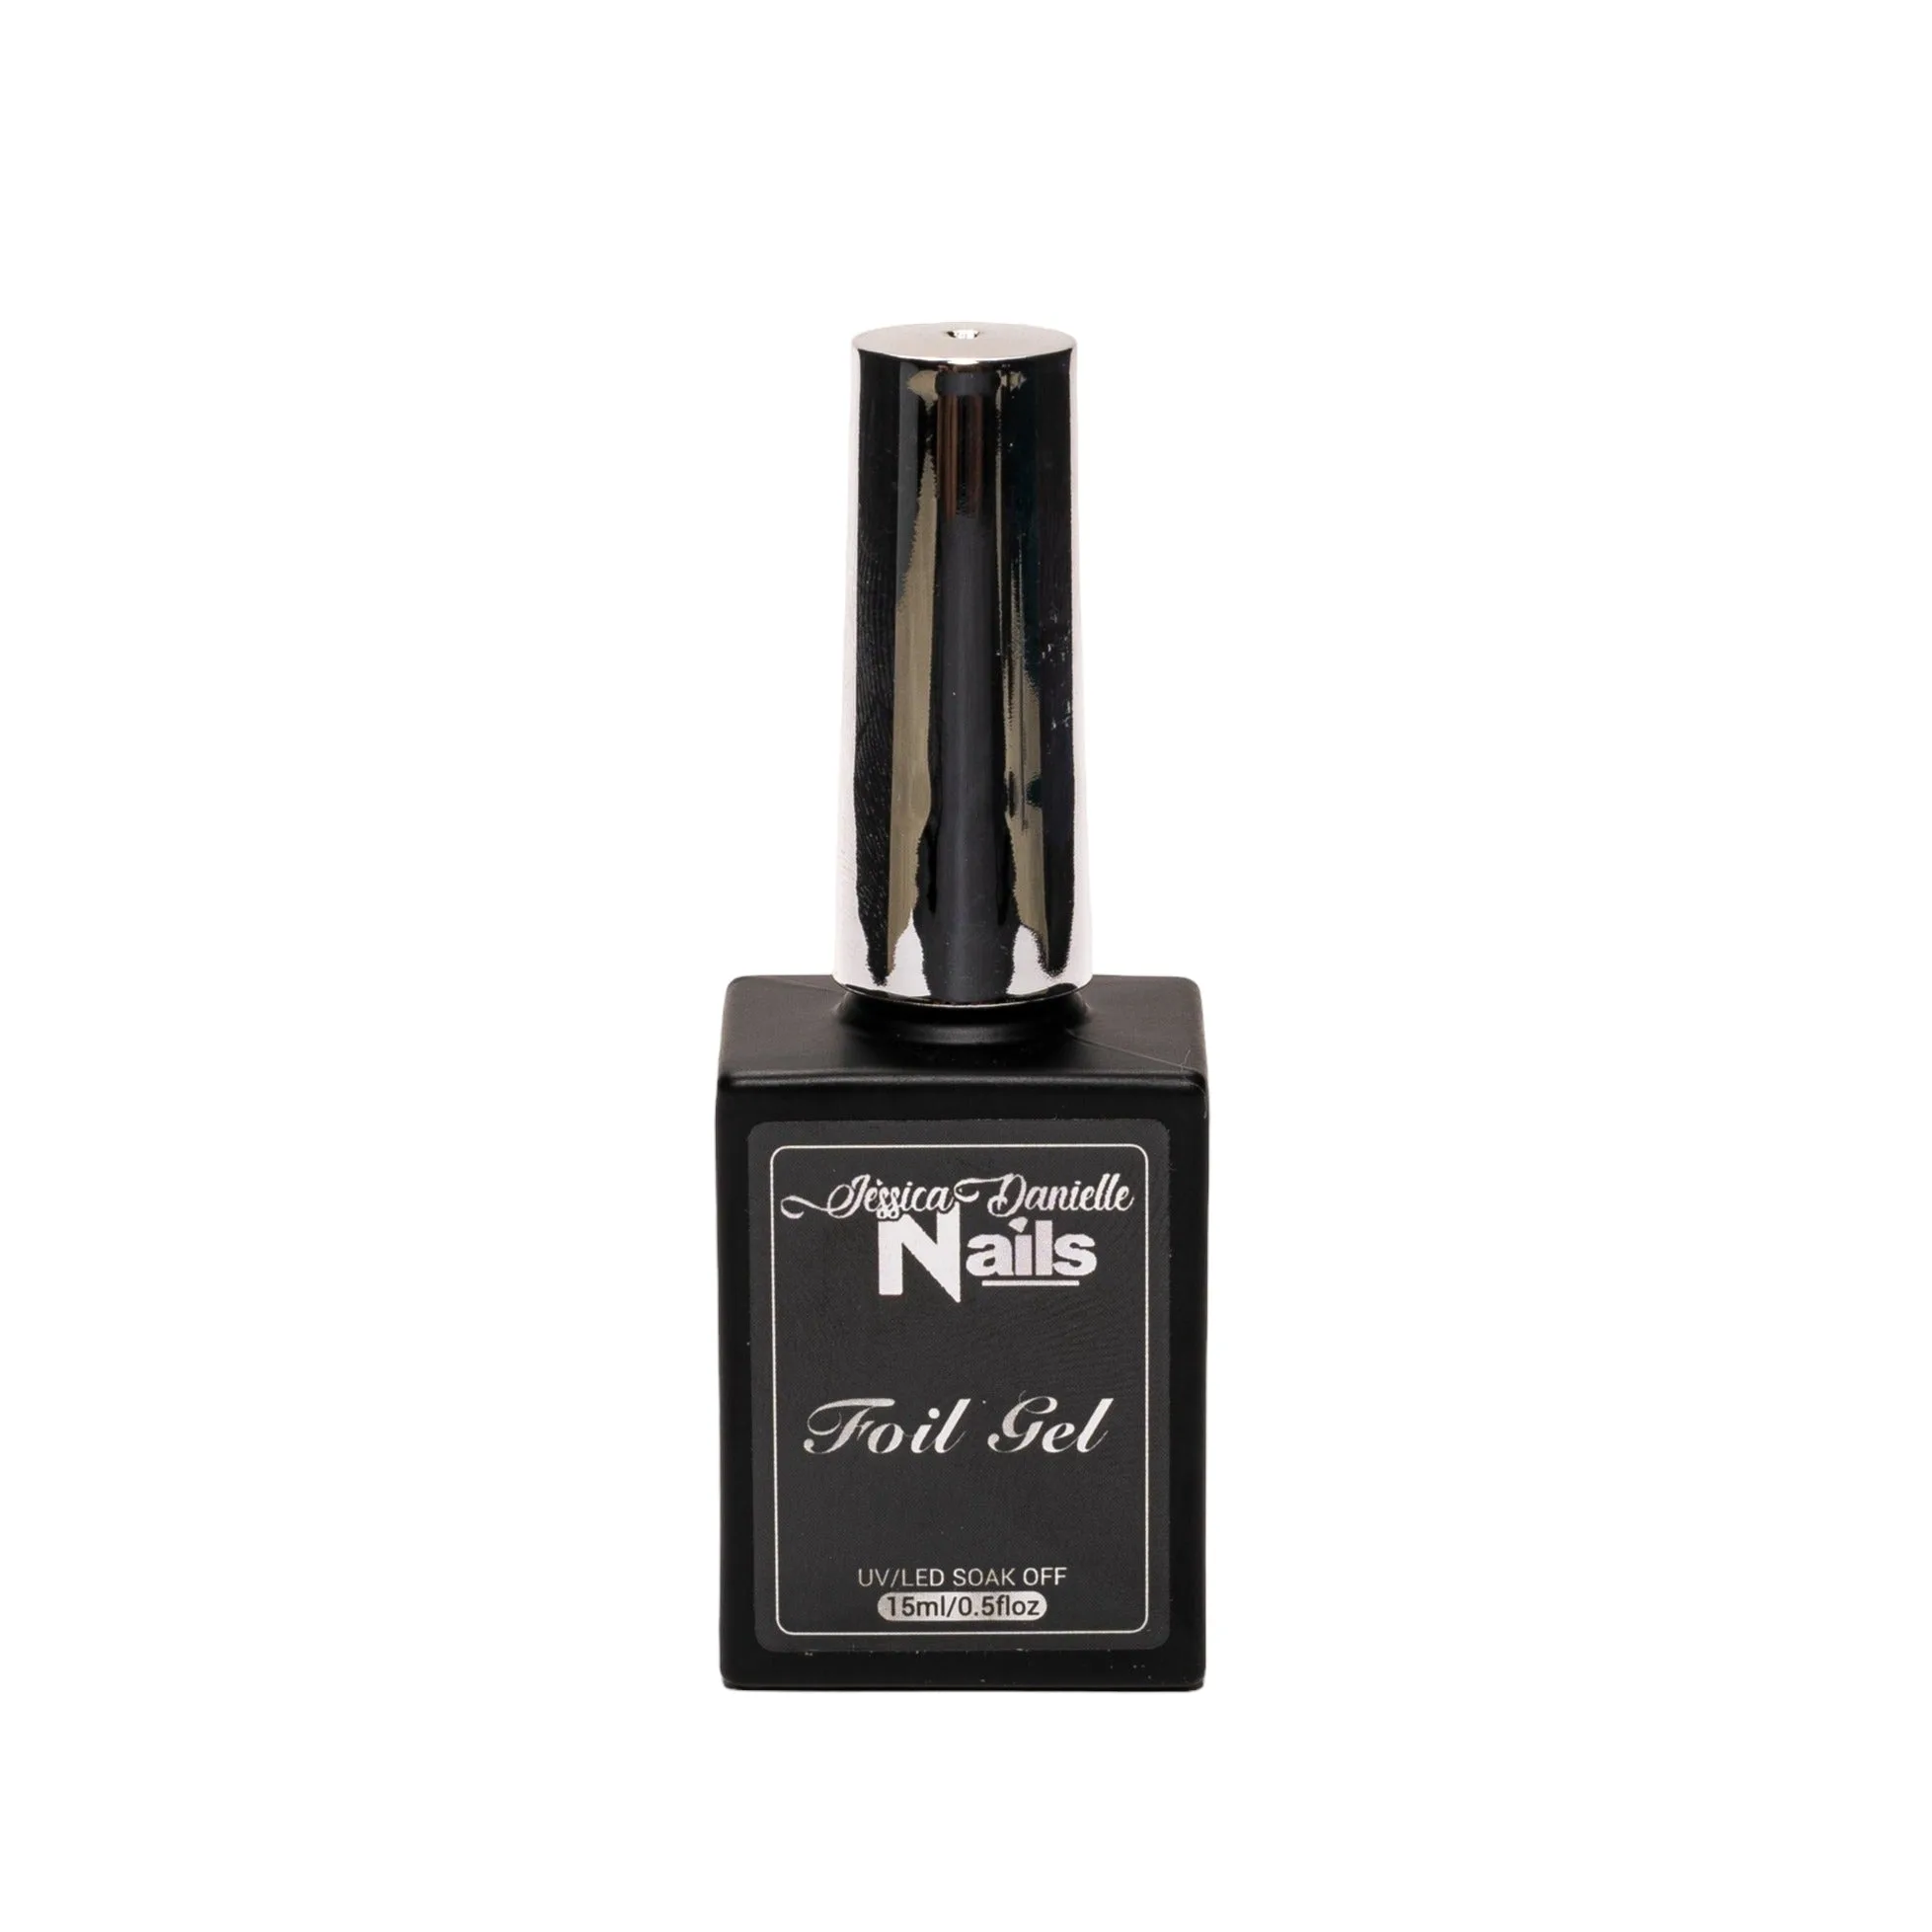
transfer foil gel
Foil nails look complicated because the transfer either works completely or barely at all. The good news is that the process is short, and almost every failure comes down to one of three things: the gel layer, the cure, or the pressure.
This foil nails tutorial walks through the full order of operations, from prep to top coat, with the checkpoint that catches each mistake before you waste a set. It is written for working techs and confident DIY users, since foil products like Foil-Butterflies are sold for professional use.
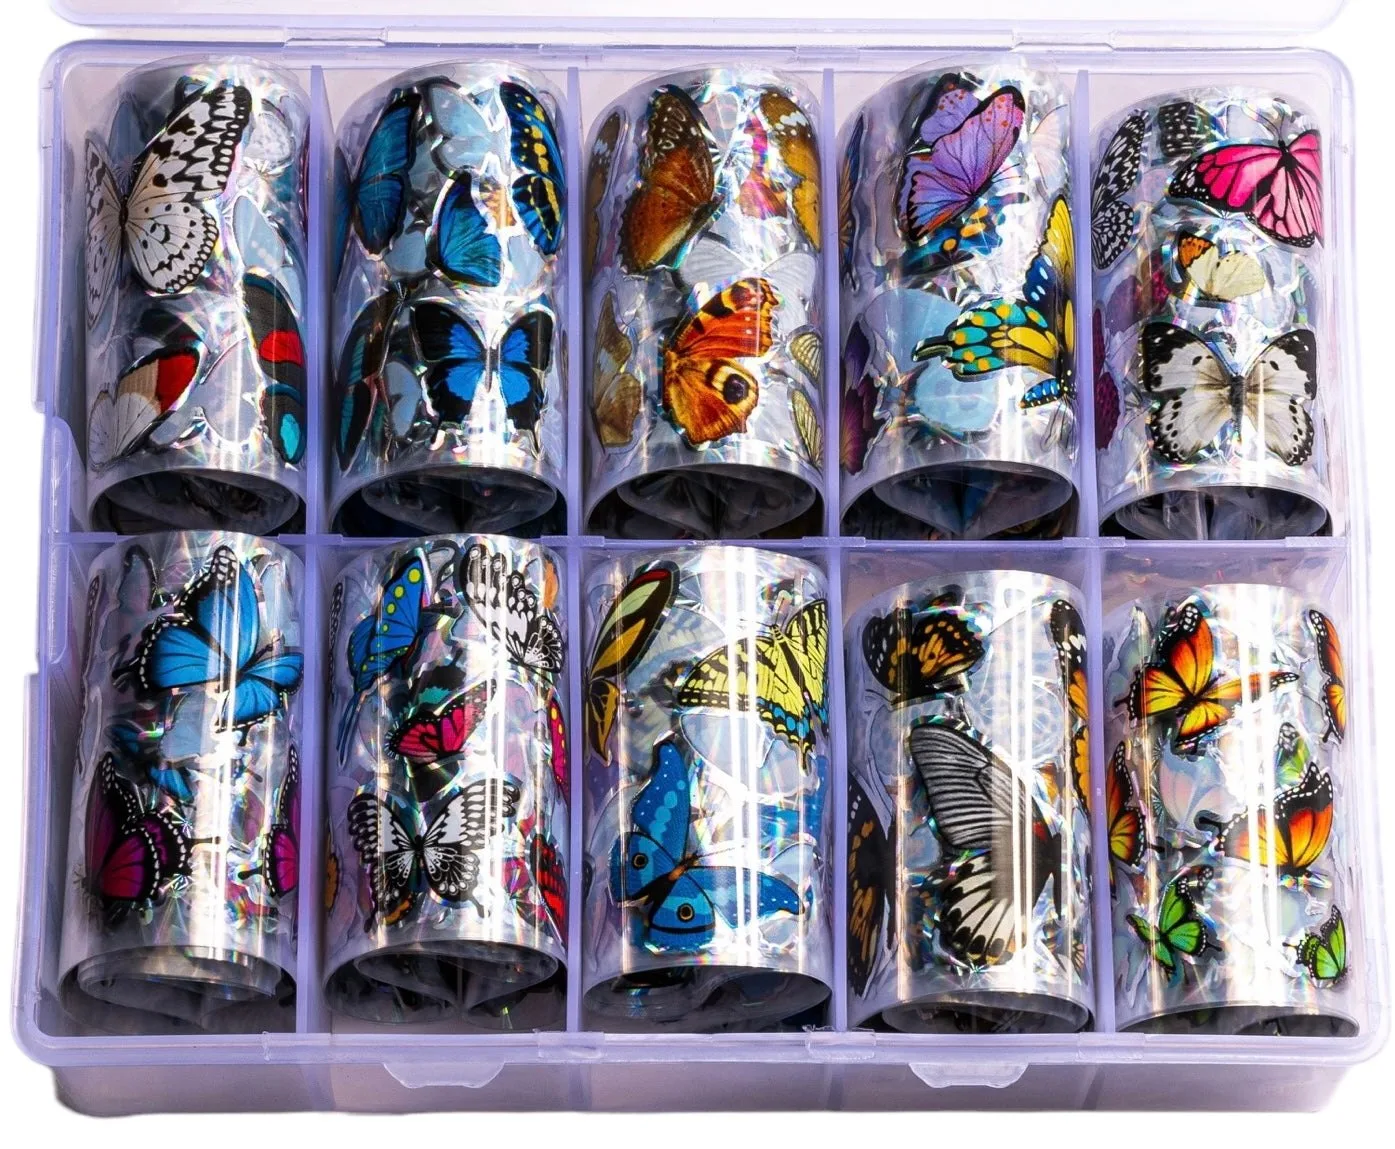
Foil-Butterflies
What You Need Before You Start
Transfer foil is not a polish and does not bond to bare or dry nails. It needs a tacky or gel layer underneath to grab the metallic film. That means your kit is built around gel: a transfer foil gel, a curing lamp, a top coat, and the foil itself. Foil-Butterflies is a butterfly-pattern transfer foil that applies over Jessica Danielle Nails Transfer Foil Gel cured for 180 seconds, then finishes with Diamond Top Coat.
You also want a silicone or foam pusher, a lint-free wipe, and a small brush for cleanup. If you plan to seal foil inside a full set, have your acrylic or builder gel products ready first. Foil sits best on a smooth, fully shaped surface, so any filing or shaping should be finished before the foil goes on.
- Work one nail at a time. Foil gel can lose its tack while you work on other fingers.
- Keep foil pieces larger than the nail so you have something to hold and press.
Step 1: Prep and Shape the Nail
Push back the cuticle, remove any non-living tissue, and lightly buff the natural nail so the base has something to grip. Wipe with a lint-free pad to remove dust and oils. If you are applying foil over an enhancement, file and shape the acrylic or builder gel now, then wipe again.
The surface you are foiling onto should be smooth. Ridges, dust, and leftover cuticle oil all show up as bare patches in the transfer, because the gel pools unevenly and the foil cannot reach the low spots.
- Checkpoint: the nail should look matte and clean, with no shine and no visible dust.
Step 2: Apply Transfer Foil Gel
Apply a thin, even layer of transfer foil gel over the area you want foiled. For a full nail, take it close to the cuticle and sidewalls without flooding them. For foil nail art, such as a French tip, a single stripe, or a half-moon, keep the gel inside your design lines and wipe the rest away with a clean brush before curing.
Thickness matters more than it seems. A layer that is too thin cures with almost no tack left, and the foil will barely transfer. A layer that is too thick cures unevenly and can lift later. Aim for the same thin, controlled coat you would use for gel polish color.
- Common mistake: brushing the gel past the design line, which leaves a faint foil shadow where you did not want one.
Step 3: Cure Fully
Cure the gel according to the product you are using. Foil-Butterflies specifies curing Jessica Danielle Nails Transfer Foil Gel for 180 seconds, so follow that timing rather than guessing from a shorter gel polish cycle. Under-curing leaves the layer wet and smeary; over-curing can kill the tack entirely.
If your lamp is older or you are curing a full hand at once, check that every nail sits in the same position as the others. A nail that sits at the edge of the lamp often cures less than the rest, and that is the nail that transfers patchily.
- Checkpoint: the gel should look set, not runny, and still feel slightly sticky to a light touch.
Step 4: Press and Rub the Foil
Place the foil pattern-side down on the cured gel, hold it steady, and rub with firm, short strokes using your finger or a silicone tool. Work from the center outward so trapped air has somewhere to escape. Rub for a couple of seconds, as the Foil-Butterflies instructions note, then peel the film back slowly from one corner.
Peel direction changes the look. Pulling straight up gives a clean edge; dragging the film sideways can smear the transfer and leave a streaky metallic finish. If a small area does not transfer, press the same piece back down and rub that spot again before reaching for a new sheet.
- Common mistake: rubbing too lightly. Foil needs pressure, not speed.
Step 5: Fix Gaps and Seal With Top Coat
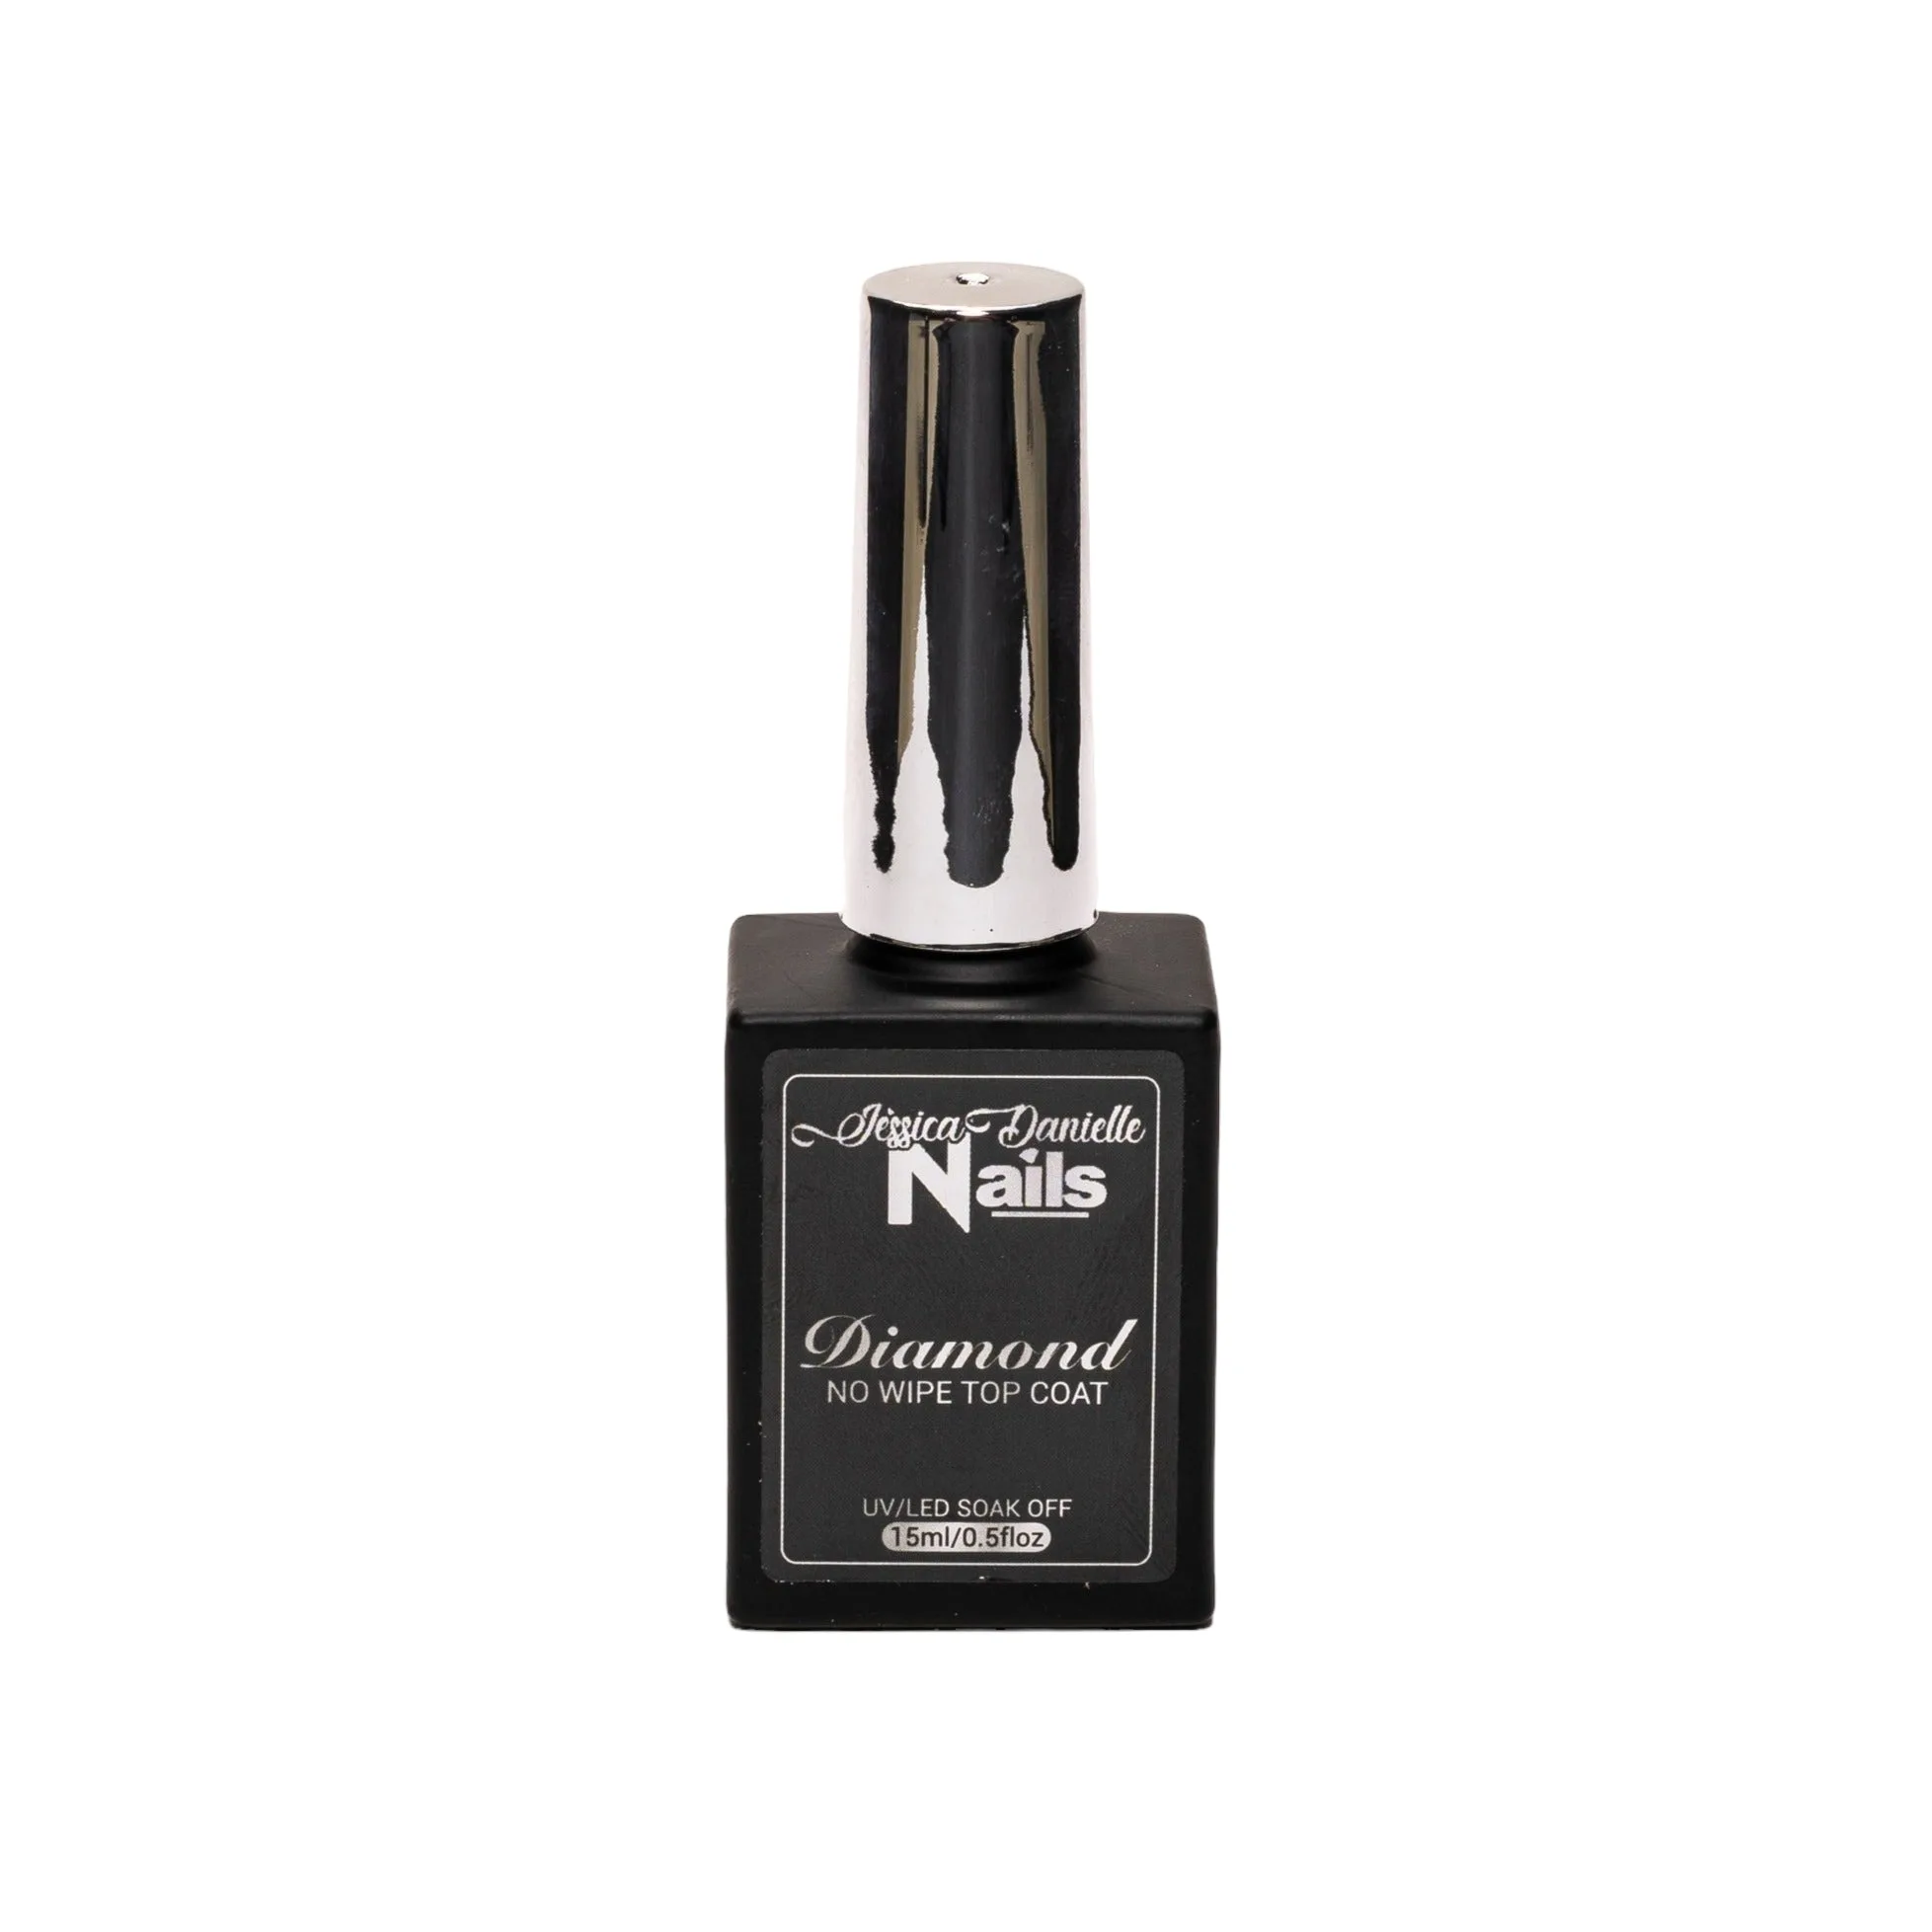
If you see bare spots, apply a little more transfer foil gel to just those areas, cure, and press a fresh piece of foil. Reusing a sheet that has already given up its pattern will not transfer cleanly. Once the design is even, seal it with a top coat. Foil-Butterflies pairs with Diamond Top Coat, which protects the metallic film from wear.
Cap the free edge with top coat and keep the coat thin. A heavy top coat over foil can dull the shine and, on flexible nails, crack at the tip. Foil has no thickness of its own, so the top coat is doing the entire protective job.
- Checkpoint: run a fingertip over the nail. Any rough edge means the foil is not fully sealed and will catch on fabric.
How to Use Foil in Nail Art
Once the basic transfer is reliable, foil becomes a design tool rather than a full-nail finish. Use it over a black base for high-contrast accents, or pair a butterfly foil with a soft milky white set so the pattern reads as a detail instead of a full statement. Foil also works well as an accent nail, which keeps the wear time longer because fewer nails take the stress of daily use.
Foil layers under other products too. You can foil a design, seal it, then build structure over it with acrylic or builder gel. Just keep the foil layer thin and fully top coated first, or the overlay will lift at the foil edge.
- Try foil over a cured gel color for a two-tone effect, or over a clear base for a pure metallic look.
Foil Application Checklist
- Prep and shape first: Push back cuticles, buff the nail, and wipe away dust and oil before any gel goes on. Checkpoint: a matte, clean surface with no shine.
- Apply a thin, even foil gel layer: Keep the gel inside your design lines and avoid flooding the cuticle or sidewalls. Common mistake: a layer so thin it cures with no tack left.
- Cure for the full time: Foil-Butterflies specifies 180 seconds under the lamp with Transfer Foil Gel. Checkpoint: set, not runny, and still slightly sticky.
- Press and rub with firm pressure: Lay the foil pattern-side down, rub from the center outward for a couple of seconds, then peel slowly. Common mistake: rubbing too lightly and getting a patchy transfer.
- Patch gaps, then seal: Reapply gel and foil to bare spots, then finish with Diamond Top Coat and cap the free edge. Checkpoint: no rough edges that catch on fabric.
Products Used in This Tutorial
- Foil-Butterflies: Apply Jessica Danielle Nails Transfer Foil Gel and cure for 180 seconds, press foil on the nail and rub for a couple seconds, then top coat with Diamond Top Coat. Sold for professional use. The 180-second cure is longer than a typical gel polish cycle, so following it exactly is what keeps the tack alive for a full transfer.
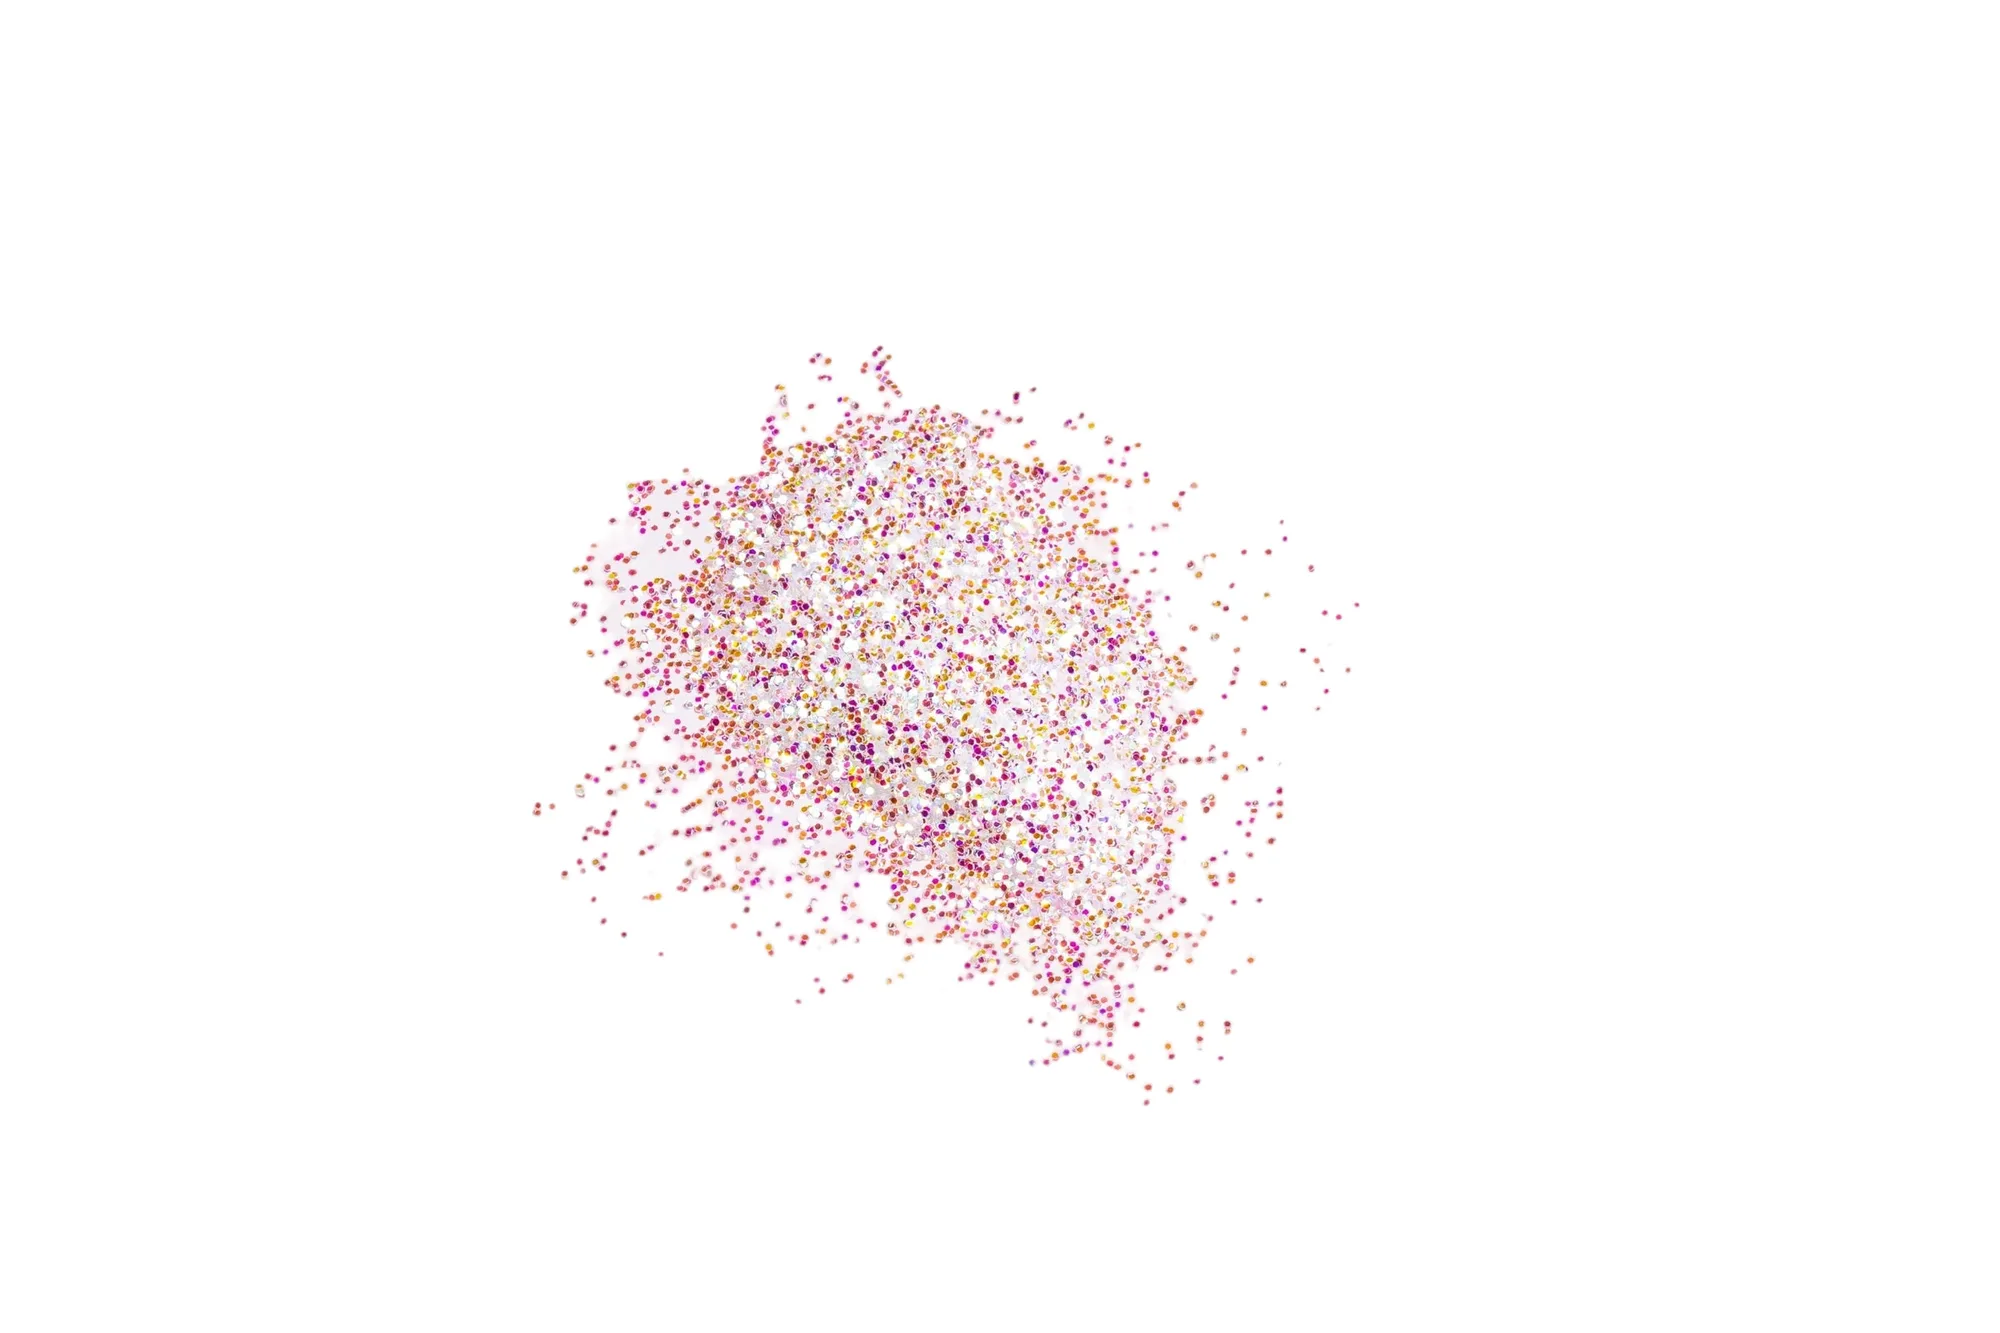
- Sugared Rim Glitter #1: Comes in a 10 gram jar with a little room to avoid excess spillage. Apply over a cured base coat or gel polish, then seal with Diamond Top Coat and cure 1-2 minutes. Sold for professional use. A useful companion when you want texture next to foil, since both finishes are sealed with the same top coat.
- Black Gel Nail Polish (HEMA Free): A true jet-black gel polish with rich coverage in one to two coats that cures under UV and LED lamps. A black base makes metallic foil patterns stand out and gives you a clean contrast line for French tips or accent nails.
Foil rewards patience more than skill. Control the gel thickness, respect the full cure time, and press with real pressure, and the transfer will come off the film cleanly almost every time. Start with one accent nail, get the feel for it, then move to full sets.