Quick answer
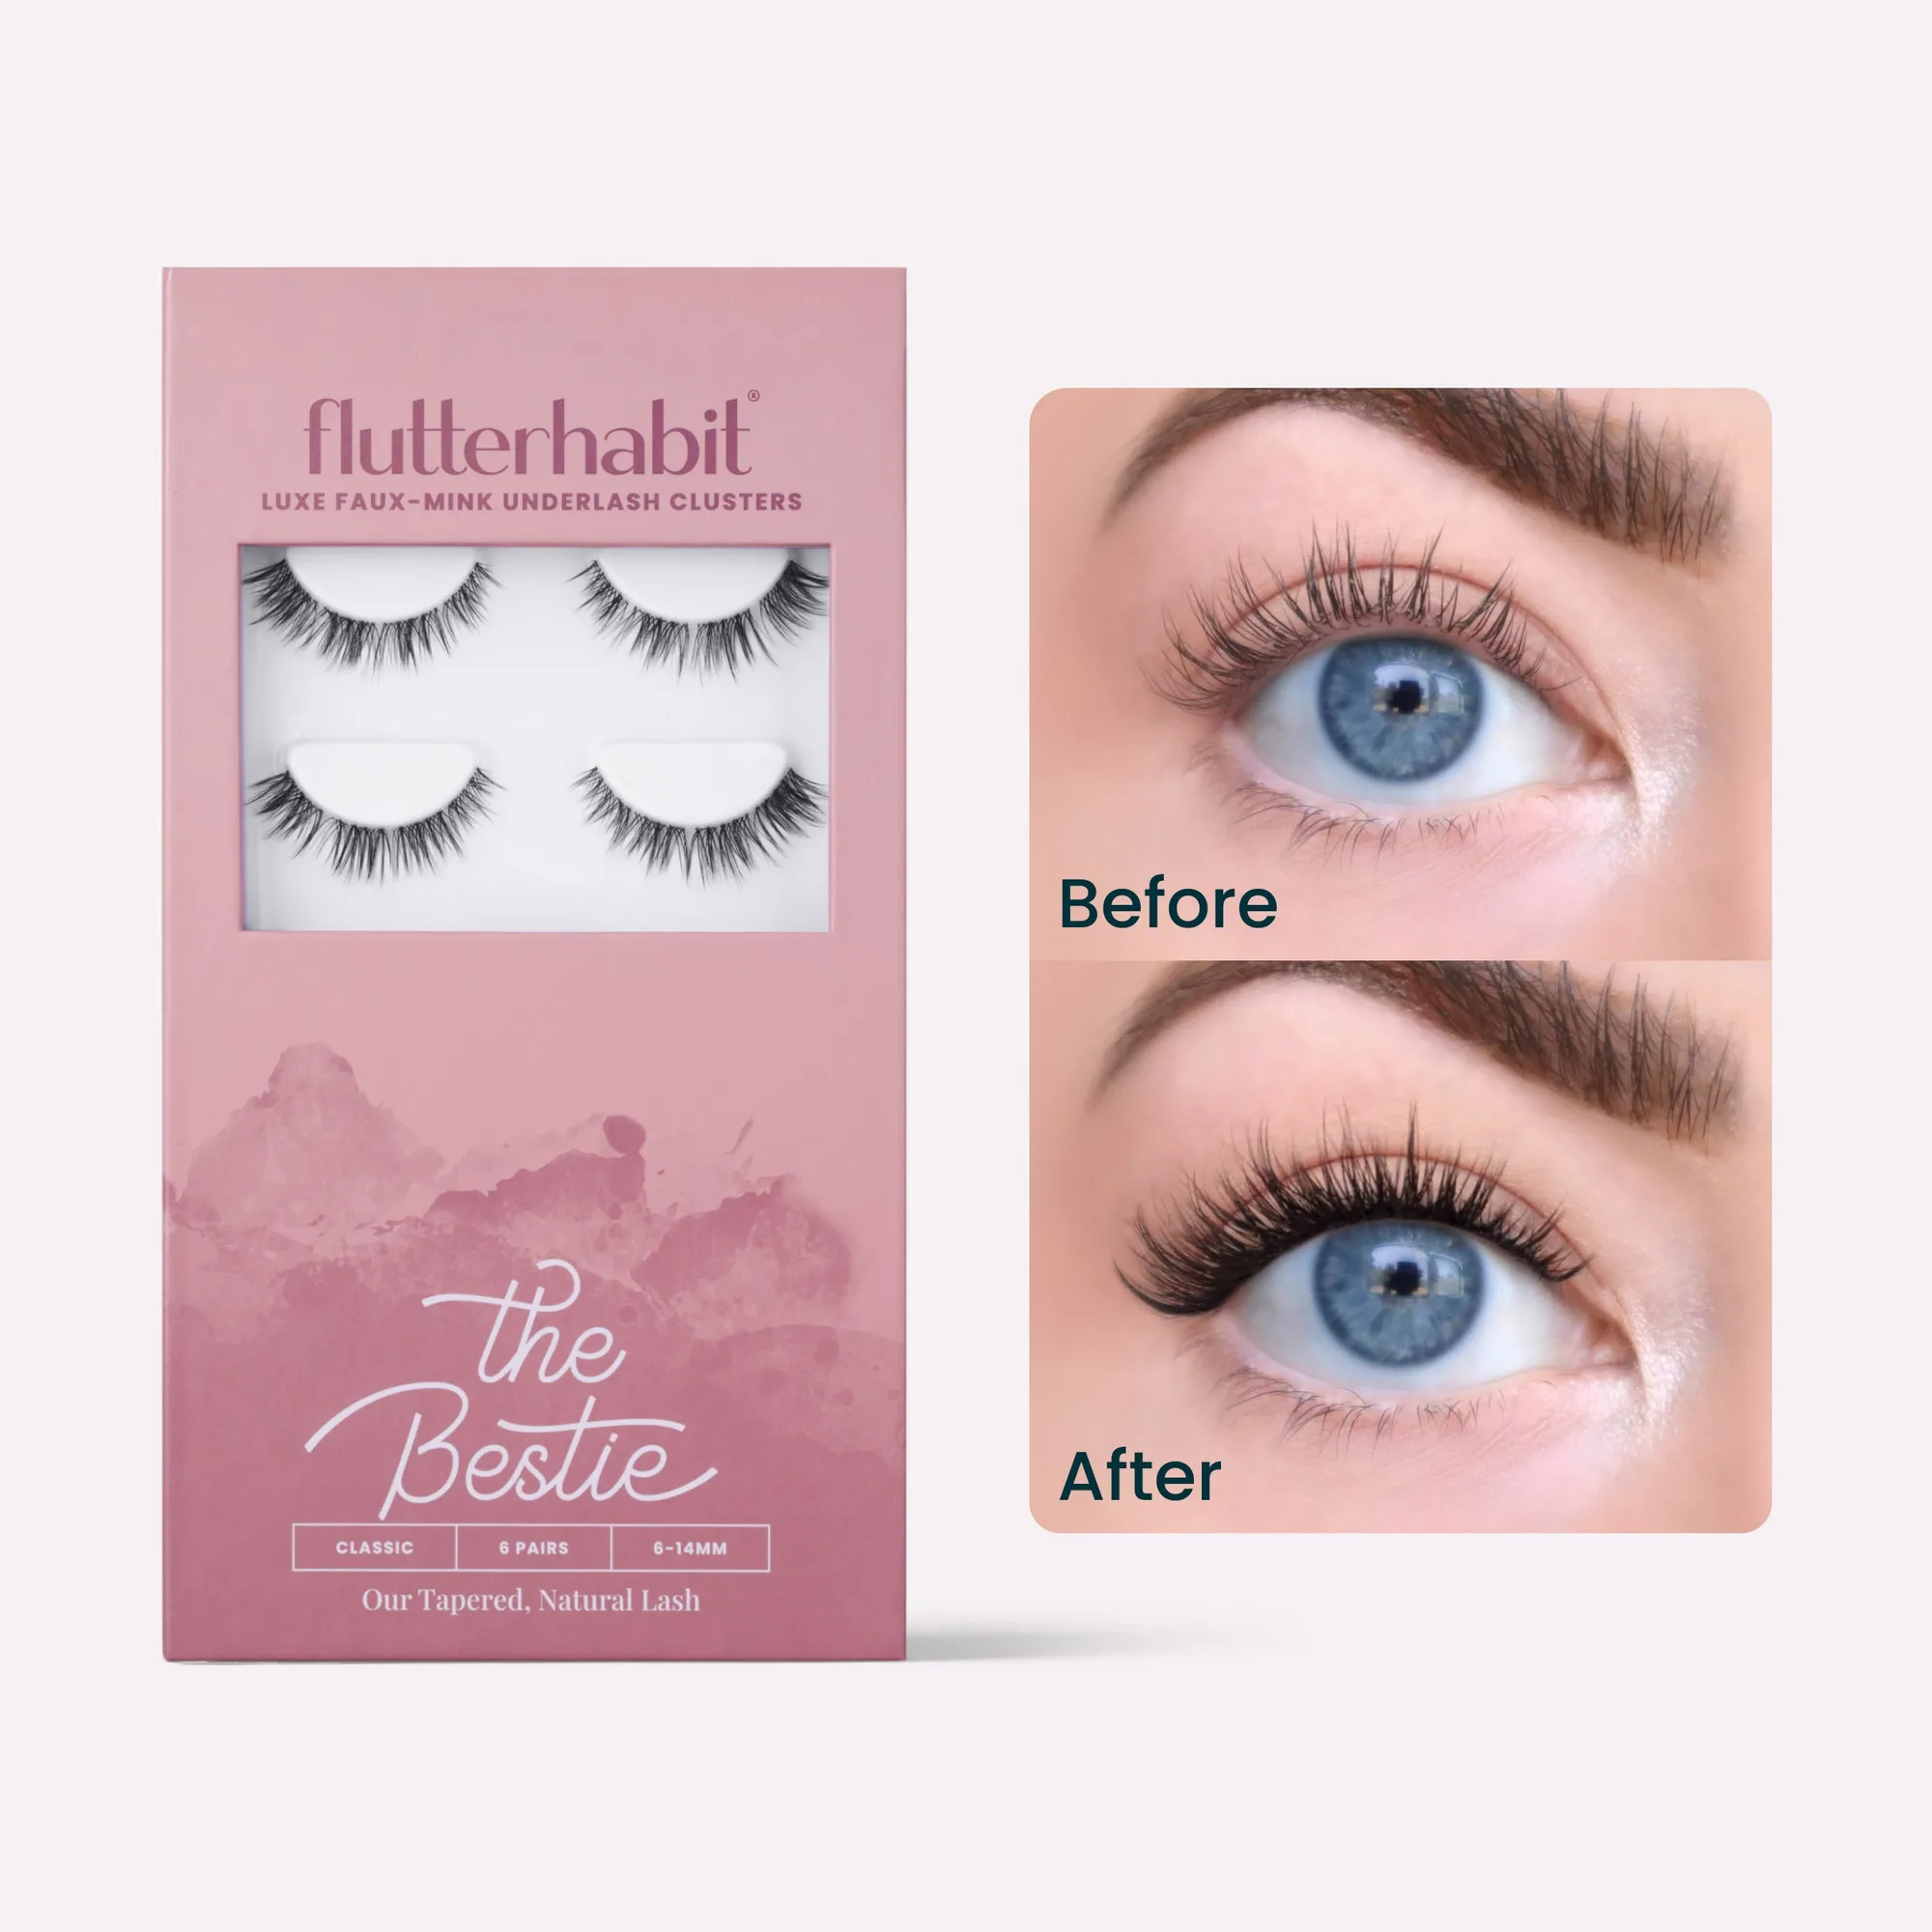
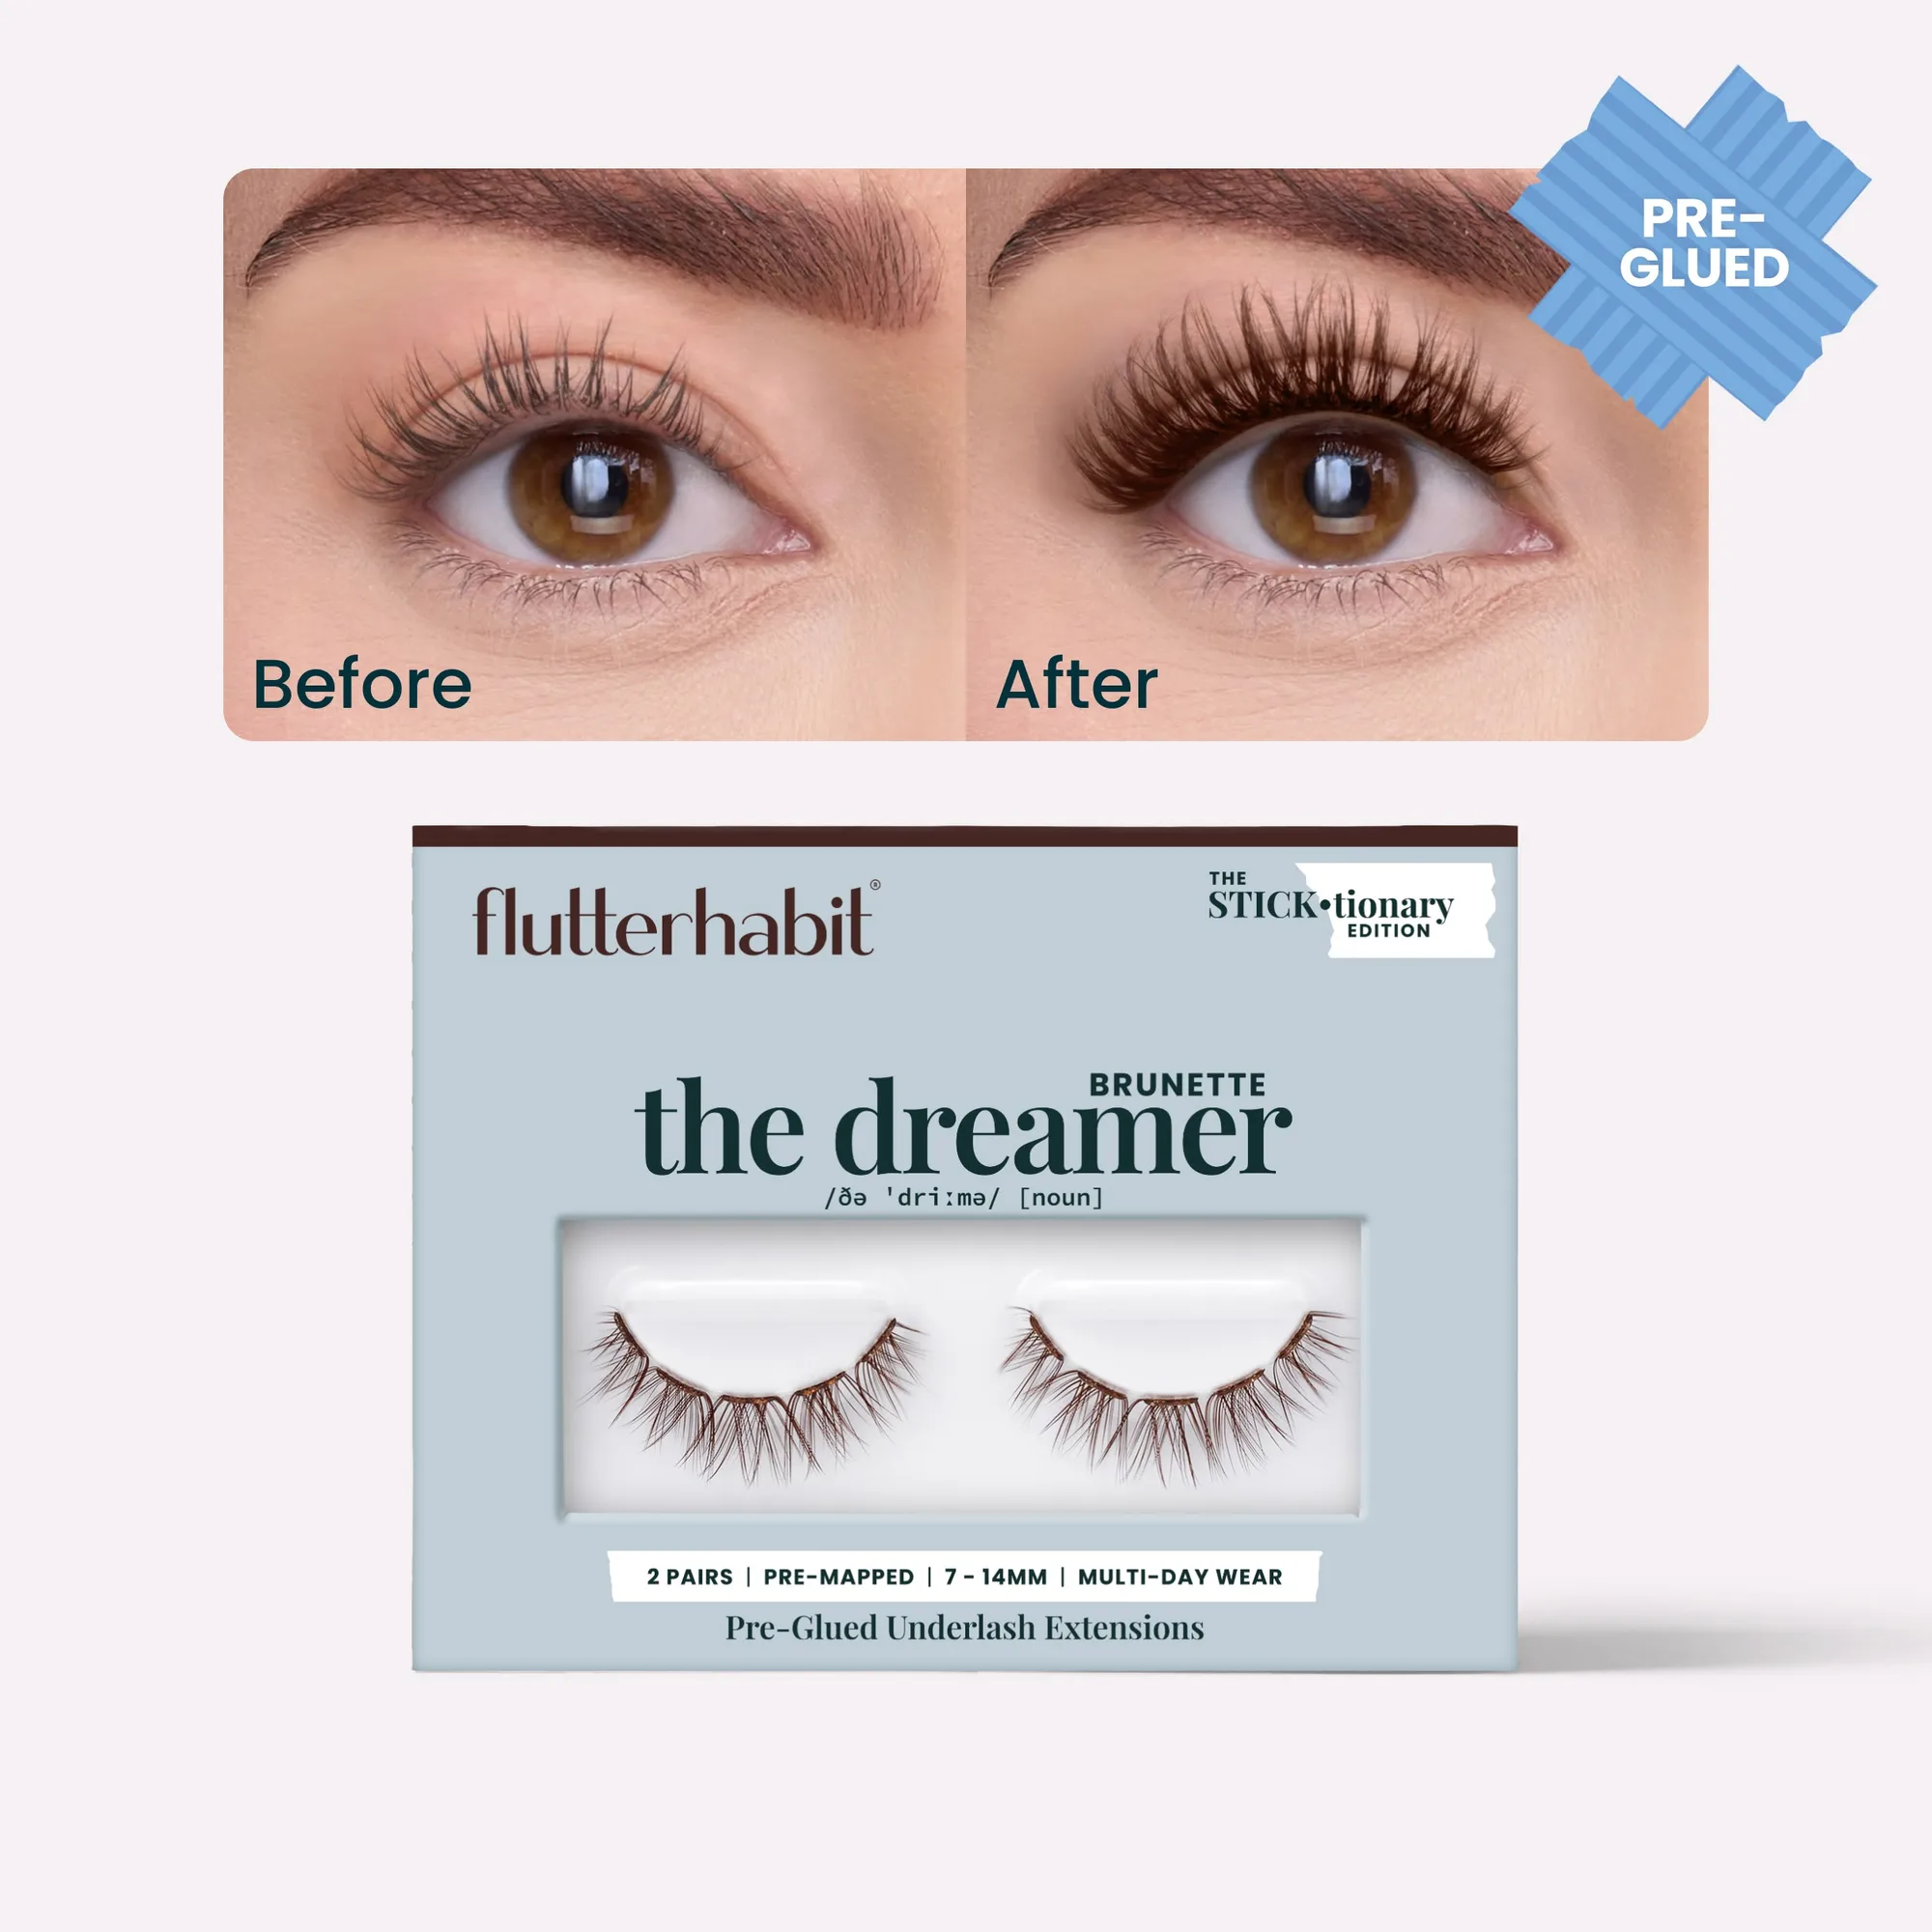
Applying pre-glued individual lashes gives you full volume without the mess of traditional glue. Choose Full Volume or Chocolate Wispy clusters and press them onto your lash line using the built-in adhesive band.
Why pre-glued individuals are a game-changer
Traditional strip lashes require glue that can be messy, take time to dry, and may irritate sensitive eyes. Pre-glued individual lashes eliminate these issues with a custom-made adhesive band already attached to each cluster. You simply press them on—no drying time, no learning curve. This makes them ideal for quick DIY volume at home.
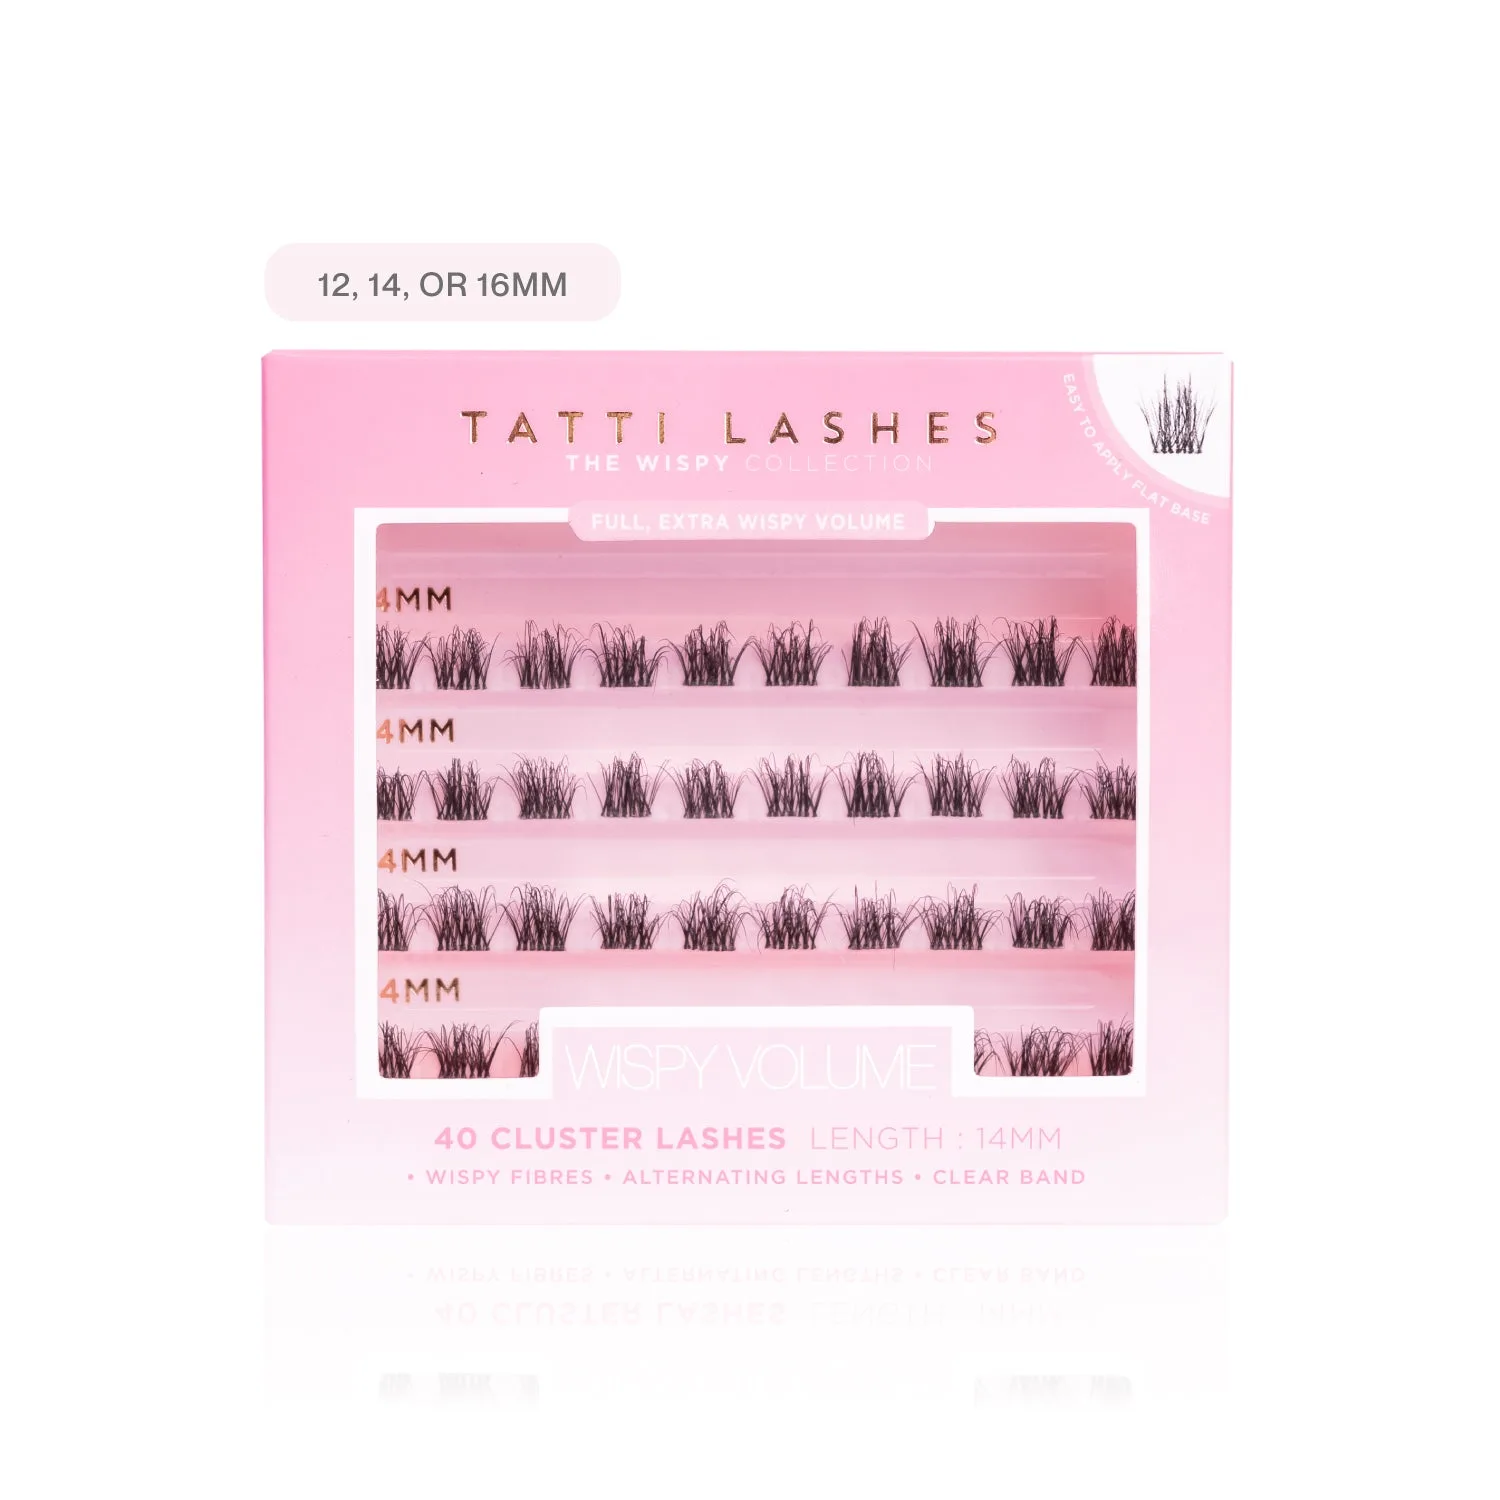
The two most popular options for a full-volume look are Full Volume Pre-Glued Individuals and Chocolate Wispy Volume Pre-Glued Individuals. Both use the same 1-Step Press™ technology but differ in effect: Full Volume delivers dense, defined volume, while Chocolate Wispy offers a softer, wispier finish with a brown shade that blends naturally on lighter complexions.
Choosing between Full Volume and Chocolate Wispy
Your choice depends on the look you want and your natural lash color. Full Volume Pre-Glued Individuals are perfect if you're aiming for a dramatic, seamless glam look with maximum definition—think Russian Volume in seconds. They work well with dark lashes and bold eye makeup.
Chocolate Wispy Volume Pre-Glued Individuals are better for a softer, warmer look. The chocolate brown shade is less harsh than black, making it ideal for lighter complexions or when you want a natural but voluminous effect. The wispy clusters add length and volume while blending seamlessly.
Step-by-step application for pre-glued individuals
- Prepare your natural lashes: Curl your natural lashes and apply a coat of mascara if desired. This gives the clusters a base to grip and helps them blend seamlessly. Skipping the curl can make the clusters look separate from your natural lashes.
- Select and remove a cluster: Pick a cluster from the tray using tweezers. Gently peel it off—the pre-glued band is already attached. Start with a shorter cluster near the inner corner for a natural gradient. Always remove the cluster by the band, not the hairs, to avoid damaging the adhesive.
- Press onto the lash line: Place the cluster directly above your natural lashes, as close to the lash line as possible. Press down firmly with the tweezers or your fingertip for 5-10 seconds. The 1-Step Press™ band activates with heat and pressure. Do not apply additional glue—the pre-glued band is all you need. Pressing too lightly may cause the cluster to lift later.
- Repeat across the lash line: Continue adding clusters, working from inner to outer corner. Use longer clusters toward the outer edge for a winged effect. Space them evenly to avoid gaps. Overlapping clusters can create clumps. Leave a small gap between each cluster for a natural look.
- Blend and set: Once all clusters are applied, gently press your natural lashes into the clusters using your fingers or a lash comb. This melds them together for a seamless finish. If you used mascara, let it dry completely before pressing to avoid smudging.
Products used in this guide
-
Full Volume Pre-Glued Individuals: Full Volume delivers immediate volume and definition without heaviness, using a pre-glued 1-Step Press™ band. You get a Russian Volume look in seconds with no glue mess or drying time.
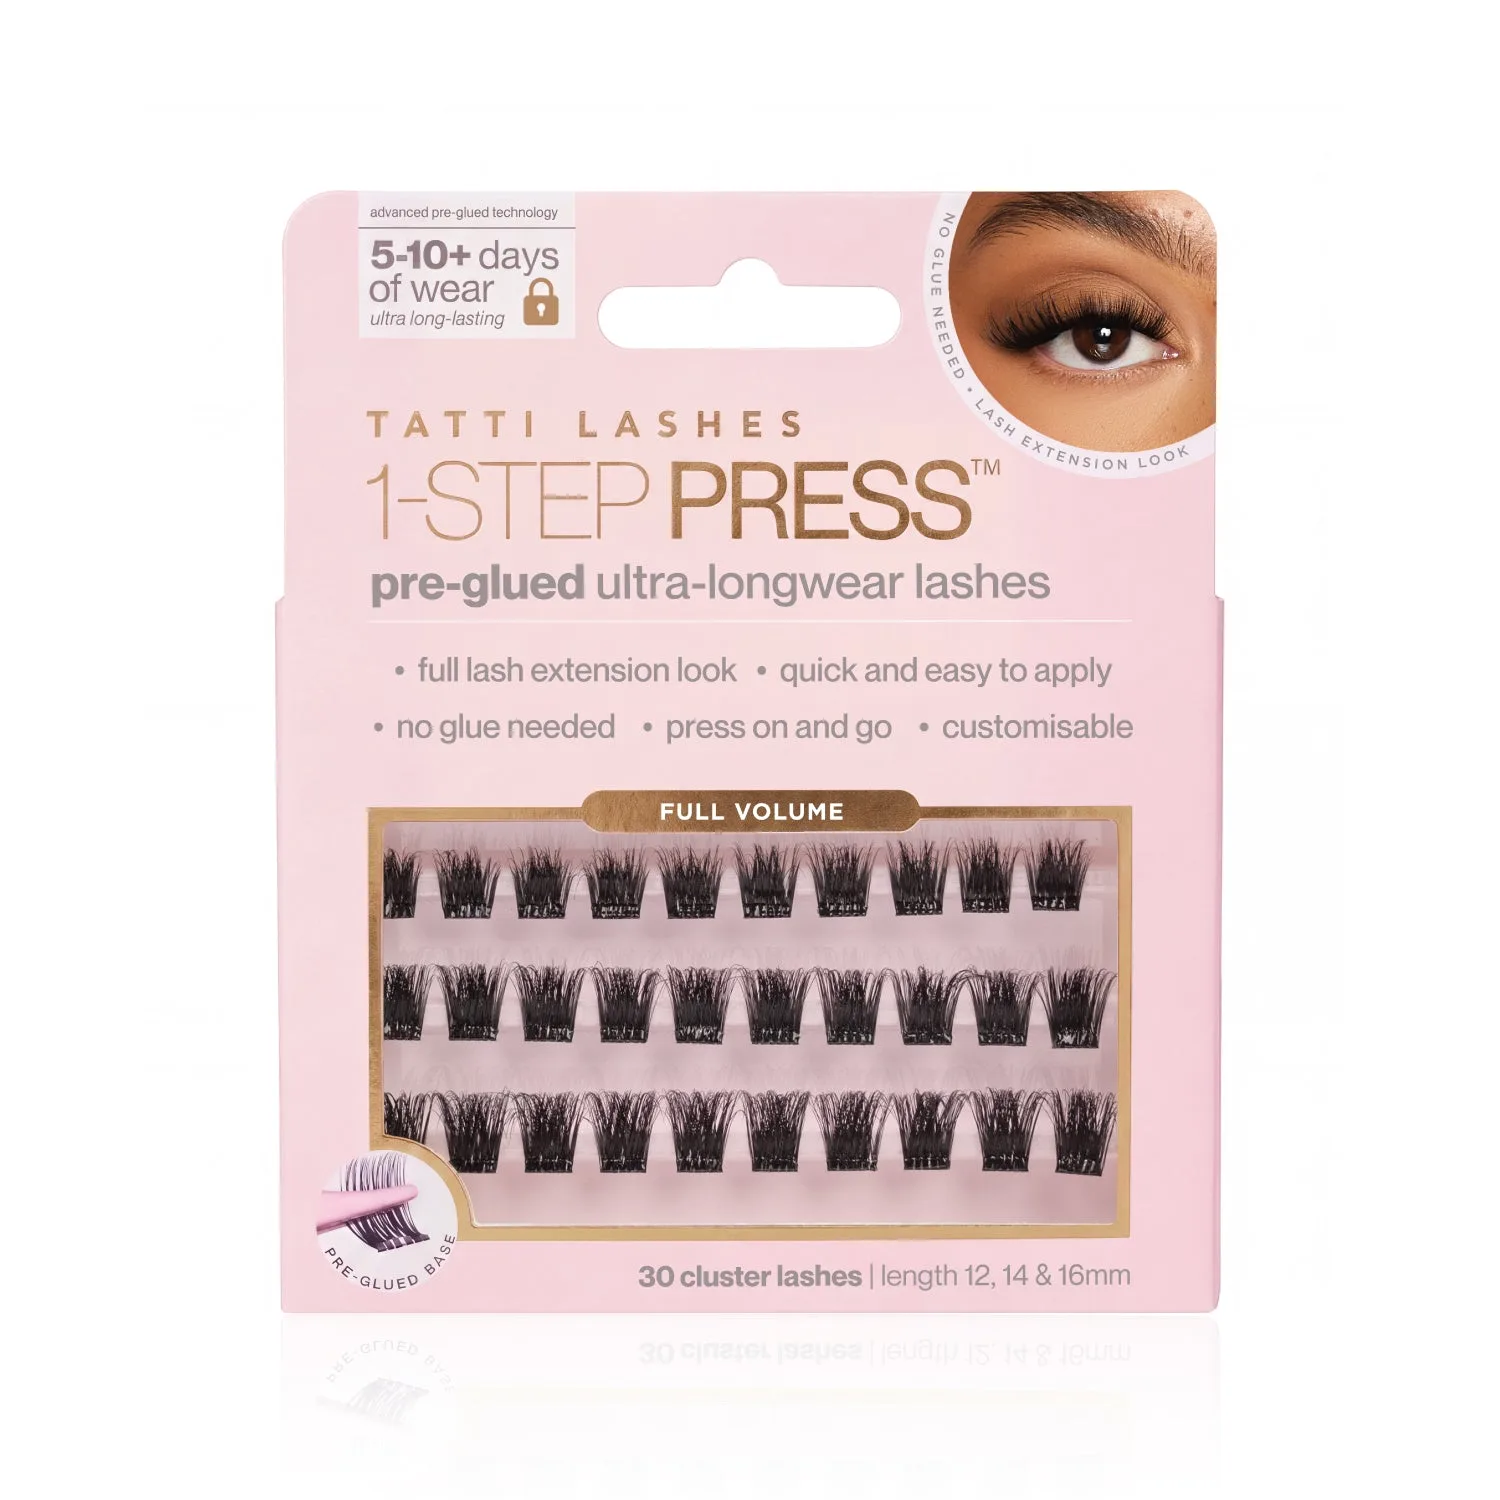
Full Volume Pre-Glued Individuals
-
Chocolate Wispy Volume Pre-Glued Individuals: Chocolate Wispy features a chocolate brown shade that blends seamlessly for a softer, warm finish. Ideal for lighter complexions or when black lashes look too harsh, while still adding volume and length.
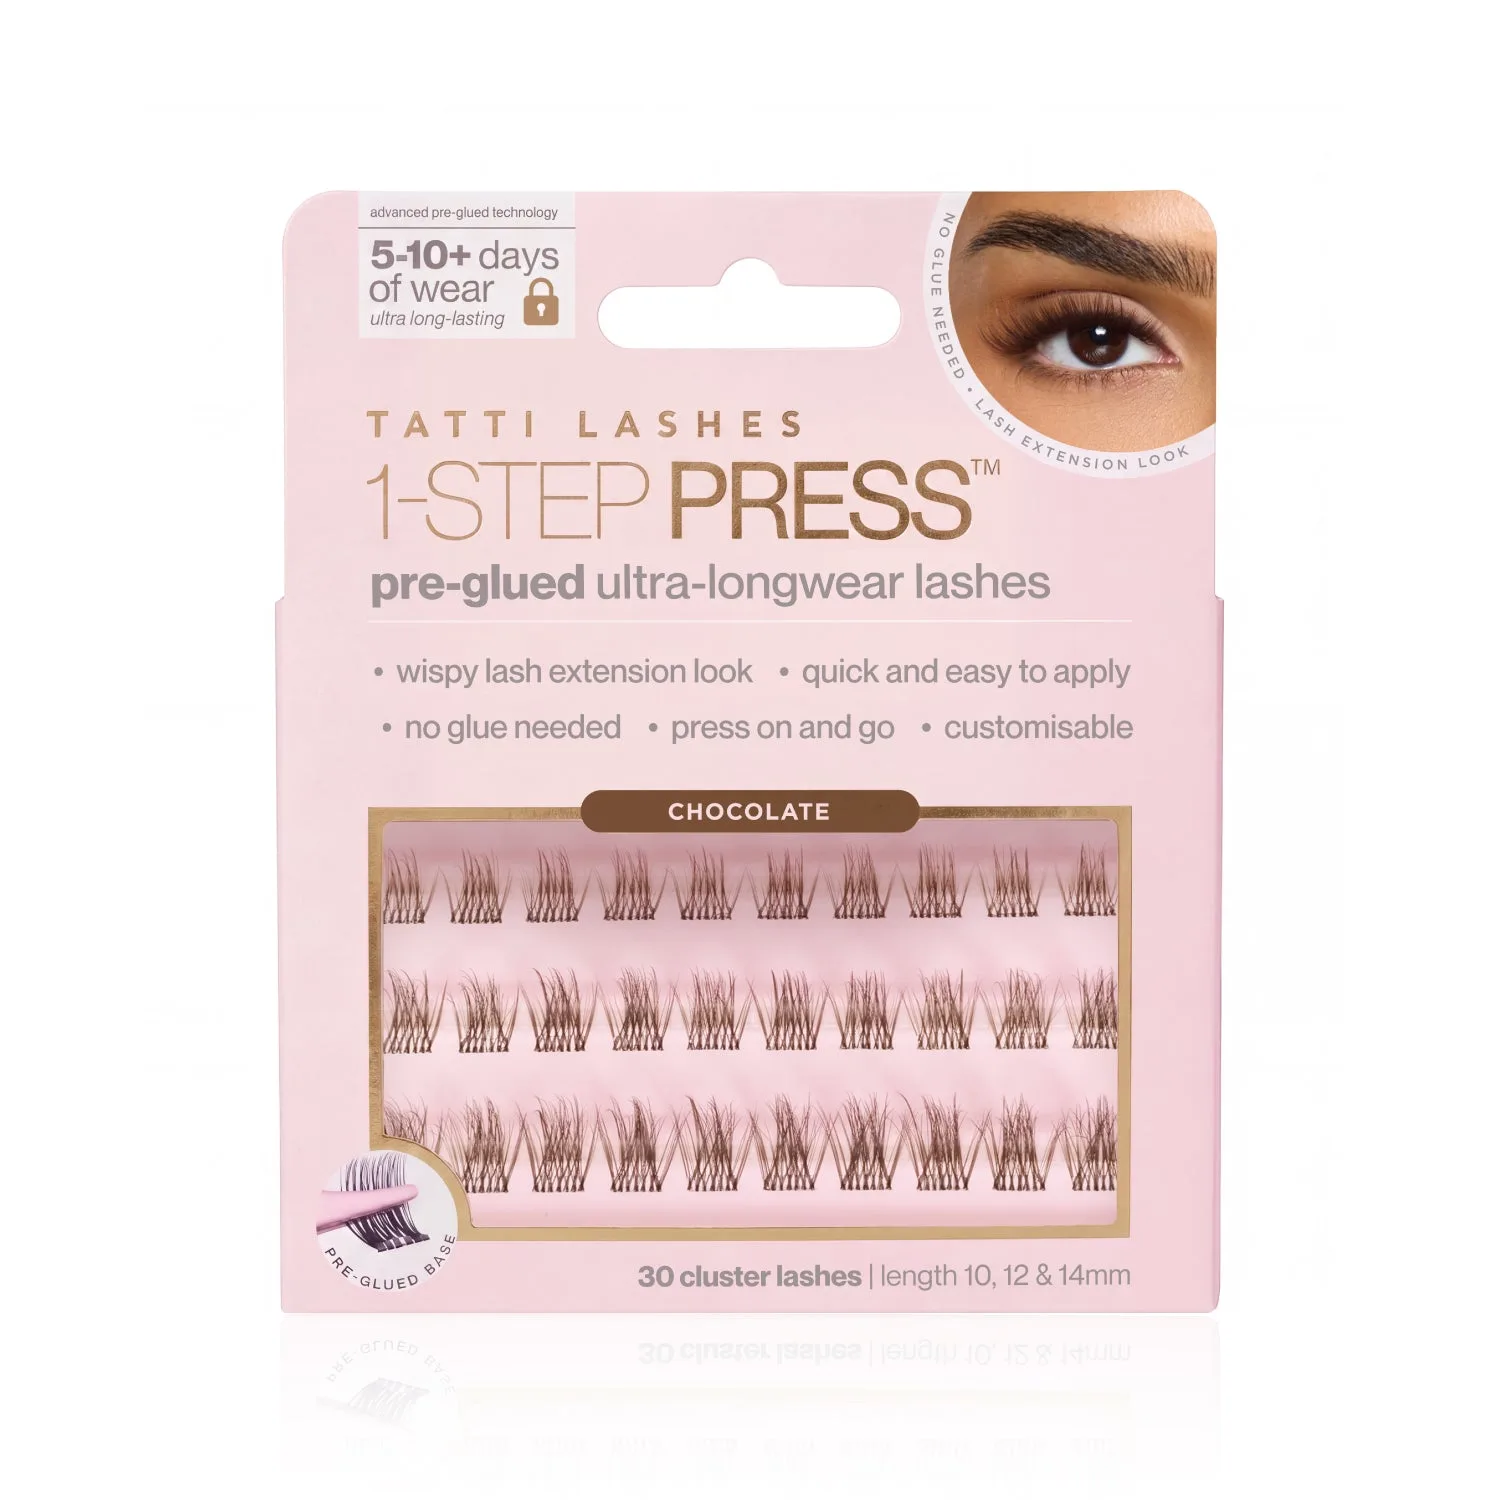
Chocolate Wispy Volume Pre-Glued Individuals