Quick Answer
To apply pre-glued lashes with the ProTECHt tool, start with clean, dry natural lashes. Use the tool to gently lift a lash segment from the tray, then place it under your natural lashes, close to the waterline. Press and hold for a few seconds to secure. The ProTECHt tool's precision tip helps you position the lash accurately without touching the adhesive, ensuring a comfortable, all-day hold.
Why the ProTECHt Tool Makes Pre-Glued Lashes Easier
The ProTECHt tool is designed to simplify pre-glued lash application. Its curved tip mimics the shape of your eye, allowing you to place lashes precisely under your natural lashes without direct finger contact. This reduces the risk of smudging the adhesive and helps you achieve a clean, natural finish. Unlike traditional tweezers, the ProTECHt tool gives you better control and visibility, especially when working with the inner and outer corners.
Preparing Your Natural Lashes and the ProTECHt Tool
Before you begin, ensure your natural lashes are clean and completely dry. Any oil or makeup residue can weaken the adhesive bond. If you use a lash conditioner, apply it at least an hour before or skip it on application day. Next, sanitize the ProTECHt tool with a lint-free wipe and allow it to dry. This prevents any bacteria transfer and keeps the tool's tip clean for optimal pickup.
Step-by-Step: Applying Pre-Glued Lashes with the ProTECHt Tool
- Step 1: Clean and Prep Your Natural Lashes: Wash your face and gently cleanse your natural lashes with a mild, oil-free cleanser. Pat dry with a lint-free cloth and ensure lashes are completely dry before application. Mistake to avoid: Skipping this step or using oily products can prevent the adhesive from bonding properly, leading to premature lifting.
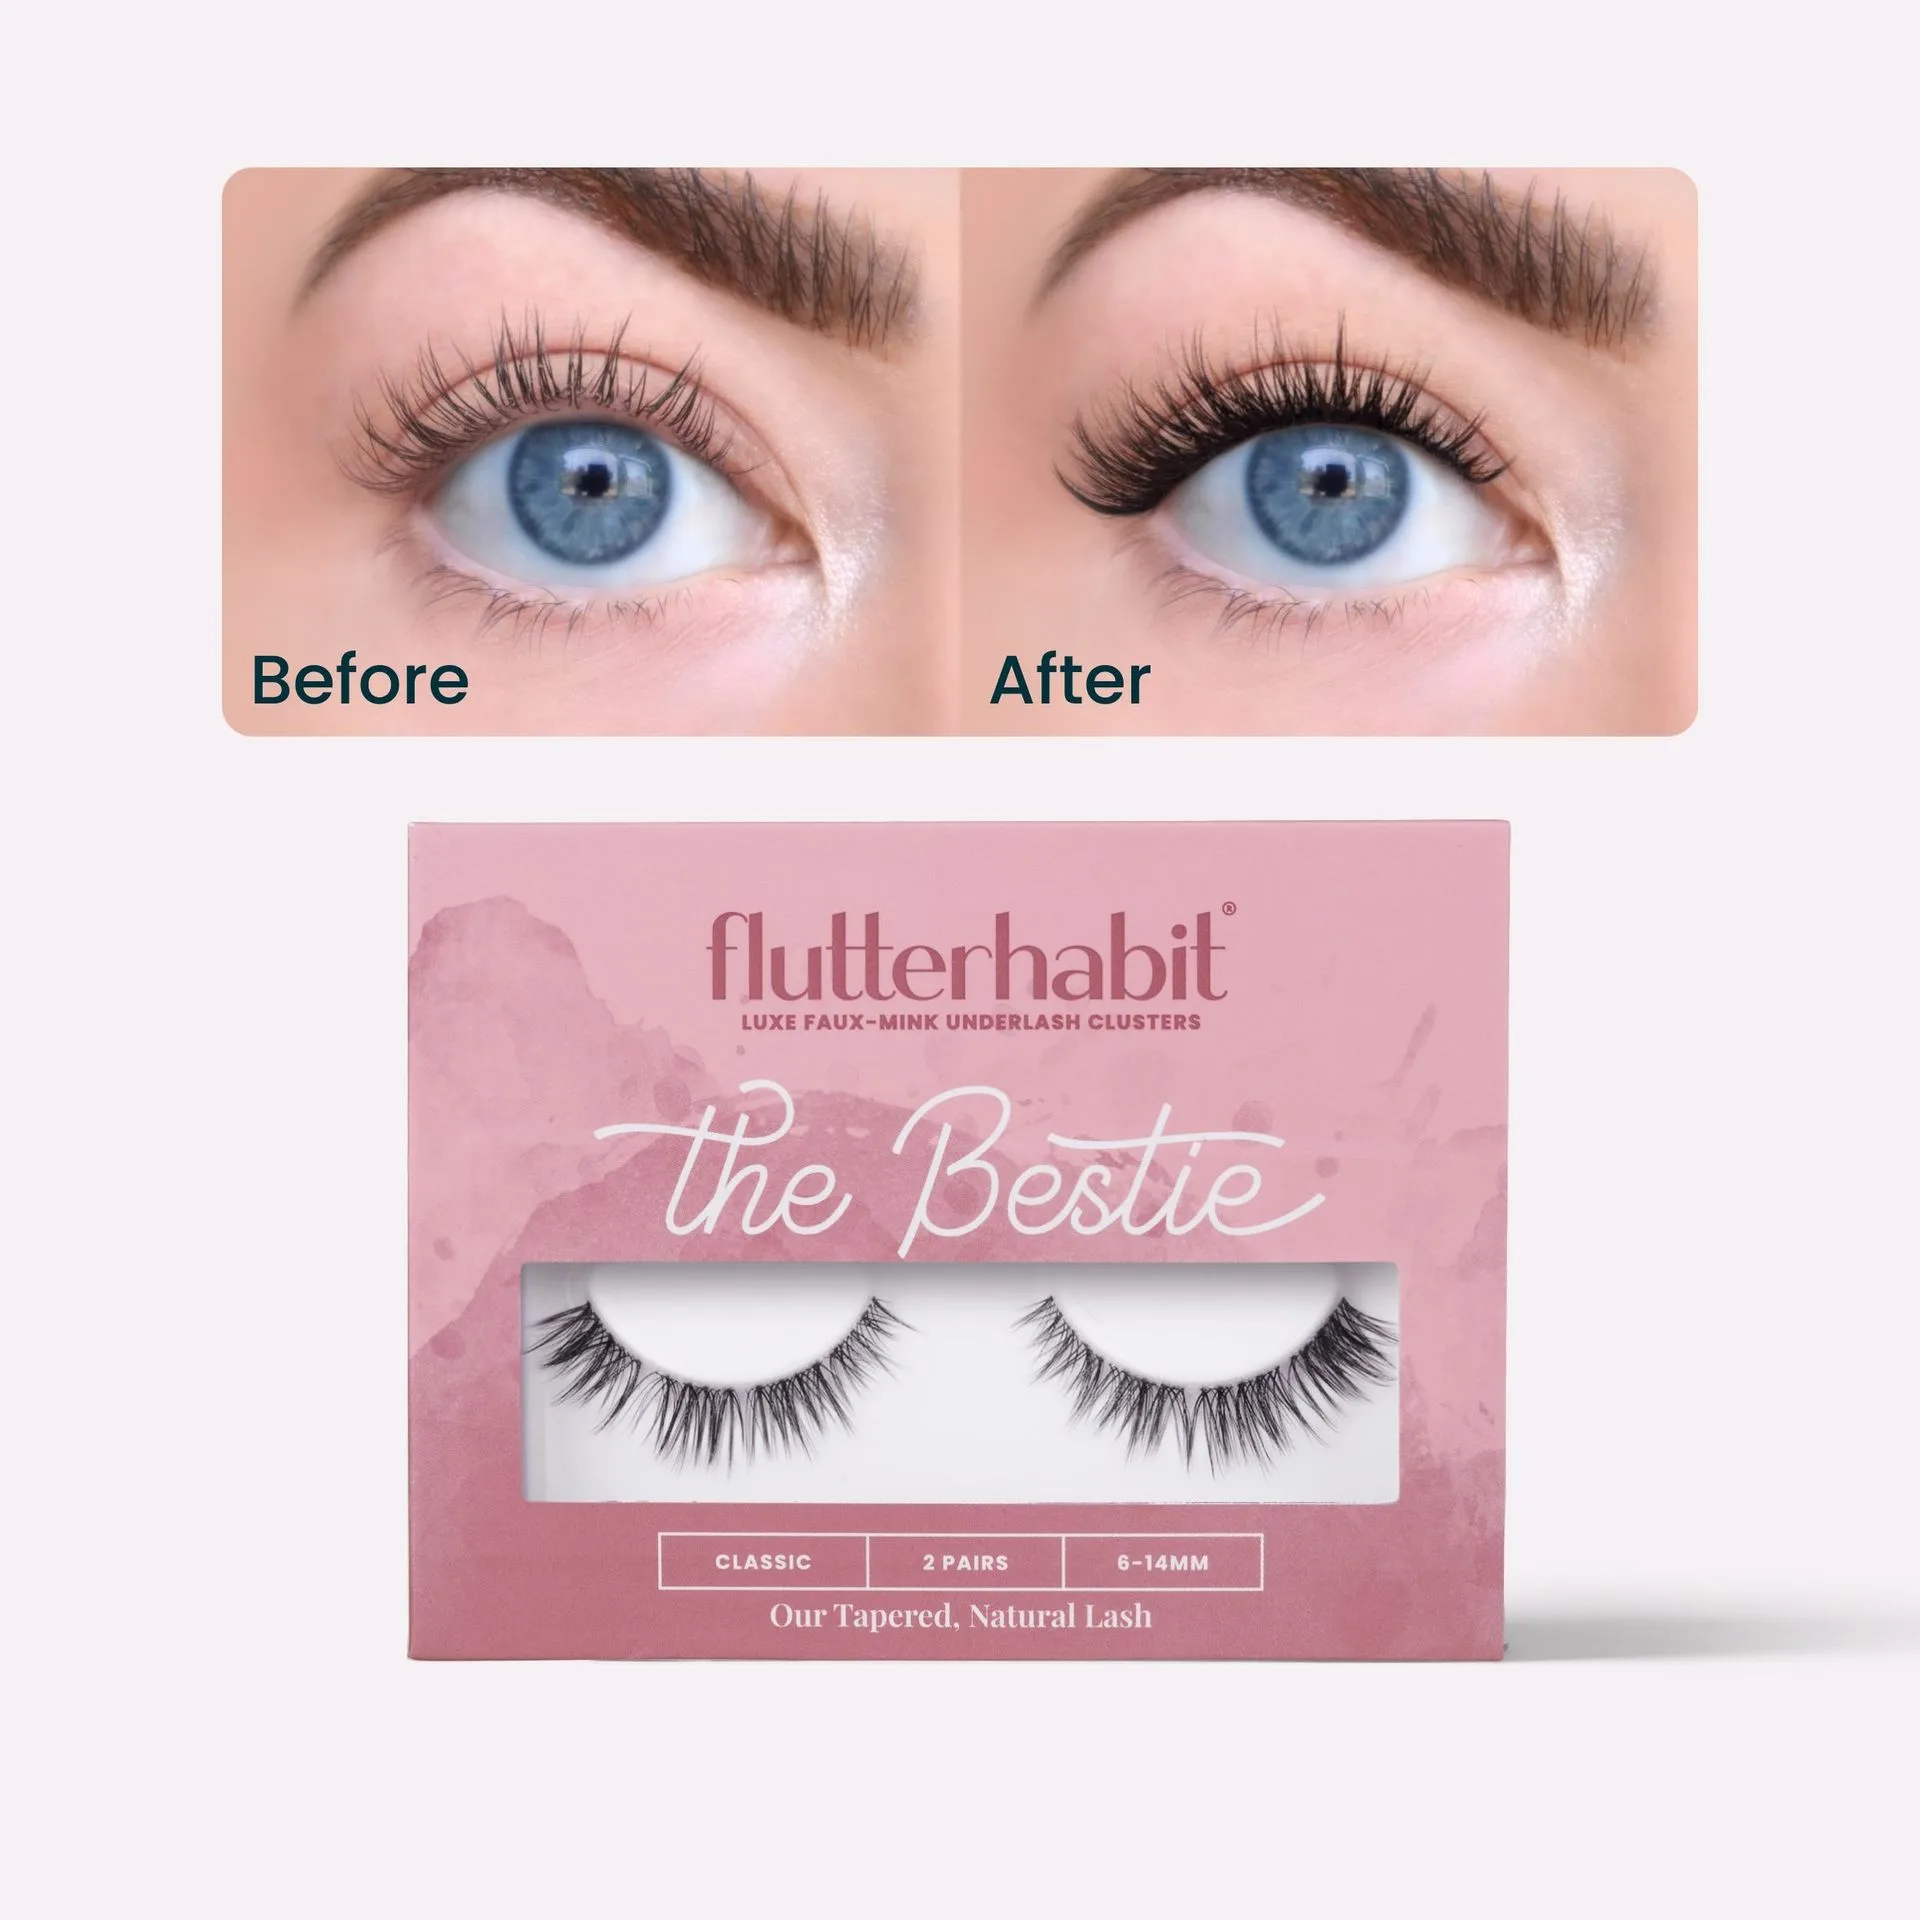
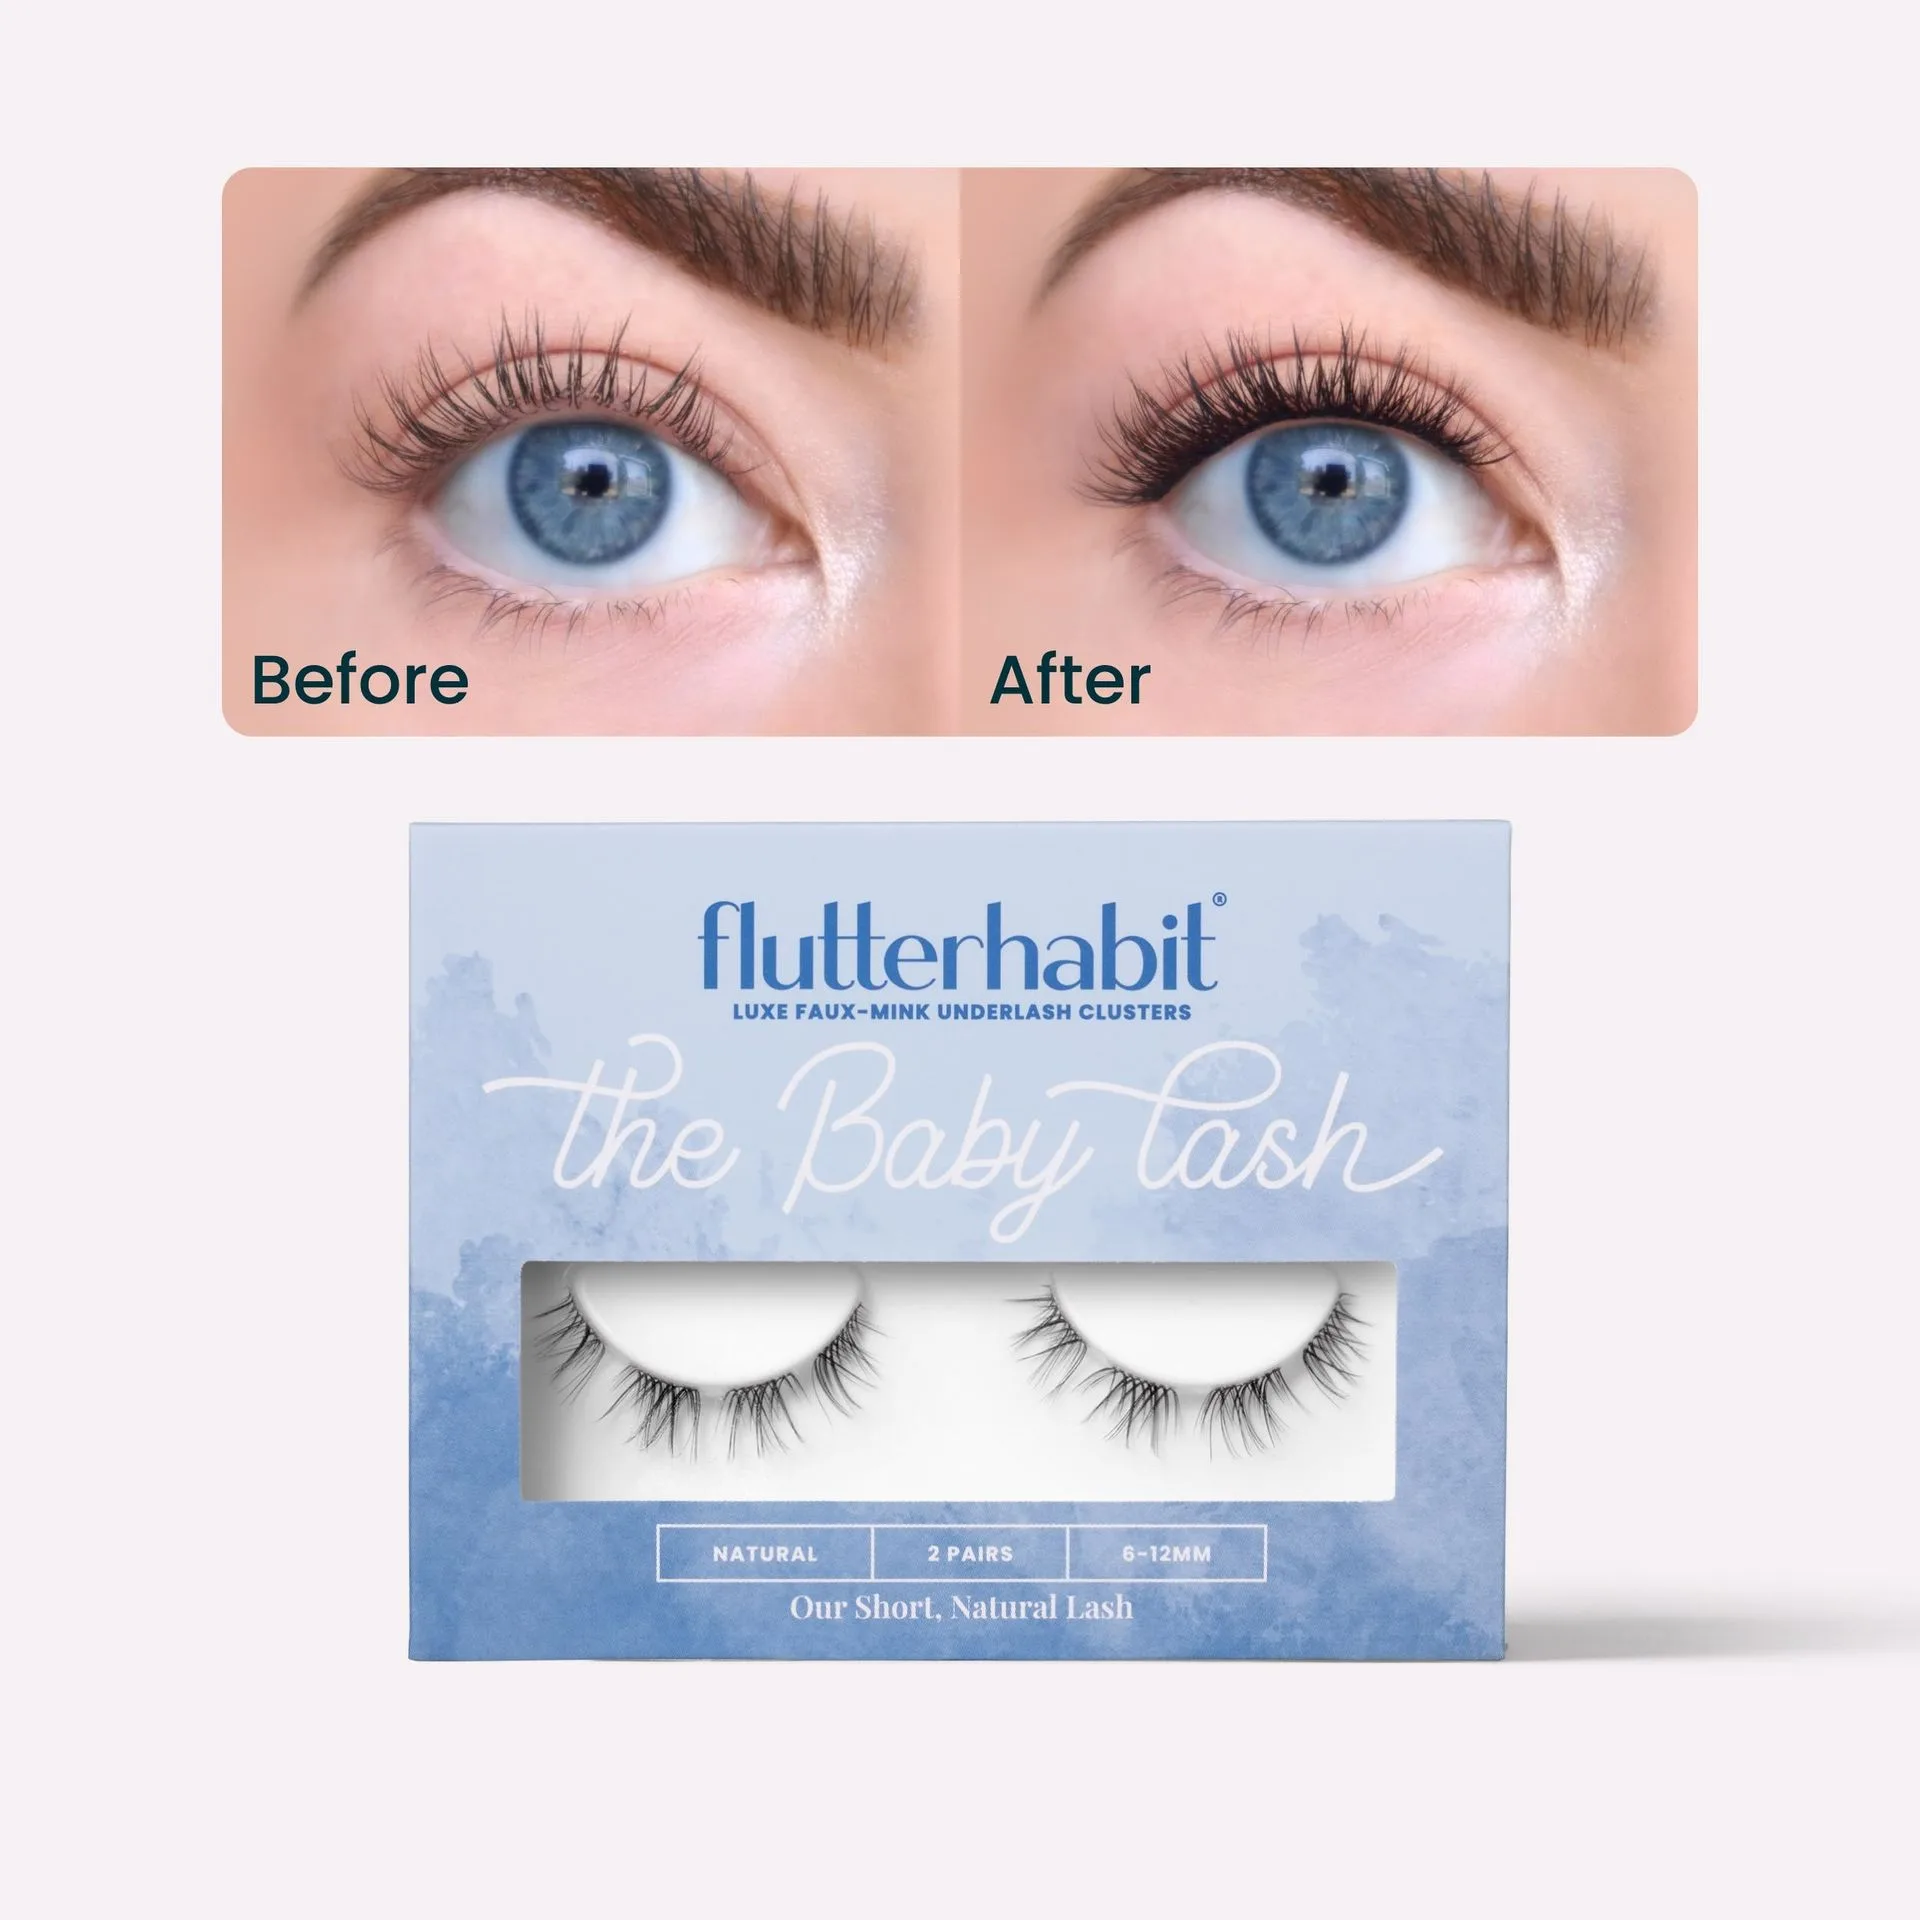
- Step 2: Select and Prepare Your Lash Segments: Choose your desired lash style, such as Water Lily Pre-Glued Lashes for a refined look or The Bestie Pre-Glued Lashes for gentle spikes. Using the ProTECHt tool, gently lift a segment from the tray by sliding the curved tip under the lash band. Checkpoint: Handle the lash by the band, not the hairs, to avoid damaging the style or transferring oils from your fingers.
- Step 3: Position the Lash Under Your Natural Lashes: Look downward into a mirror. With the ProTECHt tool holding the lash segment, place it under your natural lashes, as close to the waterline as comfortable. Start with the middle of your lash line, then move to the inner and outer corners. Mistake to avoid: Placing the lash too far from the waterline can make it look unnatural and reduce wear time.
- Step 4: Press and Hold for a Secure Bond: Once positioned, use the ProTECHt tool to gently press the lash band against your natural lashes for 5–10 seconds. Avoid sliding the lash; instead, use a light, steady pressure. Checkpoint: If the lash doesn't adhere, it may be due to moisture or oil; remove and re-prep the area before trying again.
- Step 5: Repeat for the Other Eye and Blend: Repeat the process for your other eye. After both eyes are done, use the ProTECHt tool to gently press the lashes together to blend them with your natural lashes for a seamless finish. Final check: Ensure lashes are comfortable and securely attached. If any segment feels loose, press it again with the tool.
Product Facts
- Water Lily Pre-Glued (2 Pair) with ProTECHt™: Water Lily Pre-Glued (2 Pair) with ProTECHtTM features a pre-glued format for fast application and all-day hold, with underlash placement for a clean, natural finish. The pre-glued design eliminates the need for separate adhesive, and the underlash placement ensures a seamless blend with your natural lashes, making it ideal for beginners.
- The Bestie Pre-Glued (2 Pair) with ProTECHt™: The Bestie Pre-Glued (2 Pair) with ProTECHtTM offers gentle spikes with subtle length variation and a slightly tapered inner corner, upgraded for smoother application and zero lash cling. The tapered inner corner and spike pattern create a more dramatic yet wearable look, and the improved design reduces application frustration, especially when using the ProTECHt tool.