Quick Answer
The key to applying press on nails without damage is proper nail prep, using a gentle adhesive, and avoiding hard removal methods like prying or soaking in harsh acetone.
Why Proper Preparation Matters
Skipping nail prep is the #1 cause of both poor adhesion and damage. Oils and moisture on your natural nails weaken the bond, which often leads to prying off the press ons. That prying action peels layers of your nail plate. A quick swipe with alcohol-based nail dehydrator removes residue and sets your nails up for a secure, gentle hold.
Choosing the Right Adhesive
Most press on kits include glue tabs or nail glue. Glue tabs are gentler because they peel off without scraping, but they offer shorter wear. Nail glue gives a stronger hold but requires extra care during removal. For no-damage wear, start with glue tabs, especially if you plan to reuse the set. If you need lasting power, choose a high-quality nail glue and remove with oil-based remover—not force.
Step-by-step Guide to Damage-Free Press On Nails
- Prepare your natural nails: Gently push back cuticles without cutting them. Lightly buff the nail surface to remove shine (do not file the nail plate itself). Wipe each nail with rubbing alcohol or a nail dehydrator to remove moisture and oils. Buffing too hard thins your nails; only remove the surface shine.
- Select and fit the right size: Test each press on nail on your natural nail. Choose the size that covers the nail bed without touching the cuticle or side walls. File the inner edges of the press on if needed for a perfect fit. A nail that is too large traps moisture and lifts; one too small puts pressure on the nail bed.
- Apply the adhesive: Use glue tabs for reusable sets or a thin layer of nail glue for long wear. For tabs, press the tab onto the natural nail first. For glue, apply a drop to the center of the press on and spread to the edges. Avoid getting glue on your cuticles. Too much glue oozes out and weakens the bond; a thin, even layer holds better.
- Place and press firmly: Angle the press on at the cuticle and gently slide it down over your nail. Press down for at least 10 seconds—start at the center, then press the edges. Apply firm pressure every hour for the first few hours for maximum hold. Rushing the press step leaves air bubbles that lead to early lifting.
- Remove safely without damage: Do not pull, twist, or pry off the press ons. For glue tabs: gently lift at the side cuticle edge and roll the tab off. For nail glue: soak a cotton ball in oil based remover (cuticle oil works) or acetone free remover, place it on the nail, wrap with foil for 5–10 minutes, then slide the press on off. Prying is the #1 cause of nail peeling; always dissolve the adhesive first.
Products That Help Protect Your Nails
-
Gotti Press On Nails - #3P Daisy Me Rollin: Durable, chip-resistant finish with easy 5-minute application The durable finish means the set stays put without needing extra-strong glue, reducing removal damage. The quick application makes it easy to focus on gentle prep.
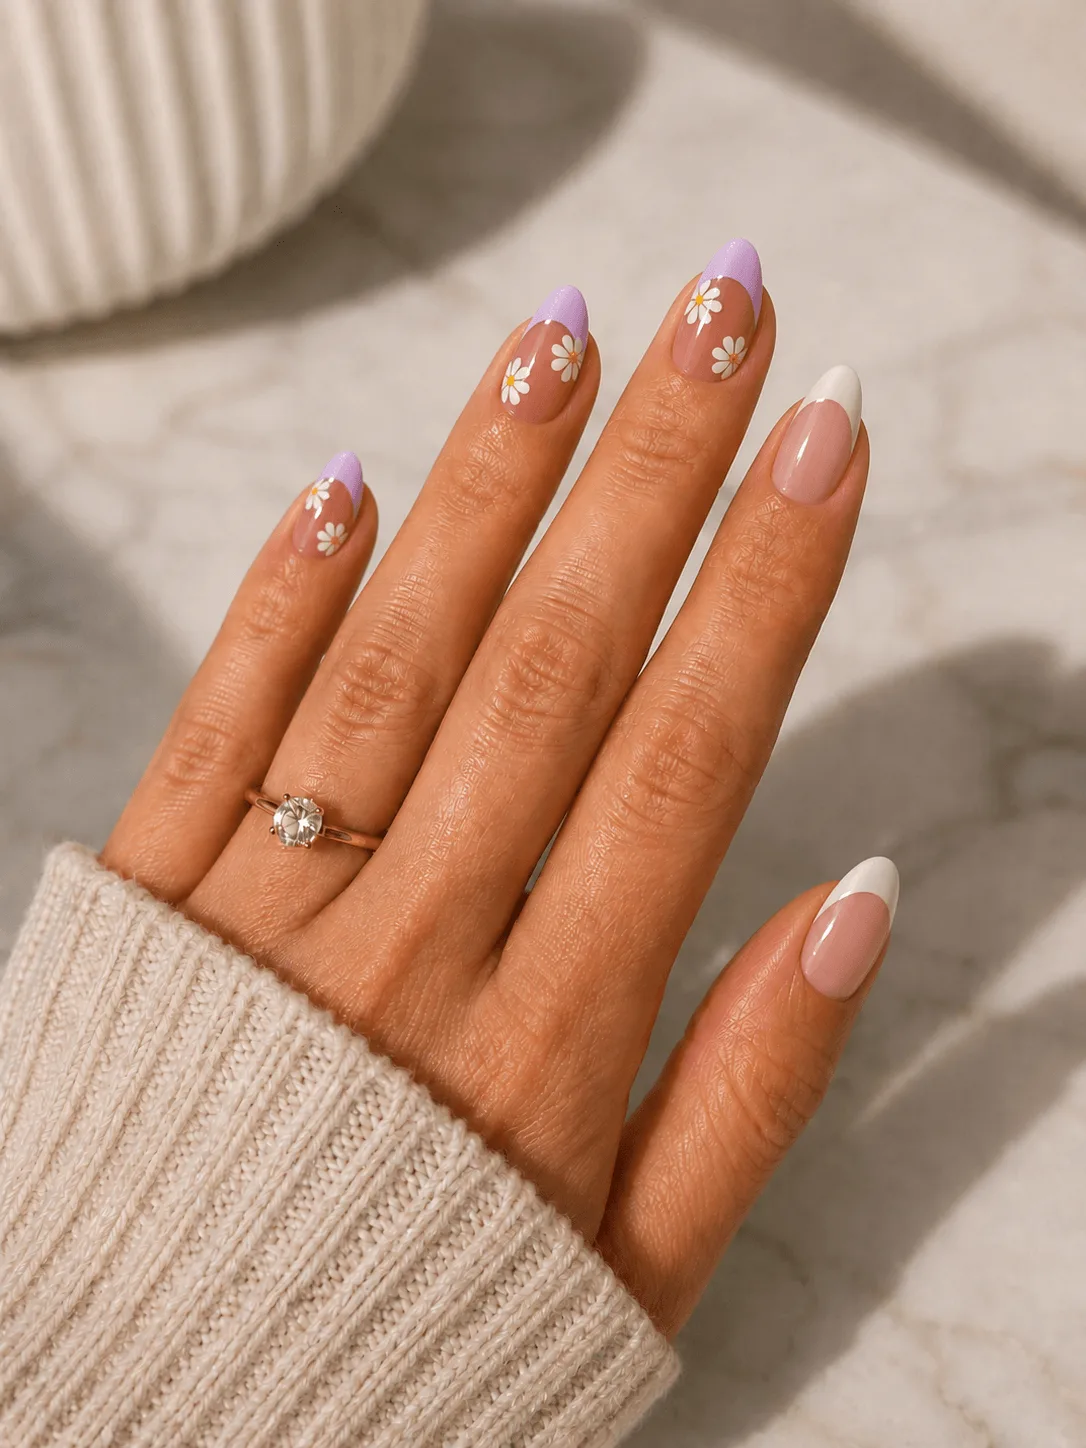
Gotti Press On Nails - #3P Daisy Me Rollin