Quick Answer
Apply press-on pedicure nails by prepping dry, polish-free toenails, matching each nail to the correct toe, and pressing it on at a slight angle for 20-30 seconds. Use nail glue gel rather than adhesive tabs for a secure hold, and keep your feet dry for at least an hour afterward so the bond sets fully.
Press-on pedicure nails give you a finished toe look without a salon appointment, but the fit is what makes or breaks them. Toenails are smaller, flatter, and more curved than fingernails, so a set that is applied quickly tends to lift at the edges within a day or two.
This guide walks through the full press on pedicure application process in order, from prep to final press. Each step includes the mistake that most often causes a loose or crooked nail, so you can check your work as you go.
Prep Your Toenails Before Anything Else
Start with clean, completely dry toenails. Remove old polish with acetone-free remover, wash your feet, and wait at least 15 minutes so no moisture remains in the nail plate. Push back your cuticles gently and buff the surface lightly with a fine file to remove shine and natural oils; this gives the glue something to grip.
Trim your natural toenails short and file the edges smooth so they do not poke through the press-on. If you have an ingrown toenail, an open cut, or any irritation, skip the set until it heals. Press-ons seal over the nail, and trapping moisture or bacteria under a sealed nail can make a small problem worse.
- Wipe each toenail with an alcohol prep pad right before applying; this is the single most skipped step that causes early lifting.
Match Each Press-On to the Right Toe
Lay out all the nails in the set and sort them by size before you glue anything. Toenails are not symmetrical, so a nail that fits your big toe will not fit your second toe even if they look similar in width. Hold each press-on over its intended toe and check three things: the sidewalls should sit flush without overlapping the skin, the cuticle edge should follow your natural cuticle line, and the tip should not extend so far that it catches on socks or shoes.
If a nail is slightly too wide, file the sides in small strokes and re-check. If it is too narrow, move up to the next size rather than forcing it, because a nail that sits on the skin instead of the nail plate will lift quickly. Sets with more size options, like blooming-leaf-medium-almond-press-on-nails-5ceed449696f6b53b36ed082-2587857">Blooming Leaf press on nails, which come in XS, S, M, and L, make it easier to find a close match for each toe.
- Arrange the matched nails in toe order on a clean surface so you are not hunting for the right size mid-application.
Choose Glue Gel Over Adhesive Tabs for Toes
Adhesive tabs are convenient, but they struggle on toenails. Toes flex with every step, and the tab layer adds thickness that can cause the press-on to pop off inside a shoe. Nail glue gel creates a thinner, more flexible bond that handles the pressure of walking better, especially on the big toe where most of the stress lands.
Apply a small dot of glue gel to the press-on, not to your natural nail, and use less than you think you need. A bead about the size of a grain of rice is plenty for a big toe, and half that for smaller toes. Excess glue squeezes out around the edges, hardens into visible ridges, and can glue the press-on to your skin, which makes removal painful.
- If you are new to gel glue, practice the placement on one toe and check the fit before gluing the rest of the foot.
Press Each Nail On at an Angle
Hold the press-on at roughly a 45-degree angle and touch the cuticle edge down first, then roll it toward the tip of your toe. This pushes air out from under the nail instead of trapping it in the middle, which is a common cause of cloudy spots and weak spots in the bond. Once the nail is flat, press down firmly for 20 to 30 seconds, working from the center outward to the sidewalls.
Do not slide or twist the nail once it touches down. Sliding pushes glue onto your skin and shifts the nail off-center, and repositioning after the gel starts to set weakens the hold. If it lands crooked, remove it, clean off the glue with a cuticle stick, and start that toe again with fresh glue.
- Apply to one foot at a time and keep the other foot flat on the floor for balance.
Let the Bond Set Before You Walk
Nail glue gel needs time to cure, so stay off your feet for at least 10 minutes and avoid water for a full hour. Hot showers, dishes, and sweaty socks during that window are the fastest way to loosen a fresh set. After the initial cure, the bond continues to strengthen over the next few hours.
Check each nail by pressing gently on the tip. If you feel any movement, add a tiny amount of glue gel at the lifted edge and press again for 20 seconds. Catching a loose edge early is much easier than fixing a nail that has already come off in your shoe.
- Wear open-toe shoes or loose socks for the rest of the day to protect the set while it fully sets.
Keep the Fit Comfortable Once You Are Done
A good press-on pedicure should feel snug but not tight. If a nail presses into the skin at the sides or the tip pushes against the front of your shoe, it is too long or too wide, and that pressure will cause soreness and lifting. File the free edge shorter if needed, and check the fit again after your first walk around the house.
Expect a learning curve on your first set. Sizing and glue control get faster with practice, and having a few spare sizes on hand means you can redo one toe without redoing the whole foot.
- Keep a cuticle stick and a small bottle of glue gel nearby for quick touch-ups during the first day.
Pedicure Application Steps at a Glance
- Prep and dry: Clean, buff, and dry toenails completely before applying anything. Checkpoint: no shine or oil left on the nail plate.
- Size every toe: Sort and match each press-on to its toe, filing edges only if needed. Checkpoint: no nail sits on the skin.
- Apply glue gel sparingly: Use a rice-grain amount of nail glue gel on the press-on, not your toe. Checkpoint: no glue squeezing out at the edges.
- Press at an angle: Touch the cuticle edge first, roll toward the tip, and hold for 20-30 seconds. Checkpoint: nail sits centered and flat.
- Let it cure: Stay off your feet for 10 minutes and keep them dry for an hour. Checkpoint: no movement when you press the tip.
Products That Help With Pedicure Application
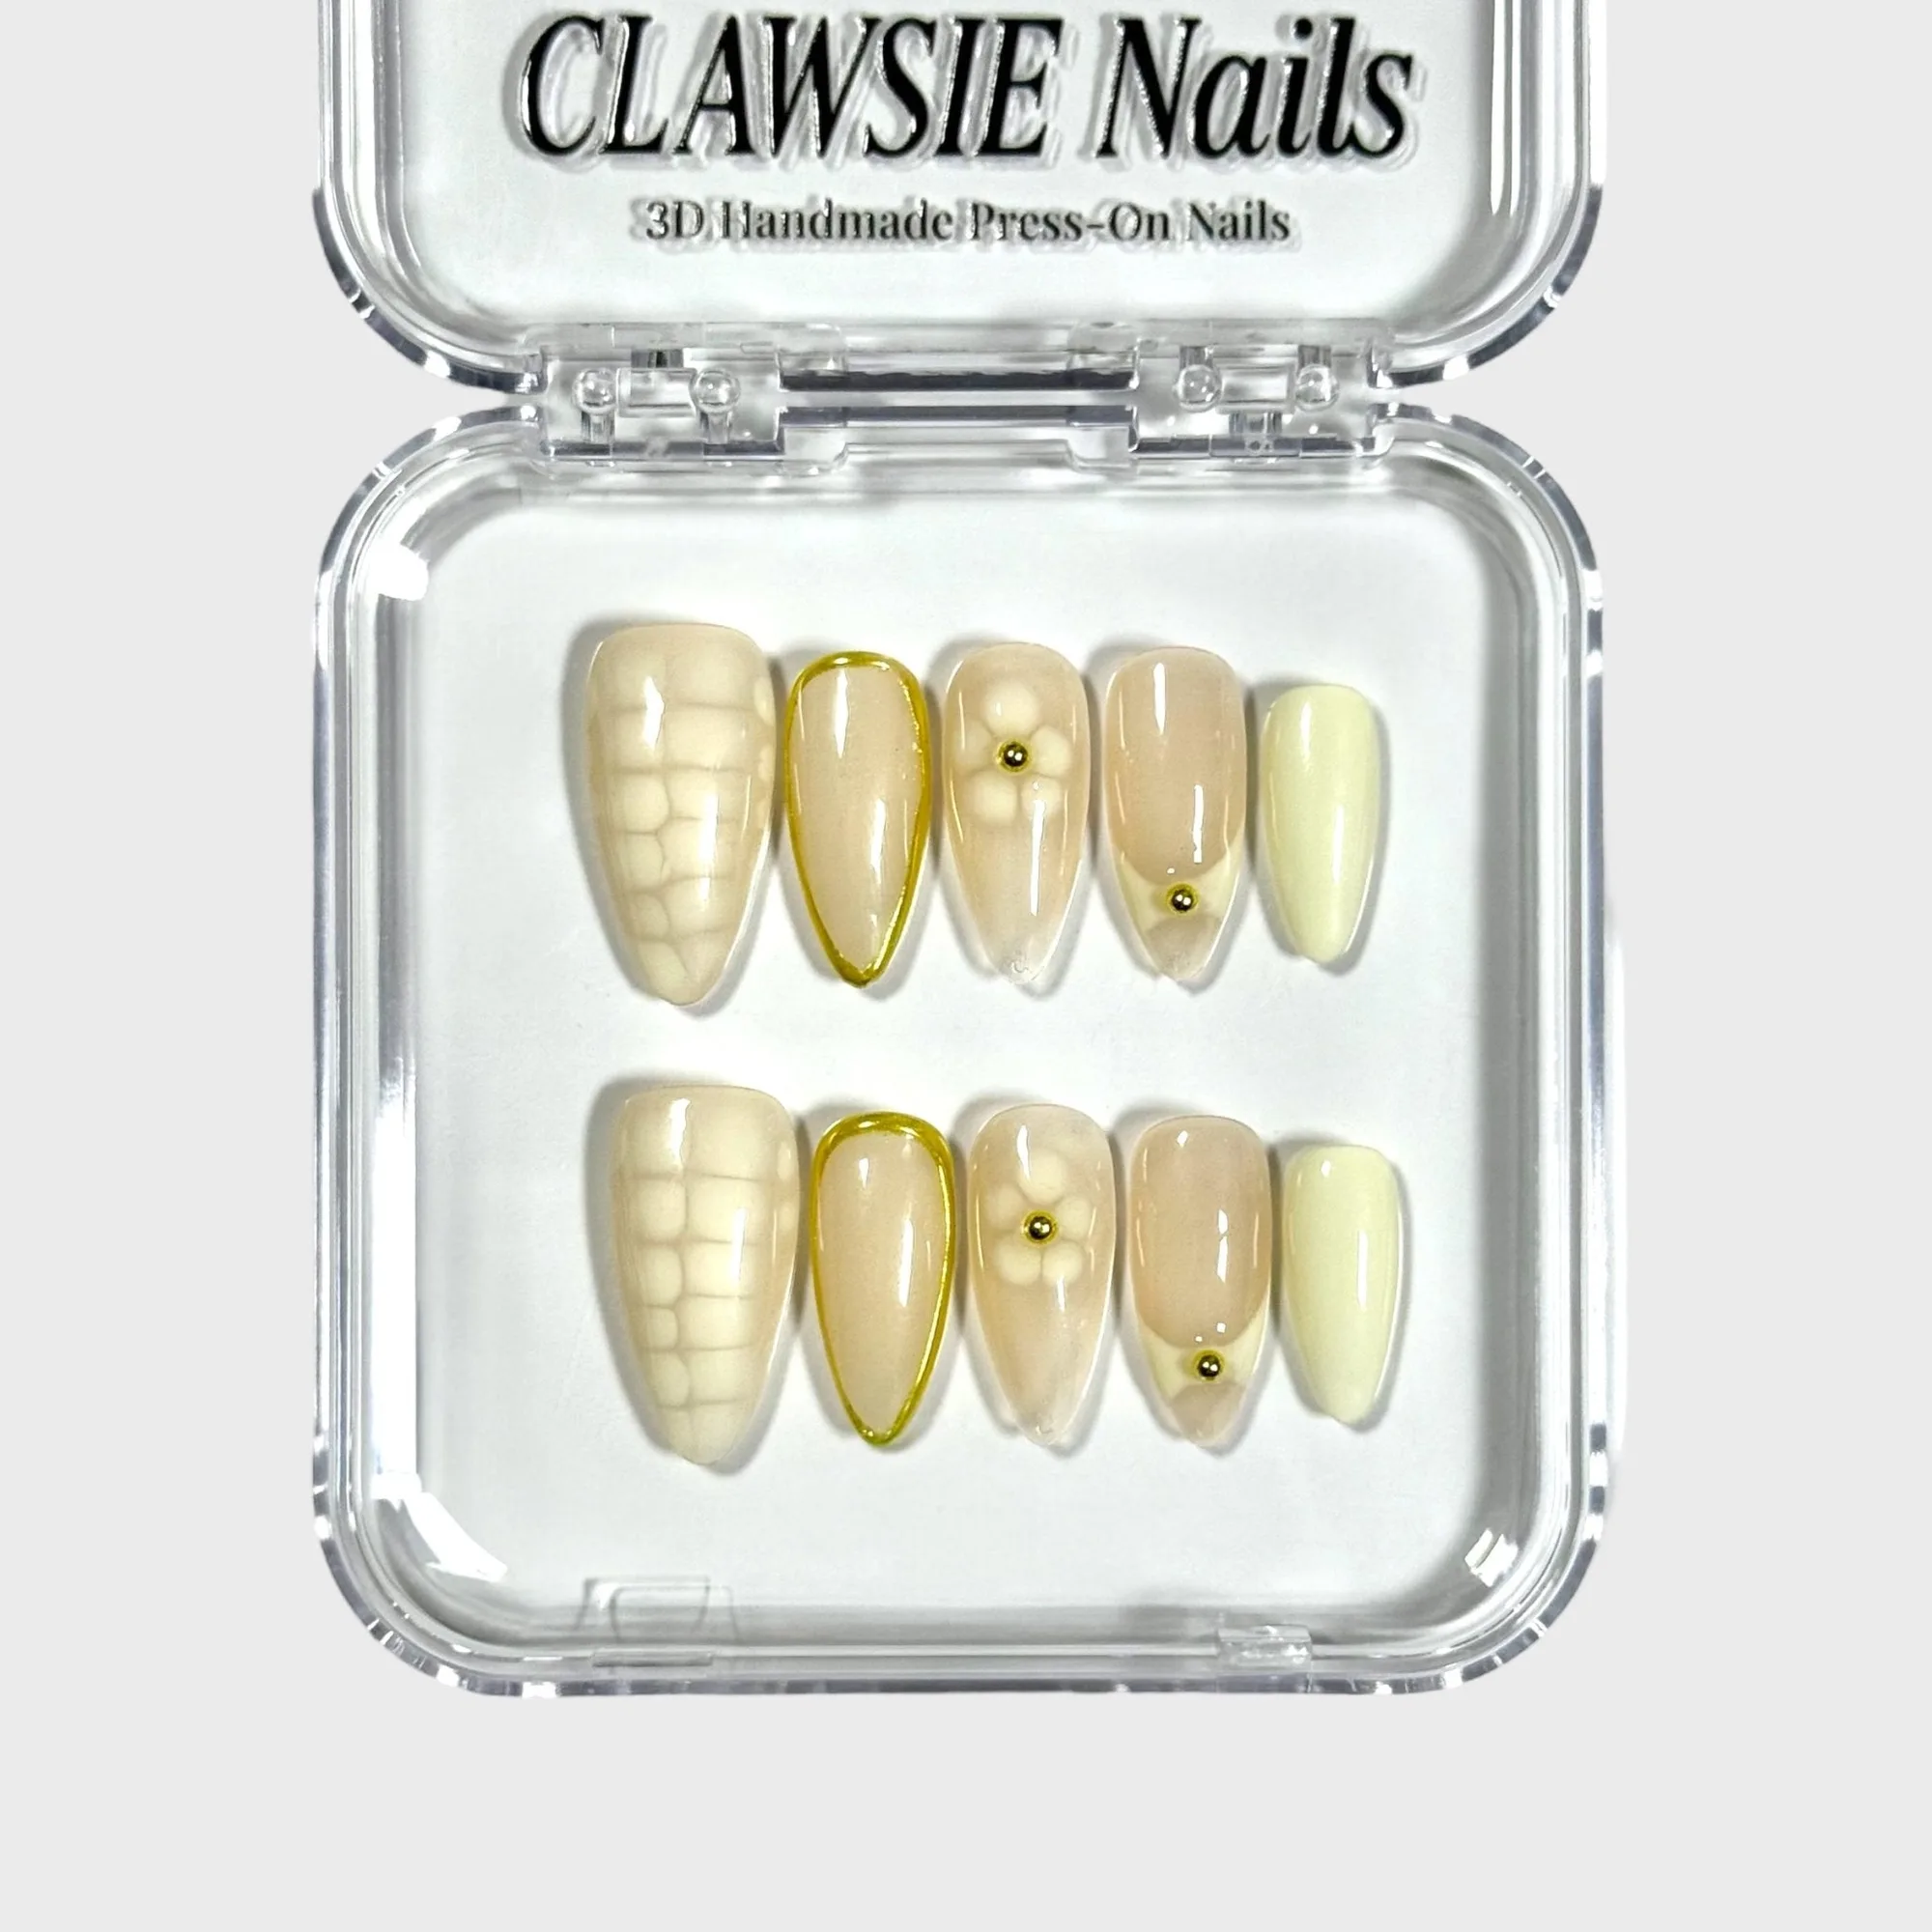
- Blooming Leaf: Blooming Leaf press on nails from CLAWSIE Nails are available in sizes XS, S, M, and L. Four size options give you more chances to match each individual toe closely, which reduces lifting on smaller toes.
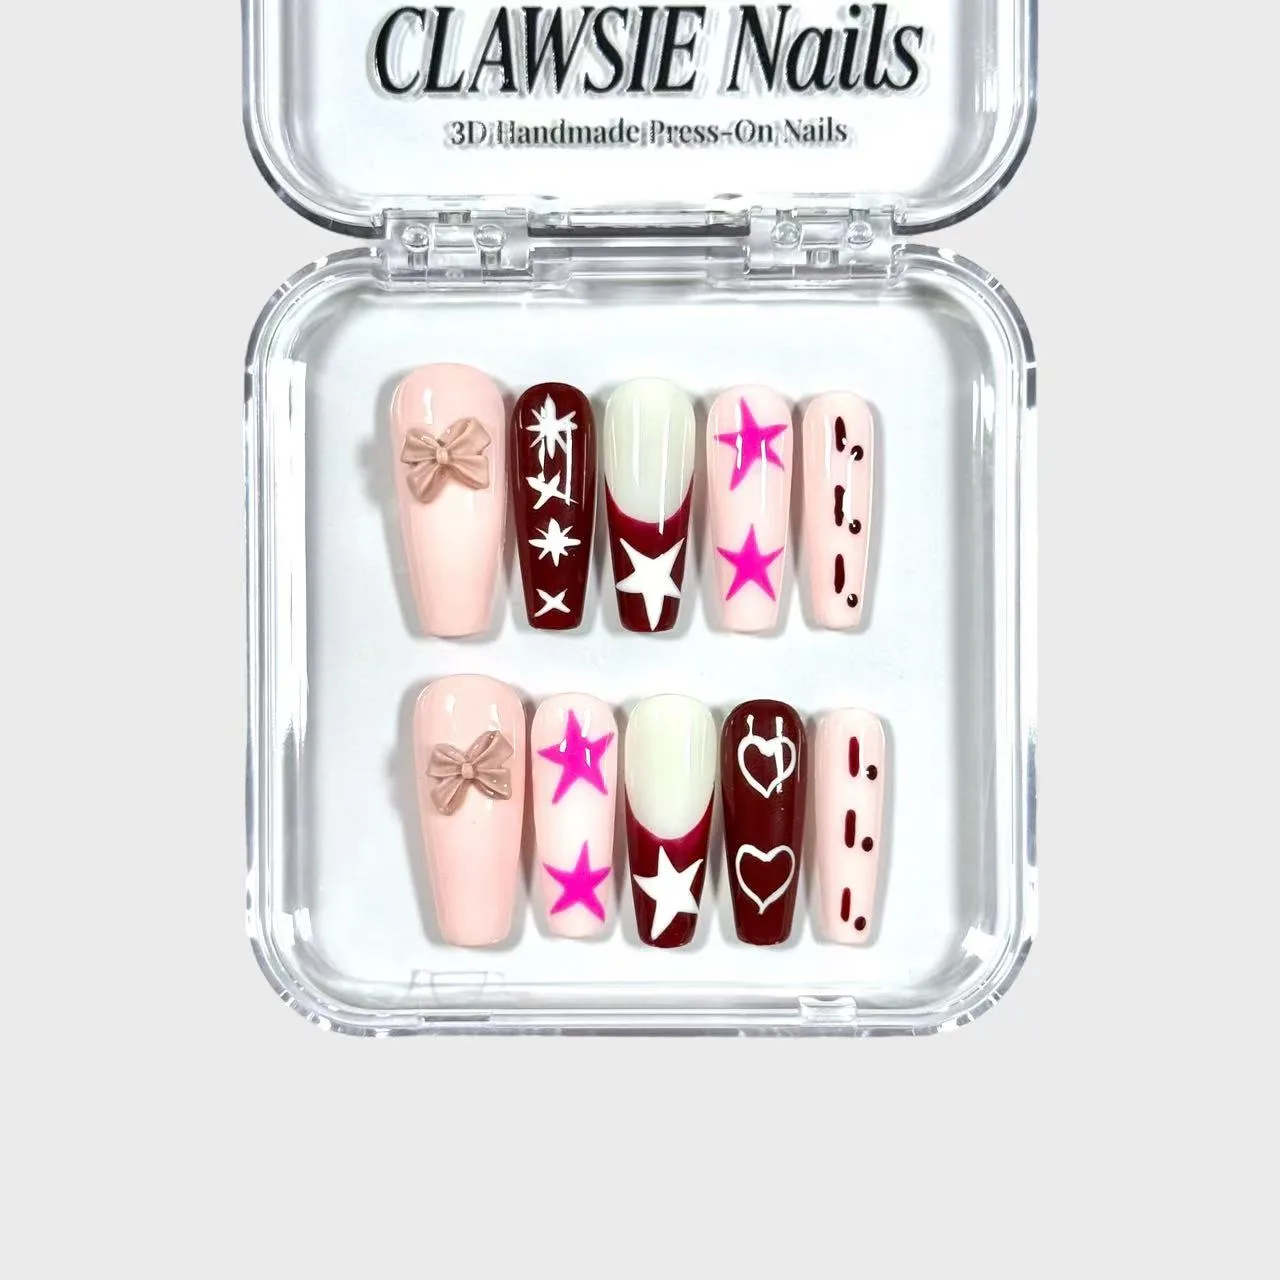
- Ballette: Ballette by CLAWSIE Nails is a set of medium ballerina press-on nails in soft pink and deep burgundy with bow details, star motifs, and hand-painted hearts. Medium length keeps the tip clear of most shoe fronts, which is a practical choice if you want a decorative pedicure that still fits comfortably in closed shoes.
A press-on pedicure holds best when the fit is right before the glue goes on. Take the extra minute to match each toe, use glue gel instead of tabs, and give the bond time to set. Do that, and your set should stay comfortable through normal wear instead of lifting by day two.