Quick answer
To apply a Lord of the Rings patch, clean the cover, position the patch, and press firmly for 30 seconds. To remove it, warm the adhesive with a hair dryer on low, then peel slowly at a 45-degree angle. Work on a flat surface and avoid pulling straight up.
Why patch placement matters more than you think
Before you peel the backing, decide where the patch will live. The fabric-covered Lord of the Rings notebook has a textured surface that grips adhesive well, but once a patch is pressed down, repositioning can stretch the fabric or leave residue. Lay the patch on the cover without removing the backing and check how it looks from a few feet away. Patches on the front cover tend to draw the eye, while patches near the spine or back cover keep the design subtle. If you plan to use multiple patches from a set, space them at least a finger's width apart so the edges do not overlap and create peeling points.
Tools you already have (and one you should not use)
You do not need a craft kit. A clean microfiber cloth, a hair dryer, and your fingers are enough. Avoid using a knife, scissors, or any sharp tool to lift a patch edge; these can scratch the cover or slice the fabric. If you have a credit card, you can use its edge to burnish the patch after pressing, but do it gently. For removal, a little patience with warmth works better than force. Never use nail polish remover or alcohol on the cover, as these can discolor the fabric.
How to remove a patch without leaving a mark
If you want to reposition a patch or swap it for another design, warm the adhesive first. Hold a hair dryer on its lowest heat setting about six inches from the patch for 20 to 30 seconds. The adhesive softens, and the patch will lift more easily. Slide a fingernail under one corner and peel back slowly at a 45-degree angle. If you feel resistance, stop and apply more heat. Rushing this step is the most common mistake and can tear the cover fabric or leave a sticky patch behind. After removal, press the area with your thumb to smooth any lifted fibers.
Step-by-step: apply and remove patches
- Clean the cover: Wipe the notebook cover with a dry microfiber cloth to remove dust or oil. A clean surface helps the adhesive bond evenly. Checkpoint: the cover should feel dry and smooth before you continue.
- Test the position: Place the patch on the cover without removing the backing. Step back and look at the placement from different angles. Adjust until you are happy. Common mistake: skipping this step and pressing the patch down too soon.
- Peel and press: Remove the backing and place the patch sticky-side down. Press firmly with your fingers for 30 seconds, starting from the center and moving outward. Checkpoint: the patch should sit flat with no lifted edges.
- Burnish the edges: Use the edge of a credit card to gently rub along the patch border. This seals the adhesive and prevents peeling. Do not press so hard that you crease the patch.
- Warm to remove: To remove, aim a hair dryer on low heat at the patch for 20–30 seconds. Slide a fingernail under one corner and peel slowly at a 45-degree angle. If resistance increases, stop and apply more heat.
- Smooth the cover: After removal, press the area with your thumb to flatten any lifted fabric fibers. If sticky residue remains, dab it with a clean cloth. Next step: store removed patches on wax paper if you plan to reuse them.
Products that work with this method
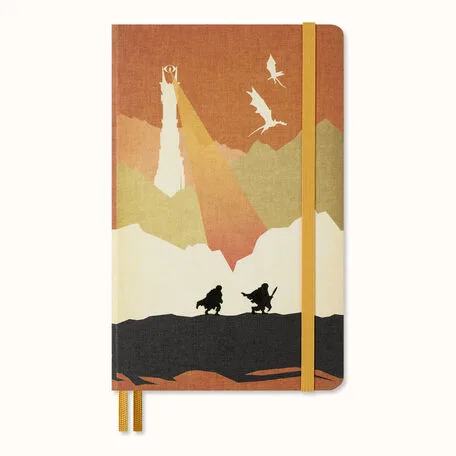
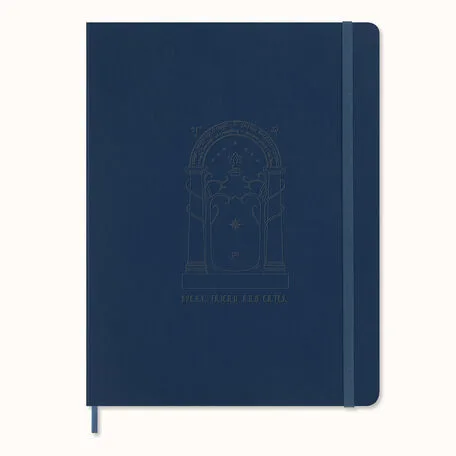
- The Lord of the Rings Notebook Large, plain, hard cover: The Lord of the Rings Notebook Large, plain, hard cover has a fabric cover and ivory-colored pages with inspiring quotes. The fabric texture holds patches securely but also requires gentle removal to avoid fraying.
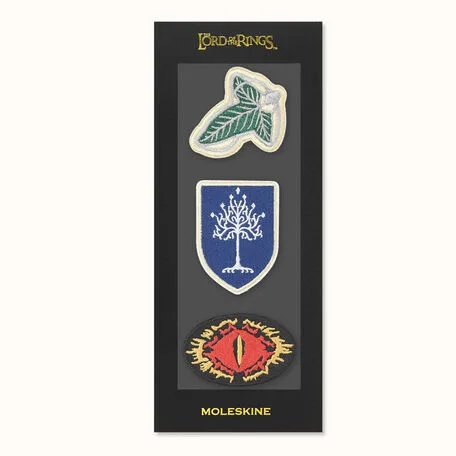
- Patch Il Signore degli Anelli Set di 3: Patch Il Signore degli Anelli Set di 3 includes three adhesive patches featuring the Lórien Leaf, Eye of Sauron, and Tree of Gondor. These patches are designed to personalize Moleskine notebooks and accessories, so they fit the cover size well.