Quick Answer
To get the most from your spot treatment, apply anti-acne spot cream to clean, dry skin before moisturizer, let it absorb, then use a gentle concealer for acne on top. This order lets the active ingredients work while keeping coverage looking natural and flake-free.
Dealing with a breakout is frustrating, and it's tempting to pile on both spot cream and concealer at once. But the order and technique matter more than you might think. Applying spot treatment over makeup or mixing it with concealer can reduce its effectiveness and cause pilling or irritation.
This guide walks you through a simple spot treatment routine that treats pimples and covers them without compromising your skin. You'll learn the right sequence, how to prep your skin, and common mistakes to avoid—so your zit kit works as hard as you do.
Prep Your Skin Before Spot Treatment
Start with a clean face. Wash with a gentle gel cleanser to remove excess oil, dirt, and makeup. For oily or acne-prone skin, a lightweight cleanser that kills germs and detoxifies can help prevent new breakouts. Pat your skin dry with a clean towel—don't rub, as friction can irritate active pimples.
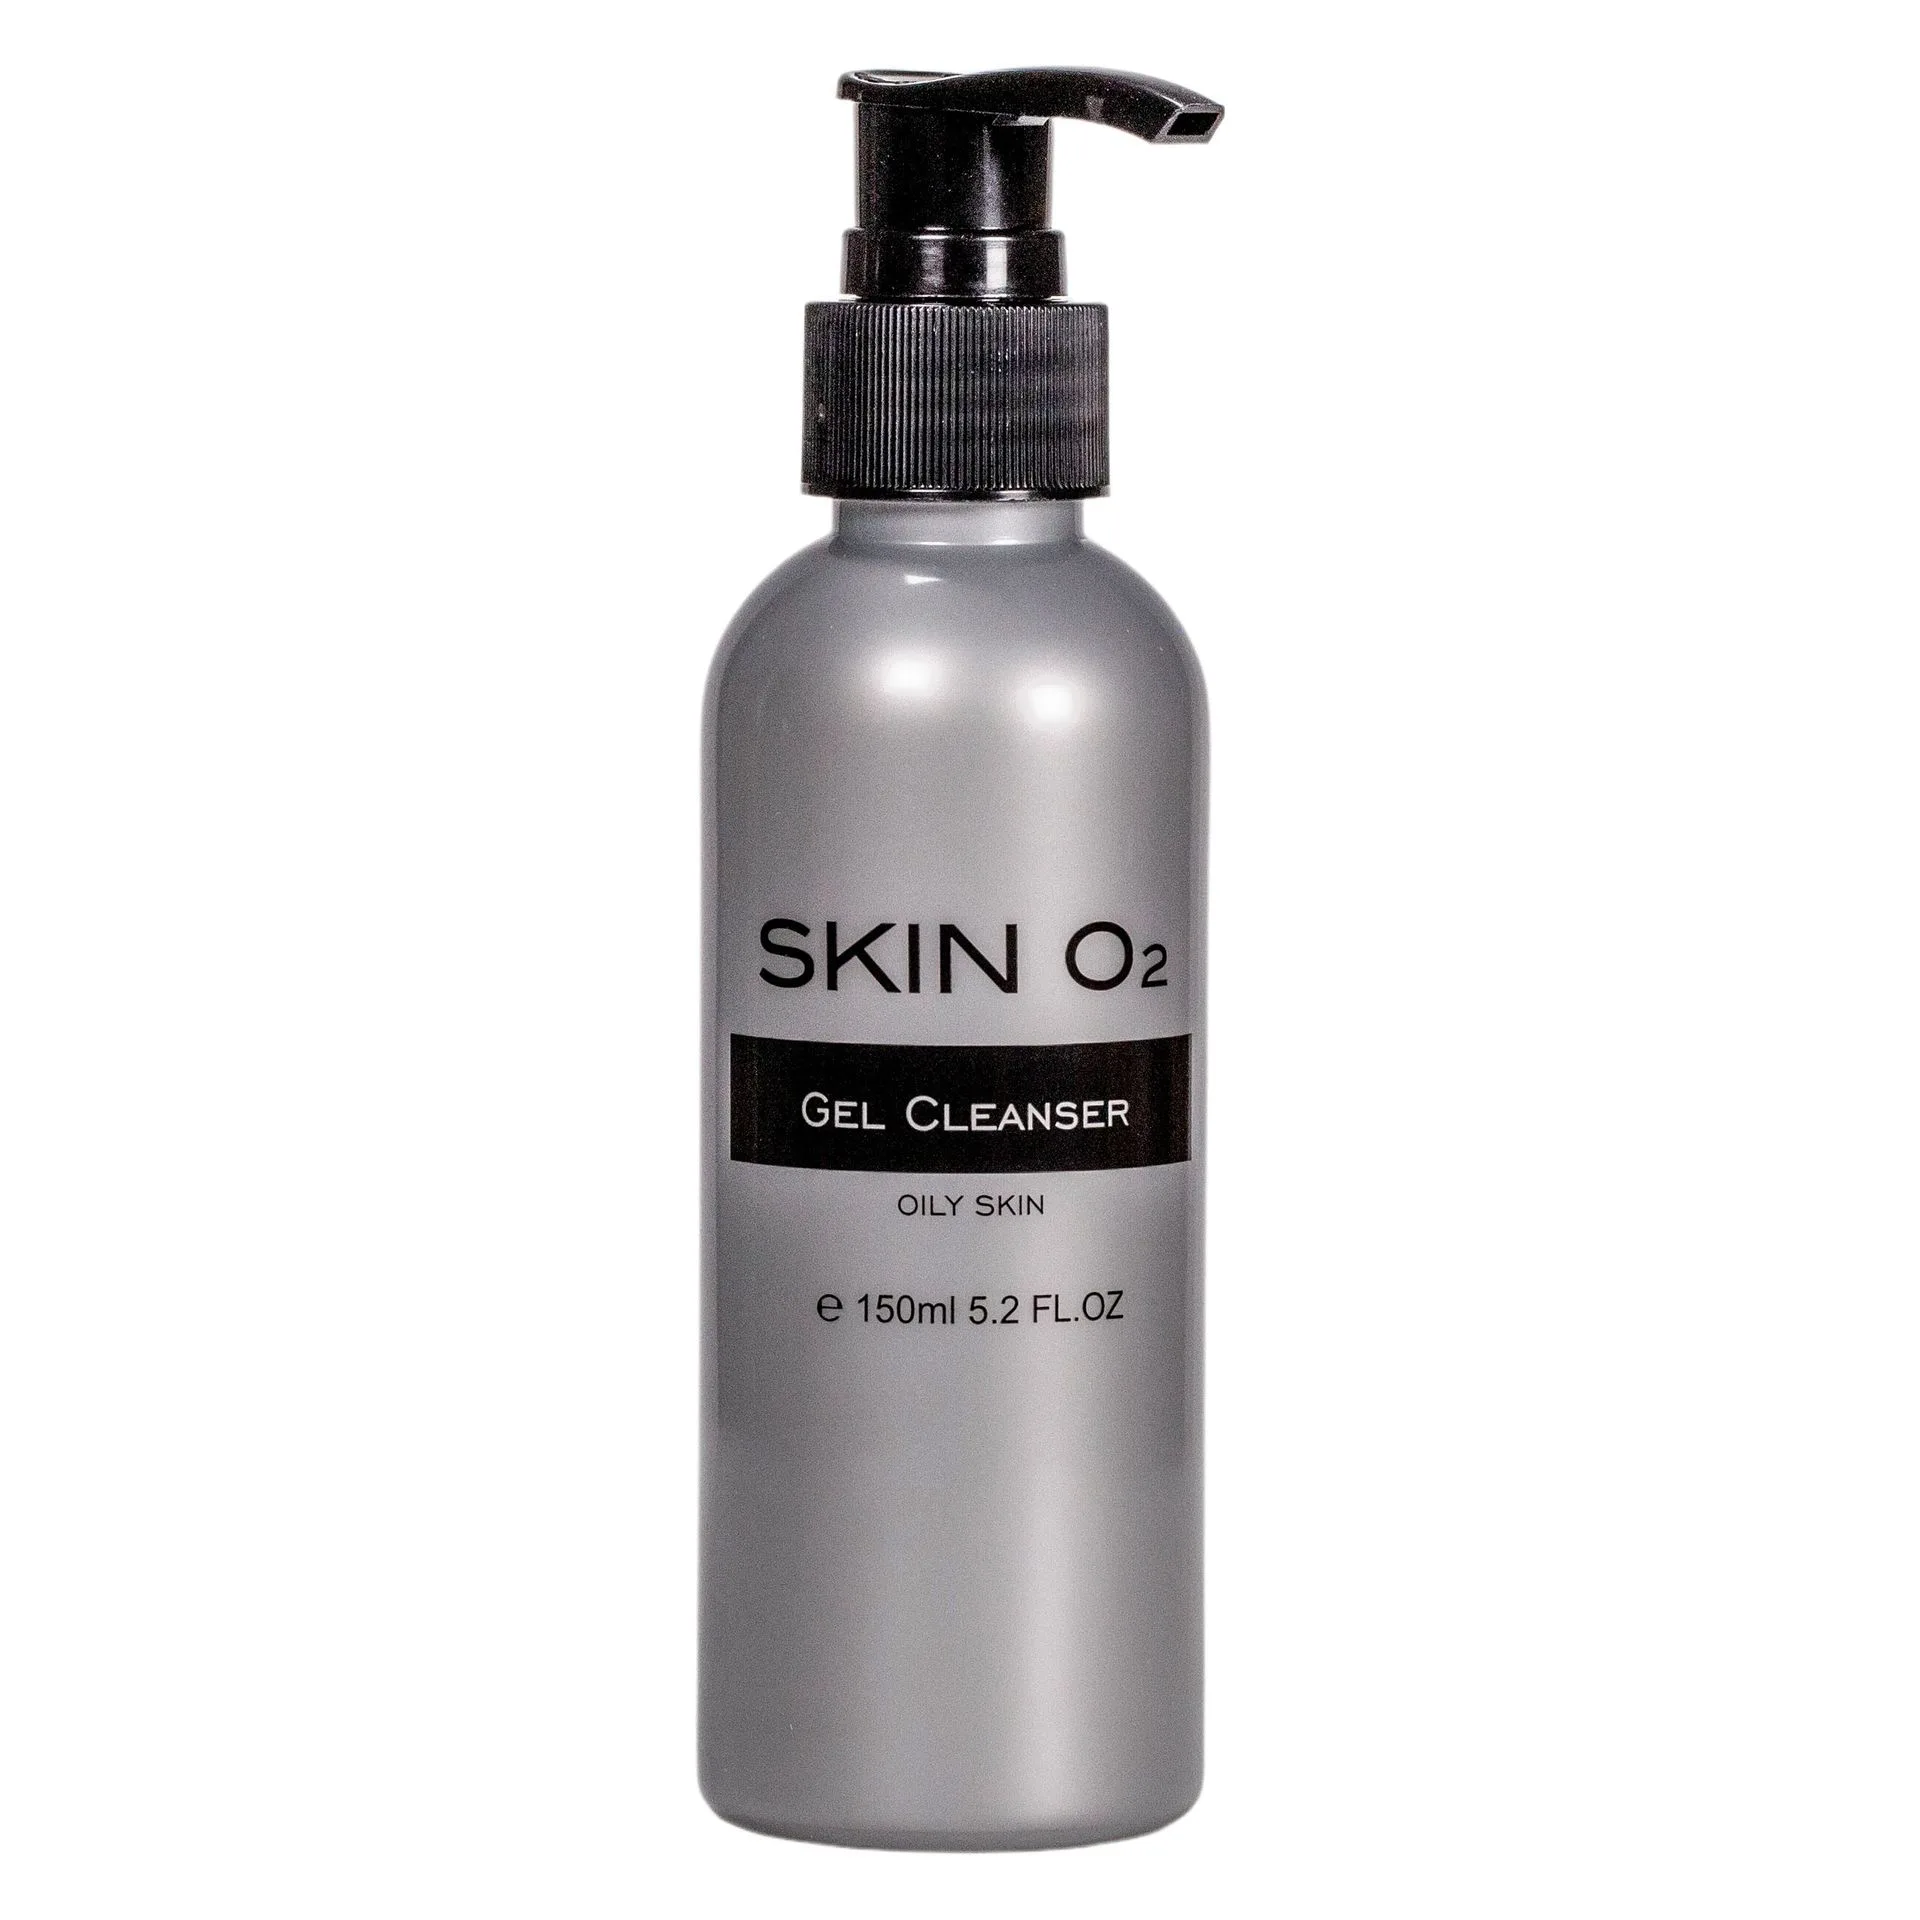
gel cleanser
If you're using a toner or essence, apply it now and let it fully absorb. This ensures your skin is prepped to receive the spot treatment. Avoid using harsh scrubs or exfoliants on active breakouts, as they can break the skin and make redness worse.
- Use lukewarm water—hot water strips skin and increases irritation.
- Wait 2-3 minutes after cleansing before applying spot cream.
Apply Spot Cream Only on Active Blemishes
Spot treatments are concentrated, so they should touch only the pimple, not your whole face. Use a clean fingertip or a cotton swab to dab a thin layer directly onto the blemish. Avoid rubbing it in—gentle patting helps the product stay where it's needed.
Let the spot cream dry completely before moving to the next step. This usually takes 2-5 minutes. If you apply moisturizer or concealer too soon, you can dilute the active ingredients and reduce their potency. Check the label of your anti-acne spot cream for specific drying time.
- Don't apply spot cream to broken or bleeding skin—it will sting.
- If you have multiple blemishes, treat each one individually.
Moisturize Without Disturbing the Spot Treatment
Even oily skin needs moisture, especially when using spot treatments that can dry out the area. Choose a lightweight, non-greasy moisturizer and apply it over your entire face, avoiding the spot-treated areas. This keeps the rest of your skin hydrated without smearing the treatment.
If your spot cream contains ingredients like salicylic acid or benzoyl peroxide, they can be drying. A moisturizer with vitamins and antioxidants can help maintain your skin barrier. Wait a minute for the moisturizer to absorb before applying makeup.
- Avoid rich, heavy creams on breakout-prone areas—they can clog pores.
- Look for non-comedogenic moisturizers labeled 'lightweight' or 'oil-free'.
Choose the Right Concealer for Acne
Not all concealers are equal when it comes to covering breakouts. You need a formula that's buildable, long-wearing, and won't slide off during the day. Cream or liquid concealers with a matte or velvet finish work well because they adhere to the skin and resist smudging.
A concealer with a wand applicator lets you target the blemish precisely. Avoid heavy, cakey formulas that can settle into dry patches and make the pimple more noticeable. Test the shade on your jawline to ensure it matches your skin tone.
- Choose a concealer that matches your skin tone, not lighter—light shades draw attention.
- If you have redness, a green color corrector can help neutralize it before concealer.
Apply Concealer with a Light Hand
Use a small, flat brush or a clean fingertip to dab concealer onto the blemish. Start with a thin layer and build up if needed. Patting, not rubbing, keeps the coverage in place and avoids moving the spot cream underneath. Let each layer dry for a few seconds before adding more.
After the concealer is set, you can blend the edges gently with a sponge or brush. Avoid dragging the product across the pimple, as this can lift the concealer and expose the spot treatment. Set with a light dusting of translucent powder to lock it in.
- Use a patting motion with your ring finger—it applies the least pressure.
- Don't use your fingers if they're not clean—bacteria can worsen breakouts.
Let the Spot Treatment Work Overnight
For maximum effectiveness, apply spot cream at night after cleansing and before bed. This gives the active ingredients hours to work without interference from makeup or sunscreen. In the morning, you can follow the same routine but use a lighter hand with concealer.
If you wear makeup during the day, reapply spot cream only after removing your makeup in the evening. Never layer spot treatment over makeup—it won't penetrate properly and can cause irritation. Consistency is key: use the spot treatment daily until the blemish fades.
- Keep a travel-sized spot cream for on-the-go touch-ups? No—spot treatments work best on clean skin.
- Don't pop pimples—it increases inflammation and scarring.
Step-by-Step: Spot Cream and Concealer Routine
- Cleanse: Wash your face with a gentle cleanser to remove oil and impurities. Pat dry with a clean towel. Checkpoint: Your skin should feel clean but not tight or stripped.
- Apply spot cream: Dab a thin layer of anti-acne spot cream directly onto each blemish. Let it dry completely (2-5 minutes). Checkpoint: If it still feels tacky, wait longer before the next step.
- Moisturize: Apply a light, non-greasy moisturizer to the rest of your face, avoiding the spot-treated areas. Checkpoint: The spot cream should remain undisturbed and visible.
- Conceal: Use a small brush or clean fingertip to pat concealer onto the blemish. Build coverage in thin layers. Checkpoint: Blend edges gently without rubbing the center.
- Set and go: Dust a translucent powder over the concealed area to lock it in. For overnight, skip concealer and let the spot cream work. Checkpoint: Reapply spot cream only on clean skin at night.
Products That Help Your Spot Treatment Routine
- Gel Cleanser: Skin O2 Gel Cleanser is a lightweight vegan gel cleanser to thoroughly cleanse the skin and remove excess oil and impurities. Cleanses the skin to leave it clarified, while perfectly prepping the skin for the next anti-blemish skincare steps. Kills 99.9% of germs & bacteria. A clean base ensures your spot cream can penetrate effectively and reduces the risk of new breakouts from trapped dirt.
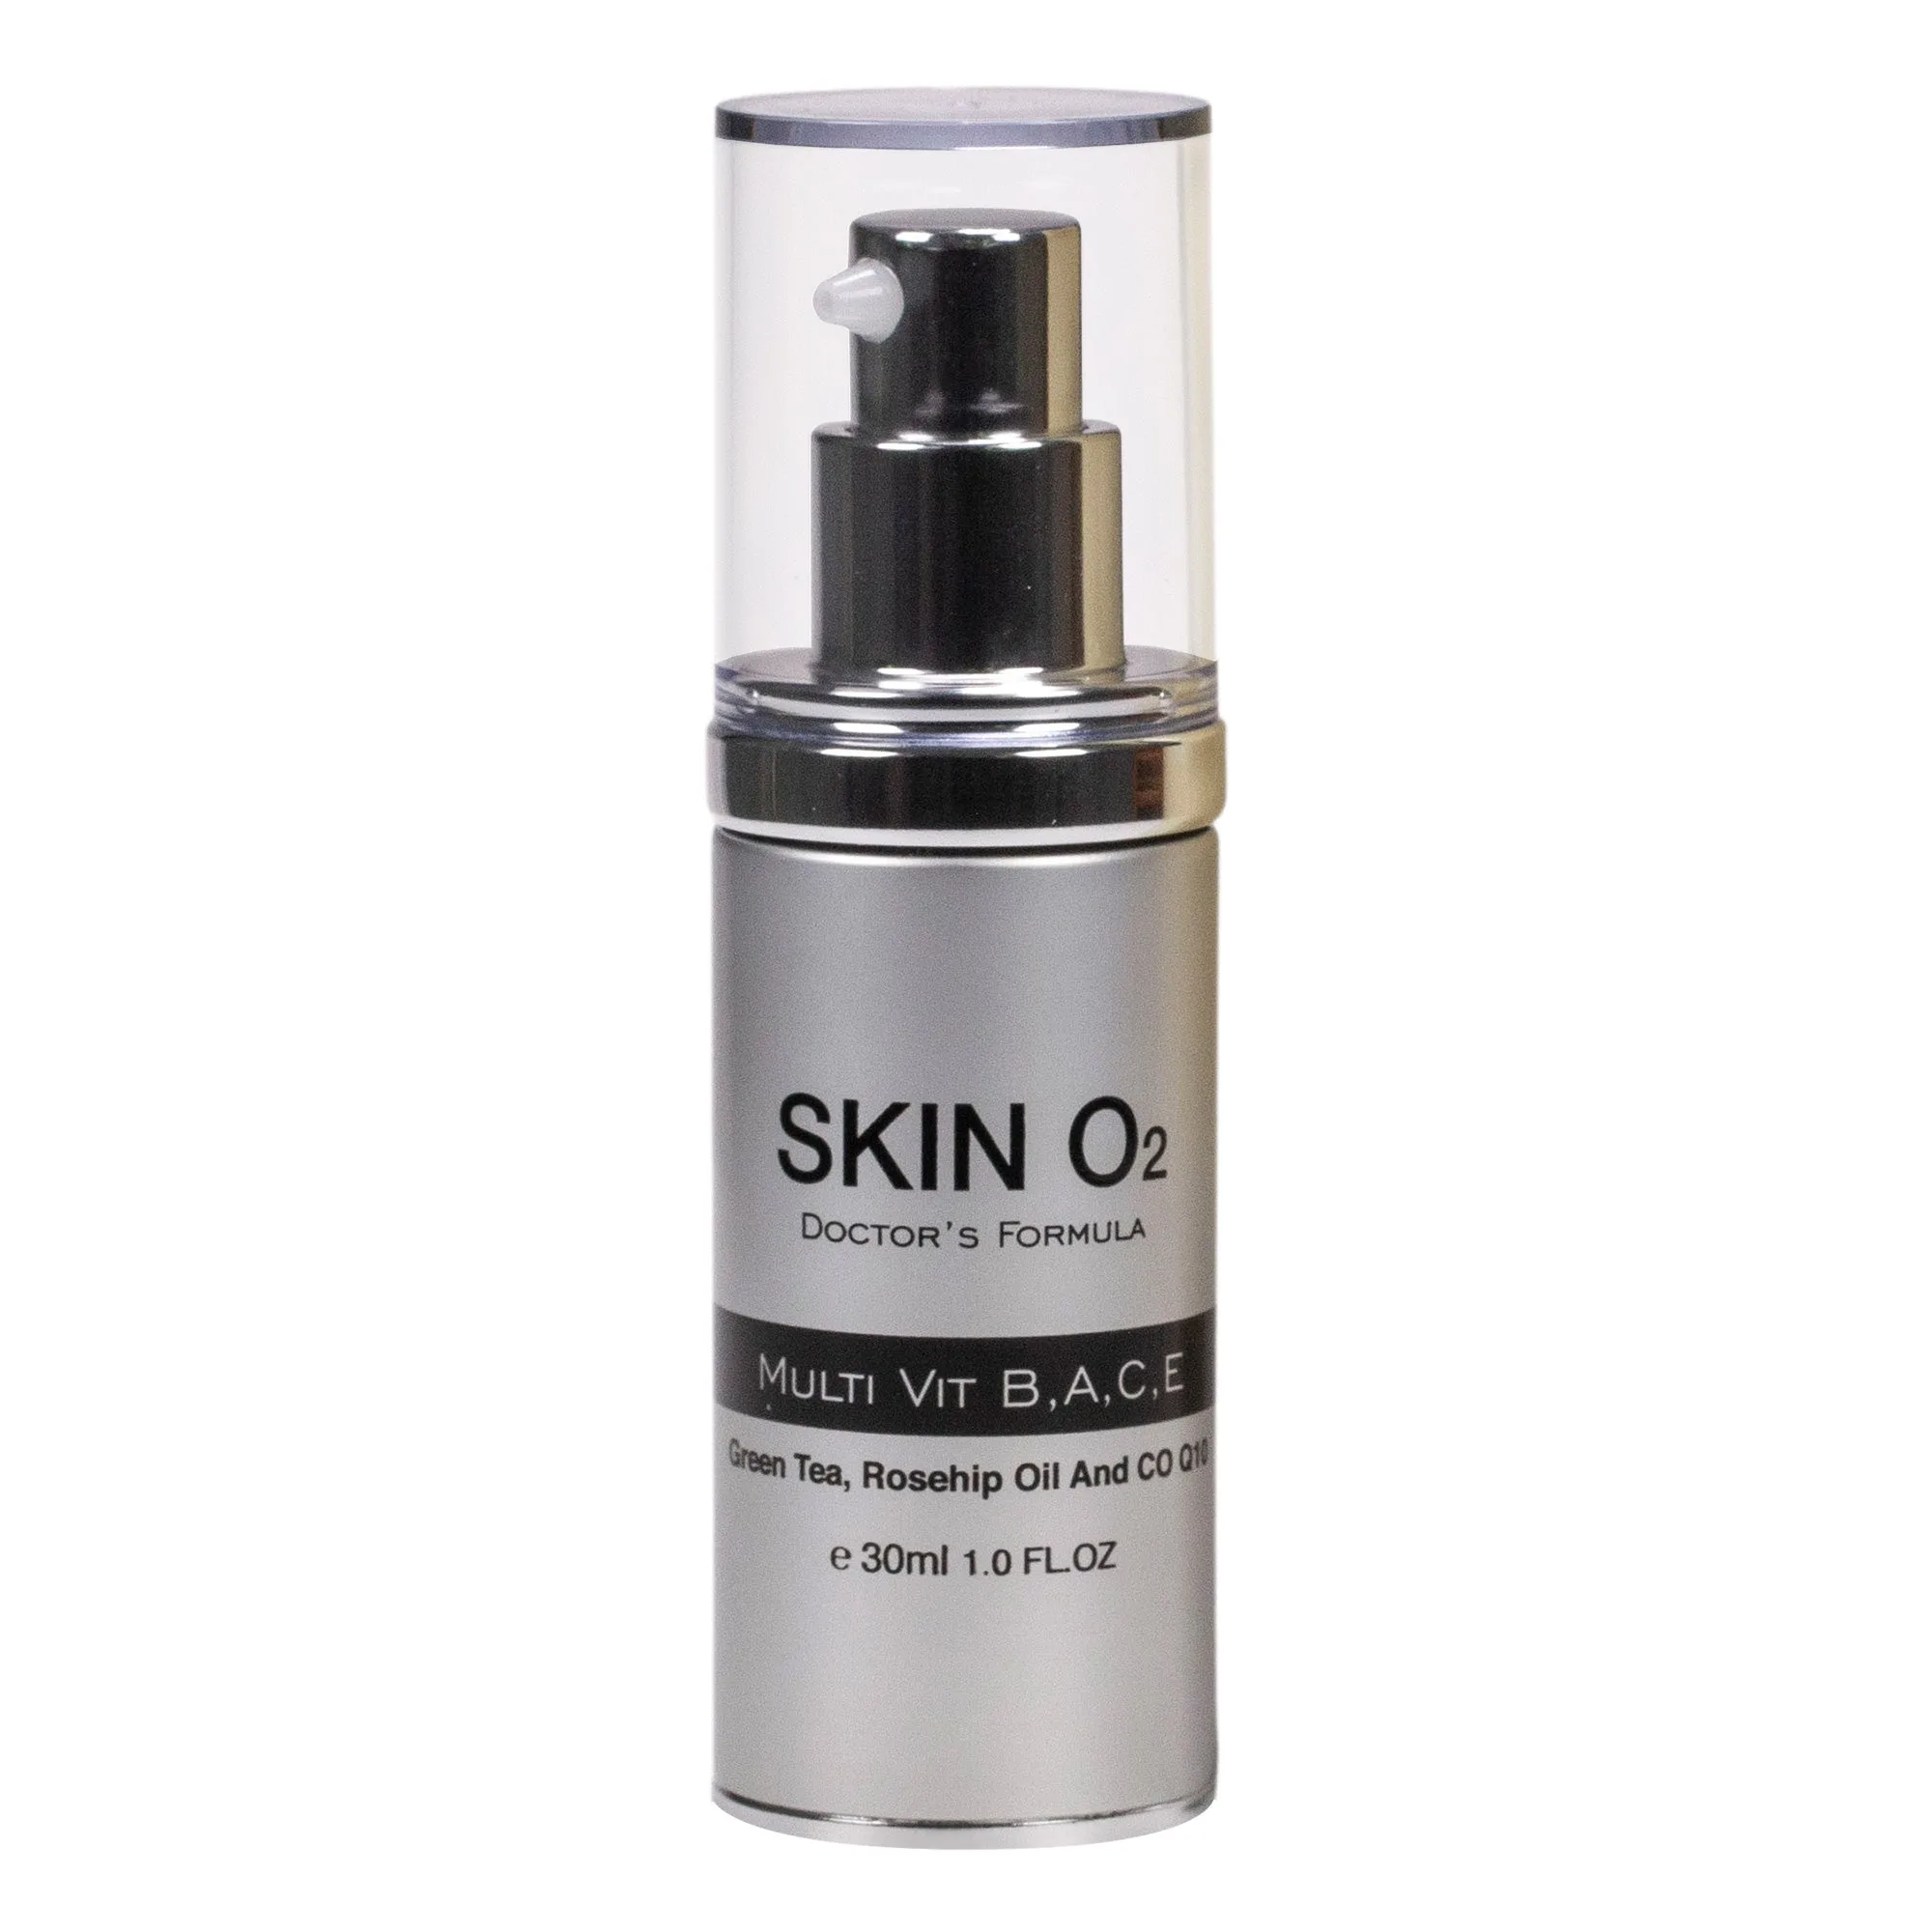
- Multi Vit B, A, C, E Moisturiser: Triple action vegan moisturising cream that targets all 7 signs of aging and skin fatigue. Suitable for all skin types & especially for combination, oily, acne prone & teen skin. Light weight, deep penetrating & non greasy. Using a non-greasy moisturizer around spot-treated areas helps maintain skin hydration without clogging pores or interfering with the treatment.
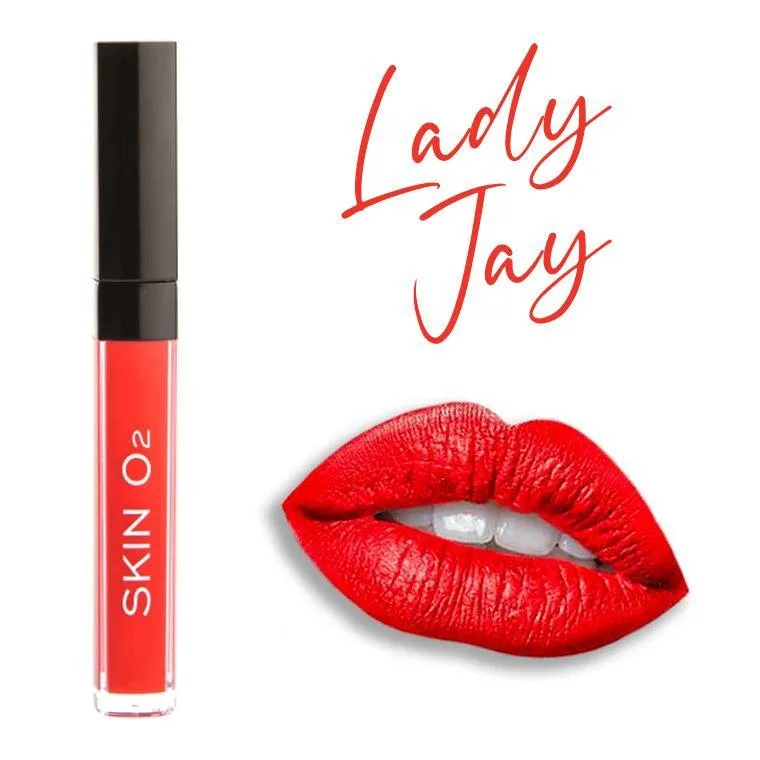
- Matte Liquid Lipstick: Skin O2 Vegan Matte Liquid Lipstick is an intensely pigmented liquid lipstick that goes on smoothly and stays on for hours. Pillowy soft, velvet liquid lipstick that creates a soft, diffused look. For a velvety suede finish that lasts and lasts & is resistant to smudging and fading. While not for acne, this long-wearing, smudge-resistant formula is a good example of the kind of staying power you want in a concealer for breakouts—look for similar claims in your concealer.
Mastering the order and technique of applying spot cream and concealer can make a real difference in how fast your breakouts heal and how well you can cover them. Start with clean skin, let your spot treatment dry, and use a light hand with concealer. With a consistent routine, you'll keep blemishes under control and your skin looking its best.