Quick Answer
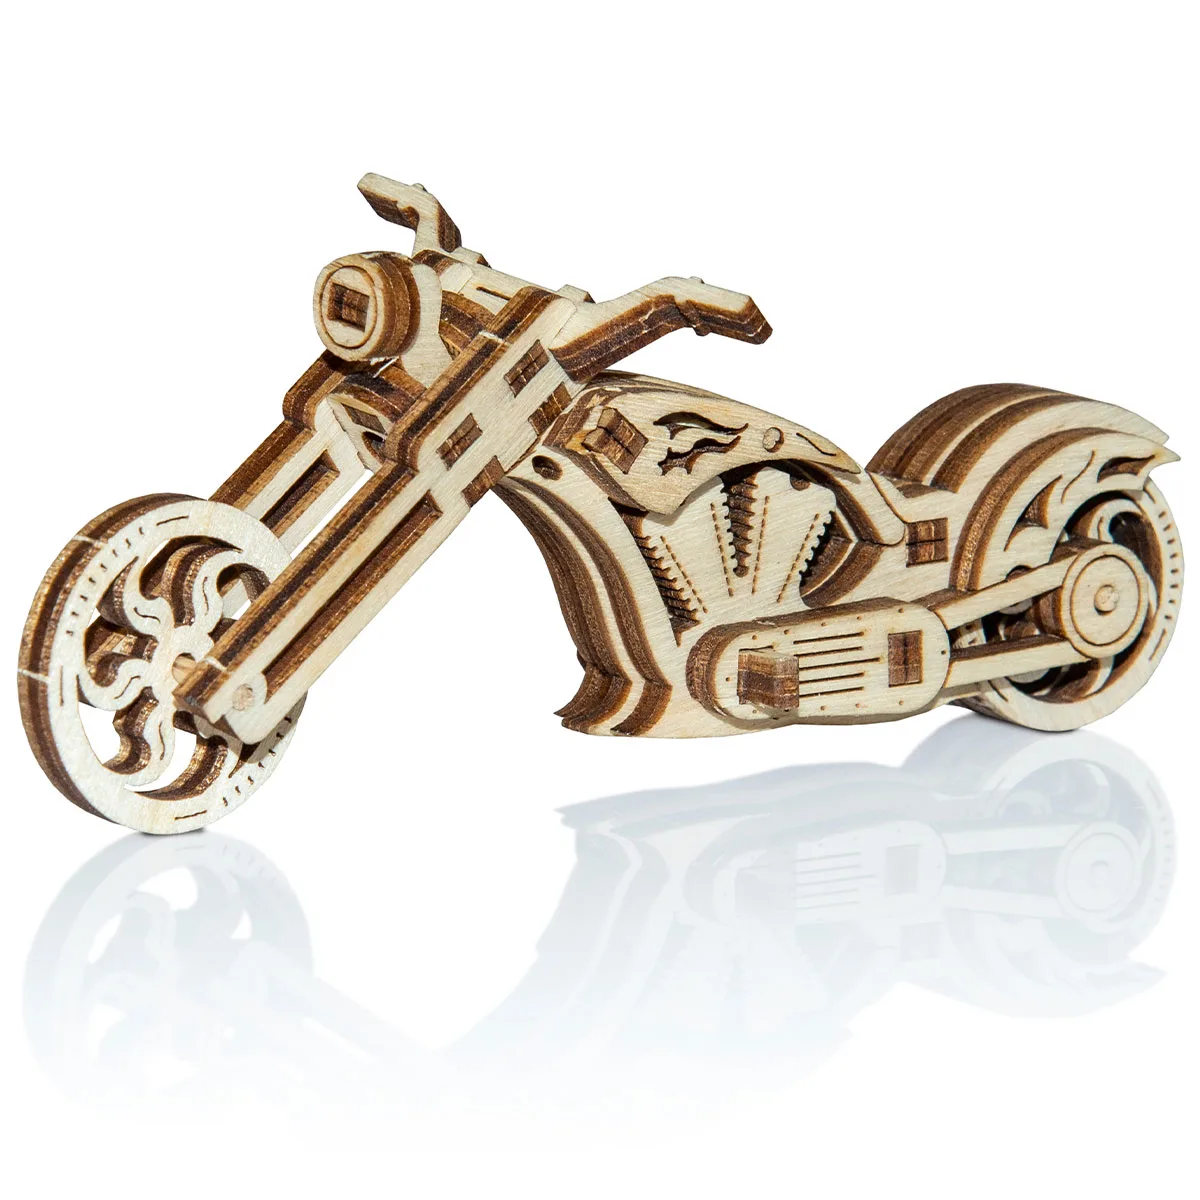
Assembling a 3D wooden chopper motorcycle puzzle requires patience, a clean workspace, and careful attention to the numbered parts. Start by sorting pieces, then follow the step-by-step process below to build your Chopper Widget model without forcing joints or breaking tabs.
What You Need Before You Start
A flat, well-lit surface is essential. Wooden puzzle pieces can be delicate, so avoid building on carpet or uneven tables where small tabs might snap. You don't need glue or tools—most 3D wooden puzzles, including the Chopper Widget, rely on friction-fit joints. However, a small piece of fine sandpaper (220 grit) can help ease tight connections if needed.
Check that all pieces are present by comparing them to the instruction diagram. The Chopper Widget puzzle from Wooden.City includes laser-cut wooden sheets with pre-scored outlines. If a piece feels stuck, gently push it out from the back side rather than bending it.
Step-by-Step Assembly Instructions
- Step 1: Sort and Identify All Pieces: Lay out the wooden sheets and punch out each piece gently. Group them by shape or by the numbers printed on the back. The Chopper Widget has distinct parts for the frame, wheels, handlebars, and engine block. Common mistake: Punching out pieces too forcefully can break small tabs. Push from the back of the sheet with your thumb.
- Step 2: Assemble the Main Frame and Engine: Connect the frame rails and engine block first. These form the structural backbone. Align the numbered slots and press together with even pressure. If a joint is too tight, lightly sand the tab edges. Checkpoint: The frame should sit flat on your work surface. If it wobbles, one joint may be partially inserted.
- Step 3: Attach the Front Fork and Handlebars: Slide the front fork into the frame's head tube. Add the handlebar piece on top. The fork should pivot freely—do not force it. If it binds, check that the slot is clean of debris. Common mistake: Over-tightening the fork joint can crack the frame. Stop pressing as soon as the pieces are flush.
- Step 4: Install the Wheels and Rear Suspension: Fit the rear wheel into the swingarm slots, then add the front wheel to the fork. Both wheels should spin freely. Add the rear suspension pieces (if included) to complete the chopper stance. Checkpoint: Spin each wheel after installation. If a wheel drags, the axle tab may be misaligned.
- Step 5: Add Final Details and Display: Attach the seat, exhaust pipes, and any decorative pieces. The Chopper Widget may include a small stand or kickstand. Place your completed model on a shelf or desk away from direct sunlight to prevent warping. Verdict: If all joints are snug and wheels spin, your model is ready. Avoid handling it by the handlebars—they are the most fragile part.
About the Chopper Widget Puzzle
- 3D Wooden Motorbike Puzzle – Chopper Widget: Introducing the Chopper Widget Wooden Puzzle 3D, an emblem of timeless craftsmanship and European excellence straight from the heart of Poland. The precision laser-cutting from Poland means pieces fit snugly without glue, but you still need to handle them carefully to avoid forcing joints.