Quick Answer
To assemble a karakuri paper model that moves, follow the included pull-out pages and diagrams, use the right tools, and test each mechanism as you go. Patience and precision are more important than speed.
Why Karakuri Assembly Requires Precision
Karakuri models rely on simple mechanisms like gears, cranks, cams, and levers. Each part must be cut and folded accurately, or the movement will be stiff or uneven. Unlike static papercraft, a moving model has tolerance: too much friction and the gears jam; too little and parts slip.
The included pull-out pages are designed for direct use, but they are not indestructible. If you make a mistake, it's better to trace the pattern onto cardstock and start fresh than to force a damaged piece into place.
Trade-Off: Speed vs. Accuracy
It's tempting to rush through cutting and folding to see the model move. But a karakuri model rewards careful work. A slightly off-center hole or a fold that isn't crisp can make the difference between a smooth rotation and a stuck crank.
If you're new to mechanical paper models, expect the first build to take longer than you planned. That's normal. The learning curve is part of the enjoyment.
Step-by-Step Assembly Process
- Prepare Your Workspace and Tools: Clear a flat, well-lit surface. Gather a craft knife, a cutting mat, a ruler, a bone folder or empty pen for scoring, and white glue or a glue stick. Check that your hands are clean and dry. A dull blade tears paper; use a fresh, sharp blade for clean cuts.
- Identify All Parts and Study the Diagrams: Before cutting anything, review the instruction diagrams and identify every part. Note which pieces are gears, cranks, cams, or levers, and understand how they connect. This prevents confusion later. Mentally trace the movement path from input to output before you start.
- Cut Out the Pieces Carefully: Cut along the solid lines using a craft knife and ruler for straight edges. Take your time on curves and small details. Do not cut on the fold lines; those are meant to be scored and folded. Cut slightly outside the line if you're unsure—you can always trim, but you can't add paper back.
- Score and Fold Along the Dashed Lines: Use a bone folder or the back of a knife to score along the dashed lines, then fold crisply. Scoring creates a clean bend and reduces stress on the paper. Fold in the correct direction as indicated by the diagram. A crisp fold is more important than a tight one; avoid creasing the paper twice.
- Assemble the Base and Non-Moving Parts First: Glue the structural parts that don't move, such as the base and any fixed supports. Allow the glue to dry completely before moving on. This gives you a stable foundation. Use a small amount of glue; excess can seep into joints and cause sticking.
- Attach Moving Parts and Test Each Mechanism: Insert axles, gears, cams, and levers one at a time. After attaching each moving part, gently test its range of motion. If it's stiff, check for glue residue or misaligned holes. Adjust before adding the next part. Test each moving part immediately; fixing a problem early is much easier than disassembling later.
- Final Assembly and Smooth Operation Check: Once all parts are in place, do a full test run. Turn the crank or push the lever and watch the movement. If it catches, look for paper burrs, excess glue, or misaligned gears. Trim or sand lightly if needed. A little lubrication with a dry pencil tip (graphite) on axles can reduce friction, but avoid oil that can stain paper.
Recommended Resource
-
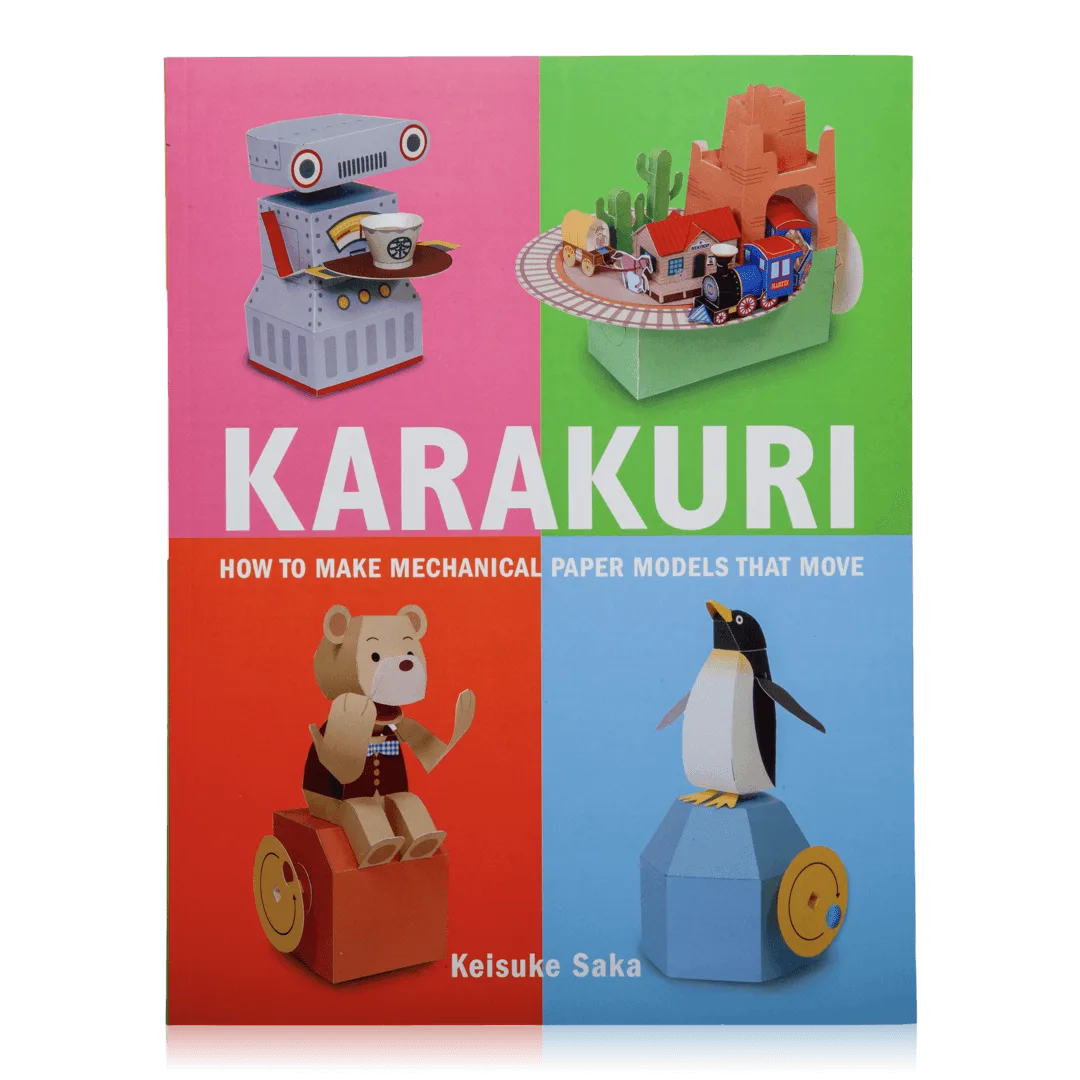
KARAKURI: How to Make Mechanical Paper Models That Move: KARAKURI: How to Make Mechanical Paper Models That Move includes pull-out pages for constructing your own moving models of different types of gears. These ready-to-use pages save you from having to design gear patterns from scratch, letting you focus on assembly technique.
KARAKURI: How to Make Mechanical Paper Models That Move