Quick Answer
Start by choosing a level, clear site and organizing your parts, then follow the manufacturer's sequence for frame, deck, and accessories, finishing with a thorough safety check.
Why Site Prep Matters Before You Begin
A swing set is only as safe as the ground it stands on. Uneven ground can stress the frame and cause wobbling, so take time to level the area before assembly. Clear the space of rocks, roots, and debris, and consider the fall zone around swings and slides—typically a 6-foot radius from the play area.
Also, check for overhead obstacles like tree branches or power lines. A clear, level site not only makes assembly easier but also extends the life of your swing set.
Understanding the Parts and Tools
Most swing sets come with pre-drilled wood and clearly labeled hardware. Before you start, lay out all parts and match them to the instruction manual. This prevents mid-assembly confusion and reduces the chance of using the wrong bolt.
Keep tools like wrenches, screwdrivers, and a rubber mallet handy. Having a second person to help hold pieces in place is not just convenient—it's often necessary for safety and accuracy.
Common Assembly Mistakes to Avoid
One frequent mistake is over-tightening bolts before the structure is fully aligned. This can strip threads or make it impossible to adjust later. Another is skipping the step of attaching the swing hangers correctly, which can lead to uneven swings.
Always follow the torque specs in the manual, if provided, and do a final check of all connections after assembly.
Step-by-Step Assembly Process
- Prepare the Site: Choose a level area with at least 6 feet of clearance on all sides from fences, walls, and other structures. Remove grass, rocks, and debris, and add sand or mulch to create a soft landing surface. Check that the ground is level using a long board and a level tool before starting.
- Sort and Identify Parts: Lay out all lumber, hardware, and accessories. Match each piece to the parts list in the manual. Group bolts, washers, and nuts by size to speed up assembly. Take inventory before you start to avoid missing parts mid-build.
- Build the Frame: Assemble the A-frame legs and top beam according to the manual. Use the provided bolts and washers, but do not fully tighten yet. This allows for minor adjustments during alignment. Keep bolts snug but not tight until the frame is square and level.
- Attach the Deck and Clubhouse: If your swing set includes an upper deck or clubhouse, install the floor supports and deck boards first, then add the walls and roof. Follow the sequence in the manual to ensure proper support. Ensure the deck is level and securely bolted before moving on.
- Install Swing Hangers and Accessories: Attach swing hangers to the top beam, spacing them evenly. Install swings, a trapeze, or a slide according to the manual. Make sure all moving parts are free and do not touch each other. Test each swing by giving it a gentle push to check for clearance and smooth motion.
- Final Safety Check: Tighten all bolts and screws to the recommended torque. Check for sharp edges, protruding bolts, or loose parts. Ensure the swing set is stable by rocking it gently from side to side. Re-check all connections after a few weeks of use, as wood can settle and bolts may loosen.
Product Insight
-
Timber Crossing Swing Set: The Timber Crossing Swing Set is built from natural cedar wood, known for its durability and resistance to decay. Cedar's natural strength means your swing set will withstand years of play, but it still requires proper assembly to ensure all joints are secure and the structure remains stable.
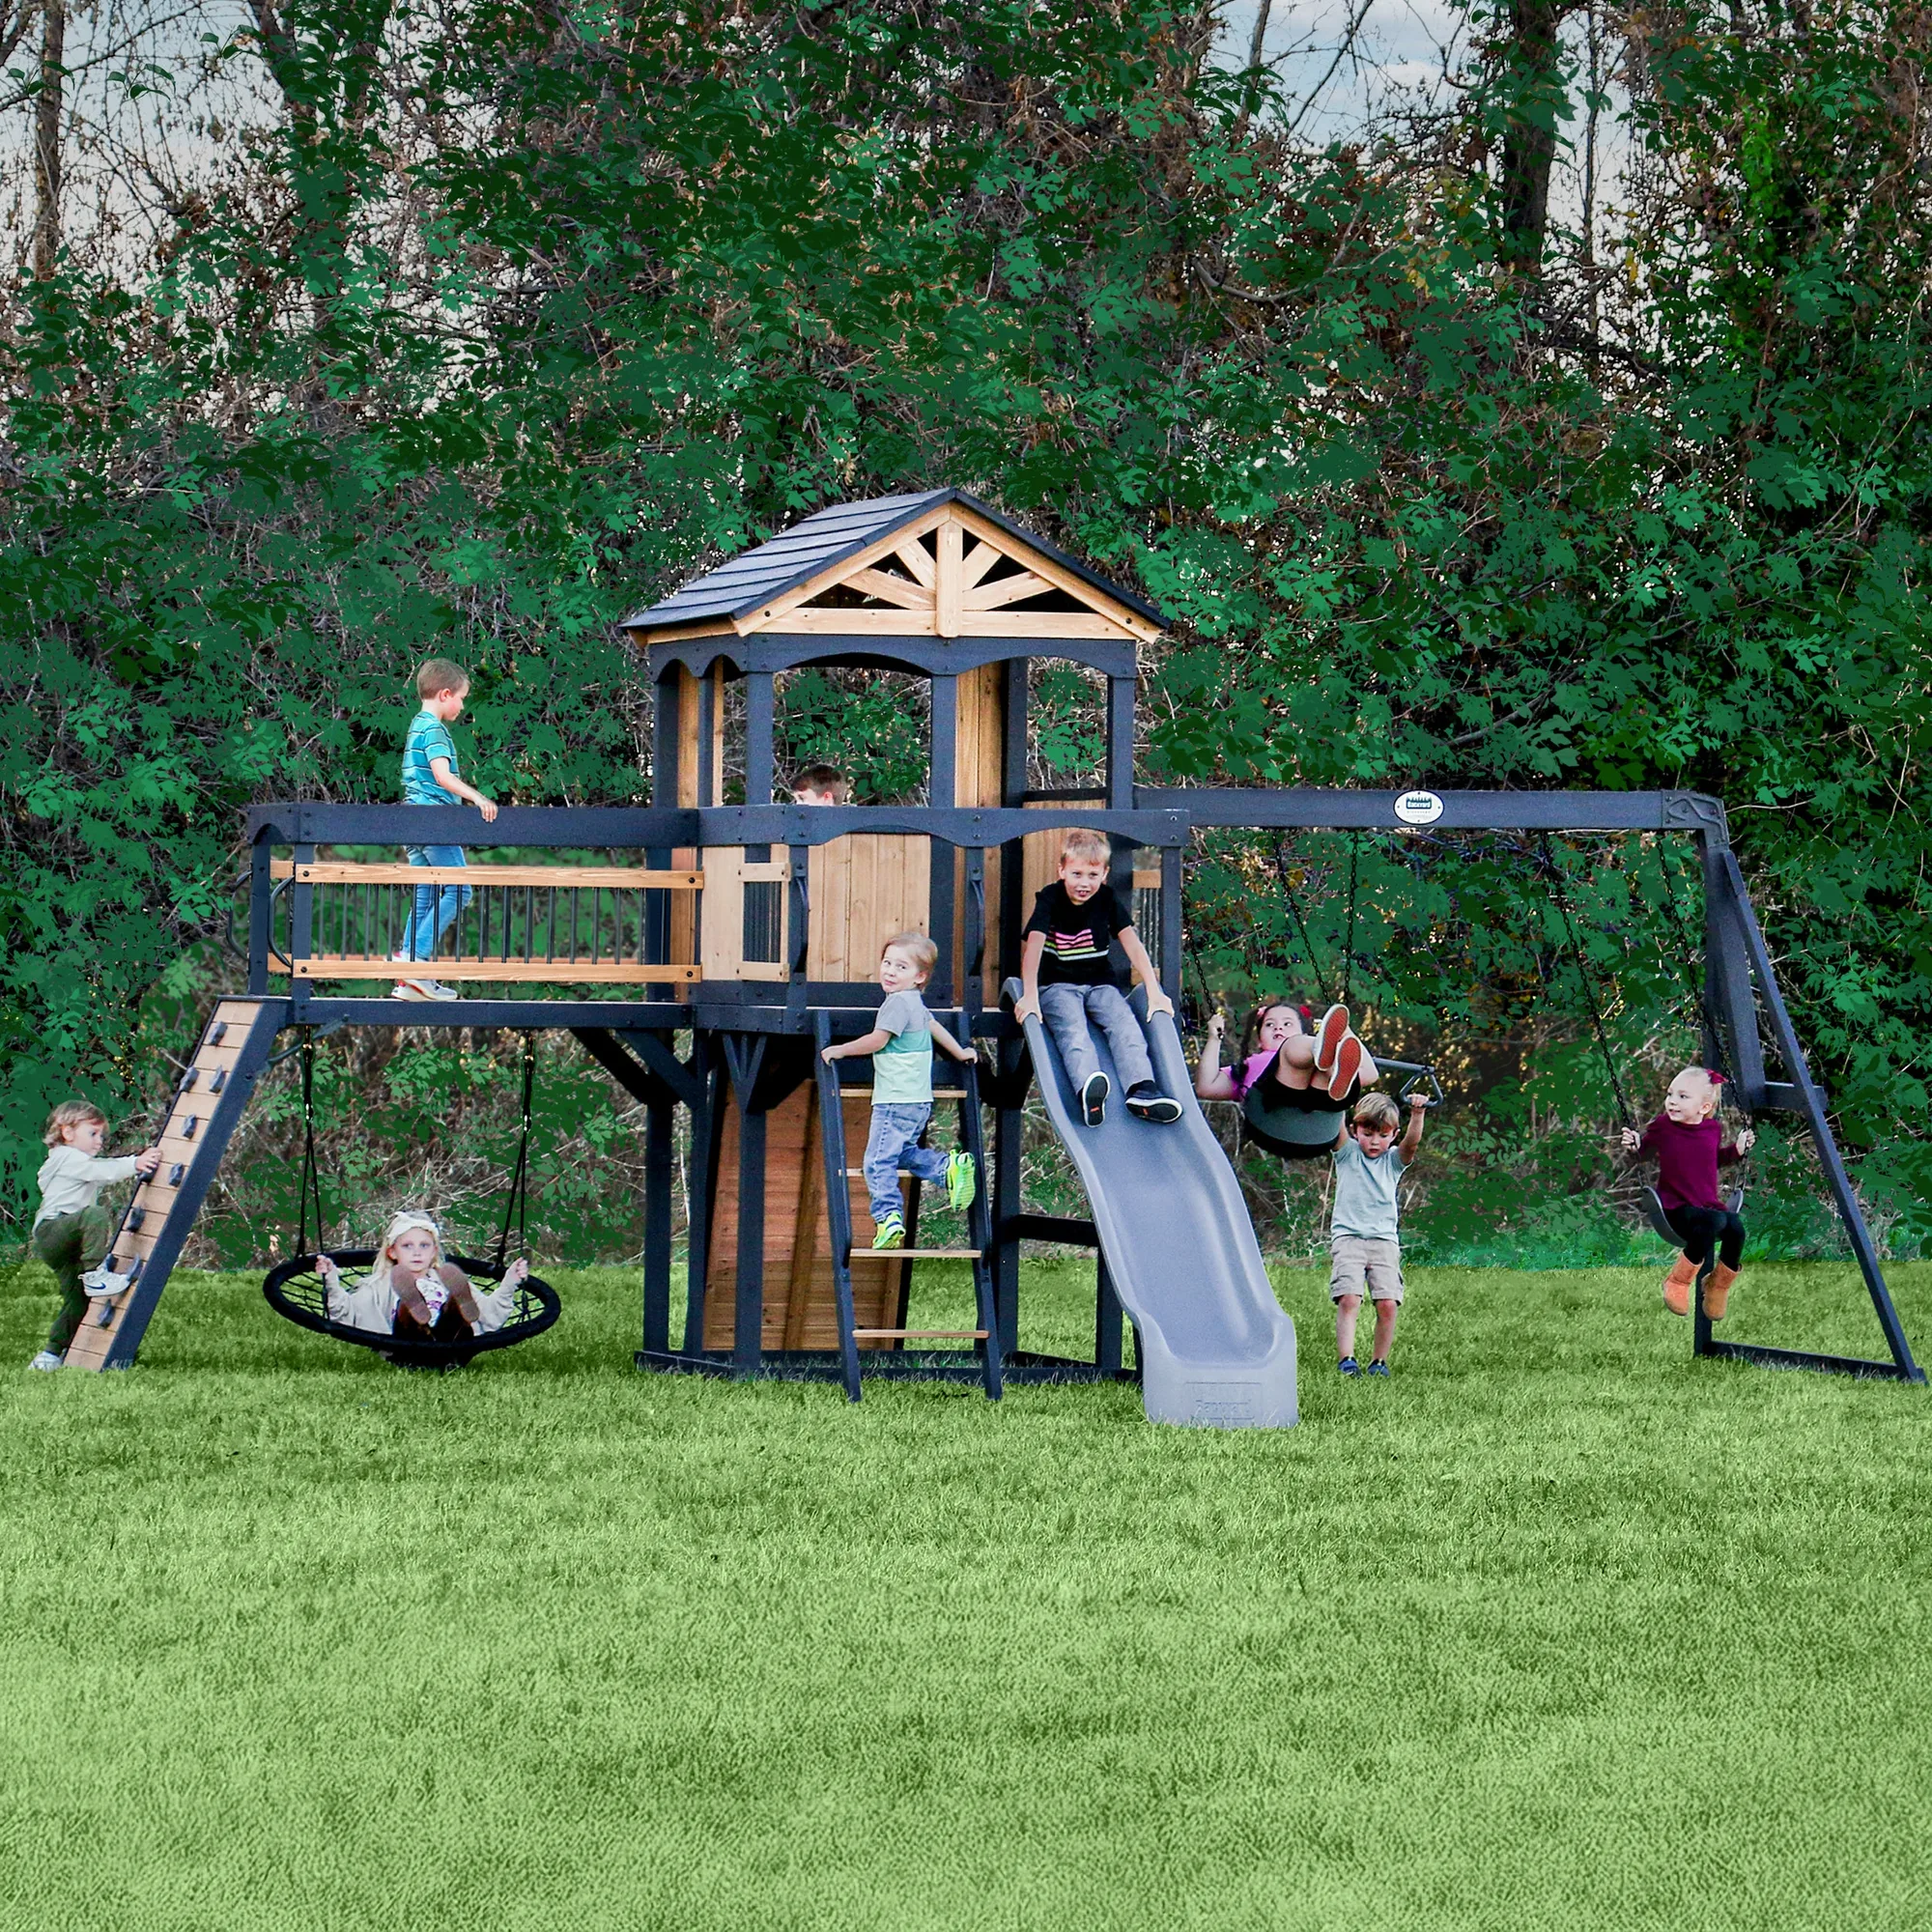
Timber Crossing Swing Set