Quick answer
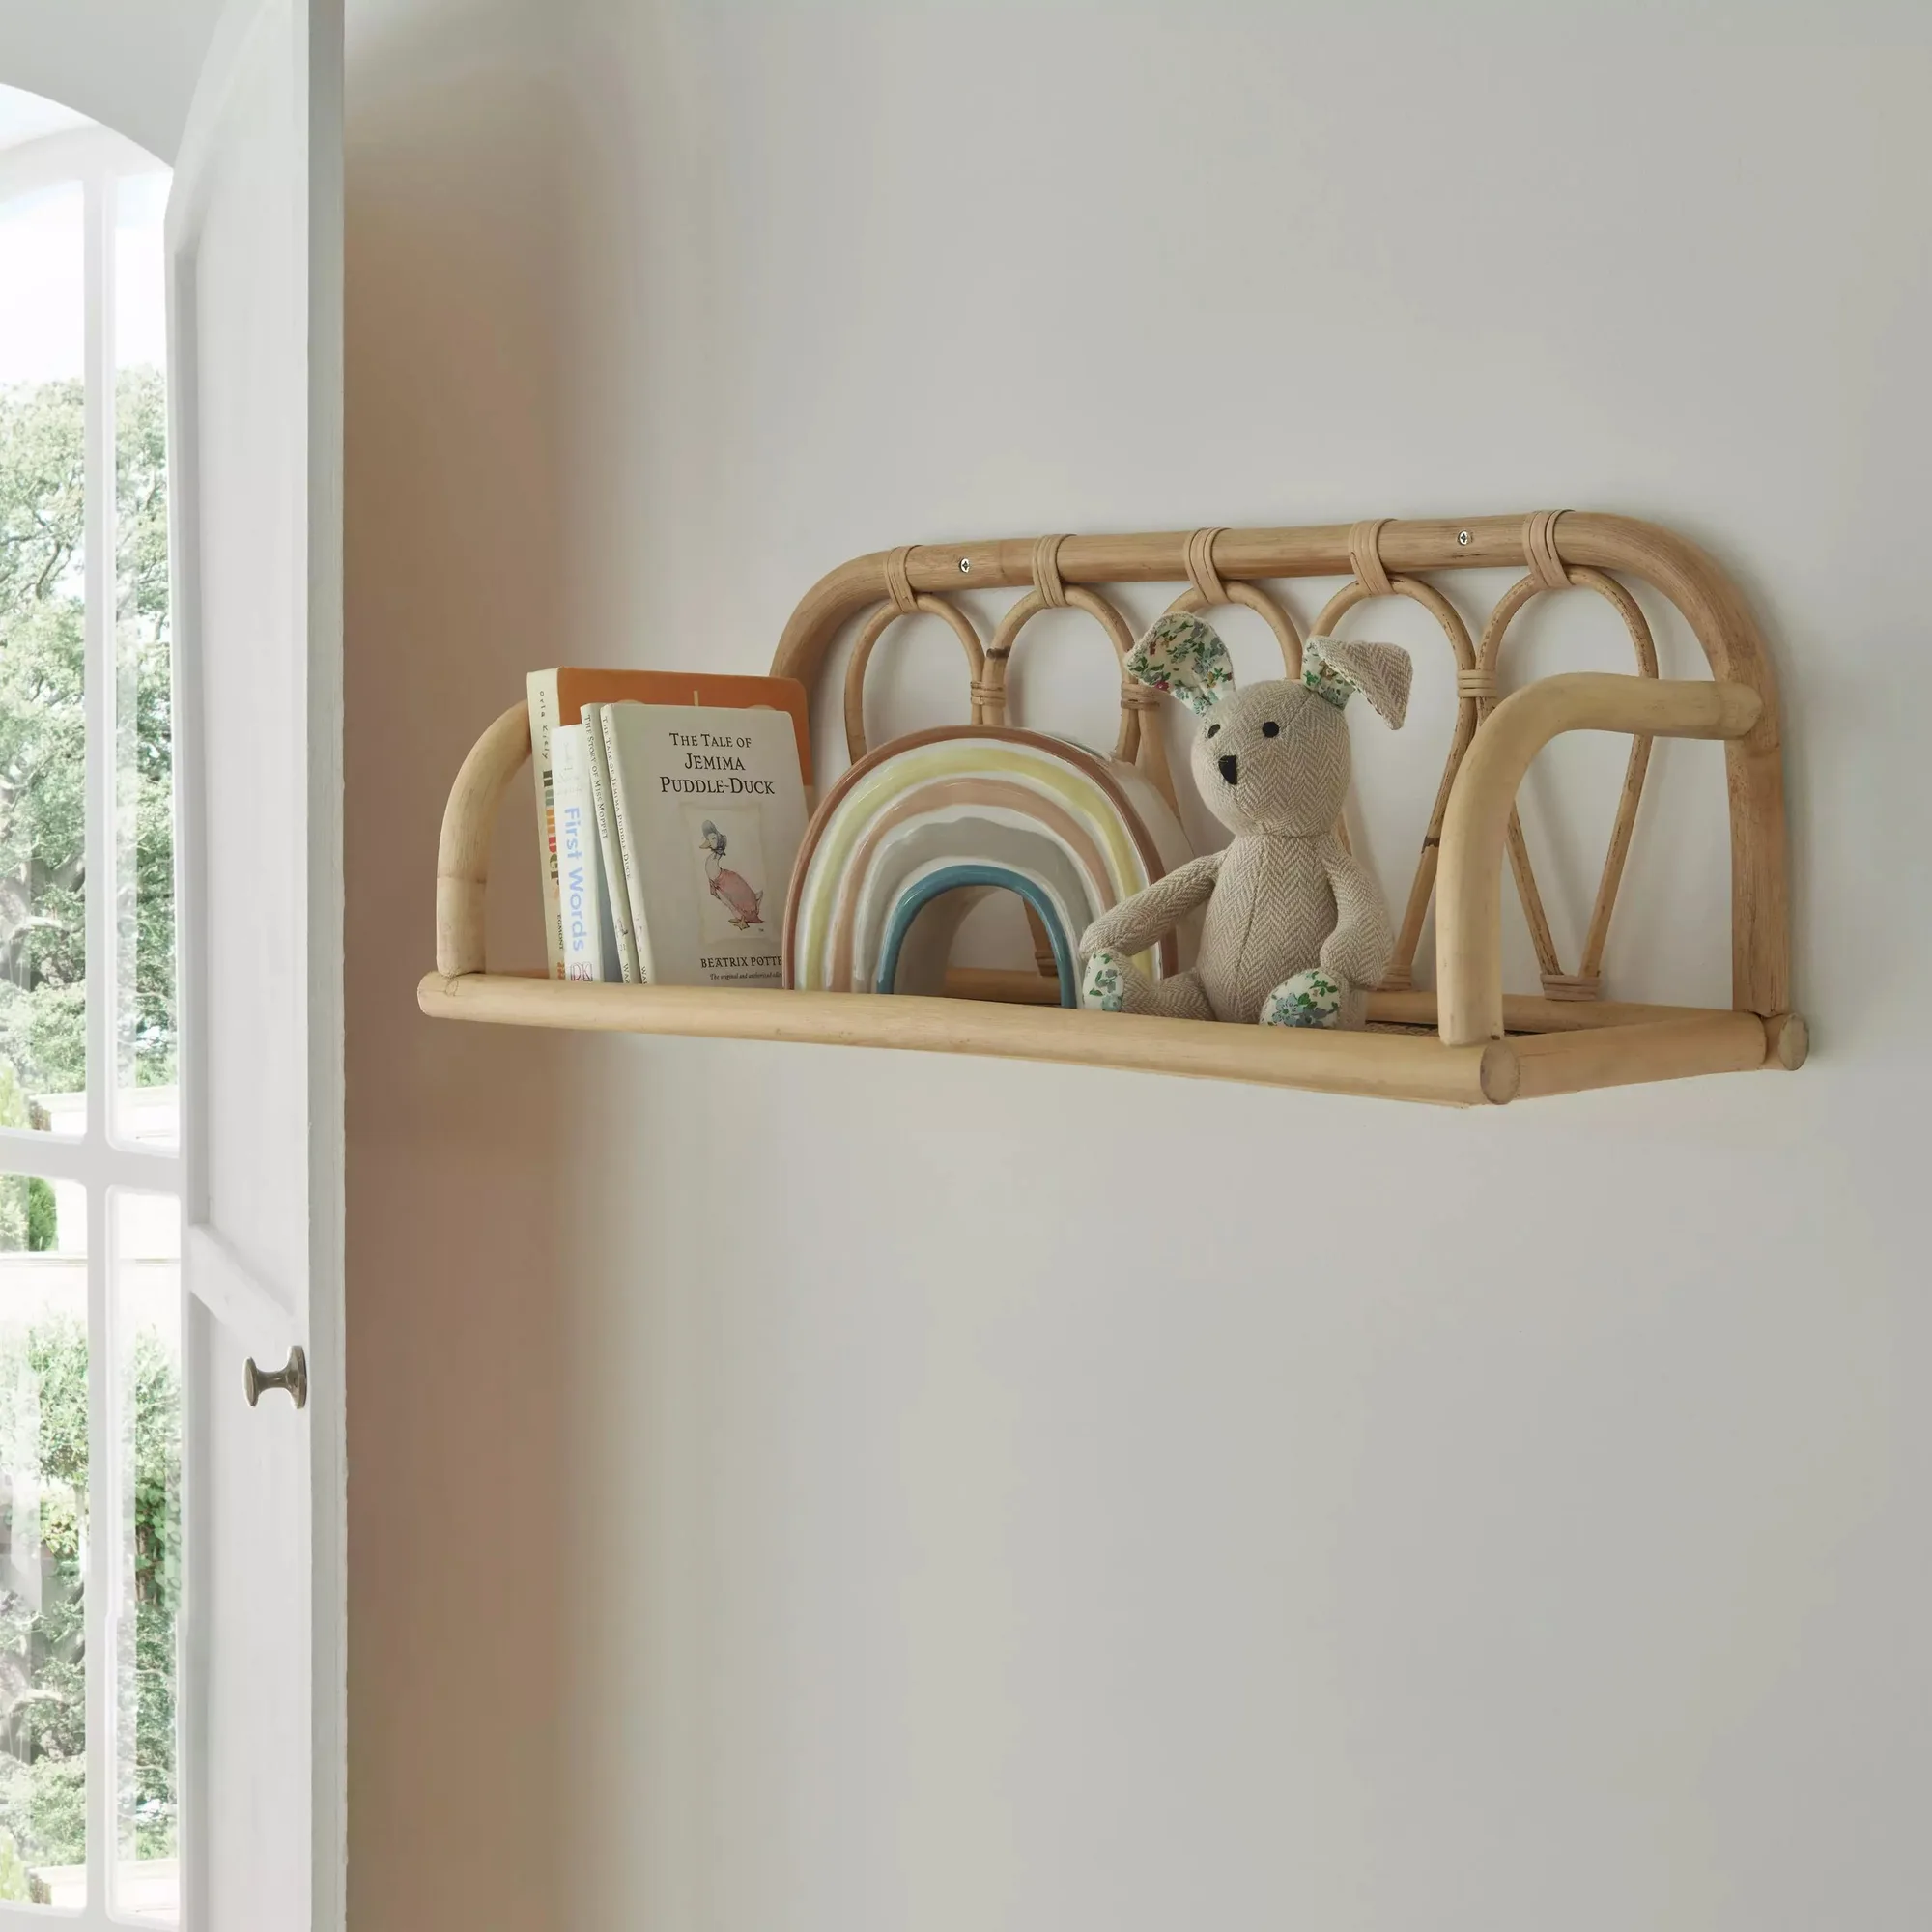
Assembling the Aria Rattan Shelf takes about 20 minutes. You will need a screwdriver, a level, a tape measure, and wall fixings suitable for your wall material. The shelf comes with pre-drilled holes; you just attach the brackets, mark the wall, drill pilot holes, and secure the shelf with the supplied screws.
What you need before you start
Before unboxing, gather a screwdriver (Phillips head), a tape measure, a pencil, a spirit level, and wall fixings that are appropriate for your wall type (drywall, plaster, or brick). The Aria Rattan Shelf does not come with wall fixings, so you must choose the correct anchors and screws for your wall material to ensure a safe installation. A stud finder is helpful if you are mounting into drywall.
Unboxing and checking the parts
Carefully open the box and lay out all components. The shelf includes the rattan shelf board, two metal brackets, a set of screws, and a small allen key if needed. Check that the rattan weave and clear lacquer finish are free from damage or splinters. If any part is missing or damaged, contact Cuddleco before proceeding.
Step-by-step assembly guide
- Step 1: Attach the brackets to the shelf: Place the shelf upside down on a soft surface. Align each metal bracket with the pre-drilled holes on the underside of the shelf. Insert the screws and tighten them with a screwdriver until the bracket is snug but not overtightened. Common mistake: Overtightening can strip the screw holes or crack the plywood. Stop as soon as the bracket is secure. Check that both brackets are parallel and evenly spaced from the edges.
- Step 2: Mark the wall for drilling: Hold the shelf with brackets against the wall at your desired height. Use a spirit level to ensure it is straight. Lightly mark the top edge of each bracket on the wall with a pencil. Remove the shelf and place the bracket against the wall, aligning it with your marks. Mark the screw hole positions through the bracket slots. Common mistake: Forgetting to account for the bracket thickness – always use the bracket itself as a template. Double-check the marks with the level before drilling.
- Step 3: Drill pilot holes and insert wall anchors: Using a drill bit that matches your wall anchors, drill pilot holes at each marked spot. For drywall, use a drywall anchor; for brick or concrete, use masonry anchors. Tap the anchors into the holes until they are flush with the wall. Common mistake: Drilling too deep or at an angle can compromise anchor grip. Keep the drill perpendicular to the wall. If you hit a stud, you can screw directly into the stud without an anchor.
- Step 4: Mount the shelf onto the wall: Hold the shelf with brackets against the wall, aligning the bracket slots over the installed anchors. Insert the supplied screws through the bracket slots and into the anchors. Tighten each screw gradually, alternating sides, until the shelf feels firm against the wall. Common mistake: Tightening one side fully before the other can twist the shelf. Alternate turns to keep it level. Give the shelf a gentle tug to confirm it is secure before loading any items.
- Step 5: Final safety check and load test: Place a few lightweight toys or books on the shelf and observe for any wobble or sag. Check that the brackets remain flush against the wall. If the shelf feels unstable, remove it and verify that the anchors are fully seated and that all screws are tight. Common mistake: Overloading the shelf beyond its intended capacity (light nursery decor) can cause it to pull away from the wall. For heavy items, consider using additional wall anchors or a stud-mounted bracket.
Product facts
- Aria Rattan Shelf - Small: The Aria Rattan Shelf combines traditional techniques with a modern style. It is made from rattan and plywood with a clear lacquer finish. The shelf measures 60 x 23 x 23 cm (L x W x H). The compact size fits well in a nursery without overwhelming the wall, and the clear lacquer protects the natural rattan from dust and light moisture, making it easy to wipe clean.