Quick Answer
Assembling the Little Tikes Big Digger Sandbox takes about 30 minutes with two people. Follow the 10 steps below to avoid misaligning the crane or leaving gaps that let sand escape.
Why Assembly Order Matters
The Big Digger Sandbox has a working crane and multiple panels that must lock together in the right sequence. If you attach the crane arm too early, it can block access to the corner screws. If you skip the base panel alignment check, the sandbox may wobble on uneven ground.
The steps below follow the manufacturer's intended order but include practical checks that the printed manual sometimes assumes you already know.
10-Step Assembly Guide
- Step 1: Choose a Level Spot: Pick a flat, dry area in your yard. Lay down a weed barrier or tarp if you want to keep the sand clean and prevent grass from growing through the bottom. A slight slope will make the sandbox rock and the crane arm drift. Use a level or a long board to check.
- Step 2: Unpack and Sort All Parts: Open the box and lay out all panels, screws, the crane arm, and the bucket. Check that you have the two long side panels, two short end panels, the base plate, and the hardware bag. Missing a screw now is better than finding out halfway through. Contact support if any part is damaged.
- Step 3: Attach the Base Plate to the Bottom Frame: Snap the base plate into the bottom frame channels. Make sure the slots face upward so the side panels lock in later. Press firmly until you hear a click on all four corners. If the base plate is upside down, the side panels won't slide in. Double-check the orientation before pressing.
- Step 4: Connect the Two Long Side Panels: Slide the tabs on each long side panel into the base plate slots. Push down until the tabs are fully seated. The panel should stand upright without leaning. Do not force the panel if it resists. The tabs may be misaligned; lift and reposition rather than bending the plastic.
- Step 5: Attach the Short End Panels: Fit the short end panels between the long side panels. The interlocking tabs should align. Press each corner until the panels click together. This forms the complete sandbox wall. A common mistake is leaving a gap at the bottom corner. Run your finger along the inside seam to feel for any opening.
- Step 6: Secure All Panels with Screws: Insert the provided screws into the pre-drilled holes at each corner. Use a Phillips-head screwdriver. Tighten until snug, but do not overtighten or you may strip the plastic threads. Hand-tighten first, then give each screw a quarter turn with the screwdriver. Over-tightening can crack the panel.
- Step 7: Install the Crane Base and Pivot Pin: Place the crane base on the designated mounting area on one end panel. Insert the pivot pin through the base and into the panel hole. The pin should rotate freely but not fall out. If the pin is hard to push, apply a drop of dish soap as lubricant. Never hammer it in—that can crack the plastic.
Product Fact
-
Big Digger™ Sandbox: The Big Digger Sandbox features a fully functional crane that lets kids scoop, lift, and dump sand. The crane assembly requires careful alignment of the pivot pin; rushing this step can make the crane stick or wobble instead of moving smoothly.
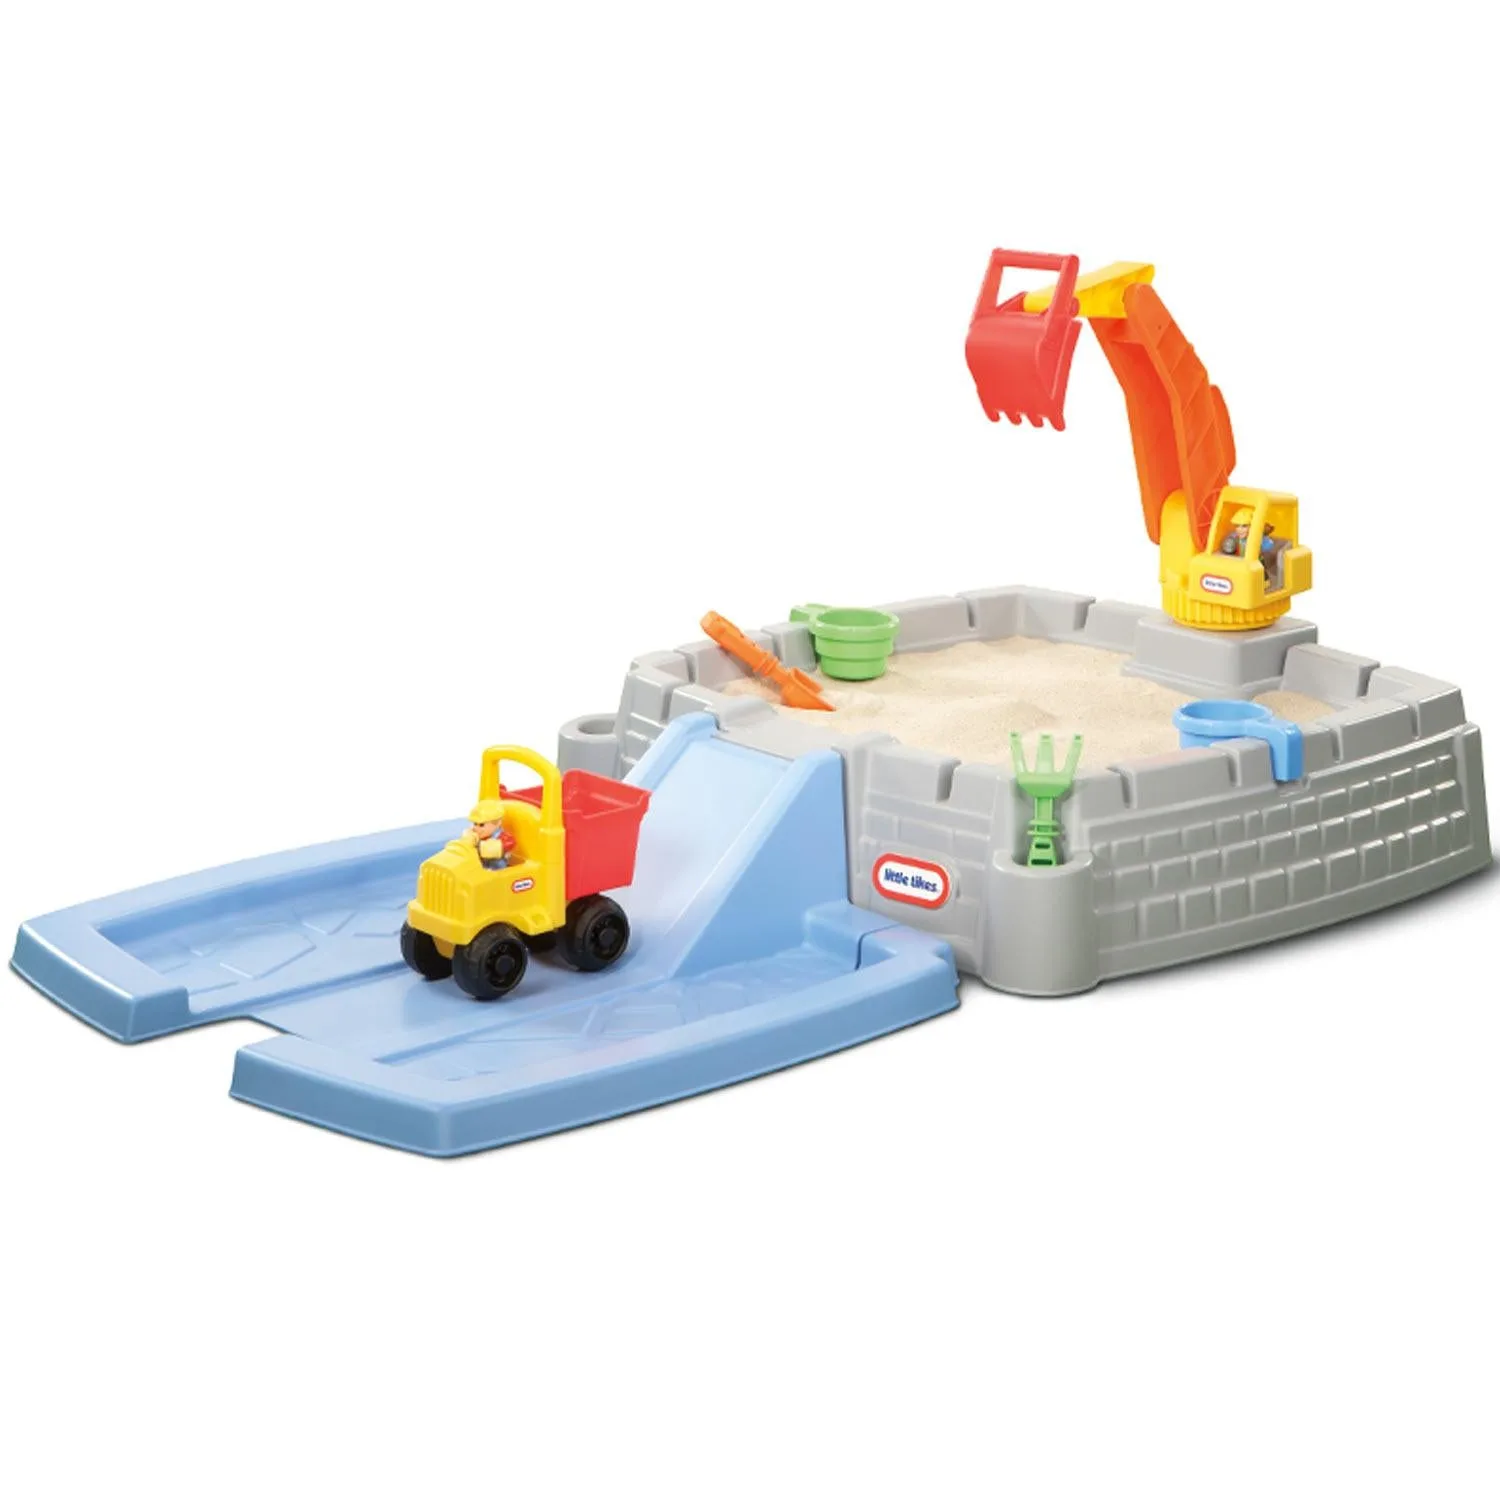
Big Digger™ Sandbox