Quick answer
Sewing is the most secure way to attach an embroidered patch to a bag. For a no-sew option, use a high-tack fabric adhesive or iron-on backing, but expect shorter durability on heavy-use bags.
Choosing your attachment method
Sewing gives the strongest hold and lets you remove the patch later without damaging the bag fabric. Hand stitching with a whipstitch or ladder stitch works on any bag material, while machine zigzag stitching is faster but may show more thread on the inside.
Iron-on patches rely on a heat-activated adhesive on the back. They work well on cotton or polyester bags but may peel over time, especially on curved surfaces or bags that get heavy daily use. Fabric glue is a quick alternative but can stiffen the patch area and may not withstand washing or rain.
Patch placement and preparation
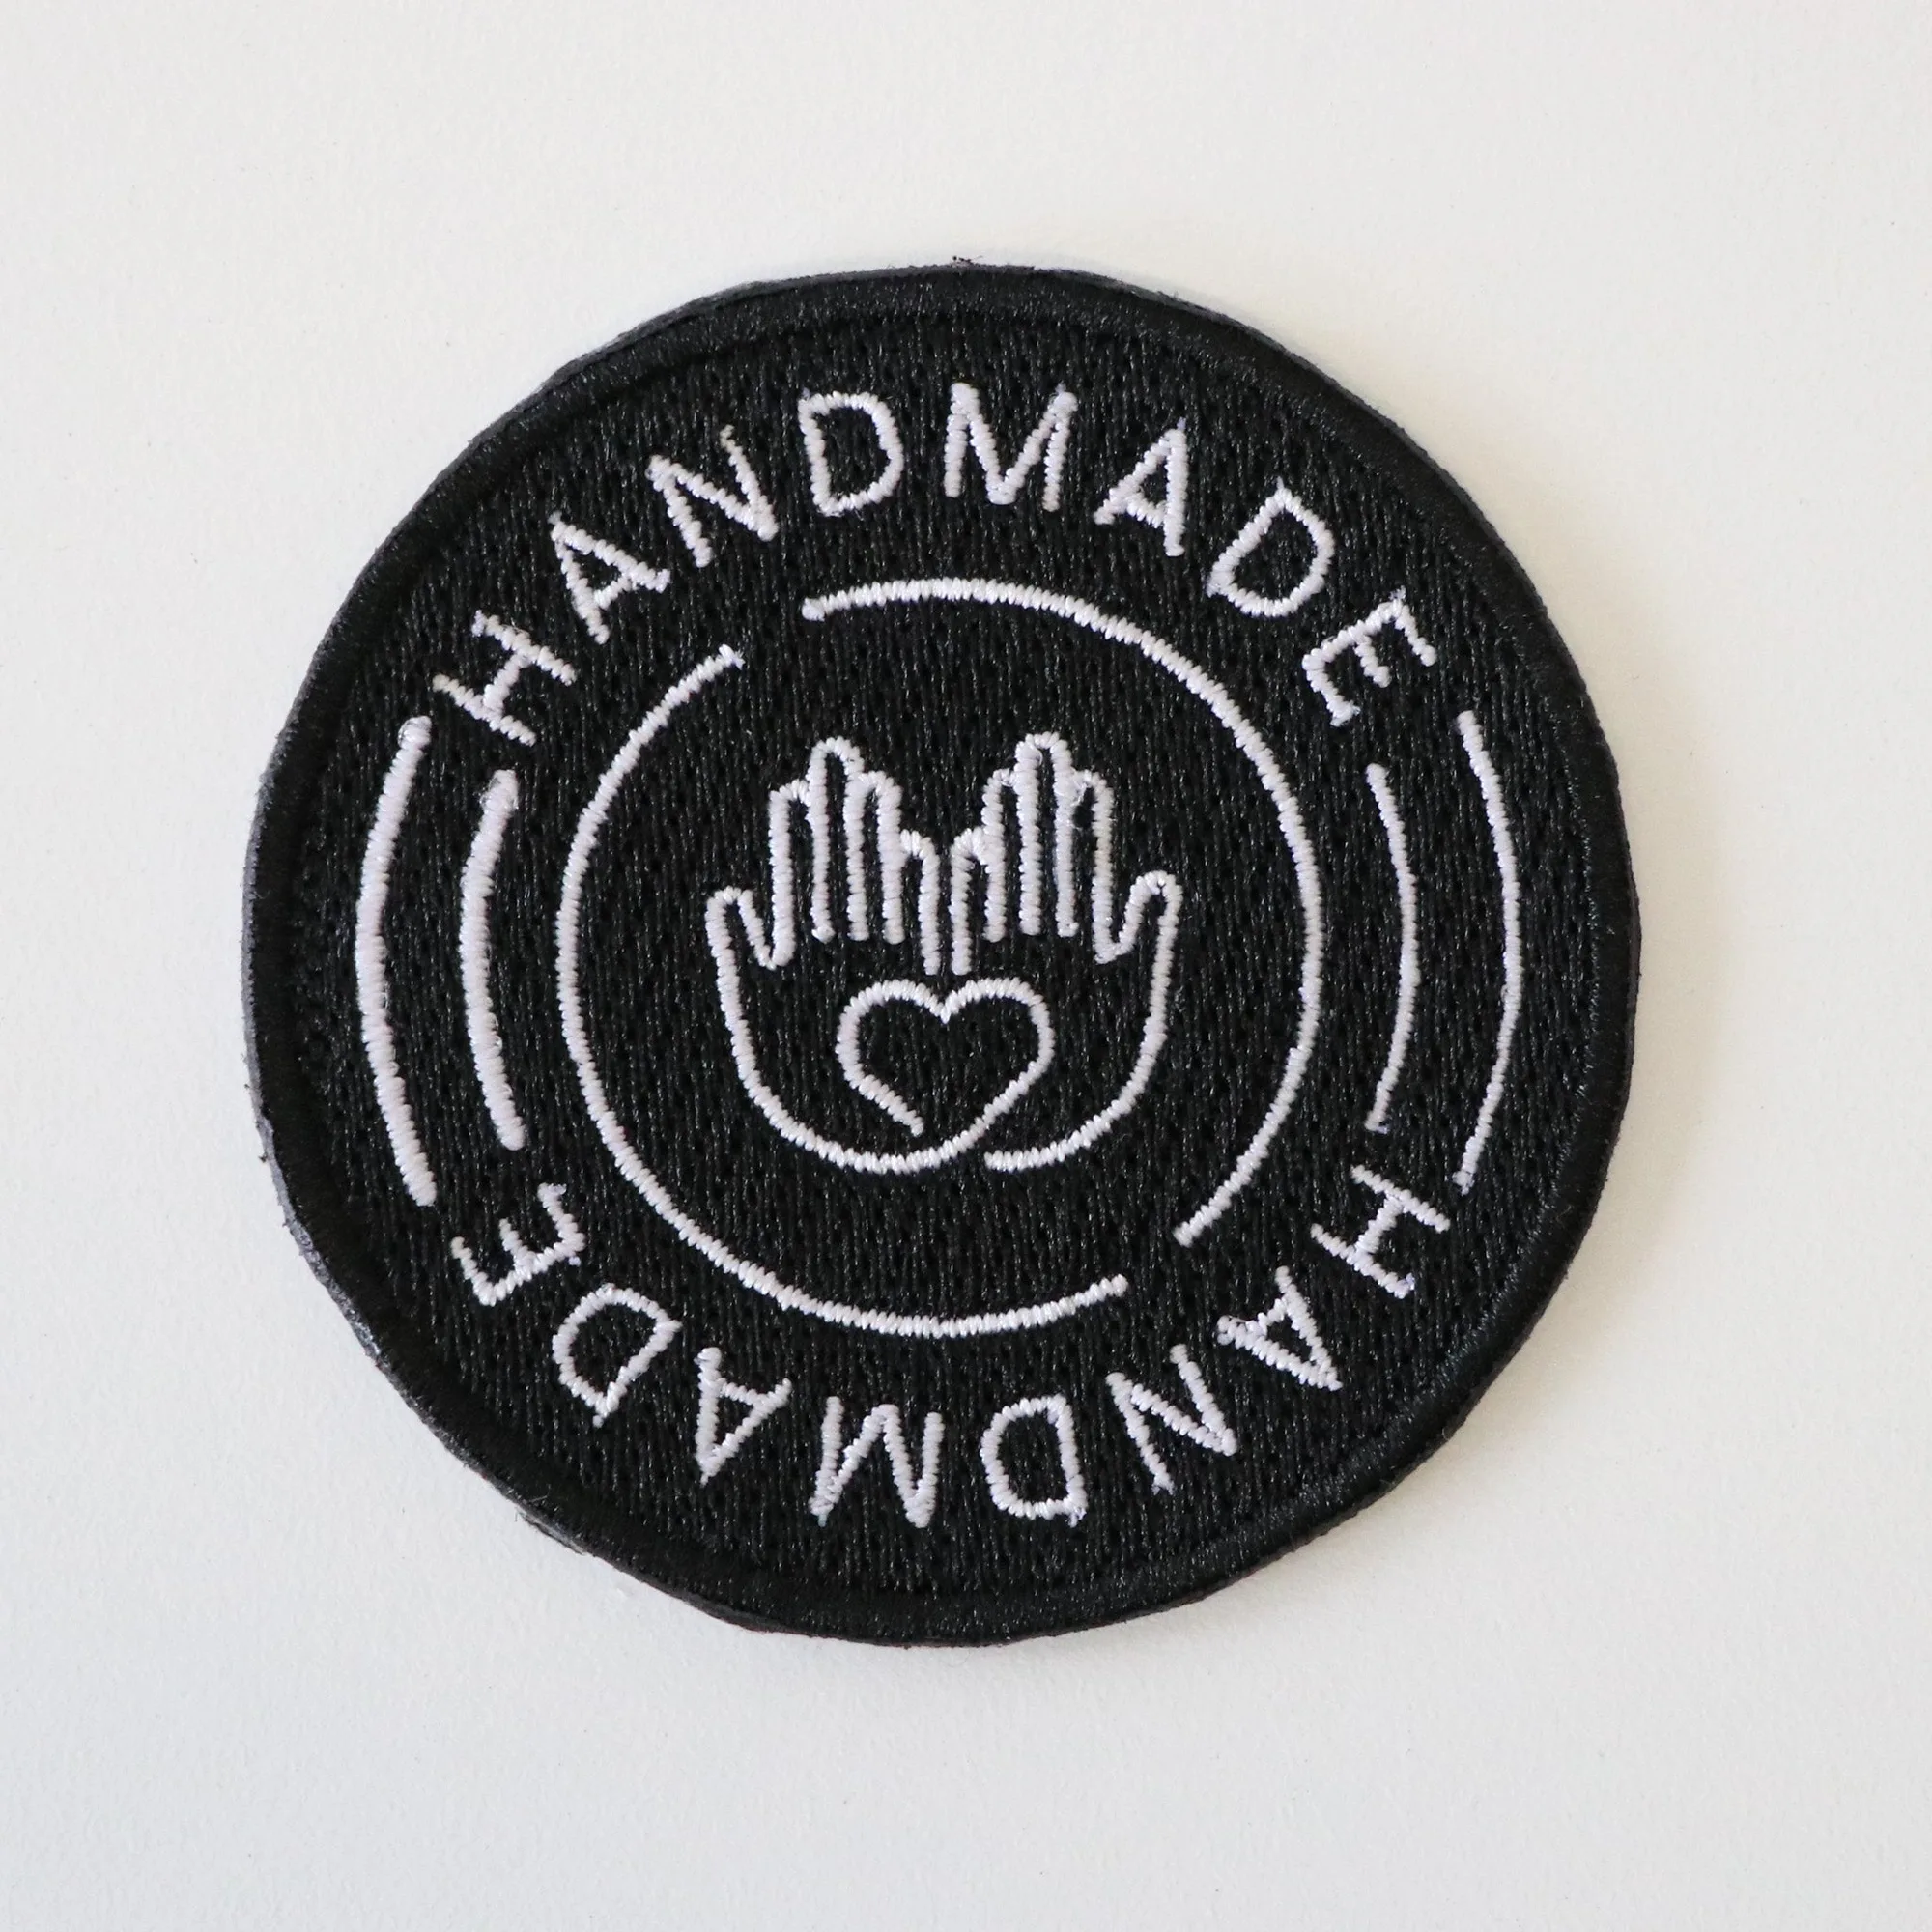
Place the patch on the bag and step back to check the position from a few feet away. Use a fabric marker or tailor's chalk to outline the spot. For round patches like the 2-1/2" diameter "Handmade" embroidered patch from Sallie Tomato, centering on a flat panel gives the cleanest look.
If the bag fabric is loosely woven or stretchy, fuse a small piece of lightweight interfacing behind the patch area first. This prevents puckering and keeps the patch flat during sewing.
Step-by-step: Sewing an embroidered patch onto a bag
- 1. Position and pin the patch: Place the patch on your marked spot and secure it with two or three straight pins through the patch edge into the bag fabric. Avoid pinning through the center embroidery, which can distort the design. Common mistake: Pinning through the embroidered area can leave permanent holes. Pin only through the fabric border.
- 2. Thread your needle and knot the end: Use a hand-sewing needle and thread that matches the patch border color. Double the thread and tie a small knot at the end. For thicker bag fabrics, a denim needle helps push through layers. Checkpoint: If the thread keeps tangling, shorten the length to about 18 inches.
- 3. Start with a hidden knot: Insert the needle from the inside of the bag, coming up through the bag fabric right at the edge of the patch. Pull until the knot catches on the inside lining. This hides the knot from view. Common mistake: Knotting on the outside leaves a visible bump. Always start from the inside.
- 4. Whipstitch around the patch edge: Bring the needle over the patch edge and back through the bag fabric about 1/8 inch from the previous stitch. Keep stitches small and even, about 1/8 to 1/4 inch apart. Continue all the way around. Checkpoint: If the patch puckers, your stitches are too tight. Loosen the tension slightly.
- 5. Tie off and bury the thread: After completing the circle, make a small knot close to the fabric on the inside of the bag. Insert the needle through the knot and out through the lining, then trim the thread flush. This hides the tail. Common mistake: Cutting the thread too short before knotting can cause the stitch to unravel. Leave a 3-inch tail until the knot is secure.
Product used in this guide
-
Embroidered Patch - "Handmade": 2-1/2" diameter embroidered patch designed by Sallie Tomato with a "Handmade" motif. The compact round shape is ideal for beginners and fits neatly on bag fronts, pockets, or flap closures without crowding the design.
Embroidered Patch - "Handmade"