Quick answer
Sew each snap half on before you cut the thread, using a doubled strand and at least four stitches per opening. Mark both halves while the garment is closed, then stitch the ball half first and the socket half second. Finish with a small thread knot under the snap and test the closure twice before wearing.
Mark both halves while the fabric is closed
Snaps only stay put when the two halves meet exactly. Close the garment or flap the way it will be worn, then press a pin or chalk mark through the top layer where the ball half will sit. Open the fabric and mark the matching spot on the underlayer for the socket half.
If you mark each half separately with the fabric open, the closure will pull or gap. Size 1 snaps are small enough that a 1/8-inch shift is visible, so take the extra minute to mark them as a pair.
Choose thread and needle that match the snap
Use a hand sewing needle with an eye small enough to pass through the snap openings, and a doubled strand of all-purpose thread matched to the fabric. A heavier topstitching thread can work on thick wool or canvas, but it may not fit through the four edge openings on a small nickel snap.
Nickel sew-on snaps have four openings on the edges for stitching. If your needle or thread is too thick for those openings, the snap will sit unevenly and the stitches will loosen with wear.
Anchor the thread before the first stitch
Start with a knot on the wrong side, then take two small backstitches under where the snap will sit. This anchor keeps the snap from shifting while you work and prevents the first stitch from pulling through the fabric.
When the snap is small and the fabric is lightweight, place a tiny square of interfacing or a second layer of fabric under the snap area. This gives the stitches something to grip without stiffening the whole garment.
Stitch each opening with even tension
Bring the needle up through one opening, then down through the fabric close to the snap edge. Repeat through each opening two or three times, working around the snap rather than across it. Keep the thread snug but not tight enough to pucker the fabric.
A common mistake is sewing only two opposite openings. All four edge openings exist so the snap lies flat and resists twisting. Use all of them on garment closures that get pulled, such as blouses and cardigans.
Test the closure before you trim the thread
With the thread still attached, close and open the snap three or four times. Listen and feel for a clean click and check that the fabric does not pucker or gap. If the halves misalign, you can still adjust the second half before tying off.
Once the snap closes smoothly, bring the thread to the wrong side, take two small backstitches, and knot. Trim the tail, then press the area lightly with the snap closed to settle the stitches.
Steps to attach a sew-on snap
- Mark both halves closed: Close the garment as worn and mark the ball half through the top layer, then open and mark the socket half on the underlayer at the matching point. Checkpoint: the two marks should meet exactly when the fabric is closed.
- Anchor the thread under the snap area: Knot the thread on the wrong side and take two small backstitches where the first snap half will sit. Mistake to avoid: starting with a single knot that pulls through lightweight fabric.
- Stitch the ball half first: Bring the needle through each of the four edge openings two or three times, keeping the thread snug but not tight. Checkpoint: the snap should lie flat with no puckering around the stitches.
- Stitch the socket half second: Align the socket half with the ball half while the garment is closed, then stitch through all four openings the same way. Mistake to avoid: sewing the second half from the front without checking alignment.
- Test and tie off: Close and open the snap three or four times, adjust if needed, then backstitch and knot on the wrong side before trimming. Next step: press lightly with the snap closed to settle the stitches.
Products that fit this method
- Sew-On Snaps, 72 Sets, Size 1, Nickel: Sew-On Snaps, 72 Sets, Size 1, Nickel are flat closures with four edge openings for stitching, made for overlapping edges on clothing and accessories. The four openings let you stitch each half evenly, which is what keeps a size 1 snap from twisting loose on blouses, shirts, and cardigans.
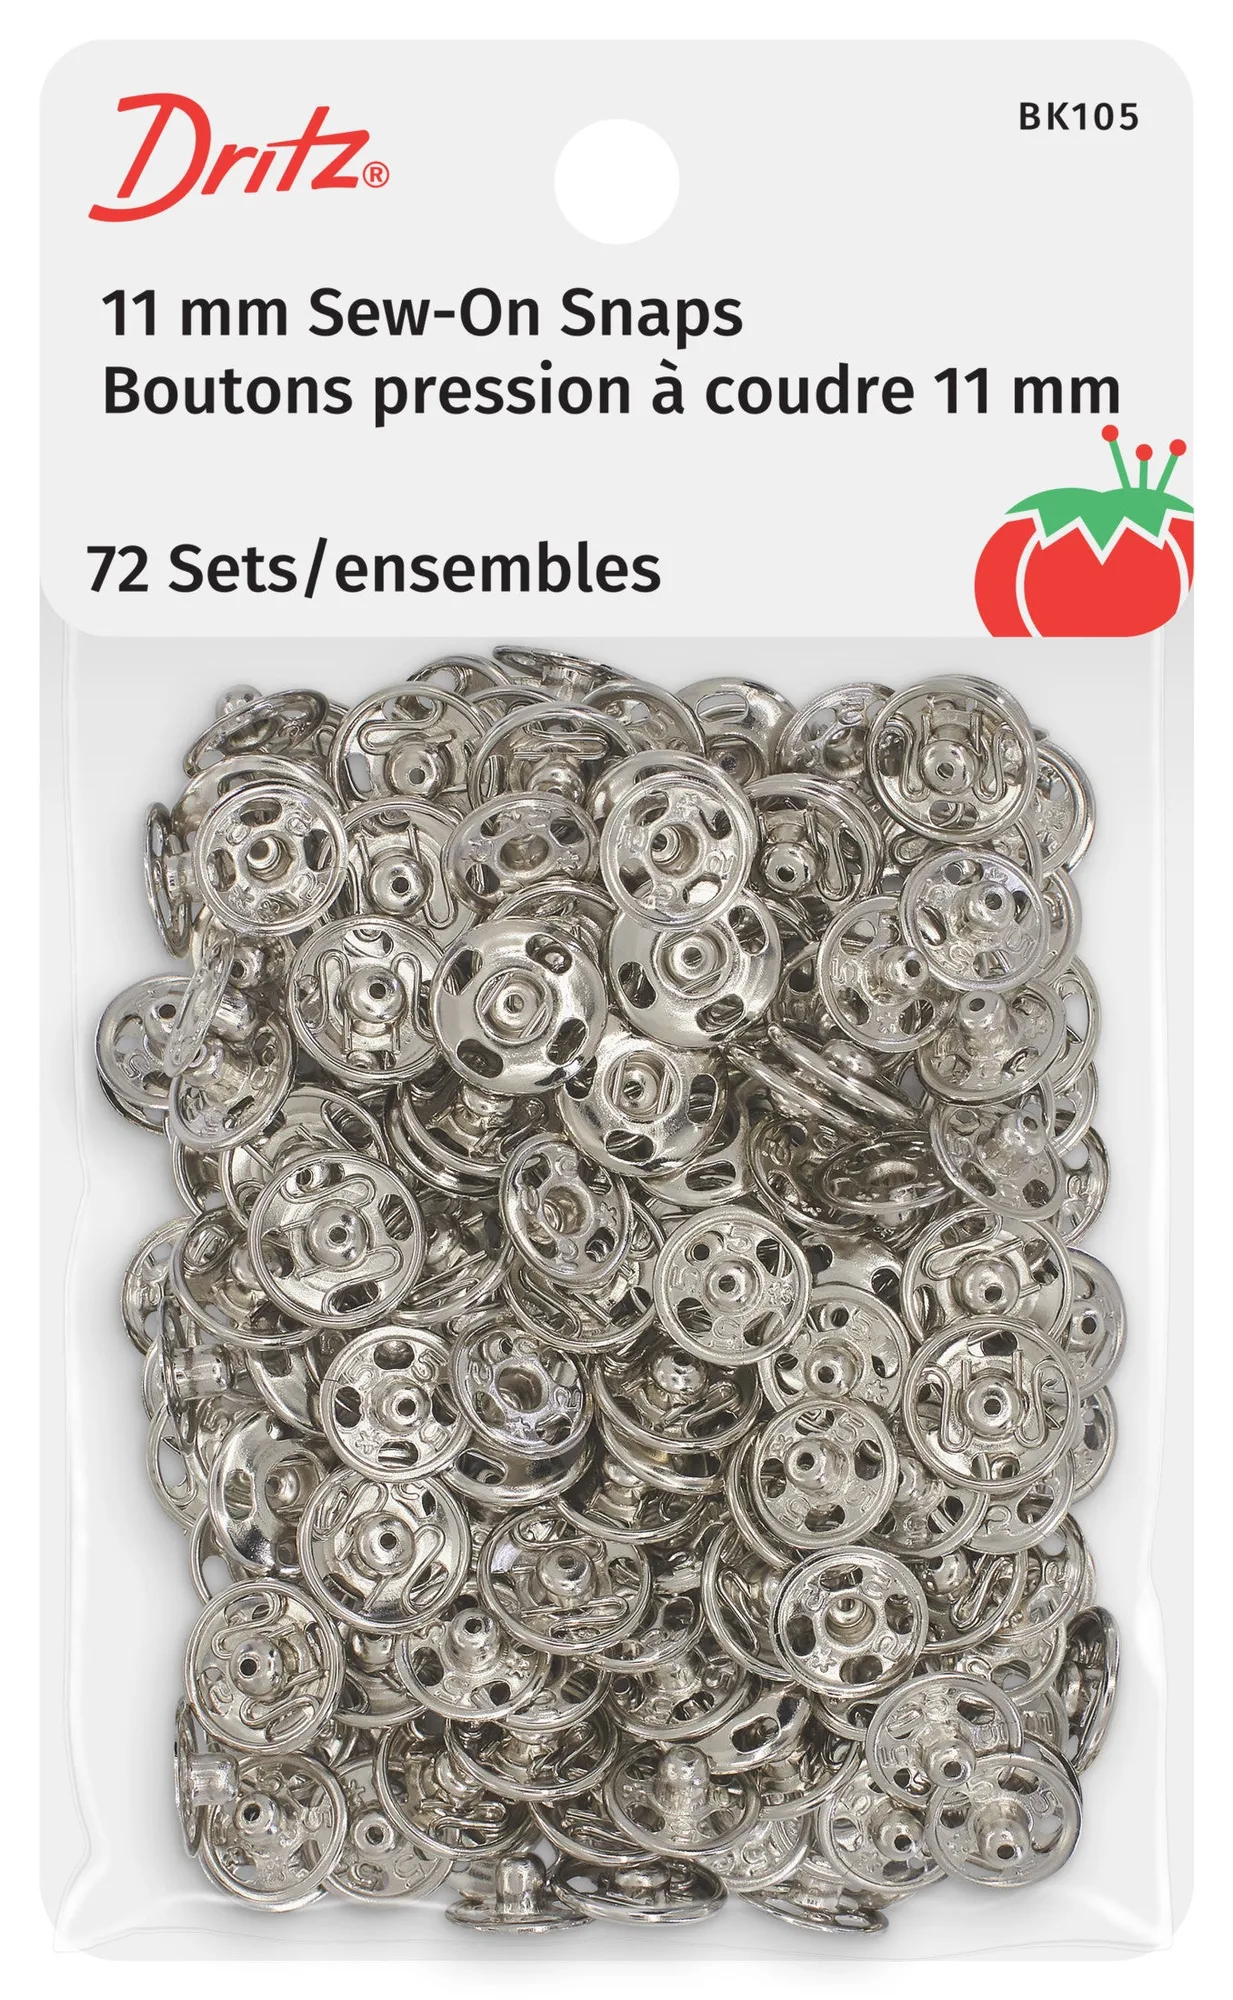
Sew-On Snaps, 72 Sets, Size 1, Nickel
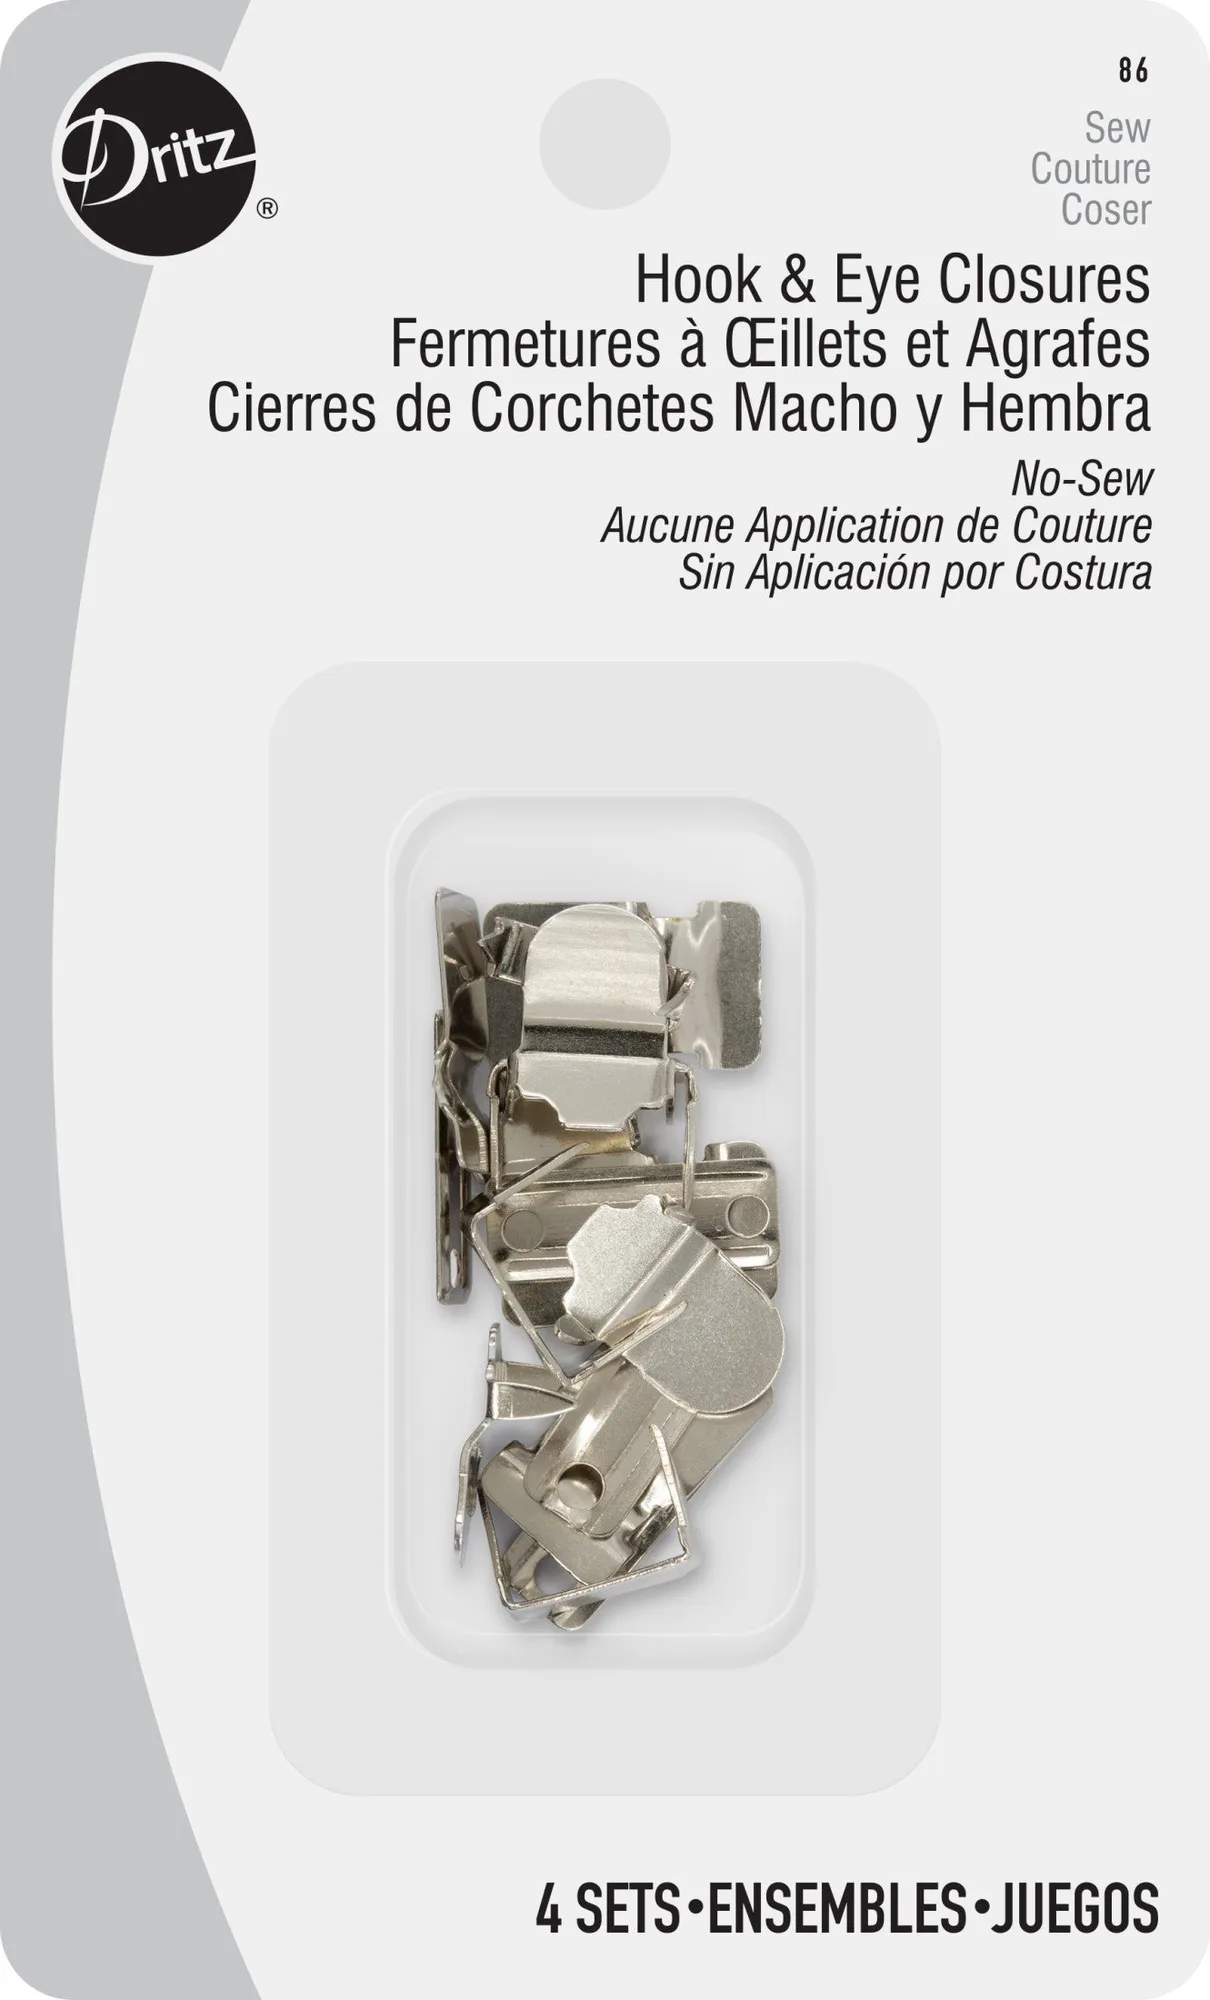
- No-Sew Hook & Eye Closures, 4 Sets, Nickel: No-Sew Hook & Eye Closures, 4 Sets, Nickel are machine washable and dry-cleanable, with an extra sturdy design suited to waistbands on skirts and pants. If your project needs a low-profile closure above a zipper or at a waistband, a hook and eye can replace a snap where bulk or strain would work a snap loose.