Quick Answer
To break in leather boots without blisters, wear them for short indoor sessions first, then gradually increase wear time outdoors. Use a shoe stretcher or thick socks to ease tight spots, and always address hot spots immediately with blister patches or moleskin. Consistent, moderate wear over one to two weeks is safer than forcing them through long days right away.
Why Leather Boots Cause Blisters (and How Break-In Works)
New leather boots are stiff because the fibers are tightly packed and the uppers haven't yet molded to your feet. As you wear them, the leather gradually softens and takes the shape of your foot, but this process creates friction against your socks and skin. Blisters form when that friction repeats without giving your feet time to adapt. The key is to apply controlled stress—short wears, then longer ones—so the leather flexes without rubbing you raw.
Pre-Break-In Prep: Socks, Lacing, and Stretching
Before you even take a step, choose the right socks. Merino wool or synthetic blends wick moisture and reduce friction better than cotton. Lace your boots properly: too loose and your foot slides, too tight and you cut off circulation. For tight spots, use a shoe stretcher or stuff the boot tightly with thick socks and apply a small amount of leather conditioner to the inside. Let it sit overnight. This is the safest form of boot stretching at home—never force the leather with heat or water, which can damage it.
The First Week: A Day-by-Day Wear Schedule
Start with 20–30 minutes indoors on day one. Day two, wear them for an hour while doing light tasks. By day three, take a short walk outside. Increase wear time by 30 minutes each day, but always stop if you feel a hot spot. Rotate with another pair of shoes to give your feet and the boots a rest. If you work in new work boots, break them in during off-hours first—don't wear them for a full shift until you've built up tolerance.
Managing Hot Spots and Blisters If They Appear
The moment you feel rubbing, stop and apply a blister patch or moleskin. Don't 'tough it out'—that's how small hot spots become painful blisters. If a blister does form, keep it clean and covered. Use a donut-shaped pad to relieve pressure. Avoid popping blisters unless they're likely to burst on their own. For prevention, some people apply anti-chafe balm to their feet before wearing new boots.
When to Condition and How It Affects Break-In
Conditioning leather can make it more supple and speed up break-in, but timing matters. For most smooth leather boots, apply a light coat of conditioner after the first few wears, once the leather has started to flex. Over-conditioning early can make the leather too soft and cause stretching where you don't want it. Always test on a small area first. If your boots are made of oiled or waxed leather, check the manufacturer's recommendations—some need no conditioner at all during break-in.
Step-by-Step Break-In Plan
- Day 1: Indoor wear for 20–30 minutes: Put on your boots with the socks you plan to wear. Walk around your home, sit, and flex your feet. This starts the molding process without heavy friction. Checkpoint: No hot spots? Good. If you feel rubbing, adjust lacing or add a thin sock liner.
- Day 2–3: Extend to 1 hour, then short outdoor walks: Wear them for an hour indoors, then take a 10–15 minute walk outside. The varied terrain helps the leather flex naturally. Mistake to avoid: Don't jump straight to a long hike or full workday. That's the fastest route to blisters.
- Day 4–7: Increase wear time by 30 minutes daily: Add 30 minutes each day, mixing indoor and outdoor wear. If you feel a hot spot, stop and treat it immediately. Checkpoint: By day 7, you should be able to wear them for 2–3 hours comfortably. If not, repeat earlier steps.
- Week 2: Transition to full-day wear: Once you can wear them for 3–4 hours without discomfort, start wearing them for longer periods. Rotate with other shoes to let them dry and rest. If tightness persists in one spot, use a shoe stretcher overnight. Never force the leather with water or heat.
- After break-in: Condition and maintain: Once the boots feel molded to your feet, clean and condition them according to the leather type. This preserves the fit and extends their life. Next step: Keep them dry and re-condition every few months or after heavy use.
Filson Gear That Helps During Break-In
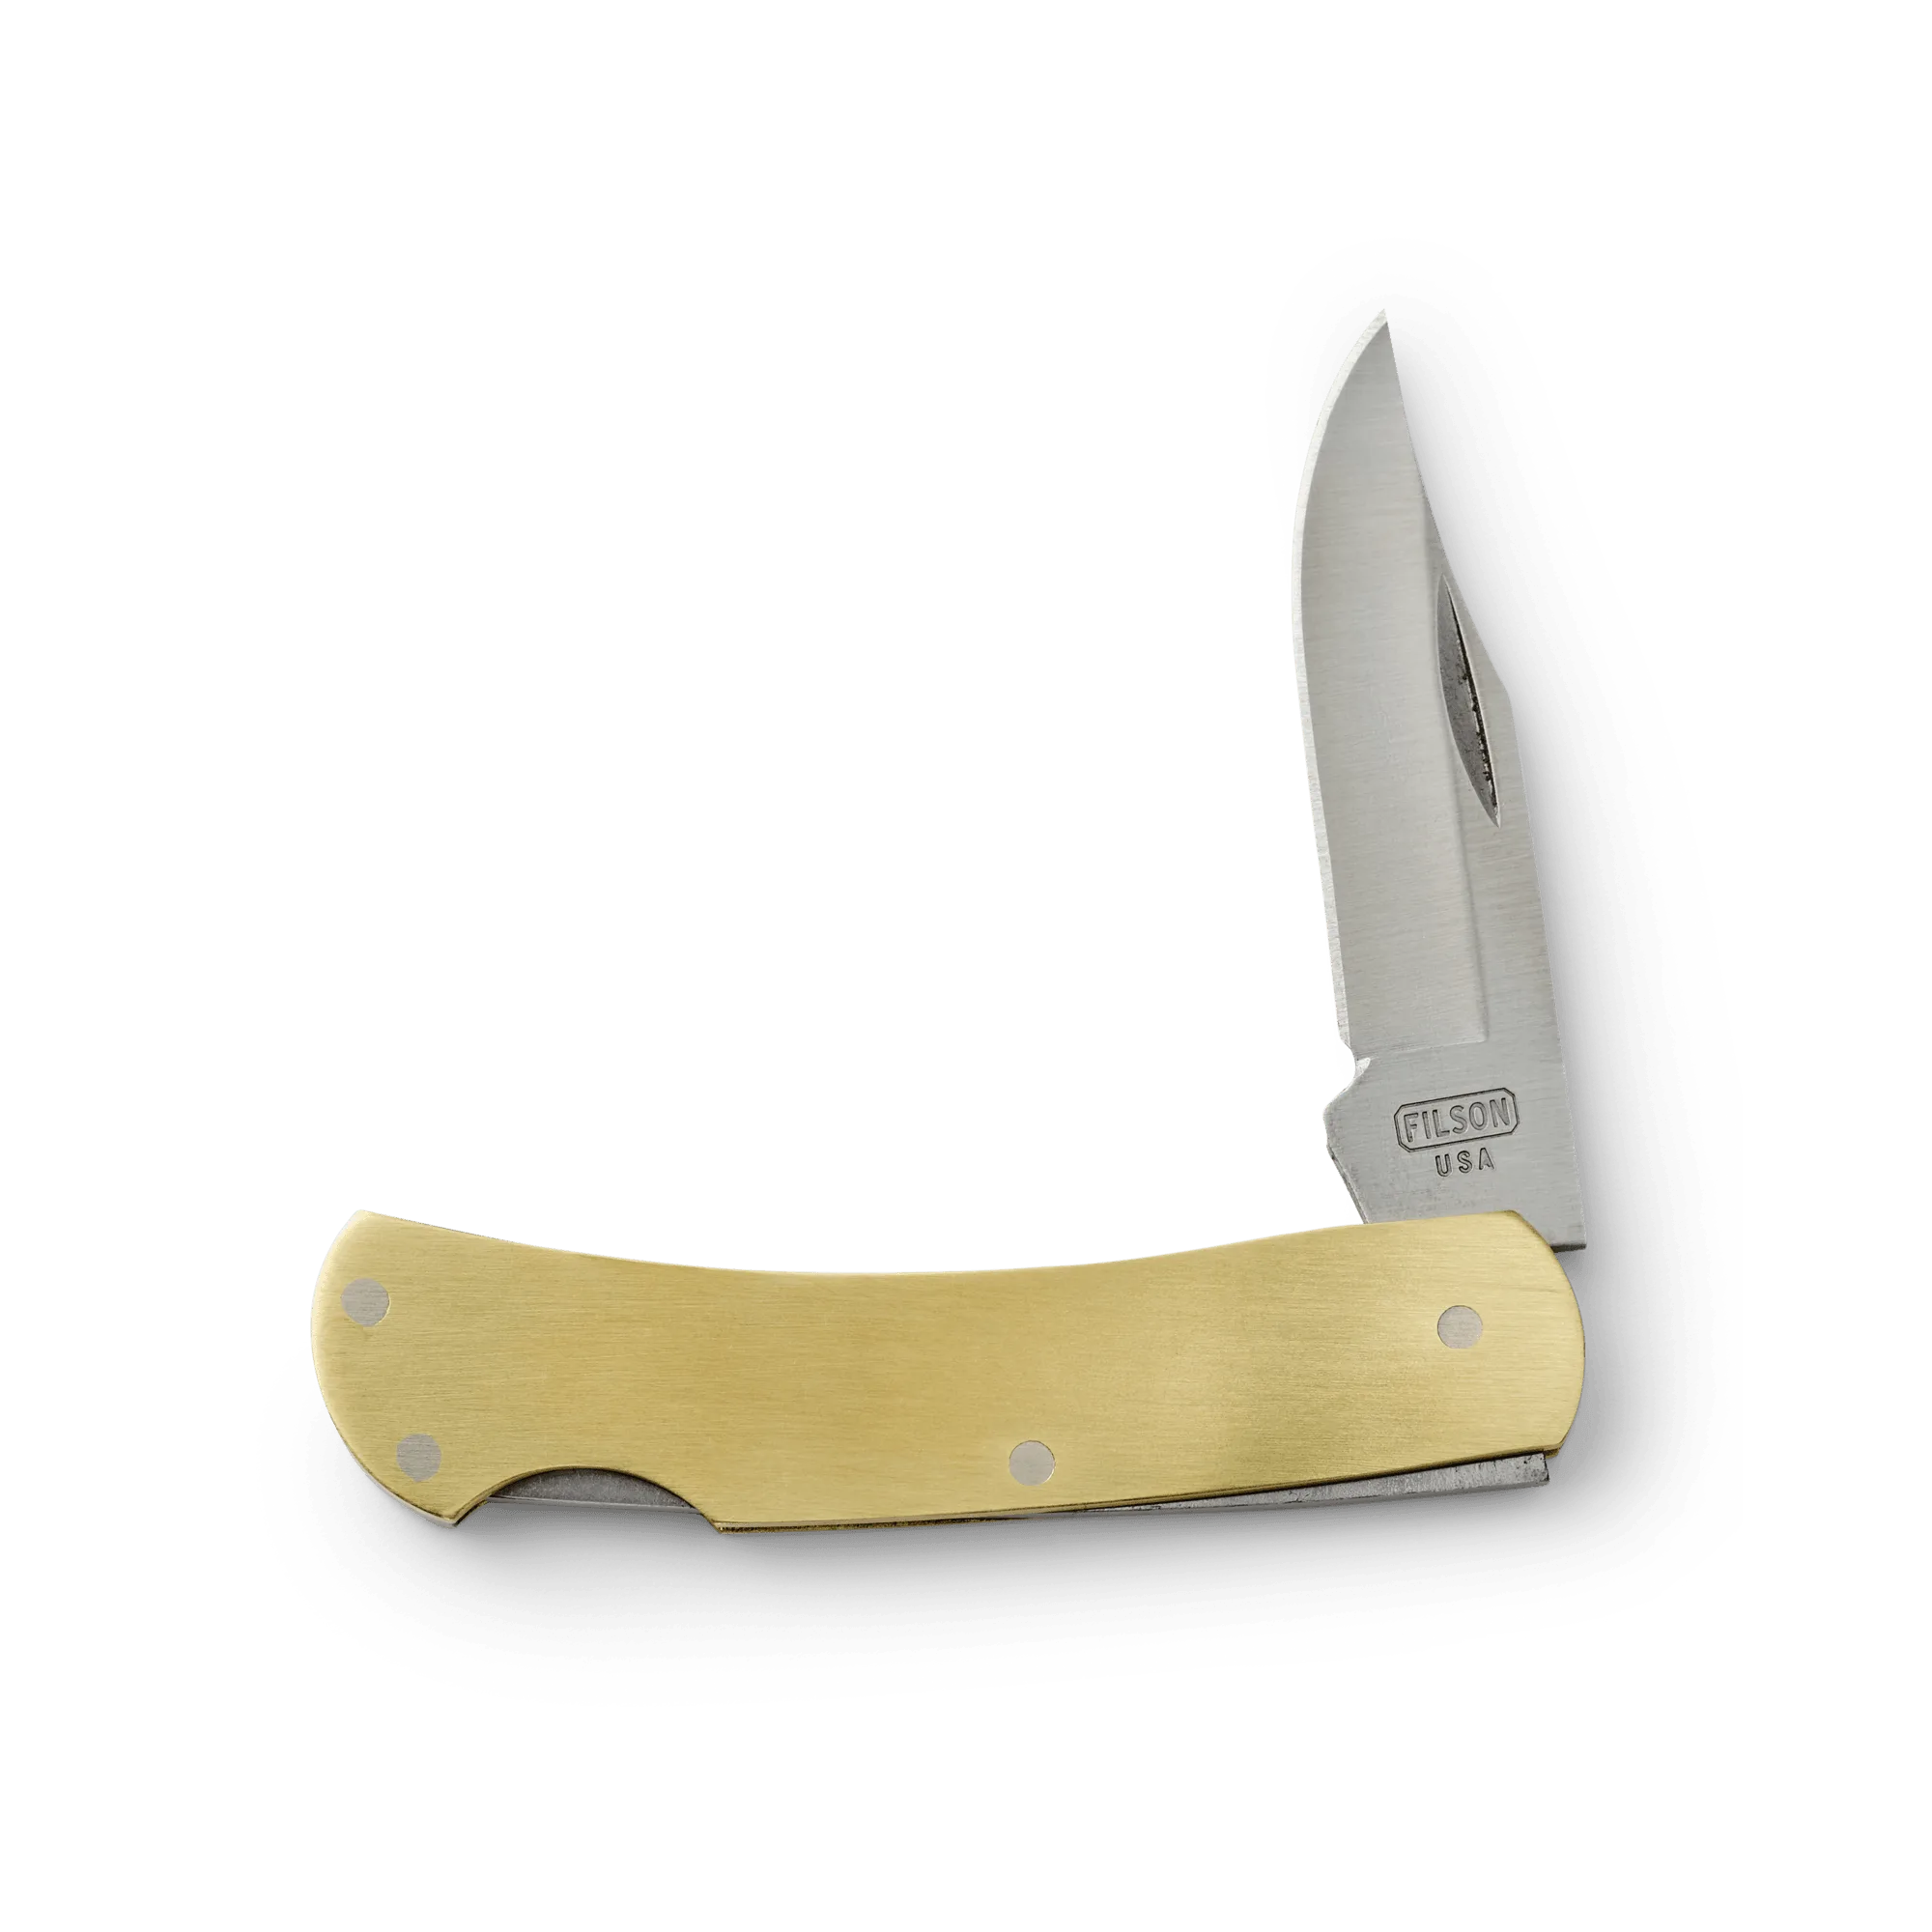
- Brass Lockback Pocket Knife - Brass: Brass Lockback Pocket Knife - Brass: Built entirely in the USA, with a 2.25-inch hollow-ground high-carbon blade that is corrosion-resistant, easy to sharpen, and holds its edge well. Brass handle scales develop a unique patina over time. A sharp, reliable pocket knife is handy for trimming moleskin, cutting blister patches, or adjusting laces during the break-in period. The compact size carries discreetly in a pocket.