Quick answer
Keep your analog synth on a stable surface away from direct sun and heat vents, cover it when idle, dust with a dry soft brush instead of sprays, and clean knobs with a barely damp cloth and a little patience. Do the small weekly checks and a deeper seasonal clean, and most dust, heat, and knob problems never get a chance to start.
Set up a dust-and-heat-safe home for the synth
Where the synth lives decides how much maintenance it needs. Put it on a solid stand or desk with at least a few inches of clearance behind and below the chassis so warm air can escape. Avoid radiators, space heaters, direct afternoon sun, and sealed racks with no airflow; sustained heat is harder on analog circuits and plastic parts than short warm spells.
A dedicated dust cover is the single best investment. Choose one that fits the exact dimensions of your keyboard synthesizer rather than a loose sheet, because a flapping cover can snag knobs and cables. If the synth stays patched, look for a cover with a cutout or a soft deck cover that rests over the panel only. When you are not playing, cover it. This is the core of synth dust cover care.
Dust without pushing debris into the panel
Dust is abrasive and slightly conductive when it mixes with smoke, cooking grease, or pet hair, and it settles into fader tracks and key beds. Use a dry, soft cosmetic brush or a clean paintbrush to sweep the top panel toward the edges, then lift the dust away with a vacuum held a few inches back on low suction. Never blow compressed air straight into the panel; that drives particles under the knobs and into the key contacts.
For the key bed, tilt the synth slightly and brush between keys with a long-bristle brush. If you use a vacuum, keep the nozzle above the surface and use a brush attachment. Do not use furniture polish, glass cleaner, or alcohol wipes on the panel; they can cloud screens, remove printed labels, and leave residue that attracts more dust.
Clean knobs and faders with control, not force
When you clean synth knobs, start dry. A soft brush removes most surface grime. For sticky residue, dampen a microfiber cloth with distilled water and wring it out until it is barely damp, then wipe around the base of each knob. Do not drip liquid near the shaft; moisture wicking down a potentiometer can cause crackle or corrosion.
If a knob feels gritty, remove it only if the manufacturer designed it to pull off, and note its orientation first. Clean the panel underneath, let everything dry fully, then reseat the knob at the same angle. For faders, run them gently through their full travel a few times after cleaning. If a fader or knob still crackles, that is an electronic issue, not a cleaning issue, and it is a job for a technician.
Power, cables, and seasonal checks
Use a surge protector and leave a little slack in cables so a tug does not stress the jack. Check the power supply for heat and fraying every few months; a warm brick is normal, a hot one is not. If the synth has a wall-wart, keep it off carpet and out of the cover.
Once a season, power down, unplug, and do a full pass: brush the panel, check the key bed, inspect the underside vents, and confirm the cover still fits. If you store the synth for a long period, follow the synthesizer storage tips below rather than leaving it under a loose sheet in a garage.
Your step-by-step analog synth upkeep routine
- Power down and unplug: Turn the synth off at the unit, then remove the power supply and any USB or audio cables. Let the chassis cool before touching the panel. Checkpoint: the panel should be room temperature, not warm.
- Cover and clear the area: Remove the dust cover, fold it clean-side in, and move drinks, plants, and anything that sheds away from the stand. Mistake to avoid: cleaning with a drink still sitting next to the keys.
- Dry-brush the panel: Sweep the top panel with a dry soft brush, working from the center toward the edges so dust does not fall into knob gaps. Checkpoint: no visible dust lines around knobs or fader slots.
- Vacuum on low, from a distance: Hold a vacuum brush attachment a few inches above the surface and lift the loosened dust away. Never press the nozzle onto the panel. Mistake to avoid: compressed air, which pushes debris deeper into the controls.
- Wipe knobs and keys with a barely damp cloth: Use distilled water on a microfiber cloth wrung out until it is almost dry. Wipe around knob bases and along the key tops, then dry immediately with a second cloth. Checkpoint: no moisture visible near any shaft or seam.
- Exercise knobs and faders: After cleaning and drying, move each knob and fader gently through its full range a few times to redistribute lubricant and clear light grit. If crackle or dead spots remain, stop and book a technician rather than applying spray cleaner.
- Re-cover and log the date: Replace the dust cover once the panel is fully dry, and note the date so your next deep clean is roughly three months out. Next step: repeat the full routine seasonally, or sooner if you play in a smoky or dusty room.
Useful gear for careful owners
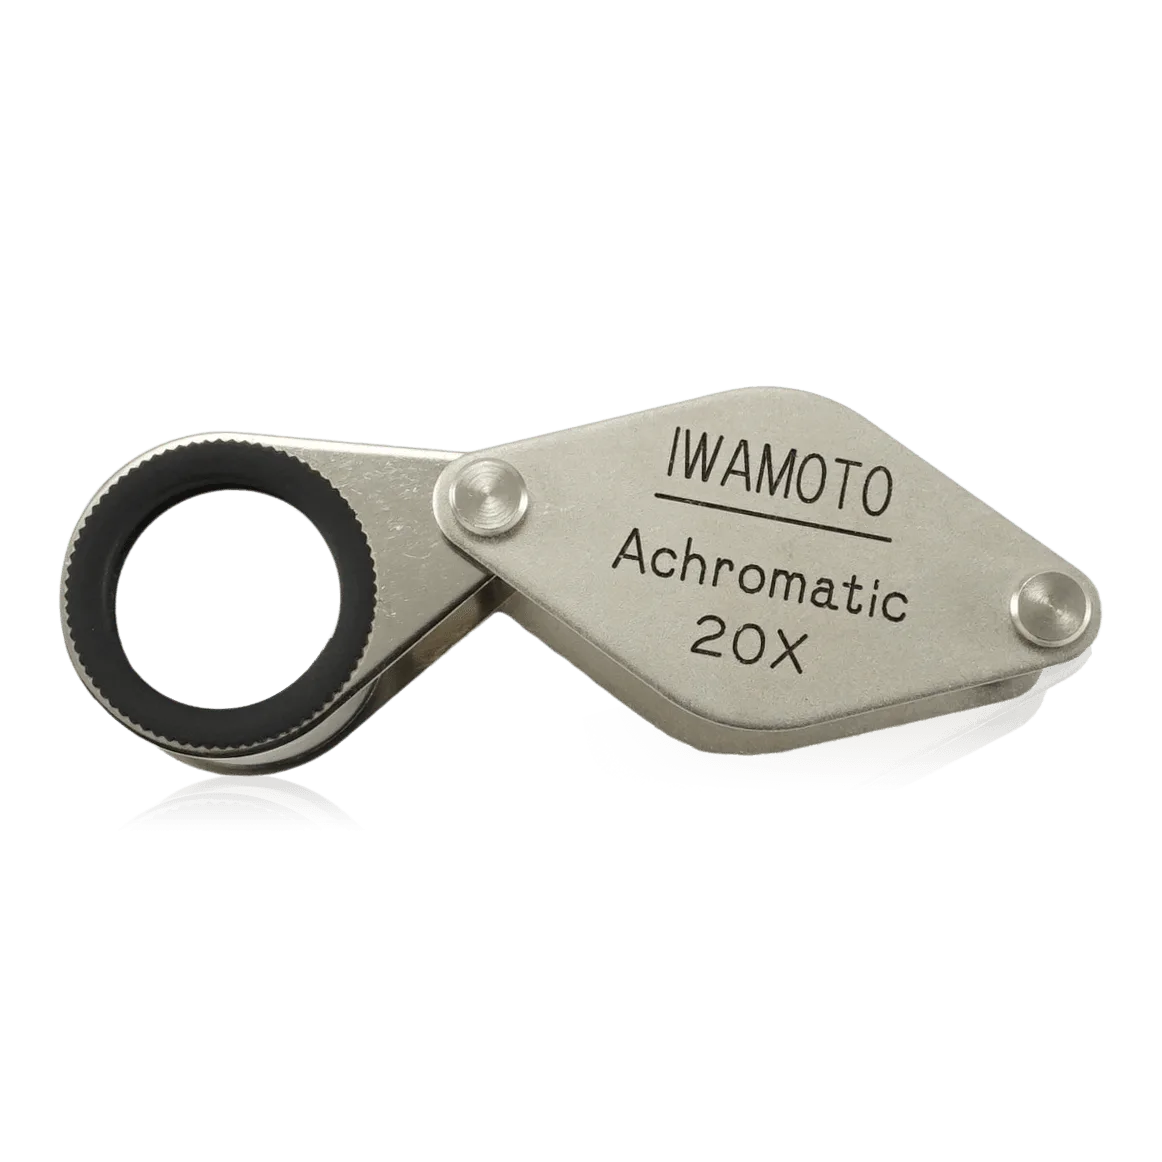
- Iwamoto Magnifier: Iwamoto Magnifier is a 20x hand lens that reveals miniature details normally invisible to the naked eye. A close-up lens helps you inspect fader slots, key gaps, and panel seams for dust or residue before it becomes a repair.
- Fantasy Playing Cards: Fantasy Playing Cards is a 54-card transformation deck with original illustrations by William Stout. A deck kept near the synth room gives you a low-stakes way to keep hands busy while cables are unplugged and the panel is drying.