Quick answer
Clean your cutting mat with a soft eraser or mild soapy water, keep it flat and out of direct heat, and rotate it regularly so you cut on fresh surface. Most self-healing mats wear out from heat, warping, and repeated cuts in one spot, not from use itself.
A self-healing cutting mat is one of the few craft tools you use on almost every project, and it is also one of the easiest to ruin without noticing. Small habits, such as leaving it in a hot car or always cutting in the same corner, slowly close up the surface until blades start skipping and edges stop meeting cleanly.
The good news is that cutting mat maintenance takes minutes, not hours. This guide walks through a simple routine you can follow weekly and after heavy sessions, plus the mistakes that quietly shorten mat life.
Why cutting mat care matters
A self-healing mat works because its surface is designed to close around a blade and recover. When the mat is clean, flat, and used evenly, that recovery keeps cuts crisp and protects your table underneath. When it is dirty or warped, the mat cannot close properly, so you press harder, cut deeper, and wear out the surface faster.
Most mats do not fail suddenly. They fail in one area first, usually wherever you cut most often. Rotating the mat and spreading your cuts across the surface is the single easiest way to extend cutting mat life.
- Keep the mat out of direct sunlight and away from radiators or heat tools.
- Store it flat, never rolled or folded.
- Rotate the mat a quarter turn between projects so wear stays even.
How to clean a cutting mat without damaging it
Start dry. A soft vinyl eraser or a clean, dry microfibre cloth lifts most adhesive residue, glitter, and paper dust. Work in small circles and let the eraser do the work rather than pressing hard. For sticky patches, a little low tack tape pressed on and peeled away can lift debris without scraping the surface.
For a deeper clean, wipe the mat with a cloth wrung out in cool water and a drop of mild dish soap, then wipe again with plain water and let it air dry flat. Avoid alcohol, acetone, bleach, and abrasive pads, which strip the surface and stop it healing. If a stain remains after two gentle passes, leave it. A cosmetic mark is far less damaging than scrubbing.
- Never soak a cutting mat or put it in a dishwasher.
- Dry it flat, not propped up, so it does not bow.
- Clean after glitter, foil, and adhesive-heavy projects, not just at the end of the month.
Cutting habits that protect the surface
Blade pressure is the biggest hidden factor in mat wear. If you need to press hard to cut cardstock, your blade is dull, not your mat. Swap in a fresh blade and let a light pass do the work. The same applies to die cutting: use the correct cutting plates and shims rather than forcing a stack through the machine.
Keep your cutting area clear of grit. A single grain of sand or dried glue under a die or ruler will press into the mat and leave a permanent dent. Wipe the mat and your cutting plates before each session, and store blades and pokey tools somewhere they cannot scratch the surface.
- Change blades at the first sign of dragging.
- Use the mat for cutting and scoring, not as a hammering or punching surface.
- Keep drinks, paint water, and inkpads off the mat.
Storing and transporting your mat
Heat is what warps mats, and warping is what makes them unusable. Store your mat flat on a shelf or under a bed, away from windows and heating vents. If you take it to a class or crop, carry it flat in a portfolio or between two sheets of mount board rather than bending it into a bag.
If a mat has already curled slightly, lay it flat with a clean, heavy book on top for a day or two at room temperature. Do not use a heat tool or iron to flatten it, and do not leave it in a hot car to soften, both of which can distort the surface permanently.
- A dedicated storage spot prevents most accidental damage.
- Label the back of the mat if you use several sizes.
- Check for warping by laying the mat on a flat table and looking along the edge.
Your five-step cutting mat care routine
- Clear and dry-clean the surface: Remove paper scraps and wipe the mat with a dry microfibre cloth. Use a soft eraser on sticky patches, working in small circles with light pressure. Checkpoint: the mat should look matte and even, with no gritty feel under your palm.
- Wash gently when needed: For residue that dry cleaning will not lift, wipe with cool water and a drop of mild dish soap, then wipe again with plain water. Never soak the mat or use alcohol or acetone. Mistake to avoid: scrubbing with an abrasive pad, which removes the self-healing surface.
- Dry and lay it flat: Let the mat air dry flat on a clean table or rack. Do not prop it upright, stack heavy items on it, or speed drying with a heat tool. Checkpoint: no damp patches or curling edges before you store or use it.
- Rotate and inspect before your next project: Turn the mat a quarter turn so your next cuts land on a fresher area. Look along the edges for lifting or bowing and check for deep score lines. If one zone is heavily scarred, retire that mat for die cutting and keep a fresh one for precision work.
- Store it flat and cool: Keep the mat on a flat shelf away from windows, radiators, and heat tools. Transport it flat in a portfolio or between sheets of mount board. Next step: replace blades at the first sign of dragging so you are not pressing harder into the mat.
Tools that make mat care easier
- Crafter's Companion - Low Tack Tape (3PC): Low tack adhesive holds projects securely in place while allowing for easy removal without damaging paper or card, and each roll measures 1.9cm x 75 metres with an included dispenser. Use a short strip to lift glitter and paper dust off a mat, or to hold stencils and card in place so you are not pressing a blade into the same spot repeatedly.
- Crafter's Companion - Bone Folder (2PC): These bone folders fold, crease, score and burnish paper and card for a clean finish, and the two-piece set offers greater control on different sizes and detailed areas. Scoring with a bone folder instead of a blade keeps straight folds crisp and saves your mat surface from unnecessary knife passes.
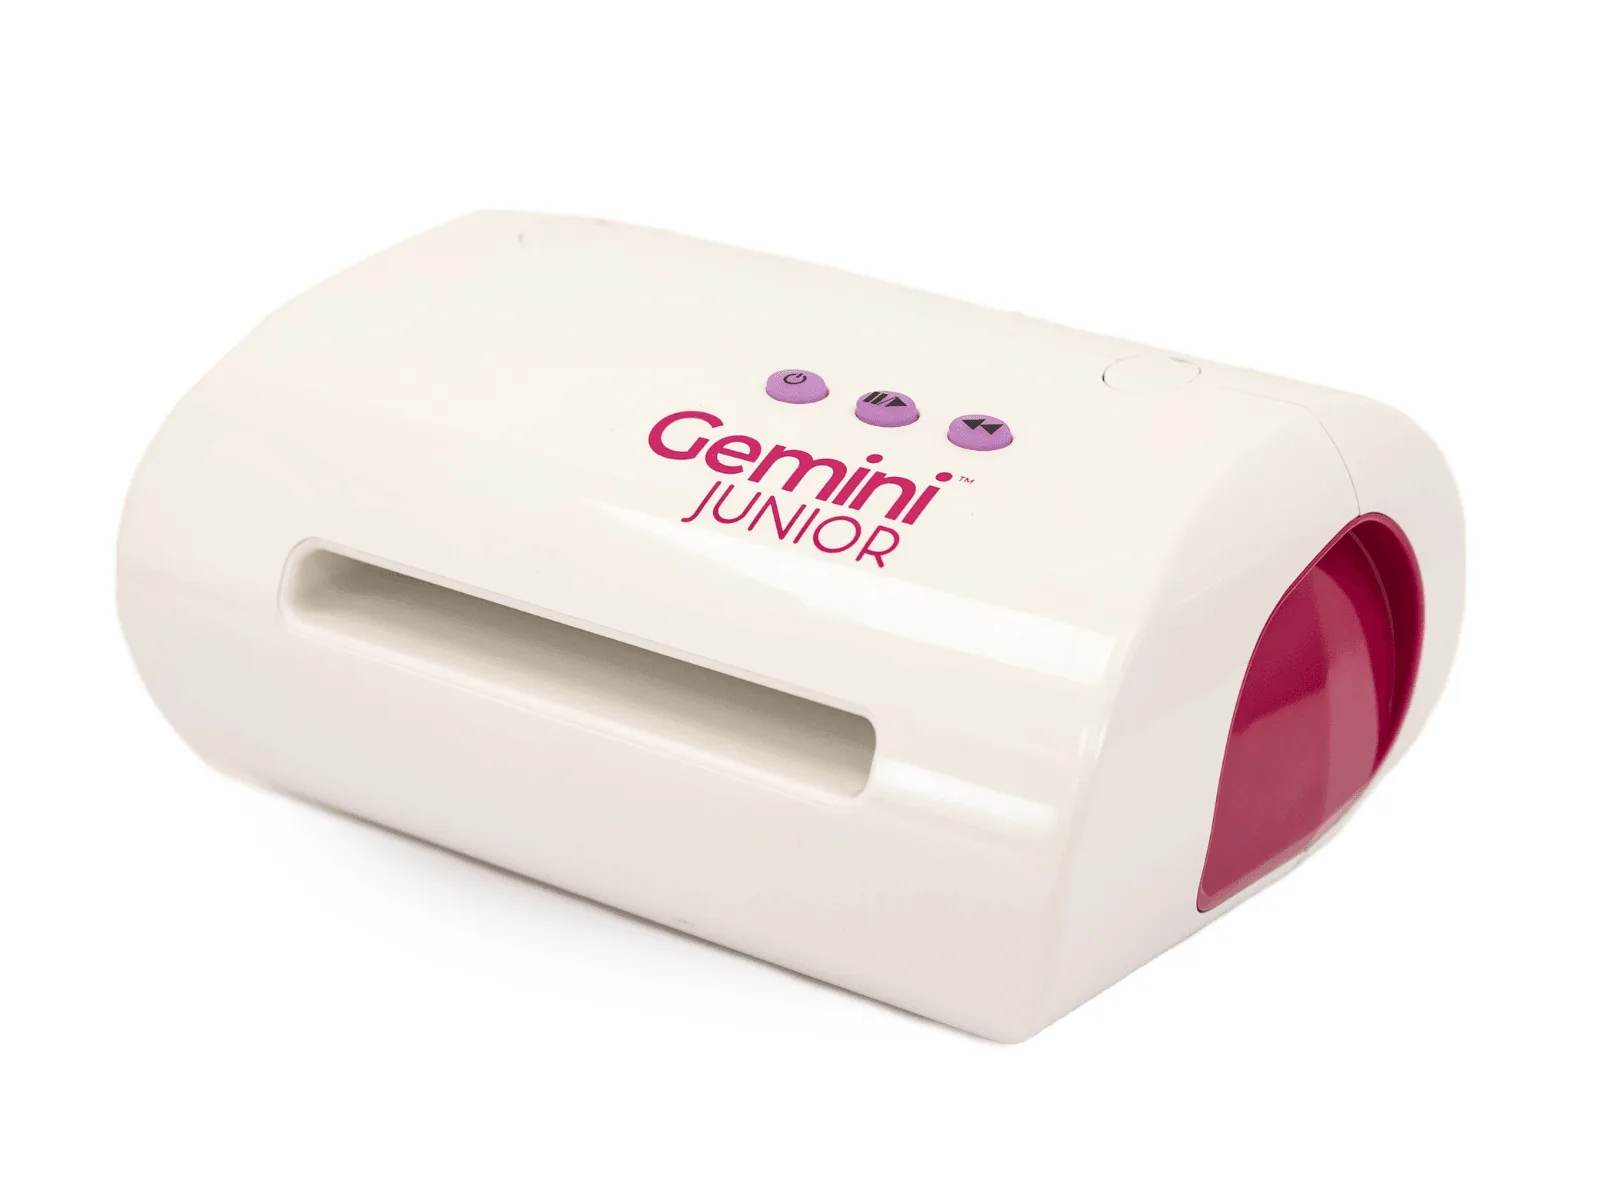
- Gemini Jnr Machine (North American Version): The Gemini Junior is an electronic die cutting and embossing machine that cuts and embosses intricate, detailed designs in a compact, space-saving design. Running dies through a machine with the correct plates spreads pressure evenly, so you are less tempted to force cuts by hand on your mat.
Cutting mat care comes down to three habits: keep it clean with gentle methods, keep it flat and cool, and spread your cuts across the whole surface. Do that and a good self-healing mat will keep giving you clean cuts long after the packaging is gone.