Quick answer
Keep quilting pins dry, clean, and stored point-down in a closed container away from humid air. Wipe them after every project, never soak them overnight, and retire any pin that shows rust, burrs, or a bent shaft. That three-part habit — dry, clean, contained — is what actually extends pin life for years.
Pins are the cheapest tool in your sewing room and the one you replace most often without thinking. A pin that snags fabric or leaves a rust speck can undo an hour of careful piecing, and most of that damage comes from how pins are stored between projects, not from how much you use them.
This routine takes about five minutes per project. Do it consistently and a good set of pins will outlast several rotary blades.
Why quilting pin care matters more than pin quality
Steel pins fail in three predictable ways: moisture causes rust, fabric oils and starch leave residue that dulls the point, and loose storage bends shafts and blunts tips against each other. None of these are about the pin's original quality — they are about what happens after you put the pin down.
That is good news, because all three are preventable with habits rather than purchases. A pin that stays dry and separated from other pins keeps a smooth point, and a smooth point is what lets it glide through cotton without pulling threads.
- Rust is the real enemy: even a faint spot can transfer to light fabric and will not wash out reliably.
- A bent shaft is not worth straightening — it will keep bending at the same spot.
Set up a five-minute pin care routine
Work the routine into the end of a project rather than making it a separate chore. As you remove the last pins, sort them: keepers go in the clean pile, and anything with visible rust, a burr, or a bend goes straight into the bin. Sorting as you pull is faster than sorting a whole jar later.
Then wipe, dry, and close the container. Closing matters more than most quilters expect, because open pin cushions sitting near a window or an iron collect humidity all year.
- Keep a small lidded box next to your machine so pins never sit loose on the table.
- Do not store pins in the same tray as wet starch or a spray bottle.
What to skip
Do not soak pins in water or vinegar overnight, and do not run them through a washing machine cycle in a mesh bag. Both approaches drive moisture into the join between shaft and head, which is exactly where rust starts and where you cannot dry it out.
Skip abrasive pads and steel wool too. They remove rust but also scratch the shaft, and a scratched shaft drags on fabric and collects lint.
- A dry wipe beats a wet soak every time.
- If a pin has already rusted, retire it rather than trying to rescue it.
Your pin care steps, in order
- Step 1: Sort as you pull: Remove pins from the finished project and drop each one into a keep pile or a discard pile. Discard any pin with a rust spot, a rough point, or a bend you can see against a straight edge. Checkpoint: if you cannot remember when you last retired pins, expect to lose a handful on the first sort.
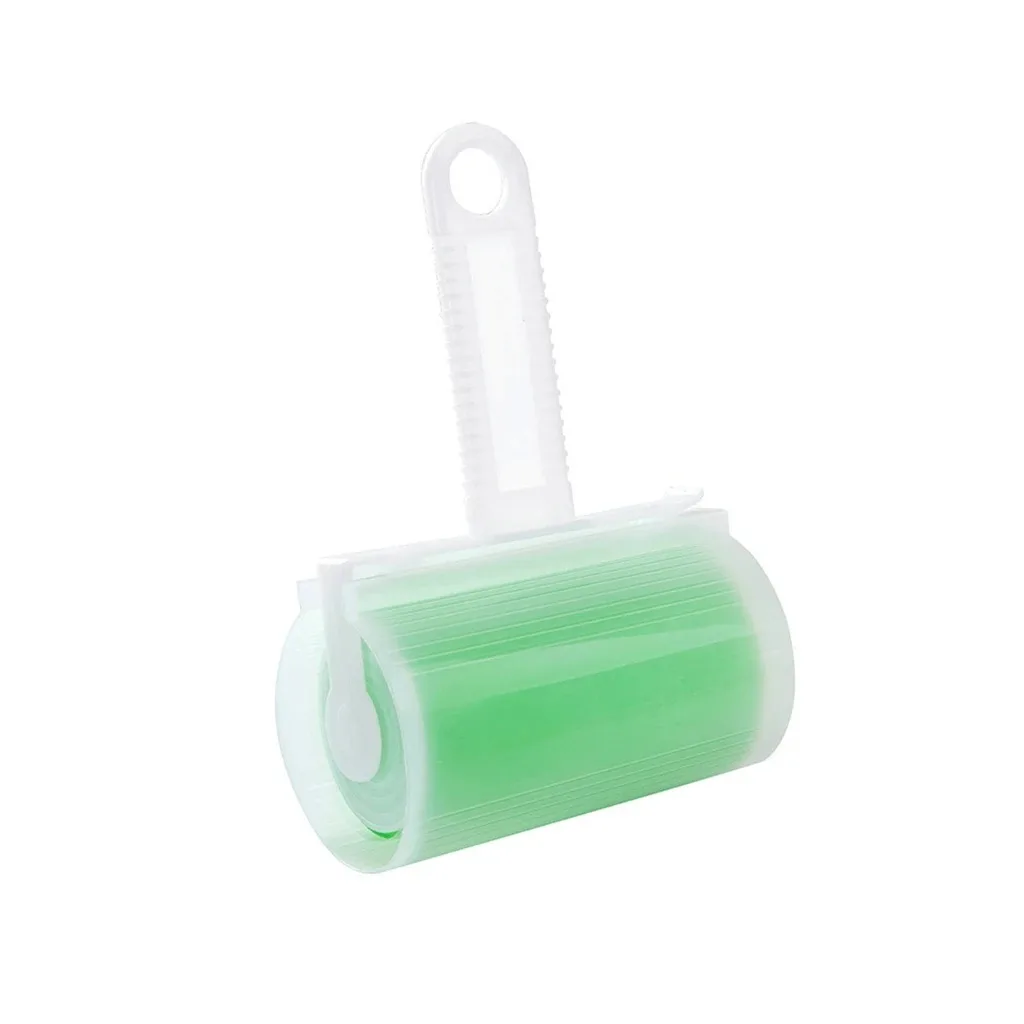
- Step 2: Wipe each pin dry: Run a dry cloth or a lint roller over the pins to lift thread tails, lint, and starch residue. Work over a tray so dropped pins do not disappear into carpet. Common mistake: using a damp cloth. Any moisture left at the pin head is where rust begins.
- Step 3: Let them air completely: Spread the keepers on a dry surface for fifteen to twenty minutes before closing the container, especially if you have been handling them with lotion or near a steam iron. Checkpoint: pins should feel cool and completely dry to the touch before storage.
- Step 4: Store point-down and closed: Return pins to a lidded box or a covered magnetic holder, points down and heads up, and keep the container out of direct sun and away from the ironing station. Common mistake: leaving the container open on the cutting table, where humidity and lint collect.
- Step 5: Rotate and inspect quarterly: Every few months, empty the container, wipe it out, and check a sample of pins for rust or burrs. Replace the whole set when you start finding more than a couple of failures. Next step: write the inspection date on a small label on the box so you actually remember.
Tools that make pin care easier
- Thread and Lint Roller: The sticky surface lifts threads, lint, and fuzz without damage, and it is available in multiple colors. Running this over your pin tray and machine bed lifts the lint and thread tails that trap moisture against pin shafts, so your wipe-down step takes seconds instead of picking at fuzz by hand.
- Oxford Serenity Luxe Bag Organizer (Imagesbf): It is designed as an organizer for craft supplies and comes in a choice of colors. A dedicated organizer keeps pin boxes, spare needles, and small notions separated and closed, which is the storage half of preventing rust and bent pins.
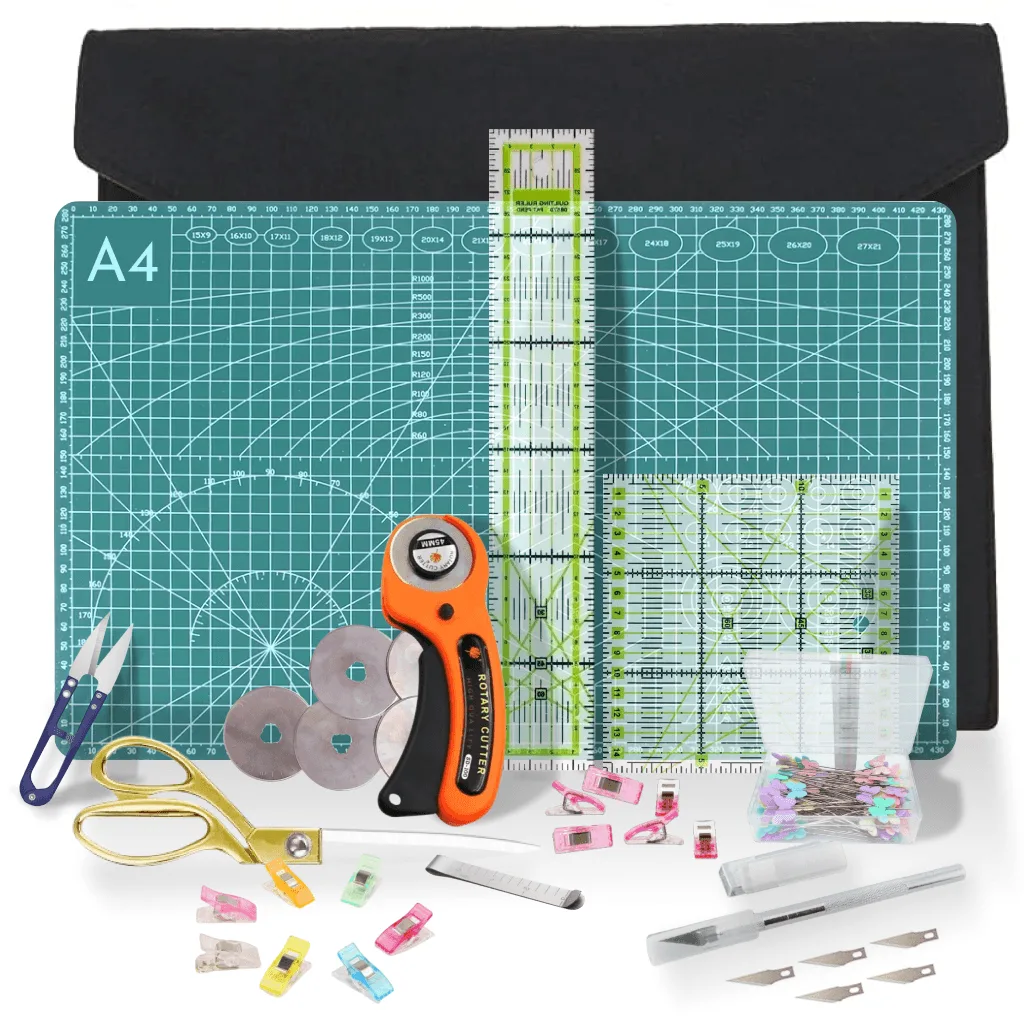
- 97-Piece Quilting Kit: Perfect for Beginners: The kit is described as a comprehensive beginner set covering cutters, rulers, and the essentials to start quilting. If you are setting up a first sewing space, having the basics in one kit means you can give pins their own labeled spot from day one instead of storing them loose in a drawer.
Pin care is really moisture control plus a two-minute wipe-down. Sort as you pull, dry before you store, keep the box closed, and check the stash a few times a year — that is the whole routine, and it is the difference between pins that last a season and pins that last for years.