Quick answer
For wildlife photography, pick a monopod that balances weight capacity with portability. Look for a model with a comfortable twist-lock or flip-lock system, a height close to your eye level without extending the center column, and a head that suits your shooting style—fluid pan heads are great for tracking moving animals.
Why Use a Monopod for Wildlife?
A monopod provides stability for long telephoto lenses without the bulk of a full tripod. It lets you react quickly to fleeting moments, like a bird taking flight or a fox stepping into the open, while reducing muscle fatigue during long waits. The trade-off is less stability than a tripod, so you still need good technique: brace the monopod against your body or a nearby tree for extra steadiness.
Monopod vs Tripod for Wildlife
If you're comparing monopod vs tripod, consider your typical shooting conditions. A tripod offers rock-solid support for heavy lenses and long exposures, ideal for stationary subjects like perched owls or landscapes. A monopod shines when you need to move fast—hiking between locations, following erratic animal movements, or shooting from a cramped hide. Many wildlife photographers own both and choose based on the day's plan.
Steps to Choose Your Wildlife Photography Monopod
- Step 1: Determine Load Capacity: Check the maximum weight your monopod can hold. A good rule is to pick one rated for at least 1.5x the weight of your heaviest lens-and-camera combo. For a typical 400mm f/2.8 setup, look for a capacity of 10kg or more. Underestimating load capacity leads to instability and potential gear damage.
- Step 2: Check Maximum Height Without Center Column: Stand the monopod on the ground without extending the center column. It should reach roughly your eye level. If you have to extend a center column, you lose stability. Most full-size monopods are around 150-170cm collapsed. A monopod that's too short forces you to bend, causing fatigue and missed shots.
- Step 3: Pick the Right Locking Mechanism: Twist-locks are compact and less likely to snag on brush, while flip-locks allow faster setup. Try both types if possible. For wildlife, twist-locks are often preferred because they don't collect dirt easily. Choose locks you can operate quickly and quietly—animal movements don't wait for fumbling.
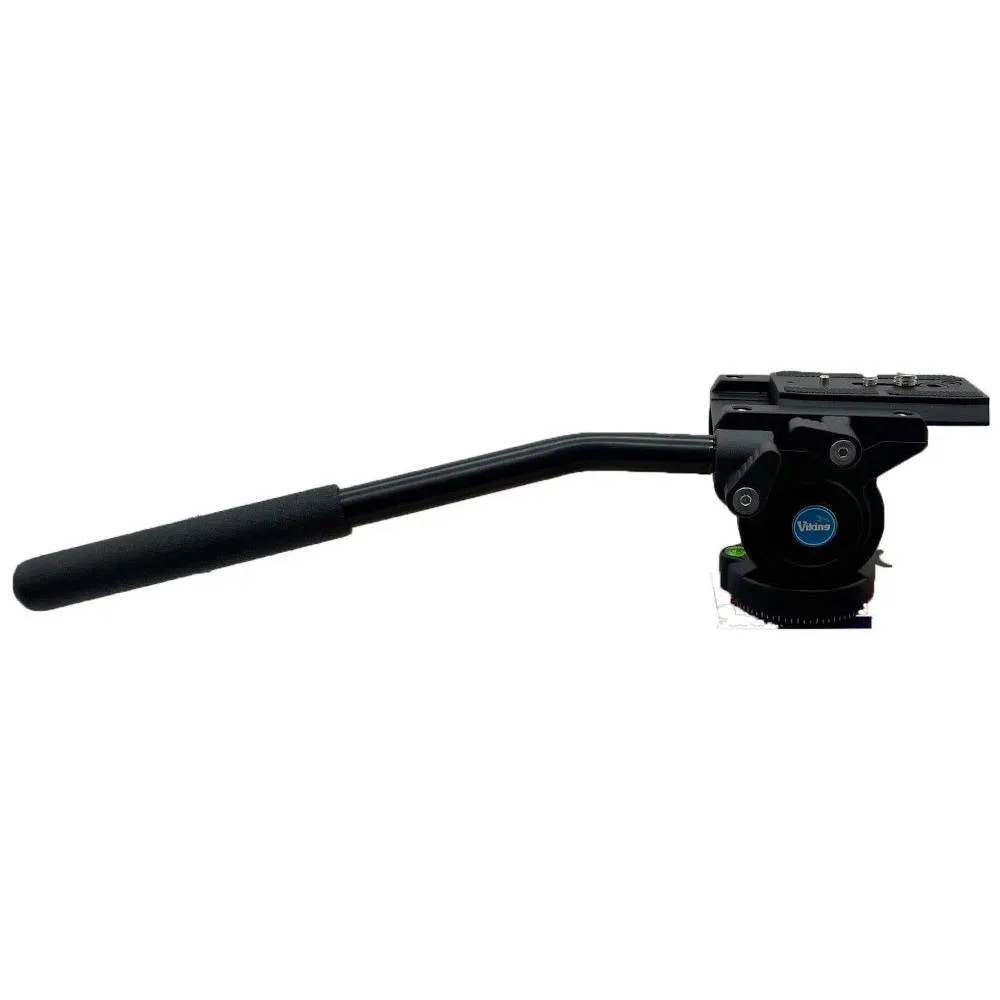
- Step 4: Choose a Head That Matches Your Style: A ball head works for most static shots, but a fluid pan head (like the Viking Swallow model) lets you track animals smoothly. If you shoot birds in flight, a gimbal head adds even more fluid movement. Some monopods have built-in heads, but a separate head often gives better control. Skipping a fluid head can make panning jerky and frustrate your wildlife action shots.
- Step 5: Consider Portability and Build Material: Carbon fibre monopods are lighter and absorb vibration better than aluminium, which is useful on long hikes. Aluminium is cheaper and still durable. If weight is a priority, carbon fibre is worth the extra cost. Heavy aluminium monopods can become a burden on multi-hour treks—choose based on your typical distance.
Gear Considerations for Your Monopod Setup
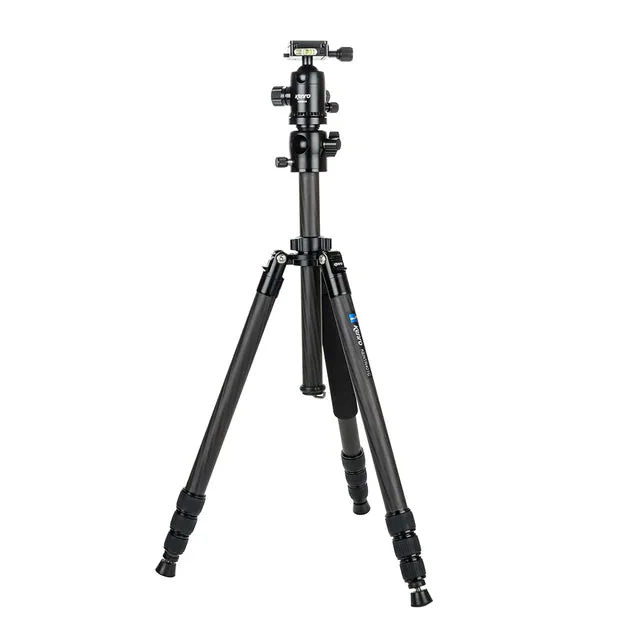
- Kenro Karoo Ultimate Carbon Fibre Travel Tripod Kit | KENTR401C: The Kenro Karoo Ultimate KENTR401C is a carbon fibre travel tripod weighing just 1.93kg with a 10kg load capacity and advanced vibration dampening. While it's a tripod, its lightweight carbon construction and vibration dampening show the kind of features to look for in a monopod—especially if you want to minimise shake when using long lenses. A monopod with similar build quality will help you stay mobile without sacrificing stability.
- Viking Swallow Pan Tripod Head: The Viking Swallow Tripod Head features a smooth fluid head with an anti-twist sliding quick-release plate and supports heavy telescope lenses. A fluid pan head like this is excellent for wildlife photography because it lets you track moving subjects smoothly. If your monopod doesn't come with a head, adding a fluid head can dramatically improve your ability to follow action.