Quick answer
Choose adhesive strength by how long you plan to wear your lashes, not by which glue sounds strongest. For one-day or occasional wear, a lighter, flexible hold is easier to remove and kinder to natural lashes. For multi-day wear, step up to a stronger hold only if your skin tolerates it and you can commit to careful cleansing. If you want to skip the glue decision entirely, pre-glued kits are the simplest starting point.
Match hold time to your wear plan
The single biggest factor in choosing adhesive strength is how many days you expect the lashes to stay on. A glue formulated for same-day wear releases with gentle pressure and minimal residue, which suits events, photos, and anyone still learning placement. A stronger, longer-hold adhesive makes sense only when you want the style to survive showers, sleep, and multiple days.
Be honest about your routine. If you cleanse with oil-based products or rub your eyes when tired, a long-hold adhesive will break down unevenly and leave sticky patches. In that case, a lighter adhesive reapplied more often usually looks better than one strong glue that fails in patches.
Check the adhesive format before the strength
Adhesive strength is only useful if you can apply it accurately. Brush-on glues give you control over how much product lands on the band, while pen-style applicators lay a thin, even line that reduces clumping. Pre-glued segments remove the variable completely because the adhesive is already measured onto each lash.
If you have never applied extensions before, the format decision matters more than the strength rating. A precise, light adhesive applied correctly will outlast a strong adhesive applied too thickly, because excess glue creates ridges that catch on skin and lift early.
Factor in skin sensitivity and eye shape
Stronger adhesives typically contain more aggressive ingredients, and that can matter if your eyelids are sensitive, oily, or prone to reactions. Patch test any new adhesive on the inner forearm or behind the ear for 24 hours before it goes near your lash line.
Hooded or deep-set eyes also change how much adhesive you need. On hooded lids, the lash band sits closer to skin folds, so a thinner application of a moderate adhesive stays comfortable. On deep-set eyes, the band has more clearance, and you can use a slightly stronger hold without the lashes pressing into the lid.
Prep decides how strong your adhesive really is
No adhesive performs at full strength on an oily or dusty lash line. Cleanse the eye area, let it dry completely, and avoid moisturizer or eye cream directly on the lids before application. Oils and creams create a barrier that shortens hold time no matter which glue you chose.
Work in a dry, still environment. Humidity and moving air affect how quickly an adhesive sets, and a fan or open window can cause the glue to skin over before the lash touches down. Give yourself a calm two minutes for placement rather than rushing in a steamy bathroom.
Remove with the right method for your strength
Removal should match the adhesive you used. Light-hold glues usually release with warm water and gentle pressure from the outer corner inward. Stronger adhesives may need a dedicated remover, and pulling dry is the fastest way to damage natural lashes.
If removal feels like tugging, stop and soften the adhesive further. A hold that is difficult to remove is a sign you chose more strength than your routine supports, not a sign of a better product.
Your step-by-step adhesive selection process
- Set your target wear time: Decide before you shop whether you want one-day, two-to-three-day, or longer wear. Write it down so you do not drift toward the strongest option out of habit. Checkpoint: if you cannot name a number of days, start with a light-hold or pre-glued option.
- Patch test the adhesive: Apply a small amount behind the ear or on the inner forearm and wait 24 hours. Watch for redness, itching, or swelling rather than judging by feel alone. Common mistake: testing on the eyelid first, where a reaction is far harder to manage.
- Prep the lash line properly: Cleanse away oil and makeup, dry fully, and keep moisturizer off the lids. Do this immediately before application so nothing has time to migrate back onto the skin. Checkpoint: if the lid feels slick or cool to the touch, it is not dry enough.
- Apply the thinnest effective layer: Use a brush-on or pen applicator to lay a thin, even line, or use pre-glued segments that already carry a measured amount. Thin adhesive bonds better than a thick ridge. Common mistake: adding a second coat because the first felt light, which causes clumping and early lifting.
- Test hold for one full day before committing: Wear the style for a normal day, including your usual cleansing routine, and note where it lifts first. Those lift points tell you whether you need more strength or better prep. If the lift is at the inner corner, adjust placement before changing adhesives.
- Adjust strength only one variable at a time: If one day was not enough, move up one level of hold rather than jumping to the strongest adhesive. Keep your prep and application method identical so you can tell what actually changed. Checkpoint: if removal becomes painful, step back down a level.
Products that remove the adhesive guesswork
- Pre-Glued DIY Underlash Extensions Kit: The Pre-Glued DIY Underlash Extensions Kit includes two sets of self-adhesive lashes and a precision lash applicator, with styles including Sweetheart, Bestie, Water Lily, and Dreamer Brunette. The adhesive is already measured onto each segment, so beginners get a consistent, light hold without judging glue strength or drying time.
- Aster: Aster is a dark, curly, very full style with short to mid-length fibers and PrepTECH lash technology for easier application. Its fuller base gives definition, so you can use a lighter adhesive application and still get a dense look without extra glue weight.
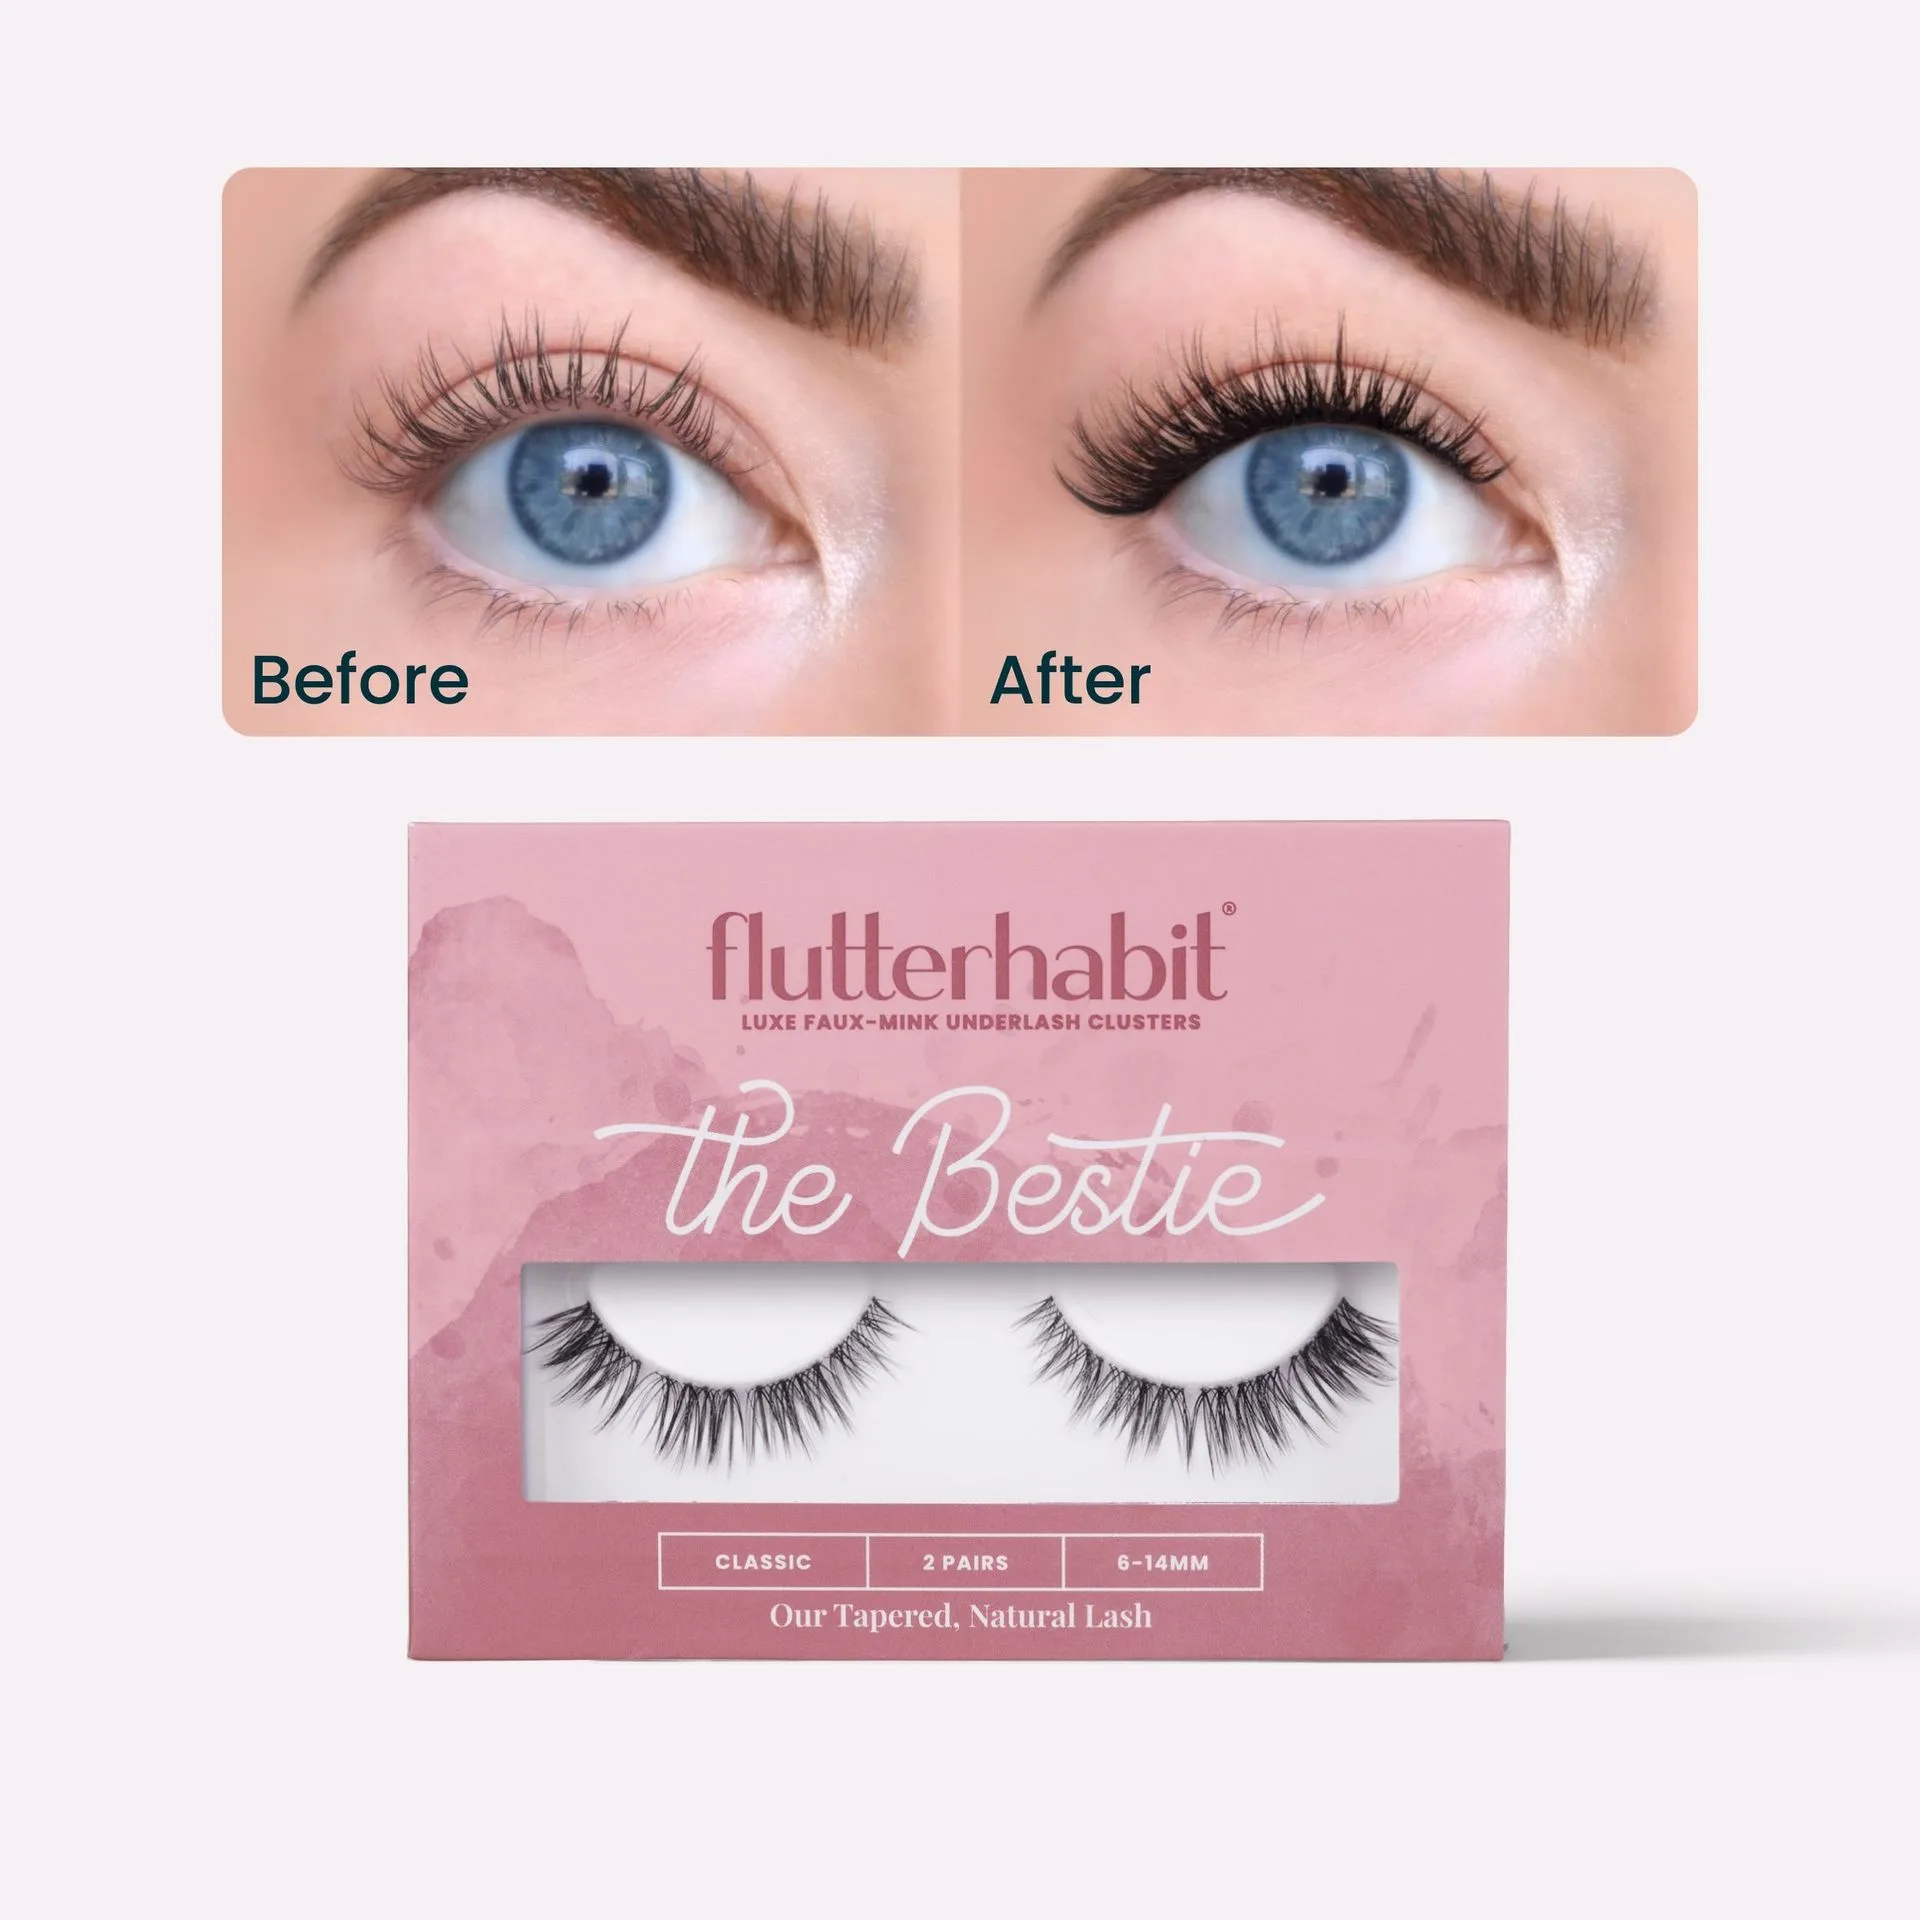
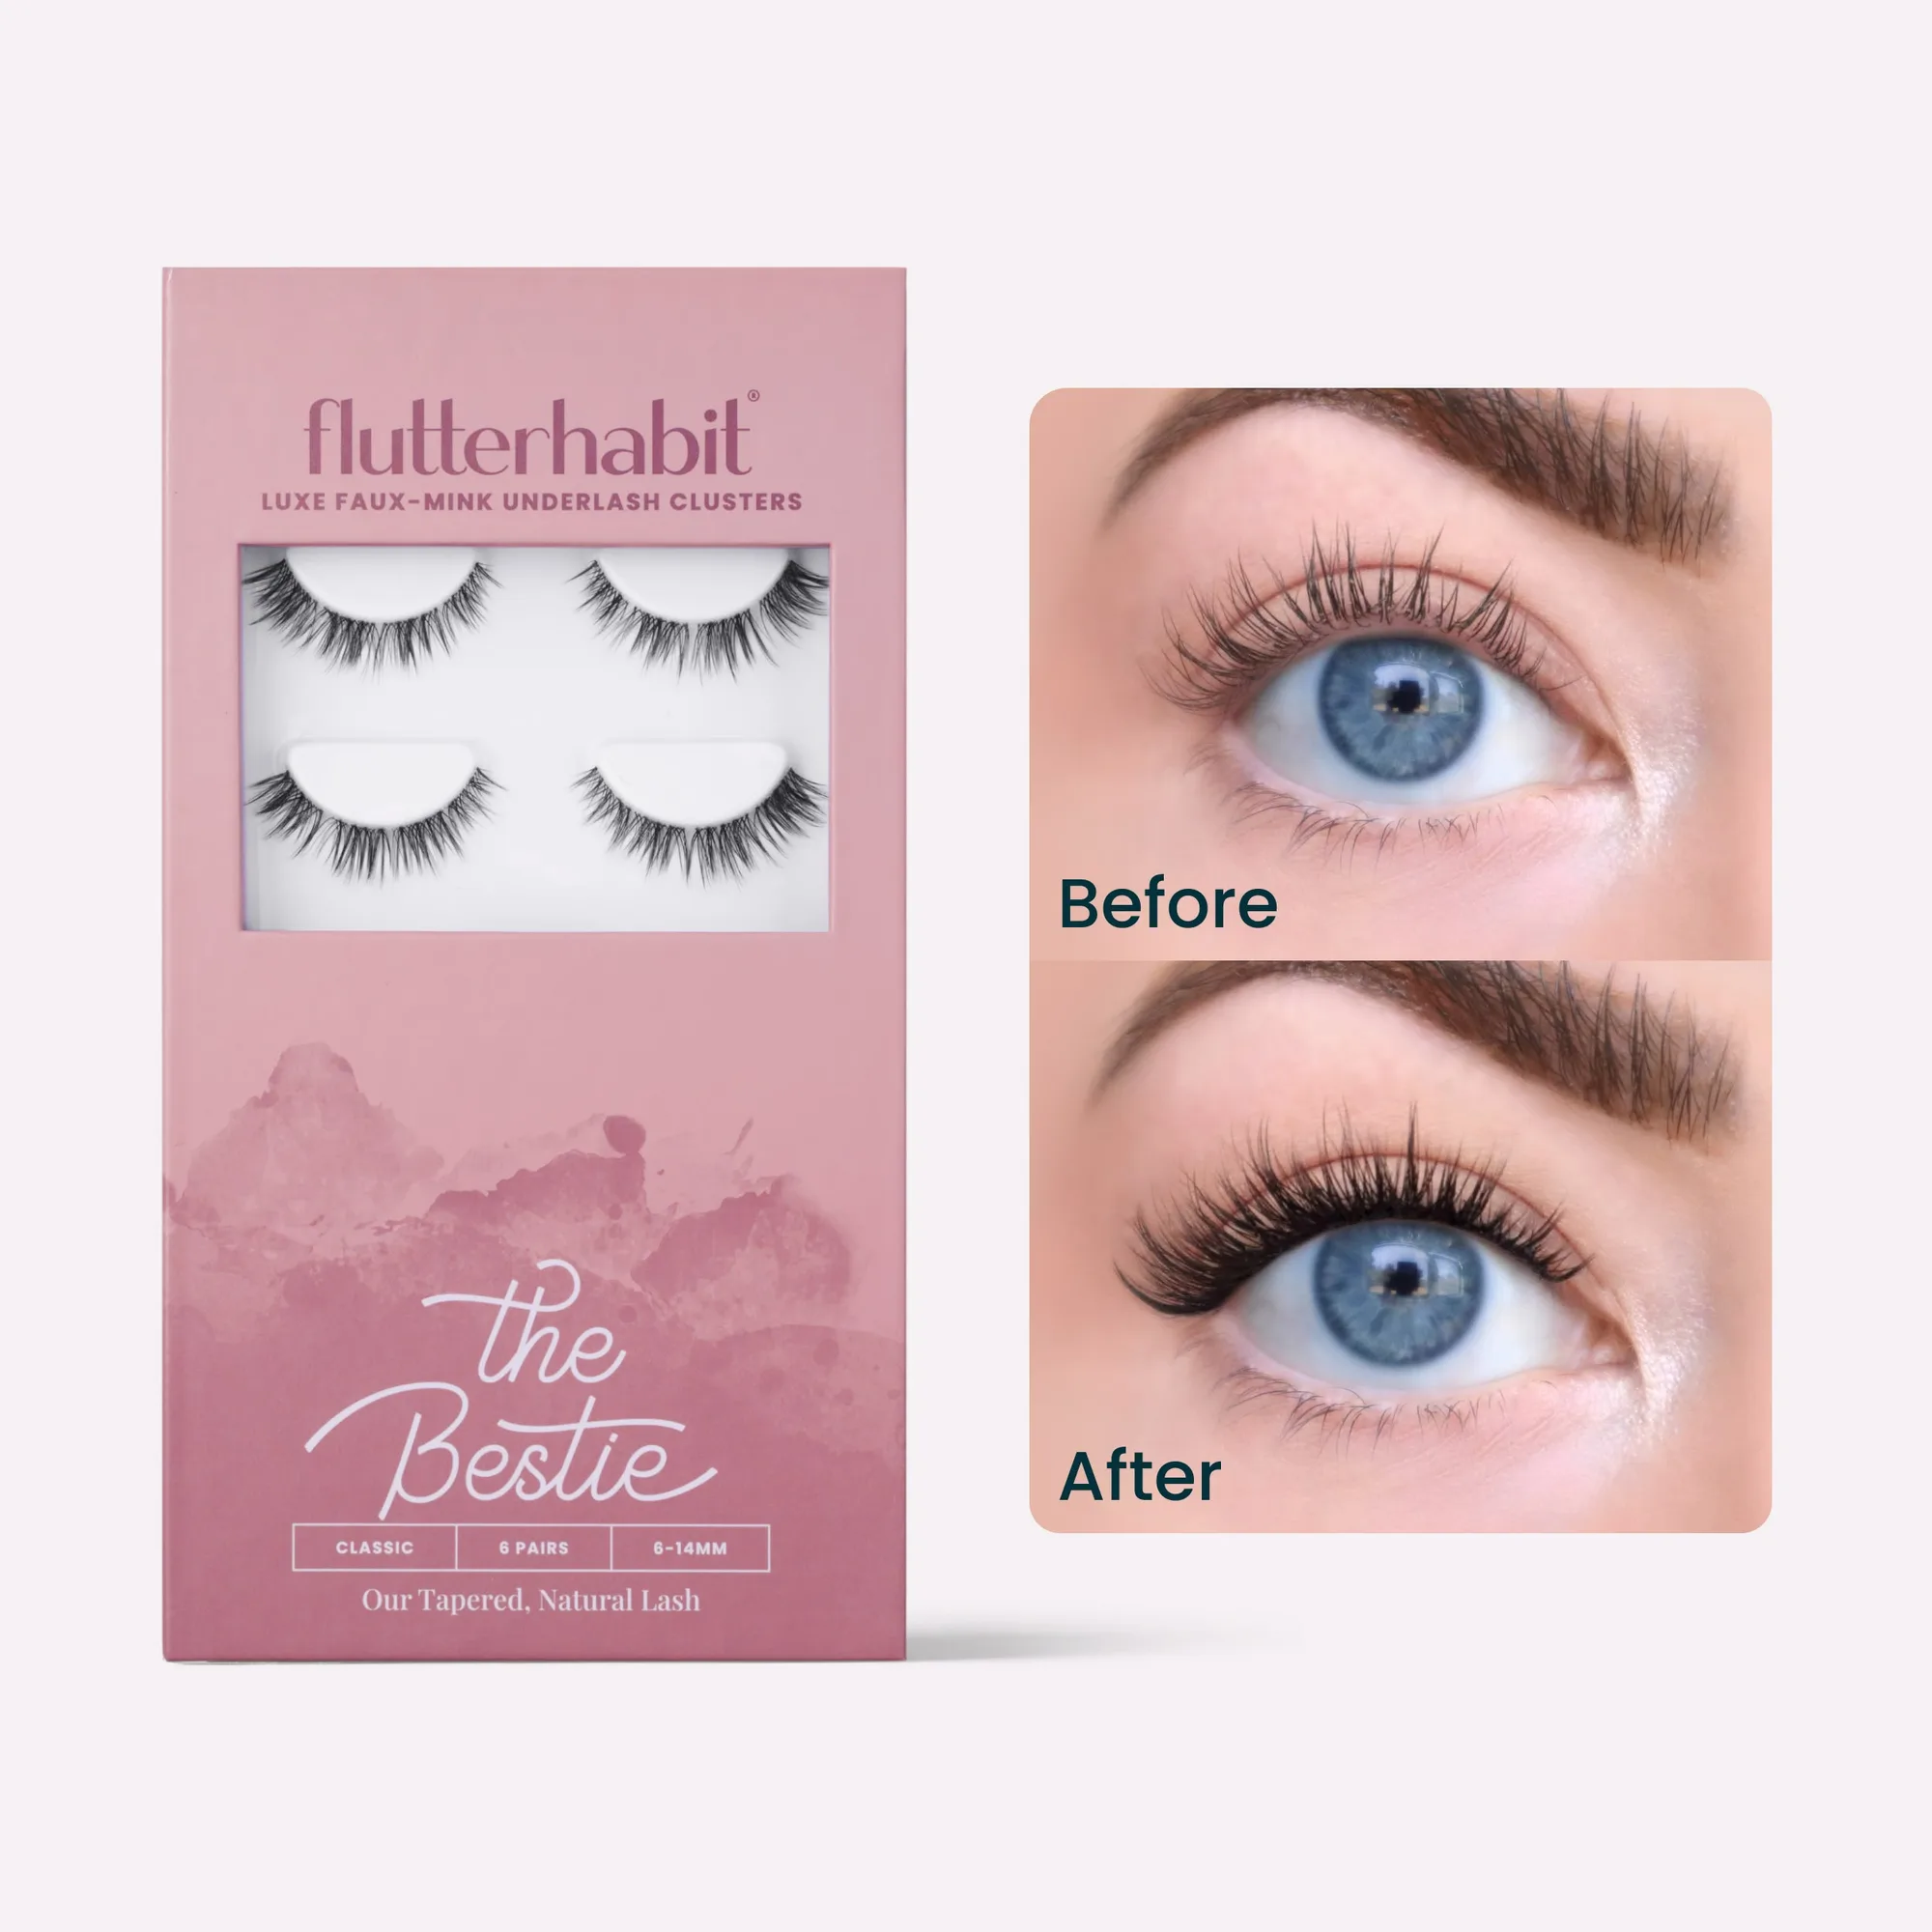
- The Bestie: The Bestie features gentle spikes, subtle length variation, and a softly tapered inner corner, and is positioned as a next step for fans of The Sweetheart or Shorties. A tapered inner corner sits more comfortably near the tear duct, which matters when you are testing a stronger adhesive for longer wear.