Quick Answer
To choose a tactical light for your rail system, first decide on the brightness (lumens) you need, then pick a laser color (green, blue, or none), and finally choose between rechargeable or battery-powered models.
Lumens: How Bright Is Bright Enough?
For most civilian and law enforcement uses, 500 to 1,500 lumens is the sweet spot. A 1,500-lumen light like the OLIGHT PL-3R Valkyrie provides a wide, bright beam that can temporarily blind an adversary and clearly illuminate a room. Lower lumen lights (300-800) are still effective for close-quarters and preserve battery life. The trade-off: higher lumens generate more heat and drain batteries faster, so consider your typical engagement distance.
Laser Color: Green, Blue, or No Laser?
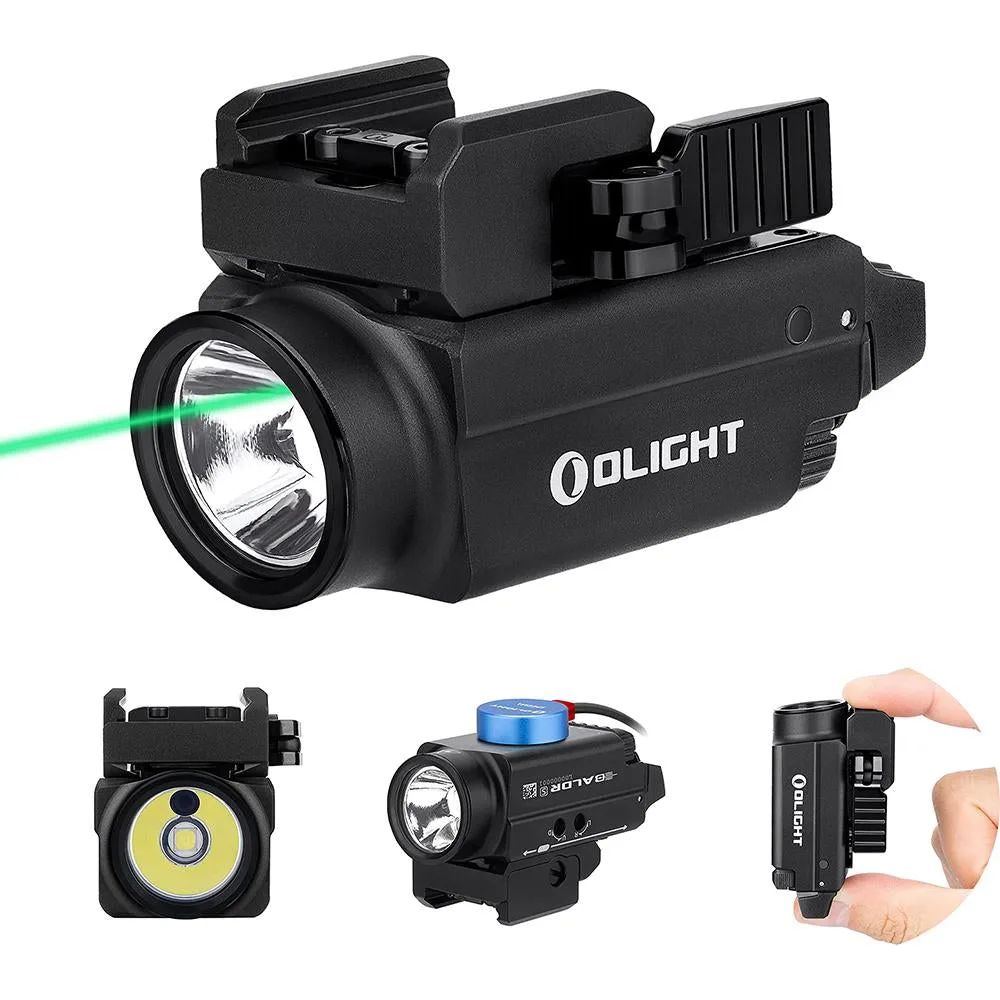
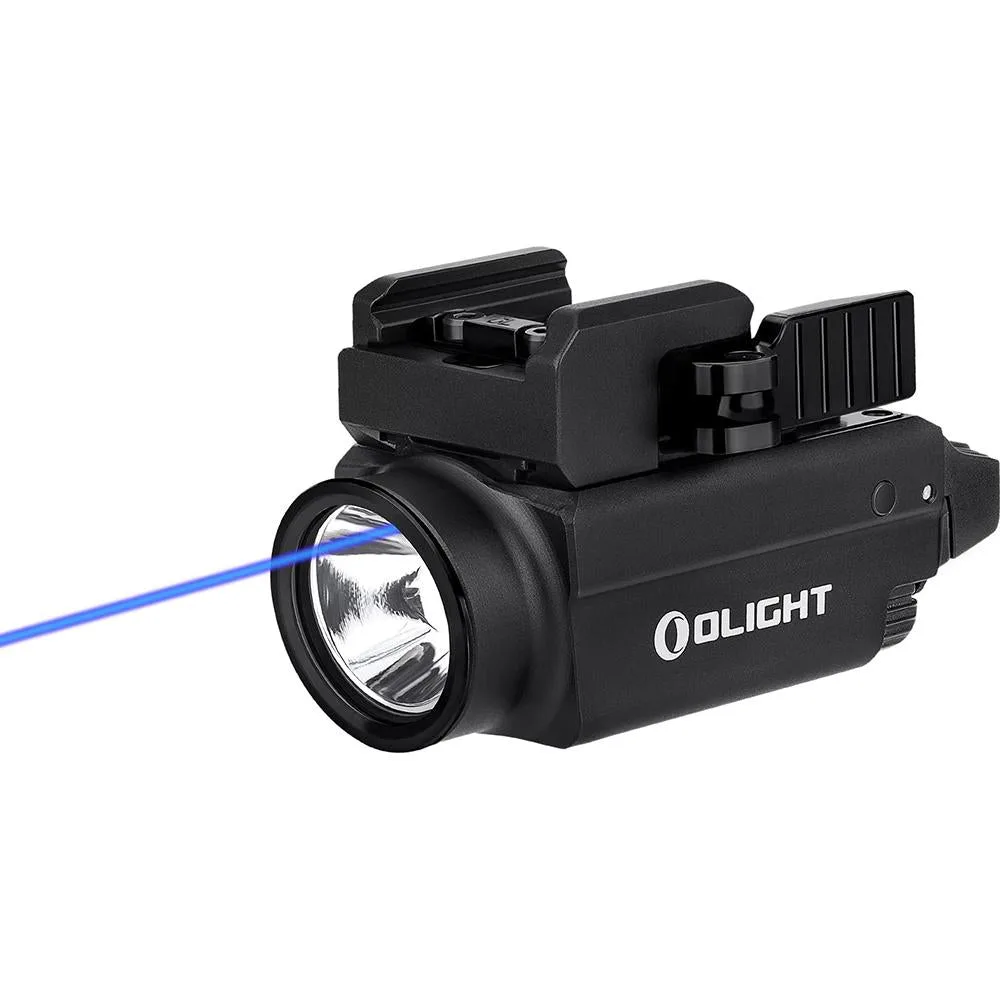
A laser helps with quick target acquisition, especially in low light. Green lasers (532nm) are the brightest to the human eye and work well in daylight, but they cost more. Blue lasers (440-460nm) are less glaring at close range and are a good middle ground. The OLIGHT Baldr S is available with either a green or blue laser, so you can pick based on your typical environment. If you don't need a laser, a pure light model saves weight and money.
Rechargeable vs. Battery-Powered
Rechargeable lights like the OLIGHT PL-3R Valkyrie eliminate the need to buy and replace batteries, and they often support USB charging for convenience. Battery-powered lights (using CR123A or similar) are lighter and can be swapped instantly in the field, but you'll need to carry spares. For a home-defense or range-use light, rechargeable is usually more practical. For a duty or survival setup, consider a model that accepts both.
Step-by-Step Selection Process
- Step 1: Determine Your Brightness Needs: For indoor or close-quarters use (under 25 yards), 300-800 lumens is sufficient. For outdoor or longer distances, aim for 1,000-1,500 lumens. A higher lumen count also means more heat and battery drain. Don't over-buy lumens if you only shoot indoors; you'll waste battery and create glare.
- Step 2: Choose Your Laser (or Skip It): If you want a laser for fast aiming, decide between green (brightest, best for daylight) and blue (less glaring at close range). If you don't need a laser, a light-only model saves weight and cost. Green lasers are easier to see in bright conditions; blue lasers are less distracting indoors.
- Step 3: Pick a Power Source: Rechargeable lights (like the OLIGHT PL-3R Valkyrie) are convenient for regular use and save money on batteries. Battery-powered lights (CR123A) are lighter and can be swapped instantly. Consider a model that accepts both if you need flexibility. For a home-defense light, rechargeable is usually best. For a survival kit, battery-powered may be more reliable.
- Step 4: Check Rail Compatibility and Mounting: Ensure the light fits your rail system (Picatinny, M-LOK, or KeyMod). Look for adjustable rails like the sliding mechanism on the OLIGHT Baldr S, which lets you position the light exactly where you need it. A sliding rail is easier to adjust than fixed-position mounts, but make sure it locks securely.
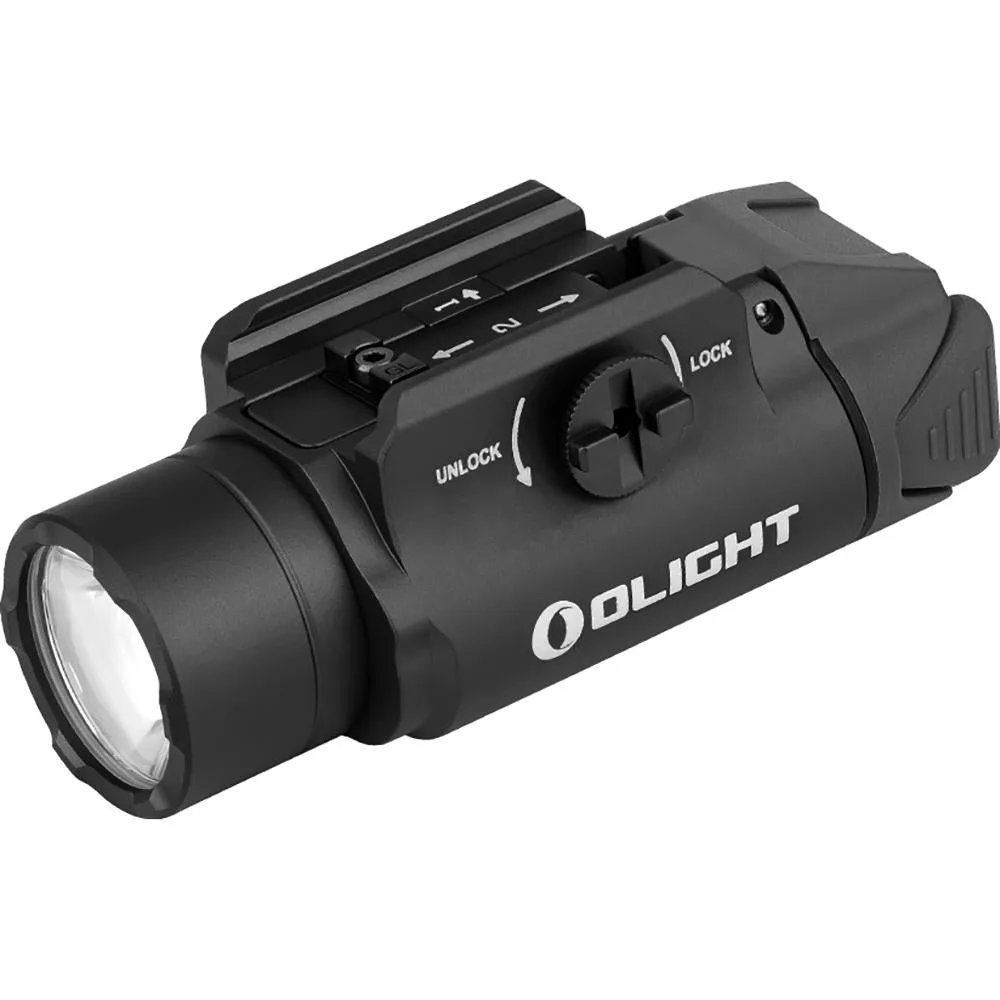
- Step 5: Test the Controls and Modes: Try the switch placement and mode selection. Some lights offer multiple brightness levels and a strobe function. The OLIGHT PL-3R Valkyrie has a dual-mode setting switch to choose between high brightness levels. Make sure you can operate the switch without shifting your grip. Strobe can be disorienting to an attacker but may also confuse you.
Product Facts
-
OLIGHT PL-3R Valkyrie Rechargeable Rail Mounted Tactical Light, Black: 1,500 lumens, 205m throw, rechargeable, three modes (1,500 / 1,000 / 300 lumens). This gives you flexibility to choose brightness for the situation while keeping the light topped off without buying batteries.
OLIGHT PL-3R Valkyrie Rechargeable Rail Mounted Tactical Light, Black
-
OLIGHT Baldr S 800 Lumens Rail Mounted Tactical Light, Black with Blue Laser: 800 lumens with a Class IIIa 440~460nm blue laser (<5mW). The blue laser is less glaring at close range than a green laser, making it a good choice for home defense where distances are short.
OLIGHT Baldr S 800 Lumens Rail Mounted Tactical Light, Black with Blue Laser
-
OLIGHT Baldr S 800 Lumens Rail Mounted Tactical Light, Black with Green Laser: 800 lumens with a highly visible green laser, up to 140-minute runtime in low mode (100 lumens). The green laser is easier to see in daylight or at longer ranges, and the low mode extends battery life significantly.